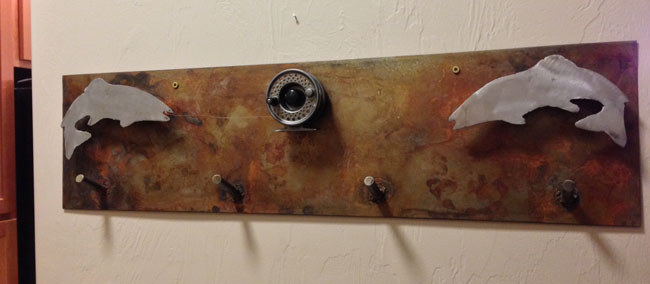
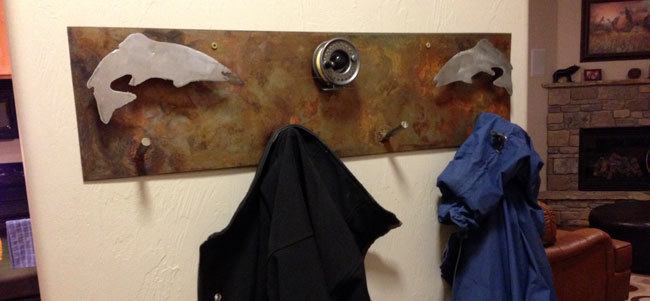
 I love making projects out of metal and when I had the opportunity to teach a new friend how to weld and plasma cut I had to jump on it! I provided them with some guidance and teaching, but this was their first time ever welding and plasma cutting. I'd say the project turned out pretty darn cool!
Time: This was an evening project that took about 3.5 hours.
Cost: Metal : About $20.00 ( We used scrap metal from the shop ) – 14 gauge steel, 1/2 inch Steel Rod – about 10 inches needed
Difficulty: Beginner to Intermediate
Skills required (Welding/PlasmaCutting/Grinding)
Tools Used:
Hobart 250CI Plasma Cutter – (one of my favorite tools in the shop) It has made a number of Christmas and Birthday gifts:)
Welder
Orbital Sander
Angle Grinder – (Used Flap Disc and Metal Cutoff Blade)
Metal Patina – Ferric Nitrate (To color metal with rust colors and maroons
Metal Cut-off Saw
Blow Torch – To heat up metal for Patina Process
Johnson's Paste Wax – (To Seal Project) – Can Also use a spray sealer made for metal
The overall Process
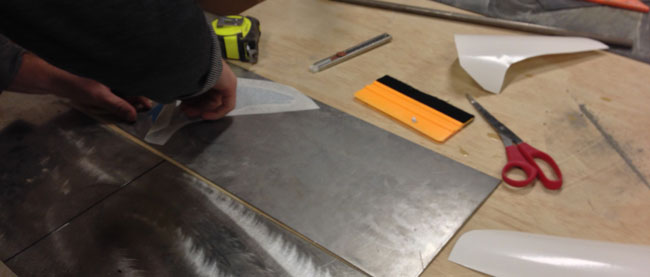
The first step was to come up with a design and sketch it on paper. We decided to make a coat hanger with a fish on each side, 4 hooks, and a fly reel in the center. You can draw the fish or whatever design you come up with. If you aren't great at drawing, my company named SignsoftheMountains.com can make custom stencils for you that you could then trace around. You can see we used fish stencils for our project. We applied the stencil and then traced around it with a Sharpie marker.
We used 2 pieces of steel for this project. The steel came from our local steel supplier named Pacific Steel out in Belgrade, Montana. I like to buy steel at Pacific over Home Depot because they have a much larger supply and all sorts of thicknesses. It is much cheaper at the steel yard as well. For the background we used a piece of steel that was 32 inches wide by 9 inches tall. The fish were cut out of a second piece of steel and each fish measured 7 inches wide by 4.5 inches tall.
Plasma Cutting
We plasma cut the fish out of the metal using the Hobart 250CI plasma cutter. I love this little machine because it plugs into any normal plugin and is easy to use. It's also very quiet and can cut metal up to 1/4 inch thick. (Although the thicker metal produces more slag and you must cut slower). Below is a photo of a newbie metal worker! He is plasma cutting for the first time ever. He was a little intimidated about using the plasma cutter at first, but found out that it is super easy and fun to do. (I like to set the metal off the work surface a bit and to use a concrete board underneath.)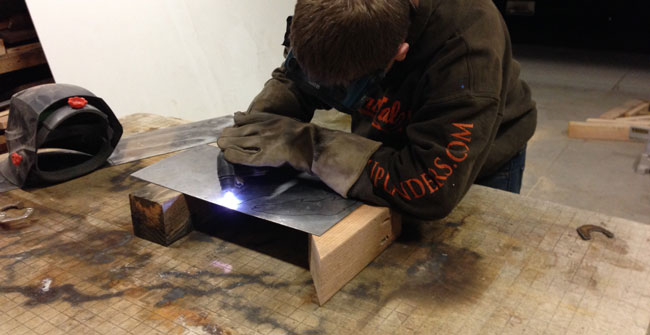
Welding and Hangers
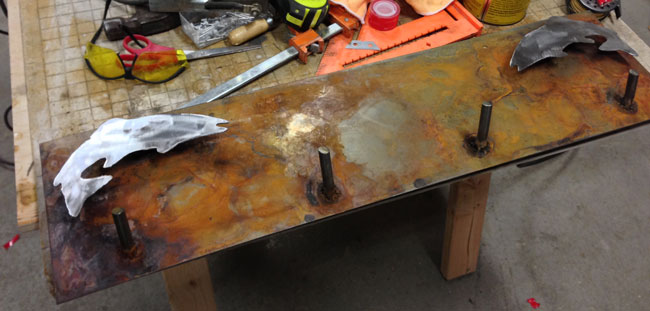
After cutting out the fish we made the hangers. To make the hangers, we took 1/2 inch steel rod and cut each end at a 20 degree angle so the hooks angle up. Each hook is 2.5 inches long. Use the flap sanding pad on an angle grinder to clean them up once cut with a metal cutoff saw. Then weld each hanger to the piece of metal making sure the hangers are slightly angled up using the 20 degree cut you made. Lastly, clean things up a bit (welds/splatters) using the angle grinder flap disk and or orbital sander.
To see examples of the different processes feel free to check out the video tutorial I made about a project that uses many of the similar techniques. I also have a fish art post with more ideas that might be helpful.
Patina and Sealing
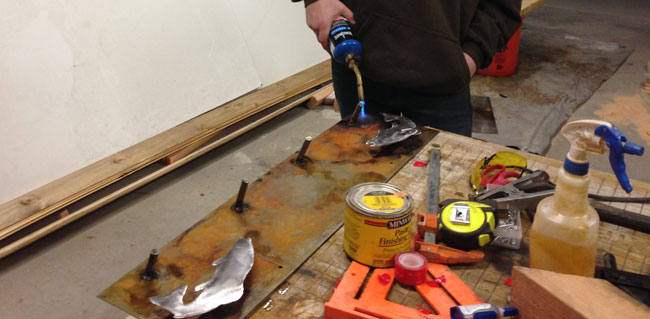 Before welding the fish we patina'd the metal using Ferric Nitrate. Add a couple teaspoons of the Ferric nitrate in a spray bottle and then fill about halfway with water. It will turn an orange color like in the photo above. Use a blow torch to heat up the metal to enhance and speed up the patina process. Then spray the patina on the metal. Don't forget to wear a mask and to have proper ventilation. After you've finished with the patina process, weld on the fish and then let the metal cool.
Seal the entire piece using either a paste wax or spray sealer. To hang the piece we drilled holes which were 16″ on center to make it easy to go into the studs in a wall. Finally, attach a fly real to your piece using 3M Adhesive Mounting Tape.
Hang and Enjoy!
Hang and enjoy your new piece of functional wall art! All made in an evening or a few hours!
Please share with your friends if you found this project interesting or helpful.
