My younger brother moved out to Bozeman, Montana this summer to spend a few months in Big Sky Country. He'd never worked with metal, and so we came up with a project to create and got to it. The idea was to create a piece that could hang above the fire place.
How to create this piece.
Tools Needed:
Plasma Cutting Torch
Welder
Grinder with Flap Disk
Orbital Sander with 100, 150, and 220 Grit paper
Ferric Nitrate and Liver of Sulphur (To Patina) Otherwise use salt/vinegar mixture
Paste Wax
1. To start, gather your metal. I used two pieces for this project.
- Scrap piece of 4 foot by 12 inch 12 gauge metal (For background)
- Scrap piece of 3 foot 6 inch by 10 inch metal ( 16 guage ) – (The silver piece below)
- 6 inches of 1/2 steel rod
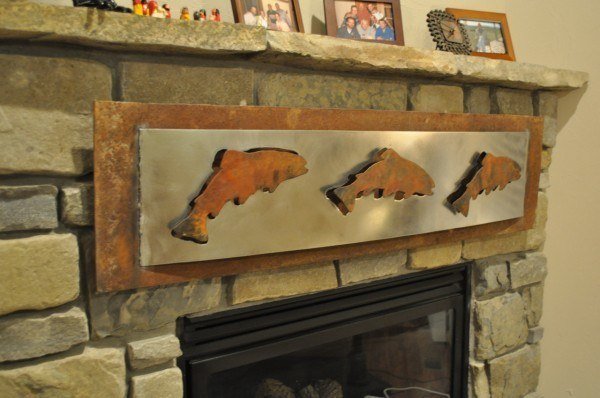
2. Draw a fish on a sheet of paper. (Roughly 10 inches wide) Next, cut out the fish and then place it on the smaller sheet of metal. Trace around the fish. Then slightly rotate the fish and trace around it two more times similar to how the fish are arranged below.
3. Next, use a plasma torch ( I cut with the Hobart 250ci) to cut out each fish. Take your time and go slow.
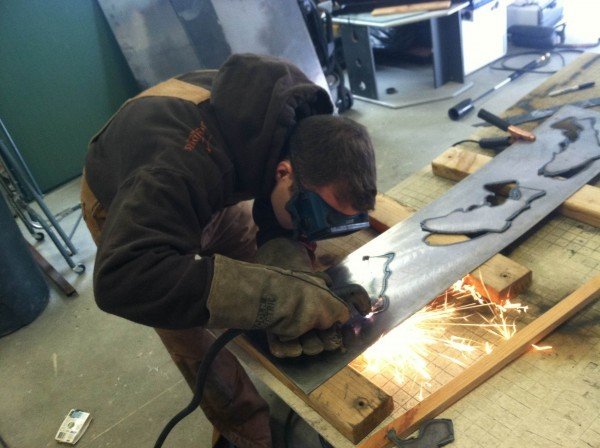
Below is a short clip of my younger brother plasma cutting for the first time. He got more steady at it and better after each fish. He was awesome by the time he got to the last fish!
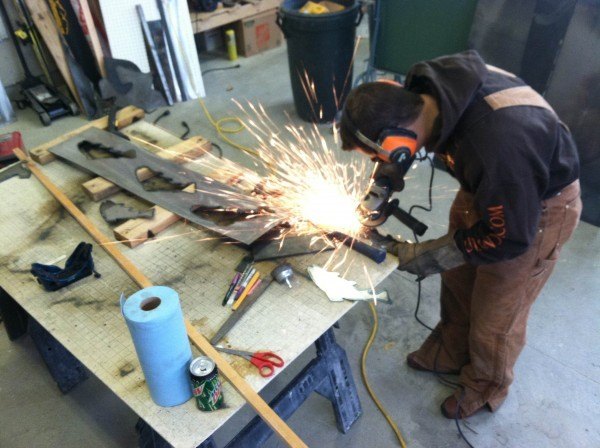
4. Grind the slag off each fish and clean up the edges. Make sure to wear ear protection and goggles.
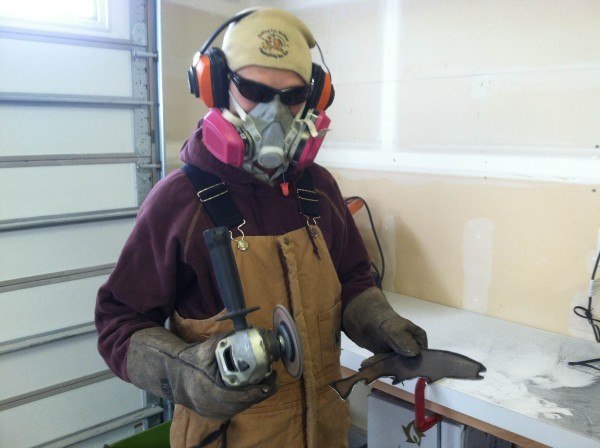
Make sure to have as much adequate ventilation as possible when welding and plasma cutting. Wearing a mask to block the fumes is a smart idea. Sam (my younger brother) is using a flap sander on an angle grinder to quickly clean up the edges of each fish.
5. Once the fish have been ground down and cleaned up you can patina them if you'd like. We used Ferric Nitrate (ordered online from the www.sciencecompany.com) and Sulfurated Potash to get the orange, maroons, browns, and blacks on the fish and background. The chemicals are in the form of crystals that you mix with water. Make sure to wear rubber gloves and a mask when dealing with these chemicals.
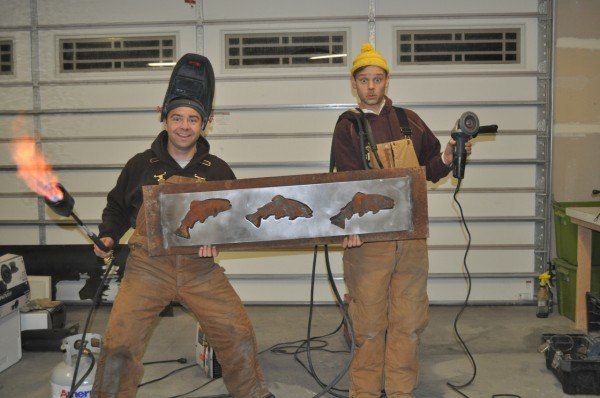
6. Heat the metal up (the fish and the large 4′ x 1′ sheet of metal) with a weed or blow torch. A weed torch connected to a propane tank makes quick work of the job but is not necessary. Next, spray the chemicals onto the metal and see how the colors change. No two pieces will ever be the same! To see the patina process take a look at my video (the patina process starts at the 2:30 mark). However, the whole video will be helpful in showing similar steps that are used in this project.
* If you don't have patina chemicals mix salt and vinegar together and spray on the metal. A torch is not necessary, the process will just take a bit longer without one.
7. Once the patina process is done, go ahead and polish up the sheet that you cut the fish out of if needed. To clean the metal you can buy cleaners from a welding store, or Muriatic acid will work if brushed on. Be very careful and wear protective gear while using it as it is a dangerous chemical. The cleaners will remove the black greasy film from the metal. Once cleaned, you can sand the sheet with an orbital sander to even out the look and give it somewhat of a matte finish.
8. Take the sheet of steel that the fish were cut from and slightly bow it. Tack weld it onto the background piece and then clean up welds with a grinder as shown below.
9. Cut the 1/2 steel rod into 2 inch pieces and tack it onto the background. You'll use the end of the rod to tack on to the back of the each fish. It allows the fish to stand out from each piece of steel. Sorry I don't have photos of this process. I drew a picture below to help. If you have questions please comment below.


Cleaning up grinds in photo

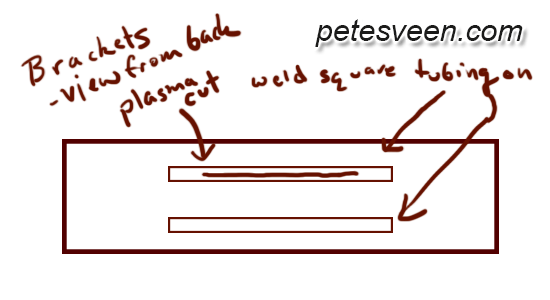
10. Build a bracket – To build a bracket I welded a two foot long piece of 3/4 inch steel tube horizontally towards the top and bottom. Then I took the plasma torch and cut a 1/4 inch horizontal line through the square tubing. This creates a wide hole that you can use as a spot to stick a photo mount hook into. It is wide so you'll be able to center the hanging perfectly.
Lastly, apply paste wax to help seal up the project if desired.
I hope this project will inspire you to build your own metal art! If you have any questions don't be afraid to ask. Find us on Facebook at www.facebook.com/diyprojectswithpete – Good luck!


