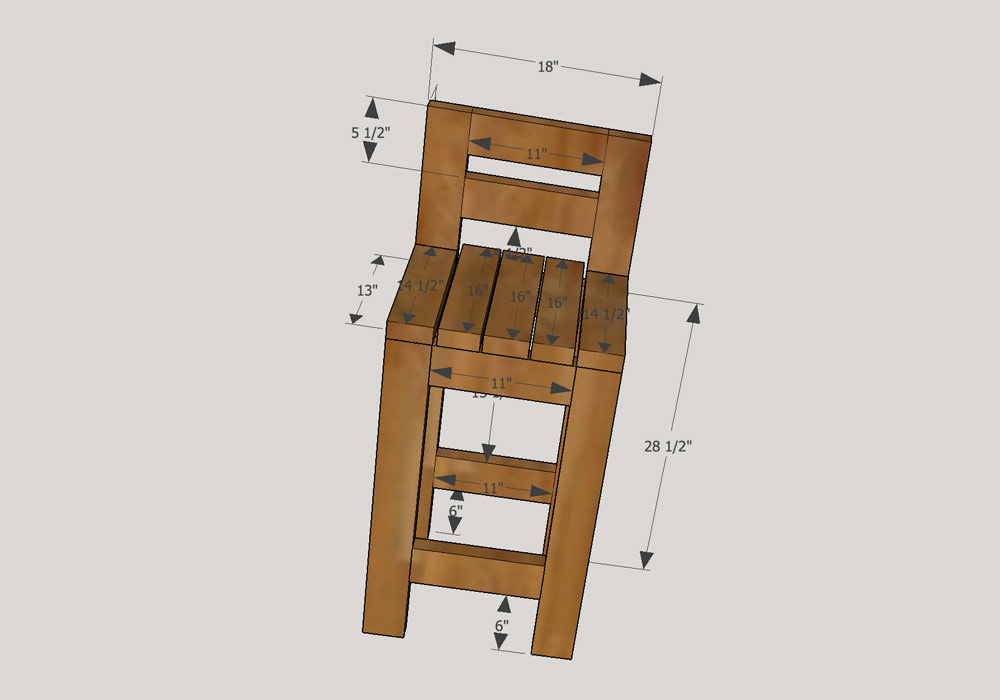
Hi fellow DIY'ers! A while back I created plans for an outdoor patio bar with a concrete top. I promised a follow up video and tutorial on how to build super simple bar stools. So… here it is! I modified plans from Georgia over at MoreLikehome.net to fit my patio bar. The main modifications I made were to the overall height and to how the seat boards attach. Click here to check out Georgia's detailed plans and drawings! Our tutorials will show you how to make a DIY bar stools with just a few tools and materials. Please download her plans and feel free to use my drawings as reference if you'd like to build the bar stools that are the right height and the matching set for the patio bar tutorial in episode 15.
Bar Stool Tool List:
The links for tools listed in this post are affiliate links. This means that by purchasing the tools and going through the links you are helping support more free projects and DIY videos on DIYPETE.com. Thank you for your support 🙂
Miter Saw – Optional
Orbital Sander
Drill
Kreg Jig
Clamps (Optional) Use my JackClamp coupon code to get $5 off any order over $50 –Code: DIYPETE5
Pencil
Tape Measure
Safety Glasses, Ear Protection, and Rubber Gloves, Paint Brush
Shopping List:
QTY: 4 – 2x4x8 Cedar Lumber
QTY: 1 – Box of blue 2 1/2 inch Kreg Screws
QTY: 1 – Box of 2 1/2 inch Wood Screws
QTY: 1 – Exterior Grade Wood Glue (I use the Gorilla Glue Brand)
QTY: 1 – Helmsman Spar Urethane from Minwax
 Step 1: Cut
Use a miter saw, circular saw, or hand saw to cut the lumber for the bar stool.
Cut List:
Overall Chair Dimmensions: 18″ wide, 42″ tall, 16″ deep — Seat height 30″
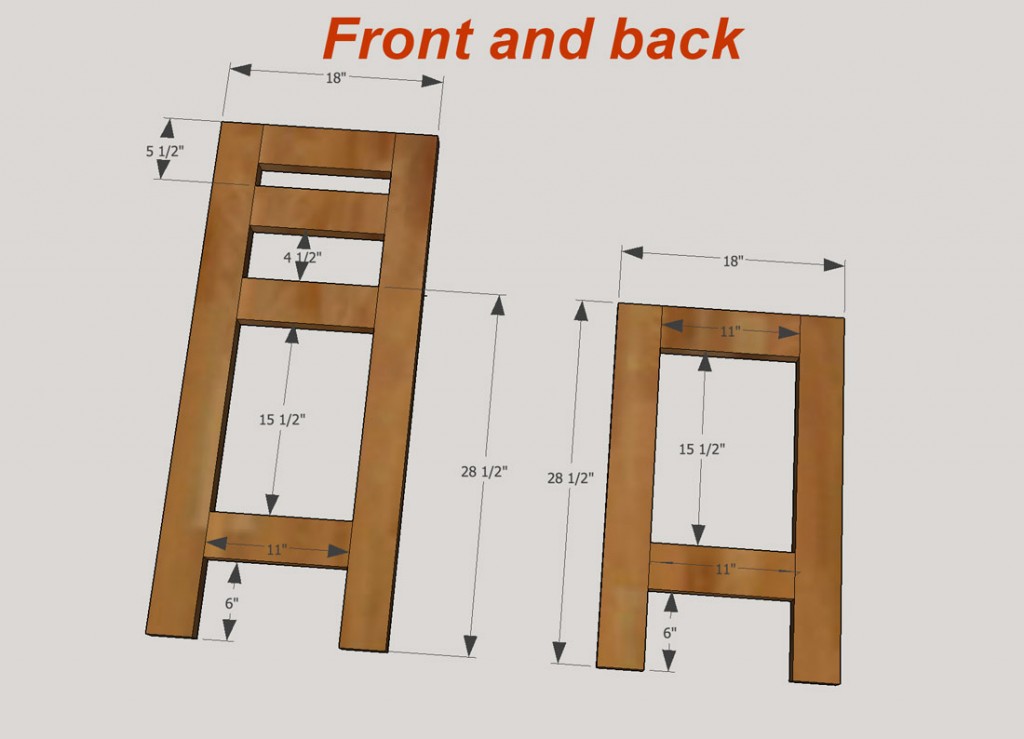
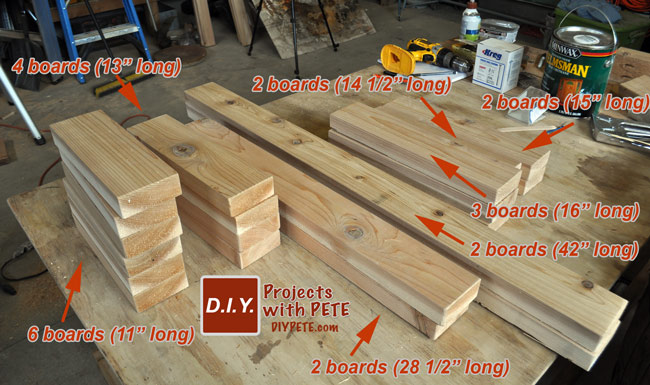
Qty 2: 42″ (back legs)
Qty 2: 28 1/2″ (front legs)
Qty 6: 11″ (back and front boards)
Qty 4: 13″ (side boards)
Qty 2: 14 1/2″ (outside seat boards)
Qty 3: 16″ (inside seat boards)
Qty 2: 15″ (seat supports)
 Step 2 – Drill Pocket Holes
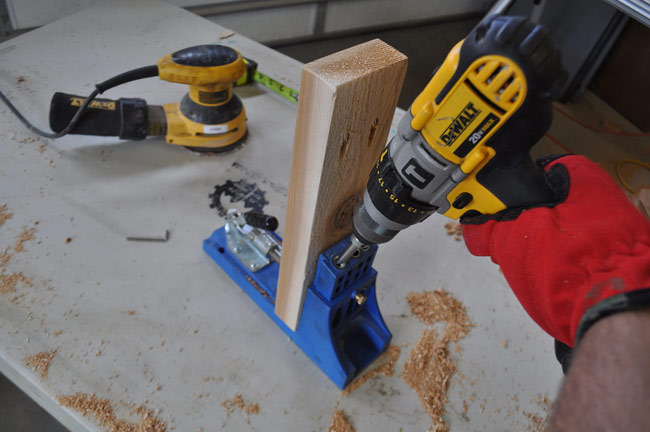
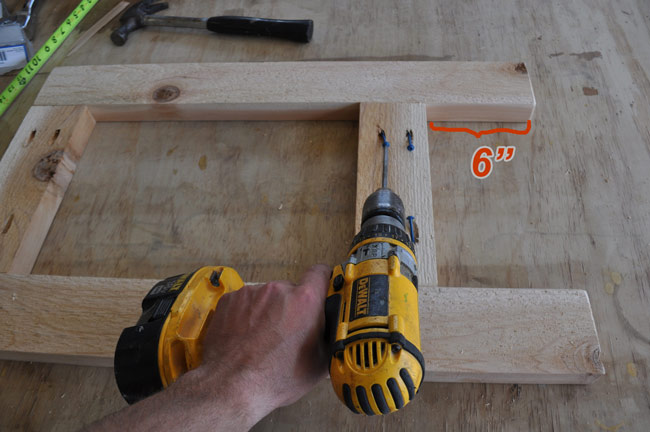
Drill pocket holes in all of the boards except the legs and seat boards. Use a Kreg Jig and set it to the 1 1/2 inch setting on both the jig and the stop collar on the bit.
 Step 3 – Assemble!
Use 2 1/2 inch Kreg Screws to attach the front and rear sections of the chair. I'd recommend using wood glue as well.
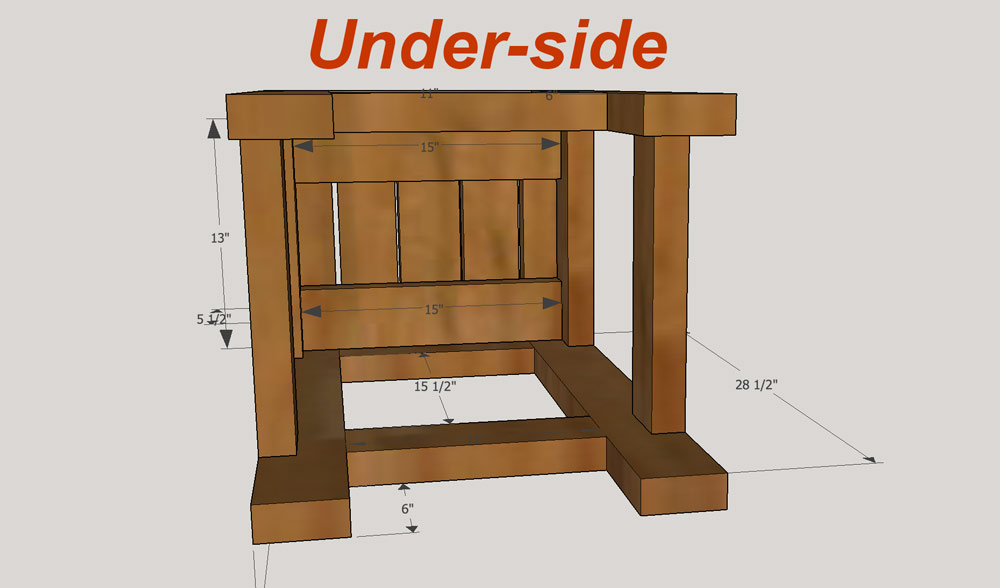
 Here is a diagram showing how the front and rear ladders are constructed.
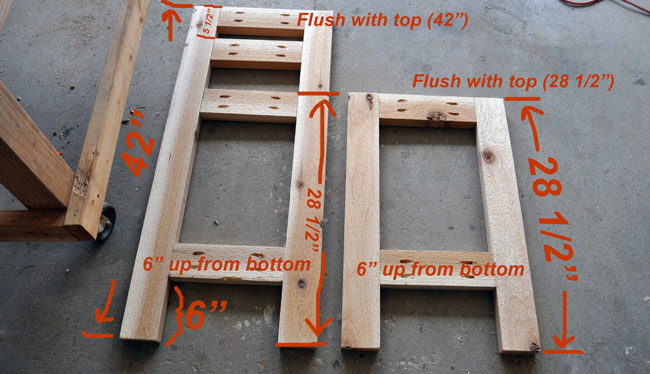
 Next attach the four side boards. This will connect the front ladder to the rear ladder. Use a clamp to hold the boards together if needed. I have a set of JackClamps that I use for most projects.

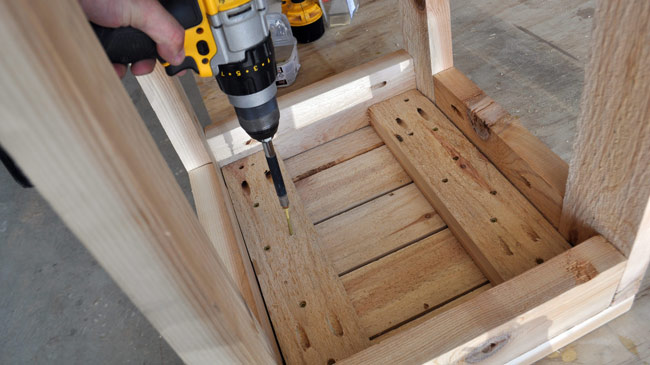
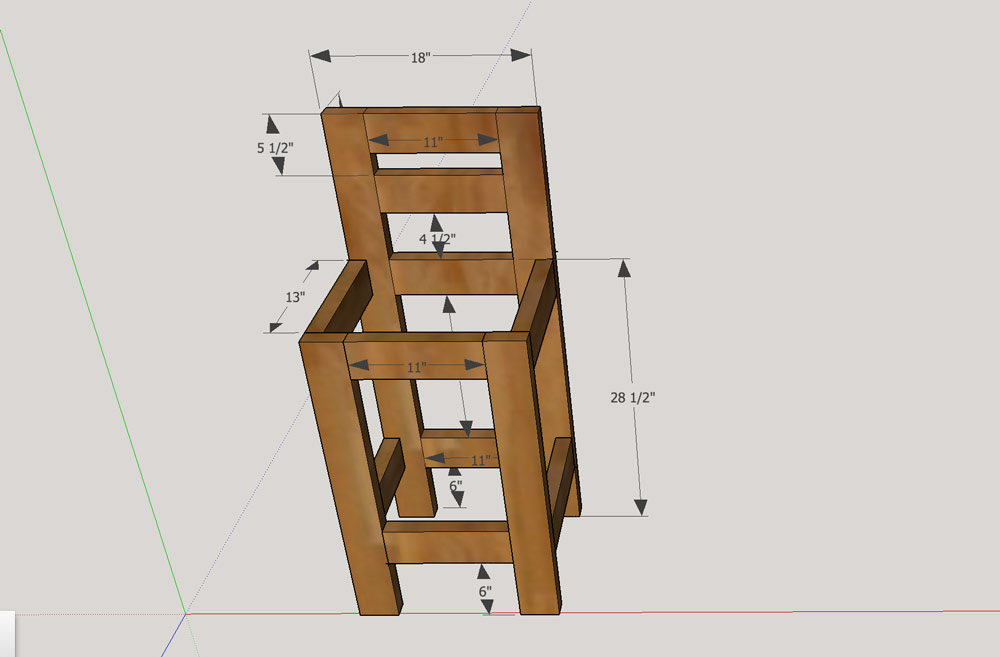 Use 2 1/2 inch kreg screws to attach the two 15 inch seat supports. Once complete, attach the seat boards to the supports from the underside using 2 1/2 inch wood screws. Prior to attaching the seat boards you can lay them out evenly on the top side and glue into place. Let the glue dry and then flip it upside down to attach the boards with the 2 1/2 inch screws. This will make it easy to space out the boards. Plus, you won't have screw holes showing from the top side.
 Step 4 – Seal or Stain!
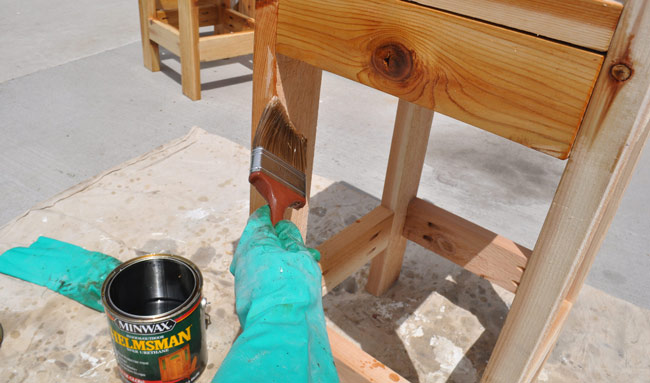
Protect and make your new bar stools shine by brushing on a couple coats of Helmsman Spar Urethane from Minwax. If you'd prefer another color or added protection I'd recommend using a deck or fence stain.
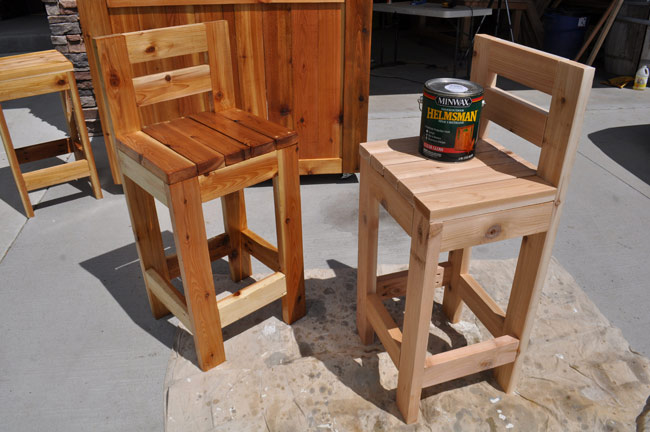 Thank you for stopping by to check out the super simple bar stool tutorial! Please share and pin this project if you liked it or inspired you to start creating. Thank you! – Pete
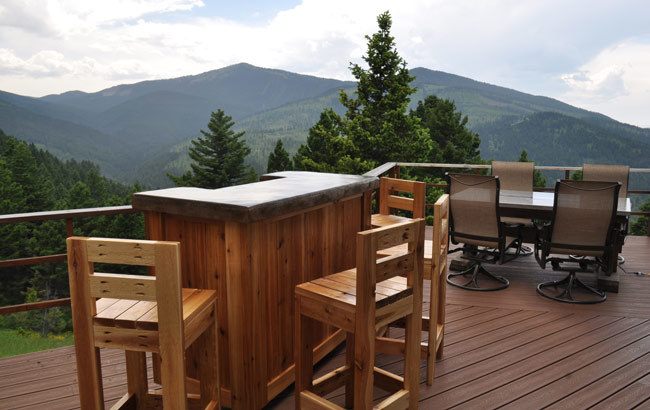
Lastly, if you want to learn how to make the matching bar and concrete top please check out the downloadable plans! I created the plans because I was having a hard time finding ideas and plans to make a unique bar to put out on my deck. So, I did something about it and created the most in-depth video and tutorial online about how to make a cedar patio bar with a concrete top and LED lights. For the FREE printable plans with all the dimensions and even more details simply enter your email address below!
Download the Free Patio Bar Plans. Click here or on the image below.

 Step 2 – Drill Pocket Holes