Favorite Tools and Supplies
My favorite tools!
On this page are links to many of the tools, equipment, and supplies I use out in the shop. Some of the links are affiliate links, meaning I get a small commission for recommending the tools to you. If you do end up purchasing through the link I’d really appreciate it.
I'm not sponsored or directly affiliated with Dewalt, but I just like their high quality. I've collected their tools over the years and they're super heavy-duty with a great interchangeable battery system too. I'm linking to mostly battery powered tools because they are just so darn handy compared to corded tools. However, corded tools can be the less expensive option if you're on a tight budget.
Drills
A good drill is going to be one of your best friends in the shop. Drills drive in screws (and reverse them back out), pre-drill holes so the wood won't crack, cut big holes with a hole saw, and more. A nice drill has plenty of power and can adjust the torque and speed of drilling. And yes, there are several types of drills that look very similar but function very differently!
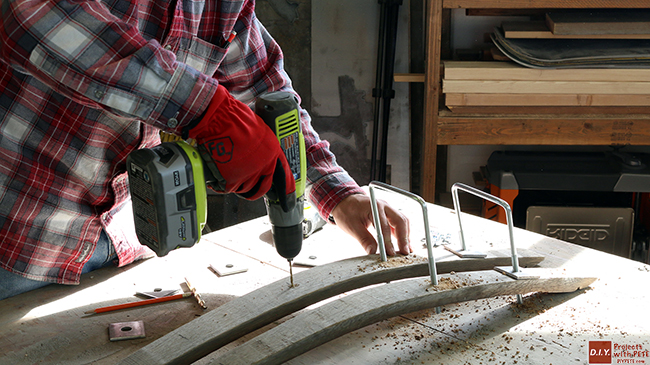
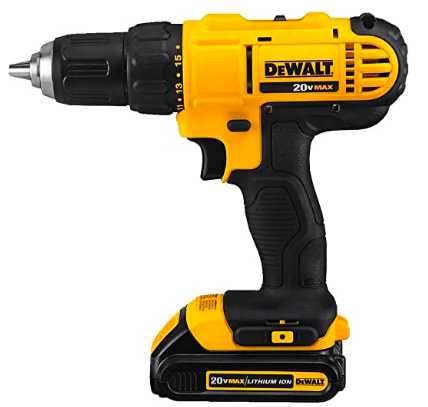
A cordless drill can do a lot of things and is a great first power tool to purchase. The chuck will accept many different sizes of bits, and the clutch allows you to adjust the torque.
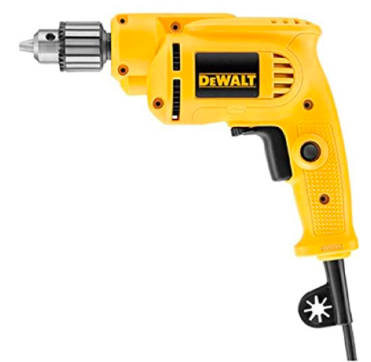
This will generally be the least expensive option. They are nice because they have a lot of power and won't run out of battery—but you have to plug them into the wall.
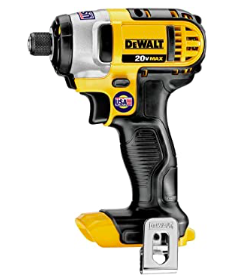
An impact driver has extra torque or twisting power than a regular drill. The tend to strip screws less. You don't have to apply as much force, which is good for your arms on a long project.
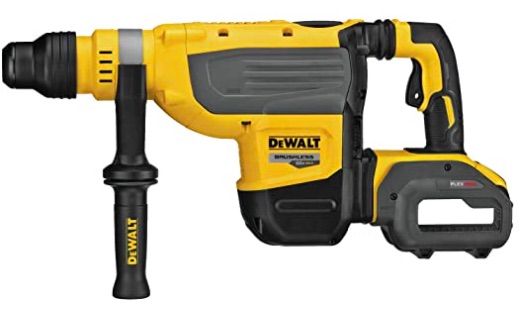
When you need to drill through concrete or brick, this is the drill. It spins like a drill but also has a hammering force that drives into really hard materials.
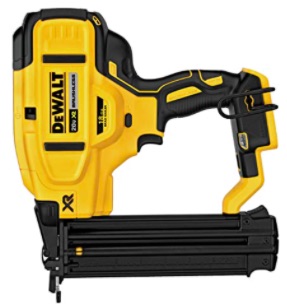
This isn't exactly a drill, but it is a fast fastener tool. A nail gun is the right tool for some jobs, like roofing and shingles. I especially love the battery powered version for this tool because otherwise you'd have to lug around an entire air compressor and hose.
Saws
There are many different types of saws to cut wood and other materials. It can be overwhelming! I'll try to describe their uses below so you get the right tool for the job.
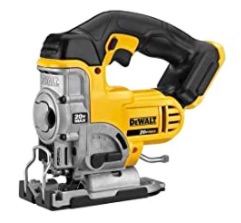
A jig saw can do a lot of work with interchangeable blades for wood or metal. It's good for cutting curves, but it's tough to get perfectly straight lines or cut through thick wood.
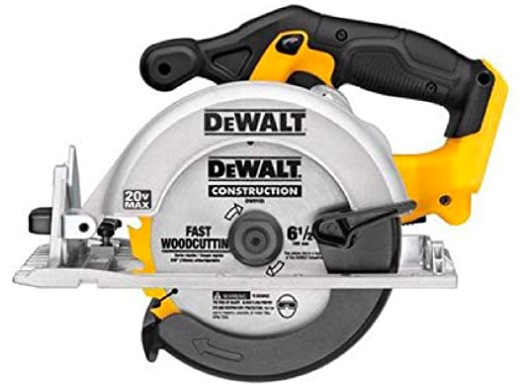
A "circ saw" is a basic saw for cutting construction materials, like 2x4s and plywood. You can cut pretty straight by following a line that you draw. Setting the depth of the blade is important for a clean cut.
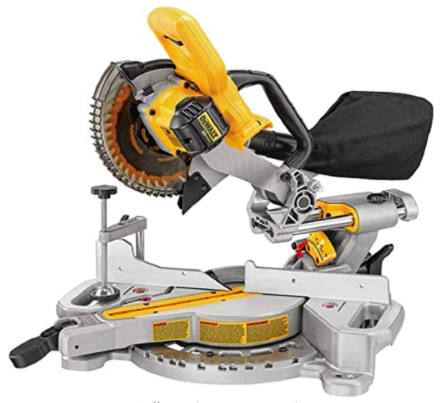
A miter saw will cut 2x4s and other thick boards all day, with a perfect 90° or other angles. The sliding feature allows you to cut wider boards, like a 2x12. Cutting a board perpendicular to it's longer length is called a "miter" cut—as opposed to "ripping" on the table saw.
You can set your miter saw on a table or on the ground, but having a stand like this is really nice. Your back will thank you 🙂
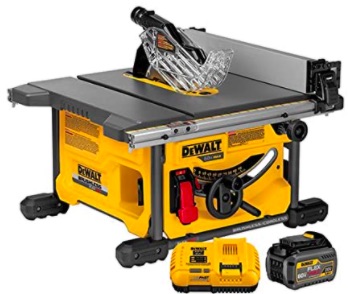
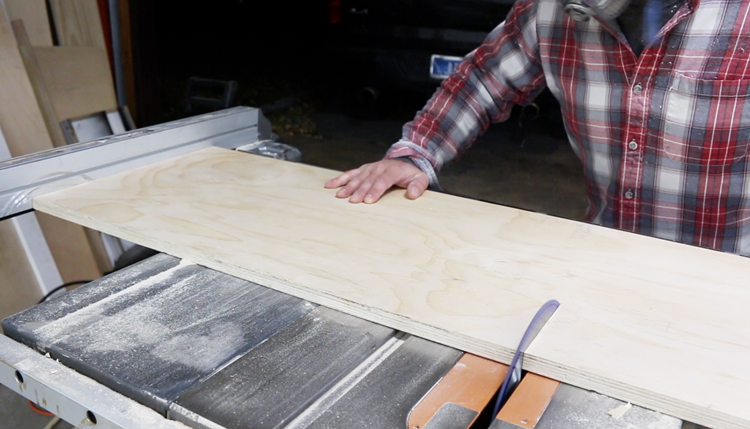
Table saws are meant for "ripping" wood, or cutting it with the grain into long skinny pieces. It's great for cutting plywood or 2 bys.
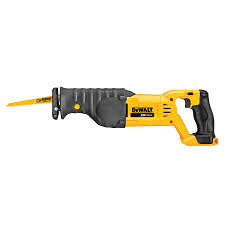
Also known as a Sawzall, this saw can saw it all! BUT only very roughly, not much precision. So they're mainly used for demolition. I once had to cut up a hot tub to remove it and this is what I used!
Sanders and routers
Building your project is one thing, but finishing it is another thing. Finishing means sanding it smooth and adding a protective coat like a stain, polyurethane, or paint.
Sanding rough edges and splinters into a smooth, finished project can take quite a bit of time, especially if you choose to progress through a few different levels of sandpaper grit.
Routers can add intricate edges to your corners and do a few other useful tricks.
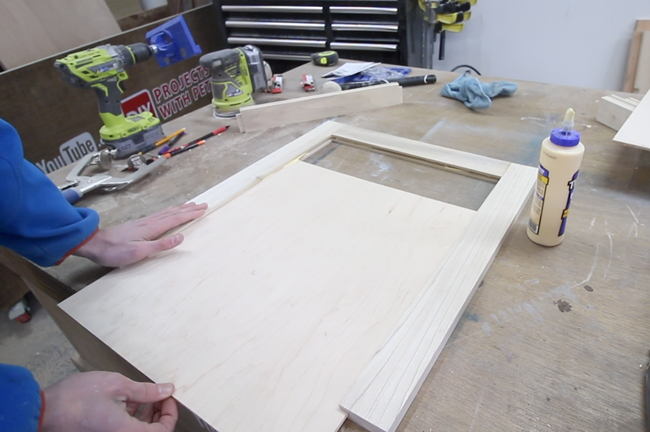
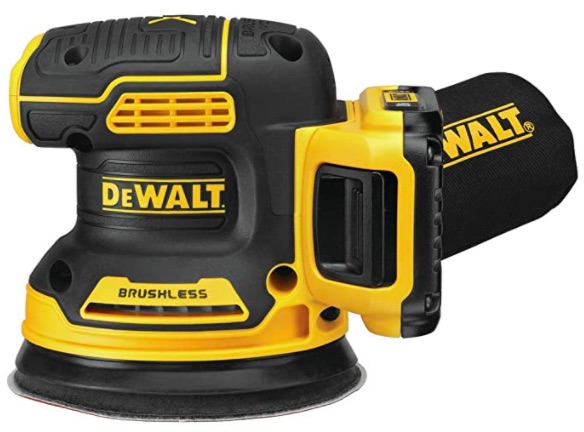
The orbital sander is a versatile power sander, better than the square sanders in my opinion. Round sandpaper pads velcro to the bottom. It can reach most places on the average project and isn't too heavy to hold.
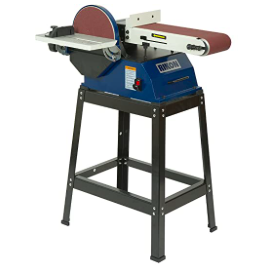
This bigger sander is nice for sanding smaller pieces of wood. Something that is too tough to hold onto in one hand and an orbital in the other, use the belt sander for. A great example is all the 2x4 blocks for giant Jenga!
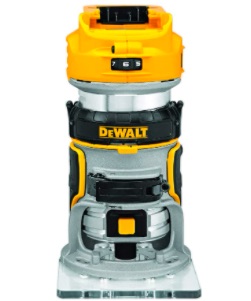
Fancy edges can really give your project an... edge! Even simple round edges make it look a lot more finished. Routers can also make channels or grooves and other shapes that help with old-fashioned joinery (joining pieces together without nails or screws)
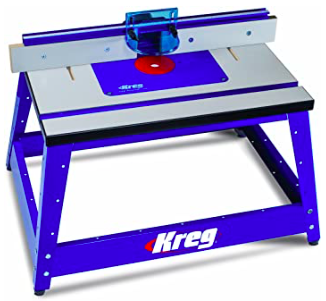
Like the belt/disc sander, a big router table helps with smaller pieces. It's also very helpful for getting nice and straight lines for joinery channels.
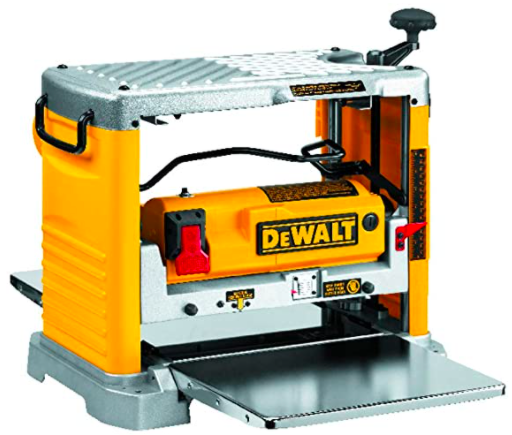
A planer can make a board thinner for custom dimensions. You can run a 2x4 though to make it a 1x4, for example.
This is a more advanced tool for making mortise and tenon joinery. If you're at that level, Festool is the way to go!
Jigs and clamps
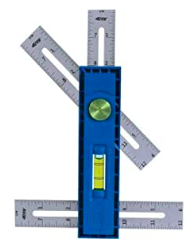
Jigs and clamps help to get things just right. According to the dictionary, a jig is "A device that holds a piece of work and guides the tools operating on it." A jig can be a specific jig tool, or it can be a block clamped to your miter saw as a stop so that you cut every piece the same size.
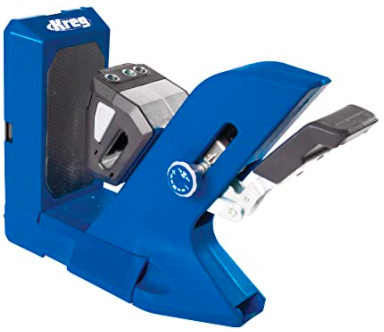
Kreg makes several different jigs but the one I use the most is the pocket hole jig. This helps me join wood securely and efficiently in ways that would otherwise require additional brackets or sloppily angled screws. Once you use it, you use it a lot!
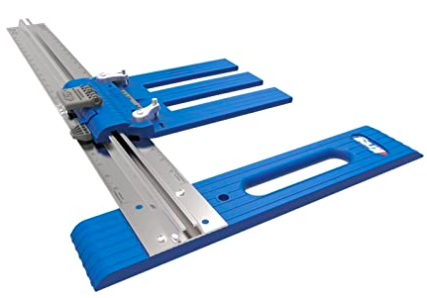
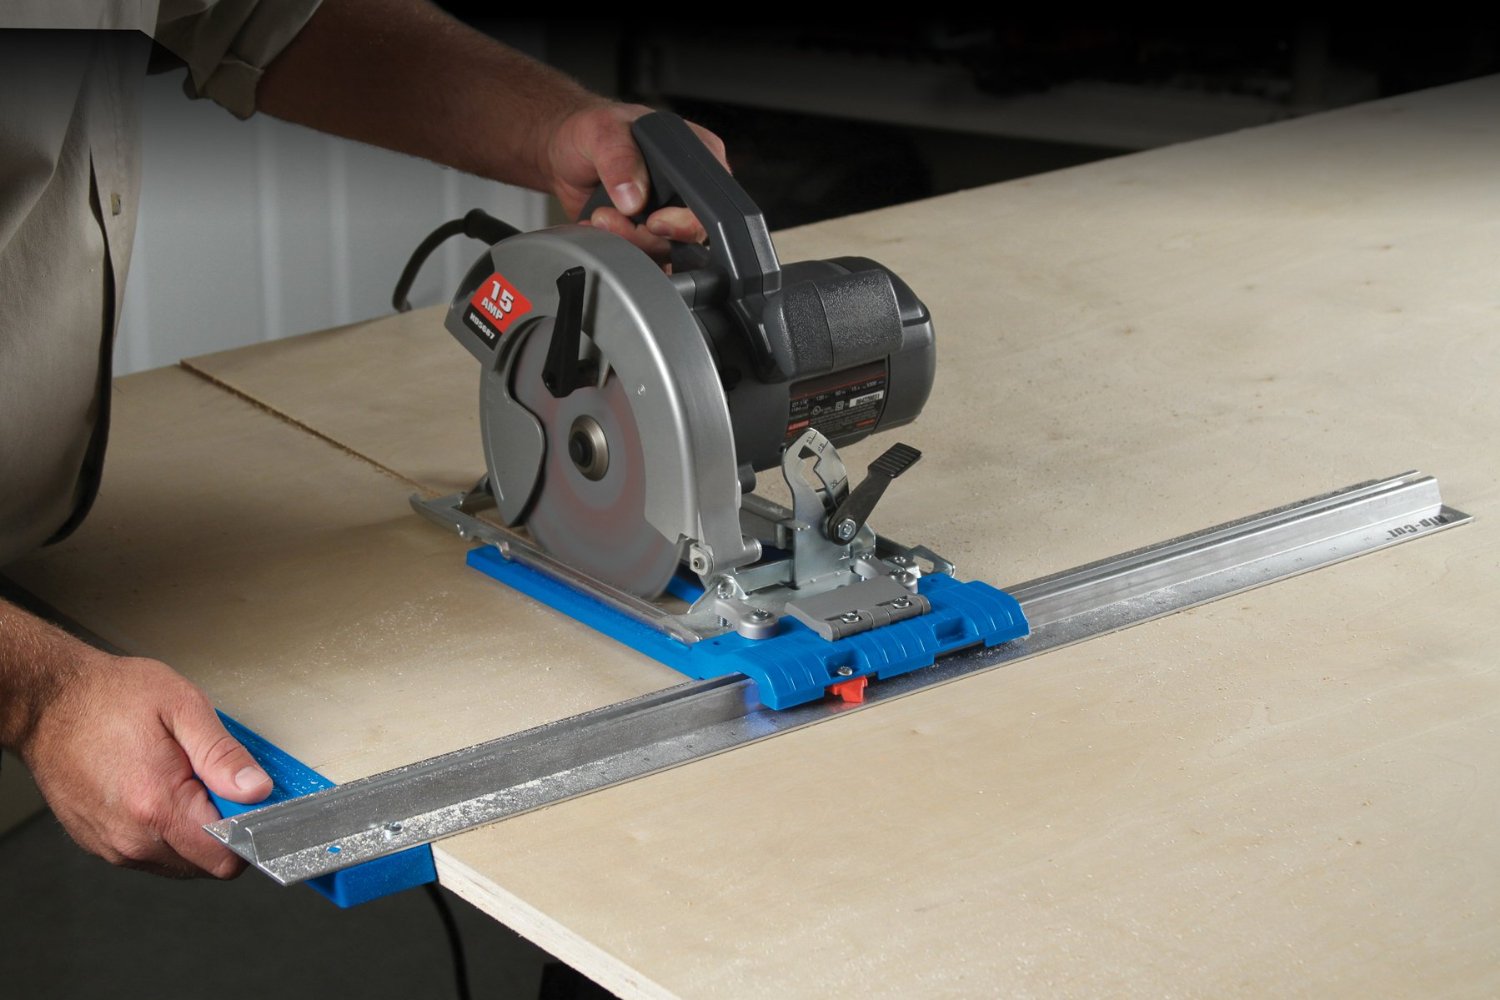
For ripping straight edges when you don't have a table saw, this is a game changer. It attaches to a circular saw and helps you trace the factory-straight edge of a board, cut to your desired width. It's being used in the big image above.
If you're looking to up your game for woodworking joinery, cutting/sawing, making cabinets, and more, be sure to check out the rest of the Kreg jig store. Lots of great stuff!
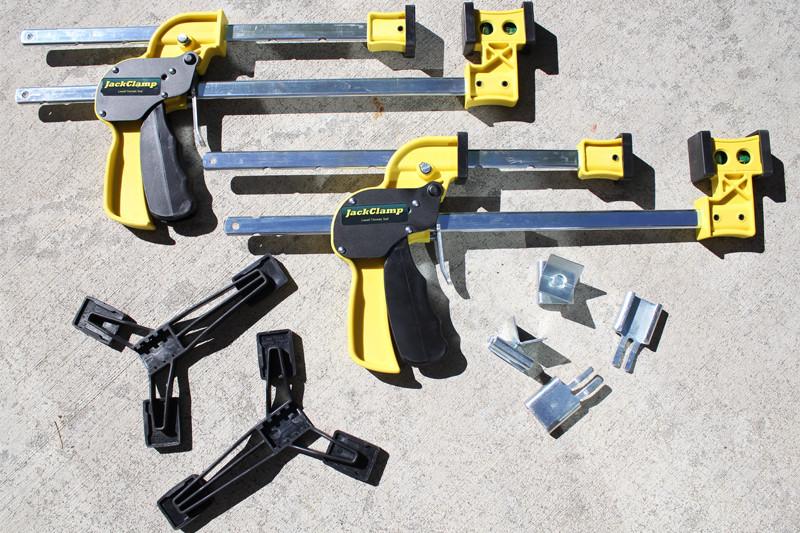
These are super heavy duty clamps in a nice size that can handle a lot of jobs. The accessories make them much more versatile than normal clamps, able to hold things together or apart, at strange angles, etc. I've met the founders and have a code for $5 off a $50+ purchase: DIYPETE5
Metal working tools
Metal working is another set of tools that mostly don't overlap with woodworking tools. A drill is about the only one from the tools listed above. Metal tools use a lot of heat, emitting sparks and metal dust in your garage.
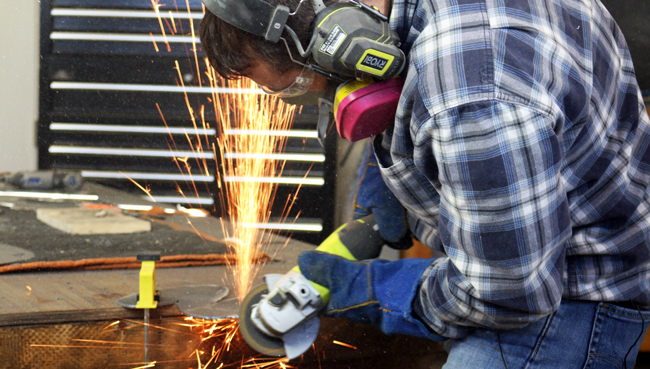
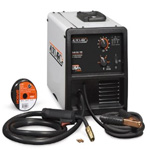
Welding is the main way and the probably the strongest way for metal joinery. It is kind of an intense process and takes practice for your welds to look good! Pay attention to the voltage of your welder—if you need the usual 110v or can go bigger with 220v. There are also different types of welders for different types of metals—mainly, MIG and TIG. Be sure to get safety equipment too!
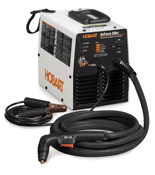
A plasma cutter can cut out detailed shapes like letters or other designs. It's especially useful for signage but there are other ways to use it too for custom brackets, etc. Like welding, it's a bit intense and takes practice and patience!
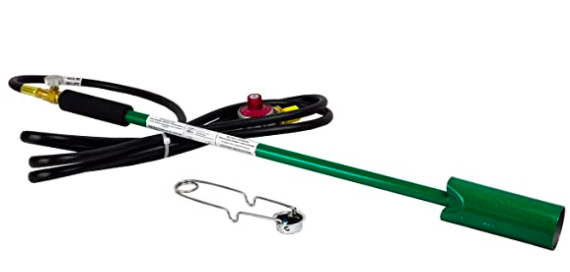
Having a big torch in the garage can be helpful for a number of things (like smoothing out your hockey rink!). For metal work, it helps create a cool looking patina when combined with stain chemicals.
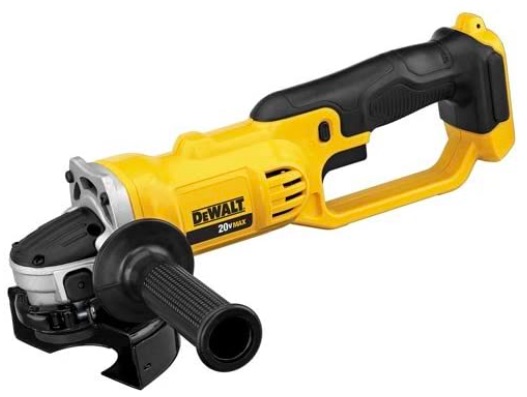
An angle grinder is a versatile tool for cutting as well as sanding/smoothing out metal. You can buy different discs for those purposes. Just pay attendion to the size of your disc—4 & 1/2" is a popular size. For sanding your welds, you can get metal brush discs or sandpaper wheels.
Concrete tools
Here are a few tools for finishing the concrete with a polisher. There are also a few basic tools like a bucket and a mixer to pick up, too. I have information on the different concrete mix types on my FAQ page.
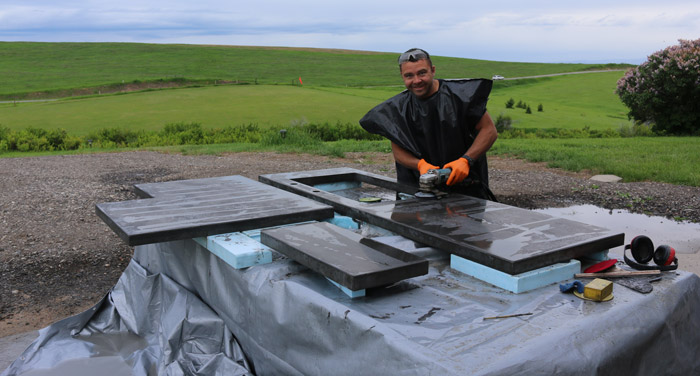
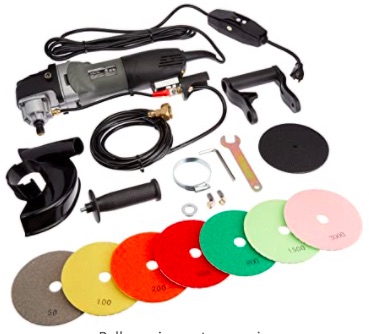
Once the concrete is fully cured and hardened, you'll want to polish it. It's a lot like sanding but for concrete. This kit is really useful.
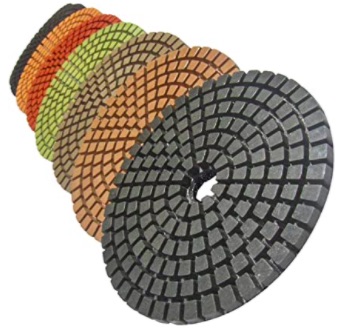
If your polisher comes with pads you might be set for a while, but here are some extras with a few different options.
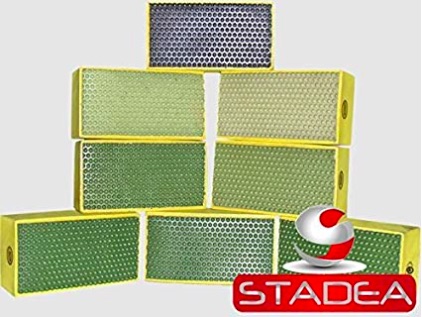
These little hand pads are great for getting into corners where the big polisher can't reach, or just putting on the finishing touches gently.
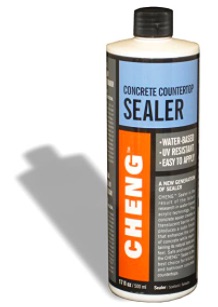
After the concrete is polished, you'll want to seal it to protect it. I like the Cheng brand. First you seal it with this product, then apply a final wax coat.
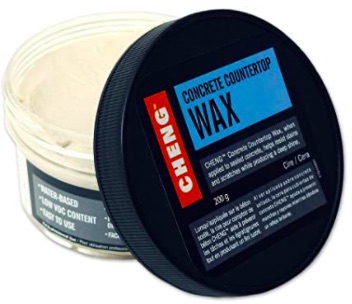
Add this as your last step to make sure your concrete looks great for a long time. The sealer and wax help prevent stains, and they're food-safe, so they're good for kitchen counters.
Yard tools
I've got a few acres in the foothills of the Rocky Mountains, so there's always yard work to do. Having the right tool for the job is just as important in the backyard as it is in the shop.
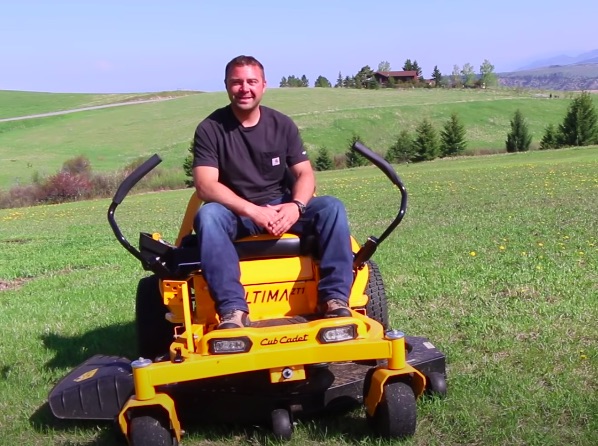
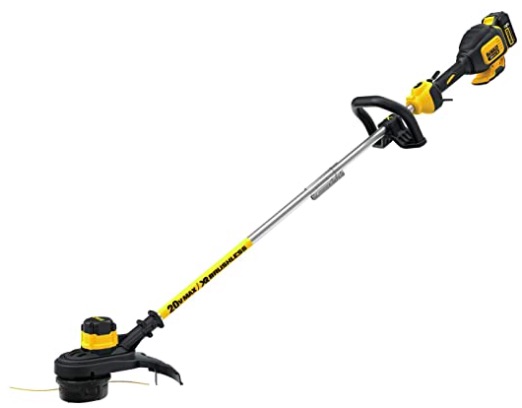
Also known as a "weed whacker," the Dewalt Flexvolt brushless string trimmer is the bees knees. The batteries swap with all my other Dewalt tools. I especially like an electric trimmer versus a gas trimmer because you just need speed, not power, and they're SO much quieter and easy to use.
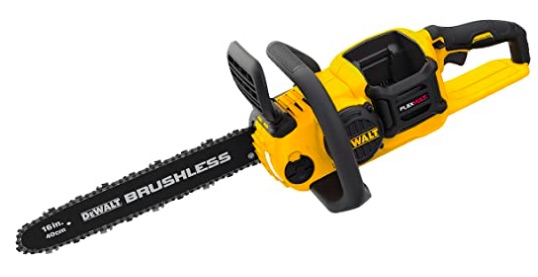
An electric chainsaw might seem a little strange but they're very convenient and can get most jobs done around the yard. I have a whole review and comparison to other gas saws in this video here.
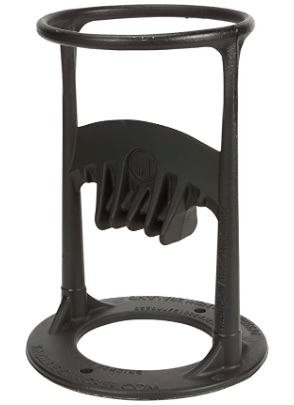
I love this simple device! It is a much safer way to split wood into smaller kindling logs than swing a big ax around. It instead puts the sharp part in a sturdy metal cage, and you just swing a hammer or even another log.
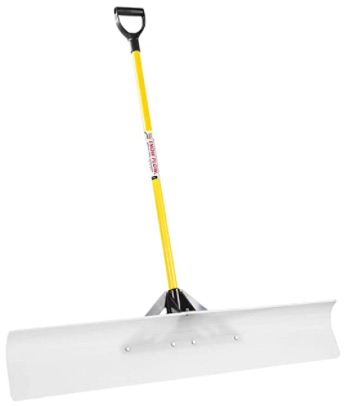
If you've made your own backyard hockey rink like I have, you'll figure out that you need a big shovel. This 4' wide plastic shovel works great on ice, the deck, or the driveway!
Safety gear
Don't forget your safety gear! According to my brother, there's a saying in the motorcycle world: ATGATT, or All The Gear All The Time. I try to follow that for working in the shop, too!
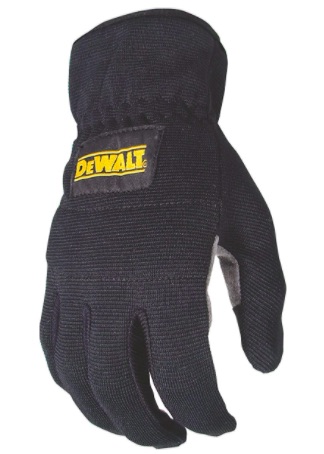
I use my hands a lot and so keeping them protected is important. I have lots of different gloves for different types of jobs. But for basic shop work, like moving lumber around, I like a synthetic top of glove with leather palm, and an elastic band around the wrist—instead of a velcro band to take on and off.
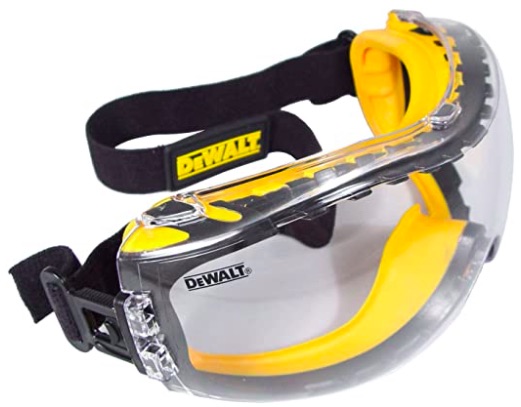
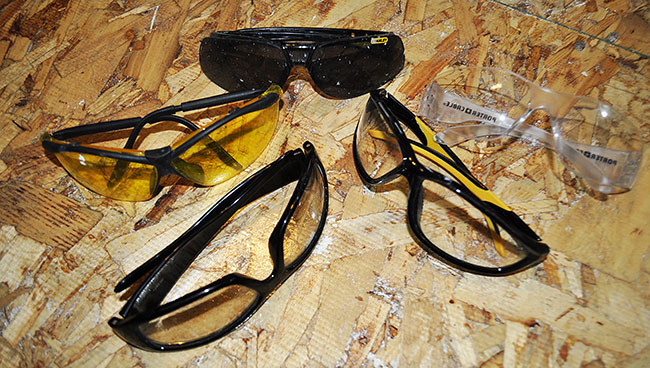
Definitely protect your eyes! There's sawdust and sparks flying all the time in the garage. I usually wear basic safety glasses, but sometimes I like the goggles above to keep the extra bits of dust floating around from getting in and irritating my eyes over the course of the day.
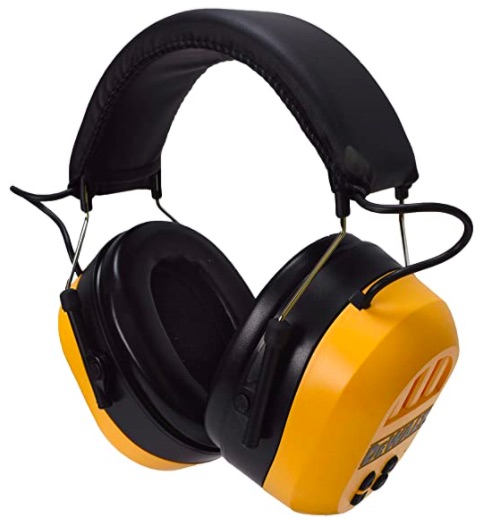
WHAT?!? Protect your ears now so you can still hear when you're older. It's easy to leave this part out but it's important. Also, I've heard that ear protection can help reduce fatigue if you're around loud noises all day.
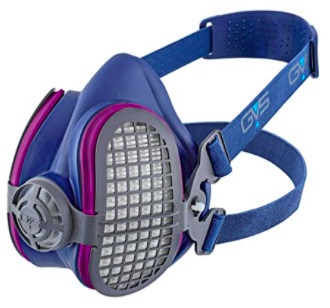
Not every project requires a respirator, but when you need it, you need it. Dusty projects like mixing concrete or sanding a wood project really require a respirator. If you don't, you'll be coughing and feeling yucky for the next couple days, or worse.
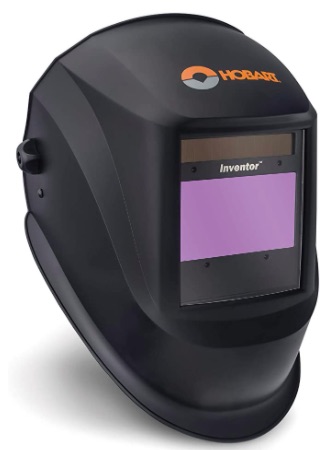
If you're going to be welding, you absolutely need a helmet. The bright light of welding will burn your eyes pretty quickly, so modern helmets have a special lens that blocks out the bad rays. The auto-darken feature is a game changer, too, so that you can still see to get set up, then it automatically gets dark when the sparks start flying.
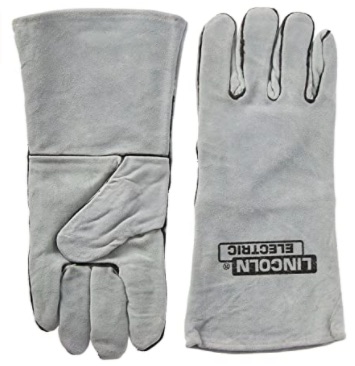
Thick leather gloves are the way to go for welding. Everything gets super hot and sparks are flying everywhere. Protect yourself from burns with a good pair of gloves!
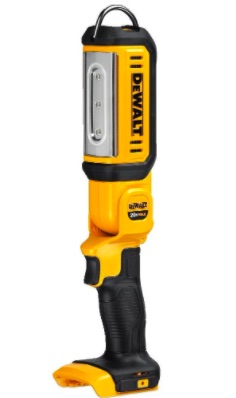
This big flashlight has been super handy. It gets dark early in Montana and having light in the right spots makes a huge difference. I love how this one can swivel in a bunch of directions and shine just where you need it!