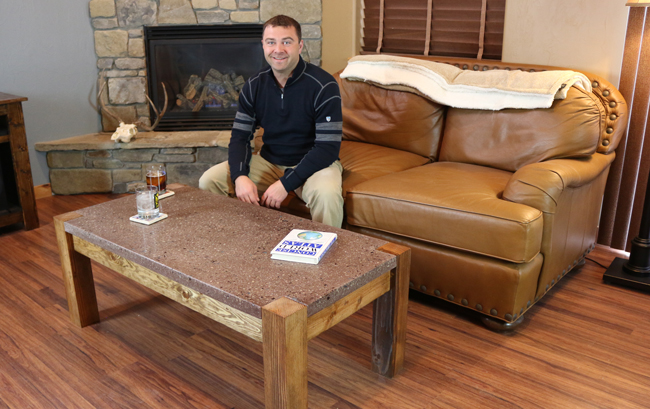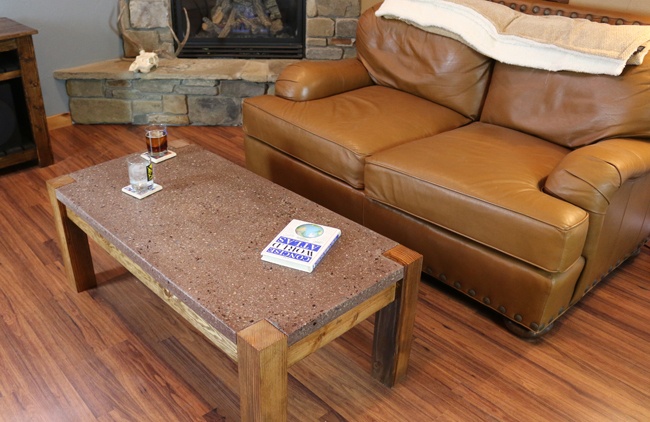
This week, we wanted to dive more in to polishing concrete, coloring concrete, and embedding crushed, recycled glass into a concrete table top. This Concrete Coffee Table is an awesome project for all different skills levels, it is simple to make, and has a nice, modern touch to it. Be sure to check out the free, downloadable plans. Share your finished product photos in the comments below this blog post. Best of luck on your DIY projects!

Tools Needed
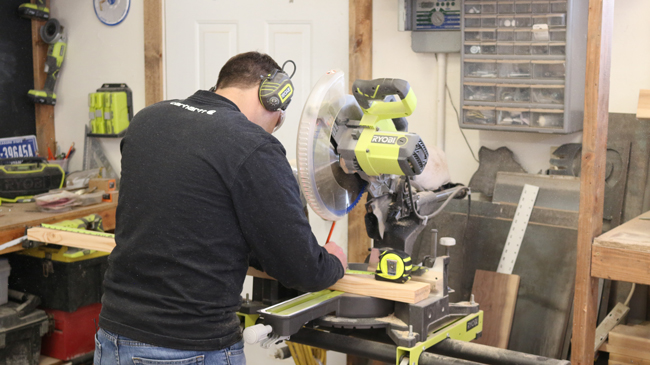
Miter Saw– I’d recommend a 12 inch sliding, miter saw.
Drill– I use Ryobi drills.
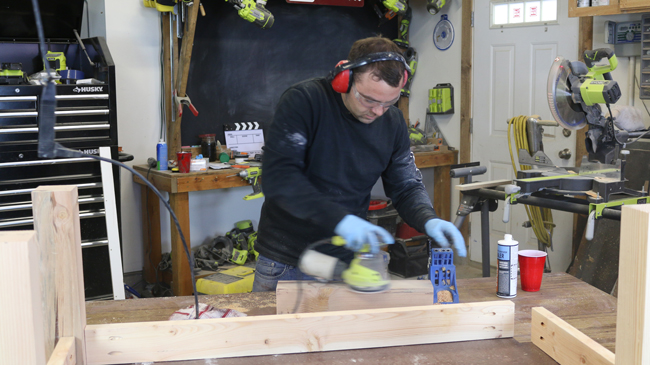
Orbital Sander– Ryobi makes a nice one.
Jig Saw
Kreg Jig
Concrete Wet Polisher – If exposing aggregate and crushed glass
Concrete Polishing Pads
Tape Measure, Ruler, Pencil
Eye and Ear protection, Rubber Gloves
Bolt cutter
Optional:
Table Saw – To rip the side strips
Clamps– Clamps are helpful for any project. I love to use JackClamps
Speed Square
Supplies Needed
Wood – Which we go over in the plans
Wood Glue – I recommend Gorilla Glue
Minwax Provincial Stain and Polyurethane
2 bags of concrete ( I used Quikrete 5000 ) $5/bag
Concrete Dye – Charcoal and Red (about $6 / bottle)
Cheng Concrete Sealer $30 — Or a stone/tile sealer
2 1/2″ Kreg Jig Screws
Bottles for crushed glass
1 1/4 ” wood screws for assembling base
QTY1 – 48 inch by 23 3/4 inch sheet of Melamine ($15)
Qty 1 – Melamine for the side strips (find a smaller size board or buy another of the 48 x 23 3/4) $10-$15
100% Silicone Caulk
Shovel or mason hoe to mix concrete
4×8 sheet of re-enforcement for concrete


Make the cuts for the 4×4 legs according to the plans. Next, trace around the 4×4 leg to mark the notches to cut out for the melamine form. Use a jig saw to cut each corner.

Use a table saw to rip the side strips down to 2 1/4 inches wide. Then cut the strips to the correct length using a miter saw. Next, attach the side strips to the melamine base by pre-drilling and then using 1 1/4 inch long wood screws.

Use a bolt cutter to cut the steel re-enforcement to size. Leave roughly an inch between the steel mesh and the sidewall of the mold.

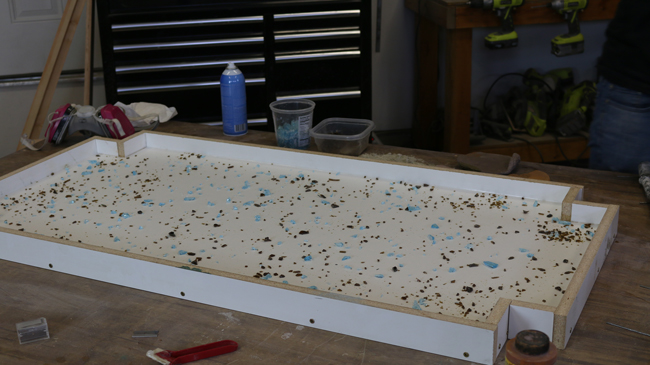
If you'd like to embed crushed glass, first use warm water and a scrub brush / razor blade to remove the labels. The brown bottle is a beer bottle, and the blue bottle is a Bombay Gin bottle.

Place each bottle into a separate bag, and then place 1 bag into a 5 gallon bucket. Wear eye protection and use a sledge hammer to break up the glass.
Sprinkle the glass randomly throughout the mold.
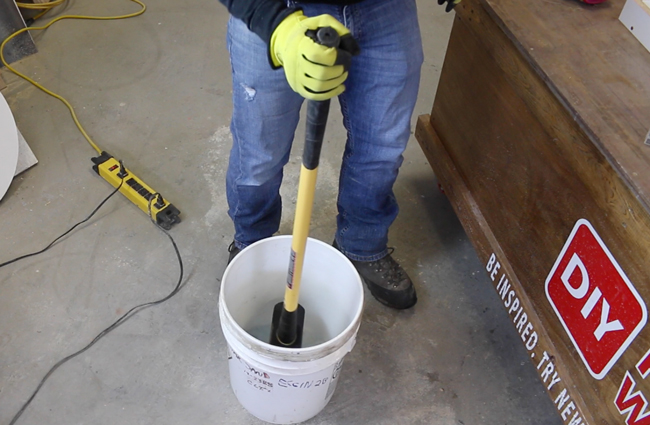
Mix up your concrete in a large mixing tub. I used a total of 2 bags of Quikrete 5000. Color the concrete using a pigment if you'd like something besides grey. I wanted a red wine type color, and so I mixed some red concrete colorant with charcoal.

Add the concrete to the mold. Use your fingers (while wearing gloves) – to put the concrete into the corners and to cover the entire bottom of the mold.

Fill the mold a little more than halfway. Next, add the re-enforcement. Make sure it lies as flat as possible. Then continue filling the mold until it is full.

Screed the top to level the surface.

Vibrate the concrete to remove air pockets. Use a rubber mallet and or orbital sander against the sides of the mold and from the underside of the work surface. I'd also recommend shaking the entire table up and down.

Allow the concrete to cure for at least 48 hours, and remove the mold. Remove the sidewalls first, then soften the edges of the concrete by hand sanding it.

Here is a look at the concrete table top fresh out of the mold. Allow it to continue to cure a couple days until the concrete gets harder (higher psi) prior to polishing.

Wet polish the concrete to expose the aggregate and crushed recycled glass. Start with a 50 grit pad diamond pad, and work your way up to 800-1500 grit.

Fill pin holes using a mixture of portland cement and either water or acrylic fortifier. Remove excess using a putting knife and then a scotch pad. Allow it to cure. Then use water and a rag / squeegee to remove slurry residue prior to sealing.

Seal the table with a concrete sealer. I use Cheng's concrete sealer which is food safe.

Cut the 2×4 boards for the base.
Assemble the wood base using a combination of glue and wood screws.
Stain or paint the wood base. I used Provincial stain from Minwax. A wood conditioner prior to staining will help the stain go on more even. Seal the wood with Minwax polyurethane or a finish of your choice.

Carry the top inside and place it onto the base. The stretchers and 4×4 legs will hold it in place.
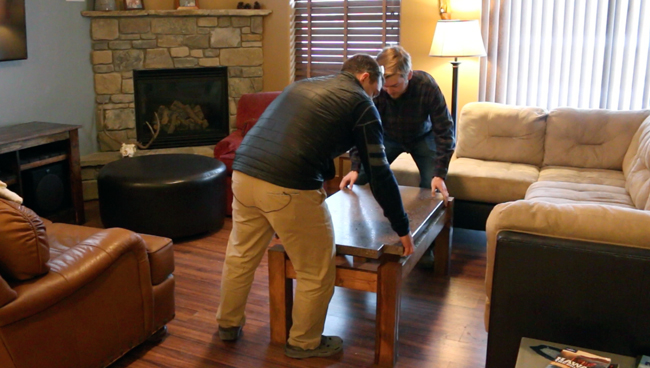
Enjoy your new concrete table! Be sure to check out the free, downloadable plans.