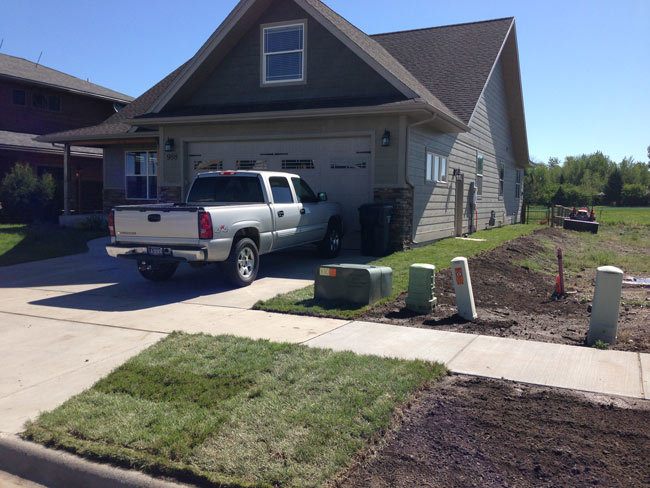
I thought I'd document my sod project a bit because it was a very quick and satisfying project. Here are the basics about installing sod.
1. Cost
A roll of sod ranges between $3 – $4 in my part of the country (Bozeman, Montana). This is for a 2 ft by 5 ft roll (10 square feet). It makes for a very affordable and instant yard.
2. Level of Difficulty
Once the dirt work is completed, laying the sod is a breeze. My friend and I laid my sod in less then an hour.
3. Main Points to Remember
1. Create a smooth surface for the sod prior to laying it.
2. Water, Water, Water! Water sod 1-2 times daily. You have to keep it moist. Otherwise the sod will be short lived.
Prep Work is Key
Level out the area where sod is being applied. Shovels and rakes can help do smaller jobs where the soil is soft. A tiller works wonders for smaller jobs as well.
For new construction I'd recommend renting a bobcat or tractor to level and do the dirt work. If you already have grass, look into renting a sod cutter.
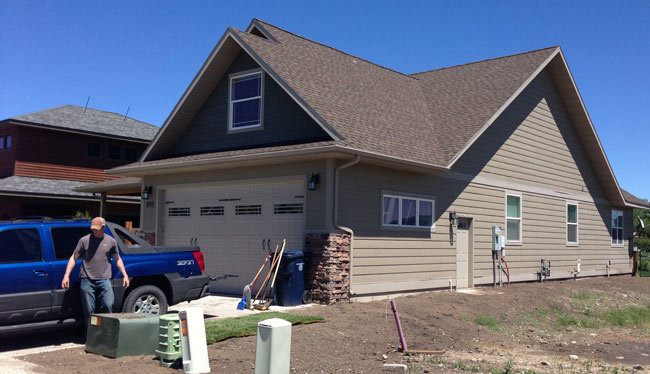
Once everything is level, you may need to bring in a little extra top soil. I had a yard of top soil delivered and used a tractor with a bucket to move it around. For the final touches, use a metal rake to level out the dirt.
My project
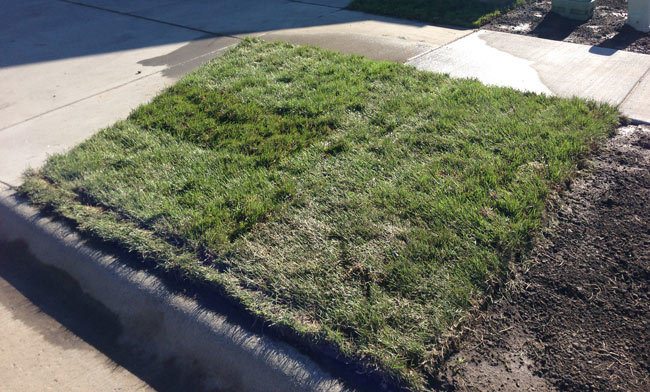
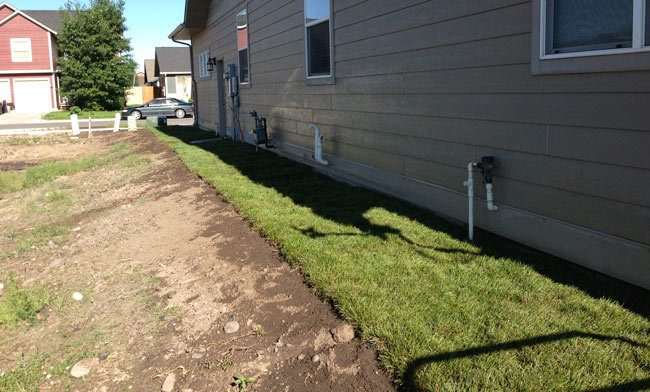
The dirt work has been completed and prepped for sod. Grab 1 roll of sod at a time from the pile and start rolling each out. One next to the other. Trim sod around pipes, steps, etc using a utility knife.
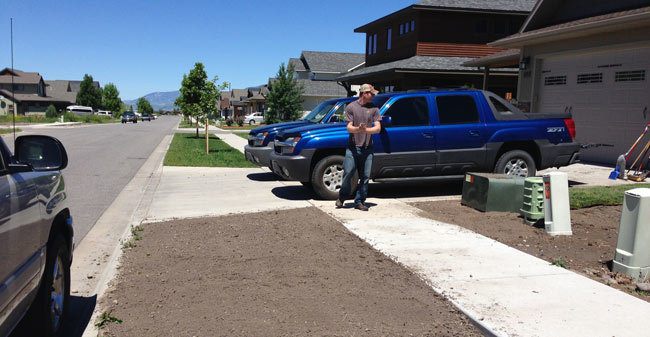
Before Sod ( side of front yard )
Sod installed – roughly 45 minutes
Cut sod around curb if needed
Water, Water, Water!
Make sure to water your sod 1 to 2 times per day. It needs to remain very moist for at least the first 3 to 4 weeks.
These are the very basics of installing sod. It give you an idea of the cost involved and general steps that need to be taken. I'd recommend googling how to install sod and watching Youtube videos for more detailed information. Sod is a great DIY project that anyone can do.

