Hey all! I’ve been wanting to share my experiences learning to chainsaw carve for so long and finally decided to dig through things and get something posted. So here it is!
There’s something incredibly satisfying about taking a raw log from the forest and turning it into a piece of art with nothing but a chainsaw, a little creativity, and a pile of sawdust.
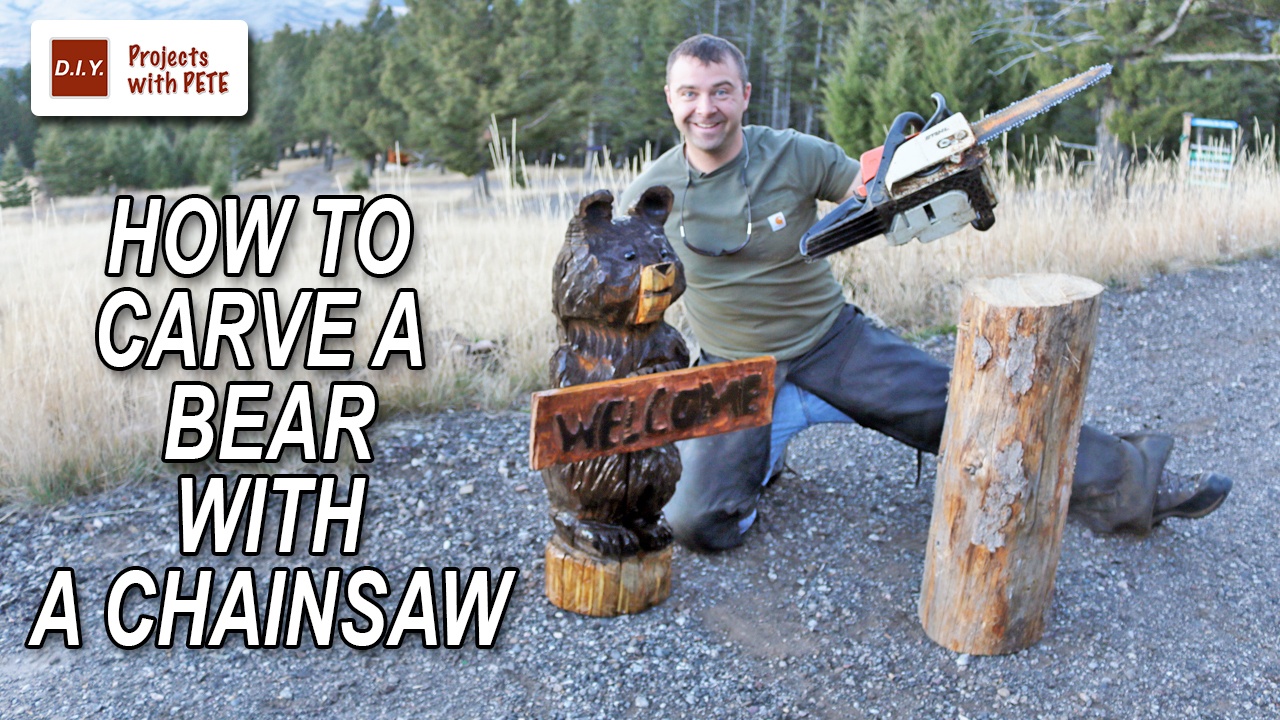
In this project, I’m going to show you exactly how I turned a dead lodgepole pine log into a rustic “welcome bear” carving—perfect for your front porch, cabin, shop, or backyard.
If you’ve ever wondered how chainsaw artists create those carved bears you see in mountain towns, this tutorial will give you a behind-the-scenes look at the process.
It all started when I was 10 years old and I went on a family trip to Alaska. We visited Denali, Sitka, Anchorage, Homer, and a number of other cool places. While in Homer, and I watched a carver shaping a bear with a chainsaw. My parents bought that carving, named it “Homer,” and ever since then I wanted to learn how to do it myself.
Eventually while attending University of Nebraska–Lincoln, I picked up a carving book, bought a cheap chainsaw, and started experimenting. Fast forward to today—and I’m still hooked.
Materials & Tools Needed
Before getting started, here are the tools I used for this project:
Chainsaws
I used three saws for different stages of carving:
- Large saw for rough shaping: STIHL 036 (no longer produced)
- Mid-sized saw for detail work: STIHL 017 (no longer produced)
- Fine detail saw with dime-tip carving bar
Other Tools
- Angle grinder
- 80-grit flap disc
- Blow torch
- Wood stain
- Spar urethane
- Plywood base
- 5-inch wood screws
- Safety gear
Chainsaw Carving Safety First
Before you fire up a chainsaw, make sure you’re wearing proper safety equipment:
- Helmet
- Face shield
- Hearing protection
- Safety glasses
- Chainsaw chaps or Kevlar pants
- Steel toe boots
- Leather gloves
Chainsaw carving is a blast—but safety always comes first.
Step 1: Select the Right Log
For this project I harvested a dead lodgepole pine log from the forest.
My log was about 3 feet tall and roughly 12 inches in diameter.
This size works great for a porch-sized welcome bear.
I secured the log to a plywood base using long wood screws so it wouldn’t move during carving.
Step 2: Rough Out the Bear Shape
I always start by blocking out the major features using my largest chainsaw.
The first cuts include:
- Flattening the top
- Cutting the slope of the head
- Blocking out the ears
- Shaping the snout
- Defining the cheeks
At this stage, don’t worry about details—just focus on proportions and symmetry.
Step 3: Shape the Body, Legs, and Arms
Once the head looks right, move down the log:
Body shaping includes:
- Defining the shoulders
- Carving the small of the back
- Separating the legs
- Creating the belly
- Blocking out the arms and paws
I like to carve all the way around the log so it looks like the bear is perched on a natural stump.
* PRO TIP: Prevent cracking by cutting a relief slot in the back of the log. This helps the wood expand and contract naturally while reducing stress cracks over time.
Step 4: Add the Details
Now the fun begins.
Using smaller carving bars, add the:
- Ears
- Eyes
- Nose
- Mouth
- Claws
- Fur texture
-To create fur texture, lightly press the bar against the wood and work in short strokes. It takes a little practice, but once you get the feel for it, it becomes second nature.
- Fur texture
Step 5: Sand and Finish
After carving:
Sanding
I used an angle grinder with an 80-grit flap disc to:
- Smooth the snout
- Refine facial features
- Soften fur texture
Burning Details
A torch adds great contrast. This was added:
- Inside ears
- Nose
- Mouth
- Claws
Protective Finish
Once done to your liking finish the carving with:
- Two coats of dark stain
- Multiple coats of exterior spar urethane
Step 6: Add a Welcome Sign
To finish it off, I carved a “Welcome” sign using my dime-tip carving bar.
After carving the letters I lightly sanded it, torched the lettering and applied a finish. Then the sign was attached to the bear. Here is a look at my finished product.

More DIY Projects from DIY Pete
If you enjoyed this project, check out:
- How to Build a Lean To Shed
- I Tested DeWalt 60V Against A Gas Chainsaw
- DIY PETE Youtube Channel
- Outdoor hockey rink builds