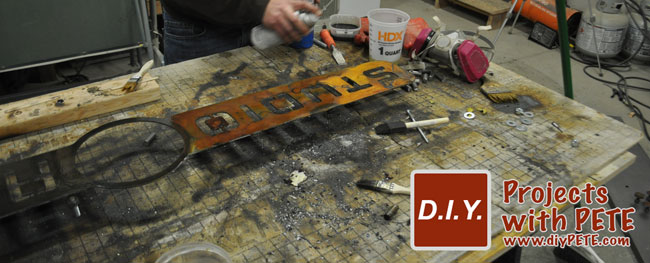
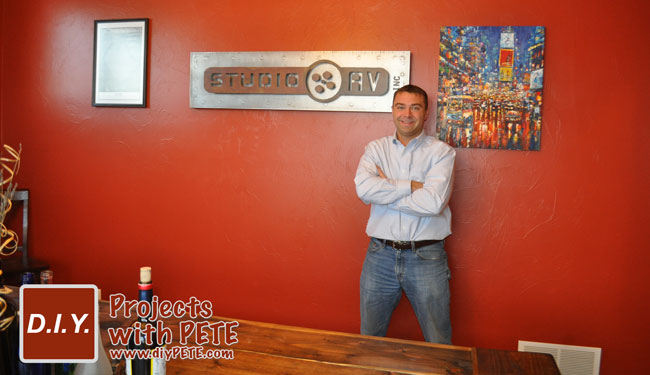
 I recently had the opportunity to work on a project with a high end audio video company out of Bozeman, Montana named Studio AV INC. They were looking for a heavy duty piece of art that included the company logo with an industrial yet modern feel. The project was a lot of fun and I documented the entire build.
Time: This project can be done in 1 to 2 days.
Cost: Metal : About $60.00 ( I used metal from a local shop named Pacific Steel ) – 12 gauge steel, 3/4 inch steel tubing
Difficulty: Intermediate to Advanced
Skills required (Welding/Plasma Cutting/Grinding/Patina)
Tools Used:
Hobart 250CI Plasma Cutter – (one of my favorite tools in the shop) – I got mine at Murdoch's Ranch and Home Supply.
Orbital Sander
Angle Grinder – (Used Flap Disc and Metal Cutoff Blade)
Metal Patina – Ferric Nitrate (To color metal with rust colors and maroons
Metal Patina – Potassium Sulfate (Black / Dark Brown)
Metal Cut-off Saw
Drill
Blow Torch – To heat up metal for Patina Process
Johnson's Paste Wax – (To Seal Project) – Can Also use a spray sealer made for metal
Materials:
48×12 Sheet of 12 Gauge Steel
3/4 Steel Tubing (About 10 Feet of Material)
7/16″ Threaded Rod, Bolts, and Washers
The Overall Process
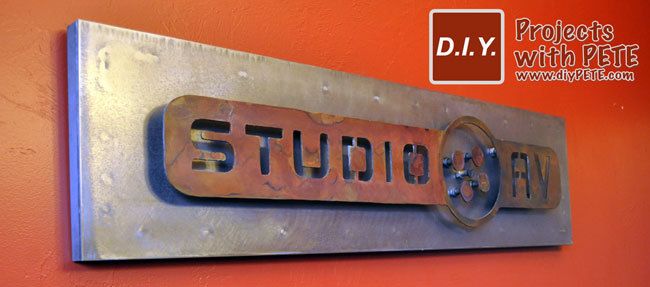
I wanted to give the sign dimension by pulling the logo out from the background. In addition, needed to have a bold look and heavy duty feel. The background was created by welding a sheet of 48″ wide by 12″ tall 12 gauge steel to a 3/4 inch square tubing frame. I then attached the logo using threaded tubing and bolts. The entire process is documented in photos below.
First Step
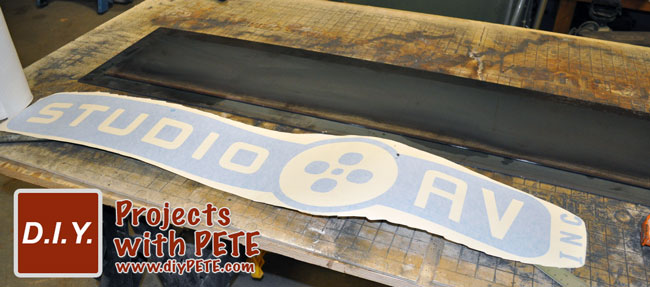
Come up with a design. In this case I had a logo to work with. I used Adobe Illustrator to resize and work with the logo and layout for my sign. I then printed the design out on Stencil Decal Vinyl using a Graphtec Vinyl Plotter. If you don't have a plotter feel free to contact me and ask about getting a custom decal stencil made.
Apply Stencil and Trace
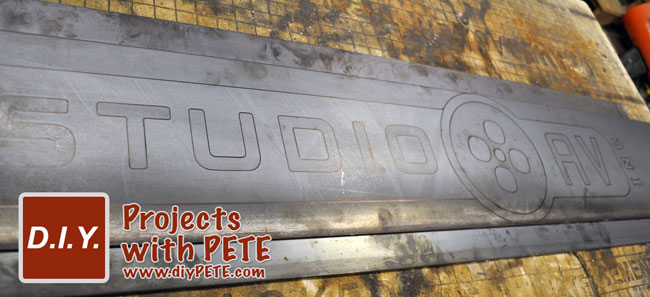
Apply the decal to the metal. Trace your design using a Sharpie Marker. If the metal is really greasy, first clean the metal with a solvent. You can also use a soap stone pencil or metal scribe.
 Remove the stencil once it has been traced. You will be left with an outline to follow with a plasma cutter. The stencil decal removes easily from the metal.
Plasma Cut
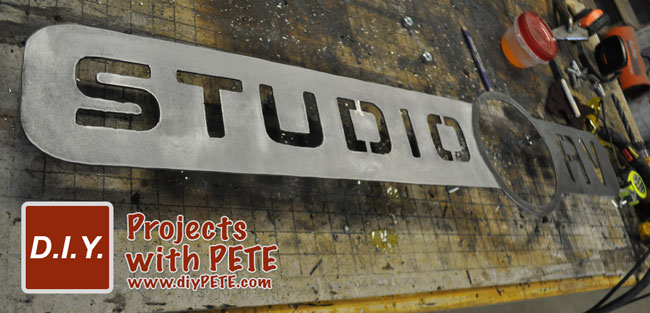
Use a plasma cutter to begin cutting out the letters. This will require patience and a steady hand. I use a Hobart 250 CI plasma cutter for all of my projects. It runs off a normal 110 volt plugin which is super handy. Use an angle grinder to clean up the edges after cutting. You can use a dremel tool to to smooth out small crevices if needed. Many people are intimidated by plasma cutting. However, I've shown a number of friends how to do it and they've created amazing projects right away. (Here is a project made by a local 16 year old who wanted to give a shot at plasma cutting. It was his first metal project ever!)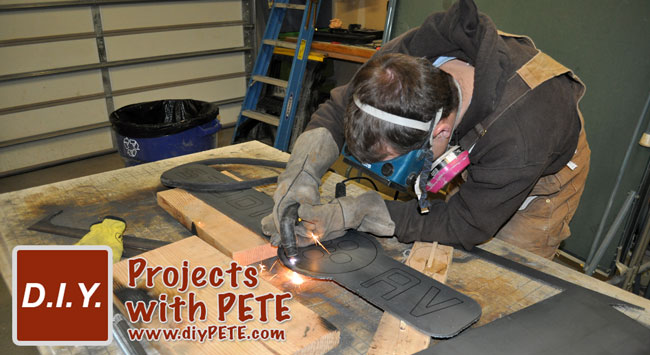
Weld
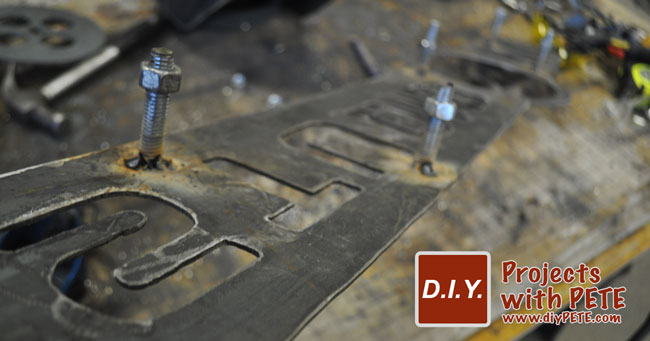
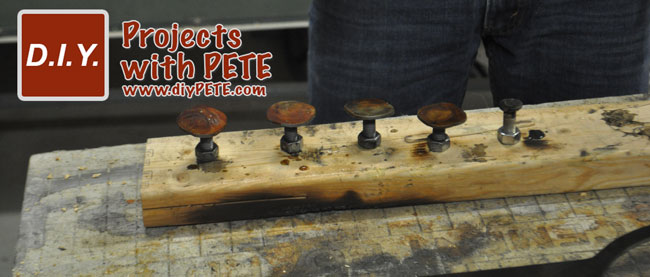
I stood the logo away from the background by creating spacers out of 7/16″ threaded rod. Use a metal chop saw to cut the rod to about 1.5 inches. This is a good distance from the logo to the background. Then weld the threaded rod to the backside of the logo. The photo below is of a rod welded onto the circles of the logo.
 Here is a photo of the threaded rods welded to the backside of the logo.
Drill
Determine where the holes need to be drilled in the metal background piece. They will need to line up with the rods that you previously welded to the logo or design.
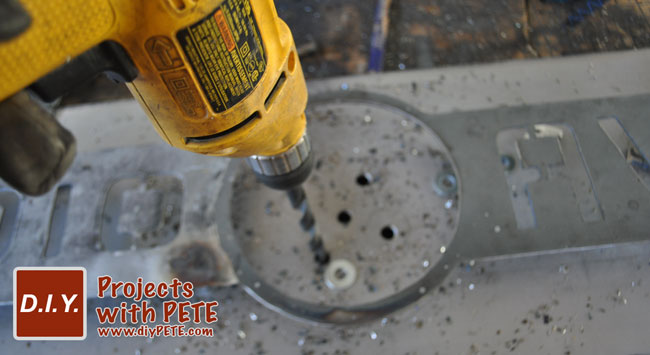 Here is a photo showing how the logo pieces and rods fit into the holes.
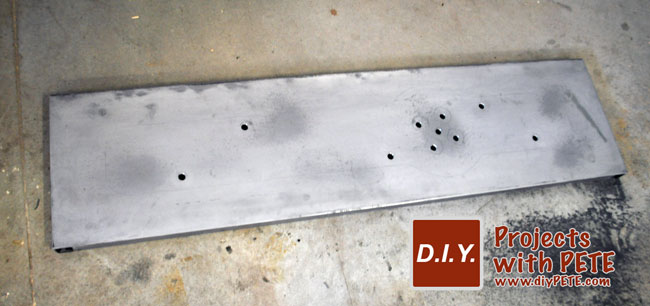
 A photo showing the orientation of holes for my project.
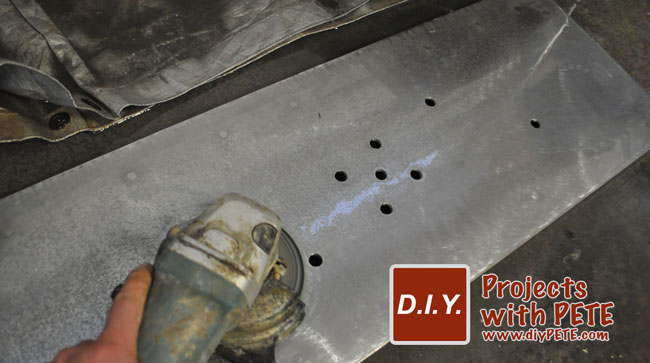
 I often shine up the metal to give it a polished look. You can use a concrete wet polisher to accomplish a super shiny finish. Start with a 200 grit pad and move up to about 1000 grit. I only went to 800 for this project because I wanted a shiny but not mirror like finish.
 Clean off the metal prior to applying patina to your project. Clean the steel using a wet polisher or muriatic acid. It will remove the greasy coating. In the photo below I started by cleaning the left side using muriatic acid. The right side shows what is looked like prior to cleaning the metal. I did clean the entire piece after this photo was taken.
Patina
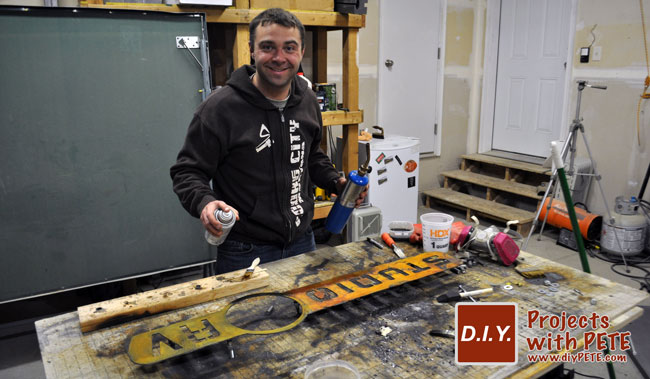
Apply patinas using an acid resistant brush. The orange and maroon colors were created by using a Ferric Nitrate patina. To speed up the process and make the colors more vibrant I heated the metal after applying the patina using a blow torch. For larger projects I use a Weed Torch because it can heat up large surfaces quickly.
 I used Sulfurated Potash on the “AV” side of the logo to get a different color. It looks like a light orange in the photo below, but once sealed it will turn black / dark brown.
Seal
Use a solvent based metal sealer to apply a final finish to the sign. I used a clear coat made by Rustoleum which was about $4.00 from Home Depot. The sealer will darken the metal as shown below. In this photo you can see how the bright orange changes to a more natural tone.
Entire piece sealed.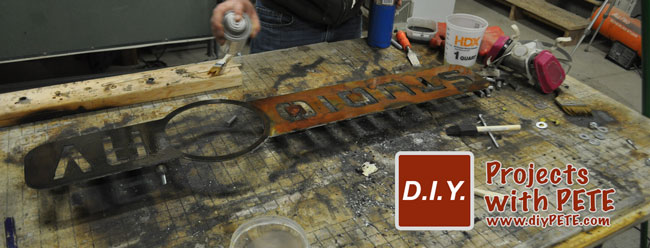 Sealing the circles which are part of the logo. The 4 larger circles were patina'd with Ferric Nitrate. I used sulfurated potash for the smaller circle.
 This is a look at the back of the sign after the logo was attached. You can see the 3/4 steel tubing that frames the entire piece. A washer and bolts were used to attach the logo. Use a plasma cutter to cut key holes in the top tubing which can be used to hang the sign. I cut holes 16″ on center so that 3 leg bolts could be put into the studs of the wall to hold up the sign.
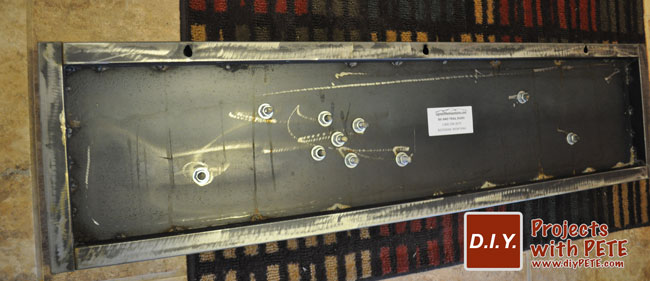 Close up of the back side of sign.
 Sideview of the sign. The INC letters were applied using a strong 2 part metal epoxy.
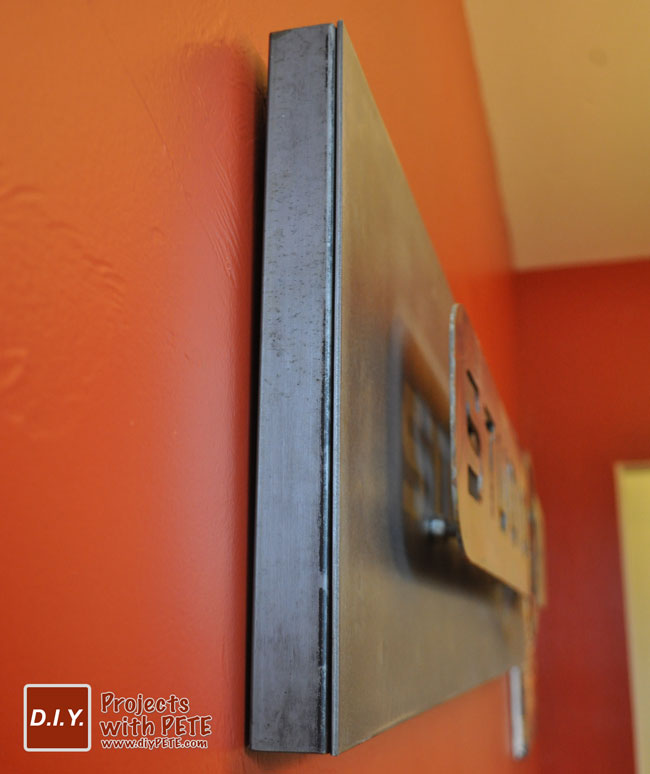
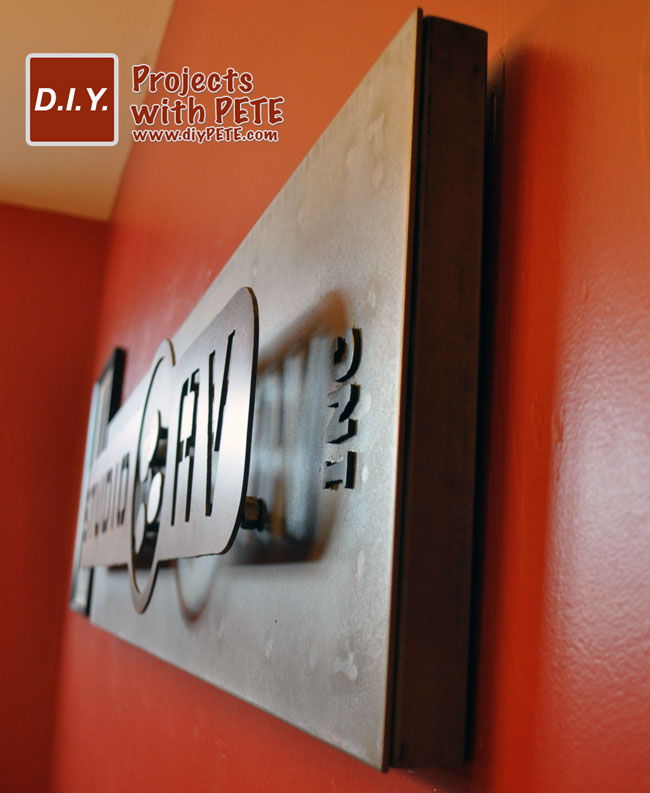 Here is a side view showing how the square tubing looks around the sides. It was tack welded onto the 12 gauge steel sheet from the inside edges of the tubing. Notice how a bolt goes on each side of the 12 gauge steel to attach the logo.
 Completed Project. Studio AV gifted it to their CEO as a Christmas gift. They planned to add LED lights behind the logo.
 Thanks for checking out this project. I hope it inspires you to start creating with metal. Please comment below to let me know what you think!

