Looking for a fun and rewarding weekend woodworking project? This DIY kids patio chair is the perfect build for anyone wanting to create a special piece for their kids, grandkids, nieces, or nephews. It’s simple, affordable, and teaches basic woodworking techniques that you can use on future projects.Our classic wooden kids patio chair design is sturdy, stylish, and sized just right for younger kids and toddlers.
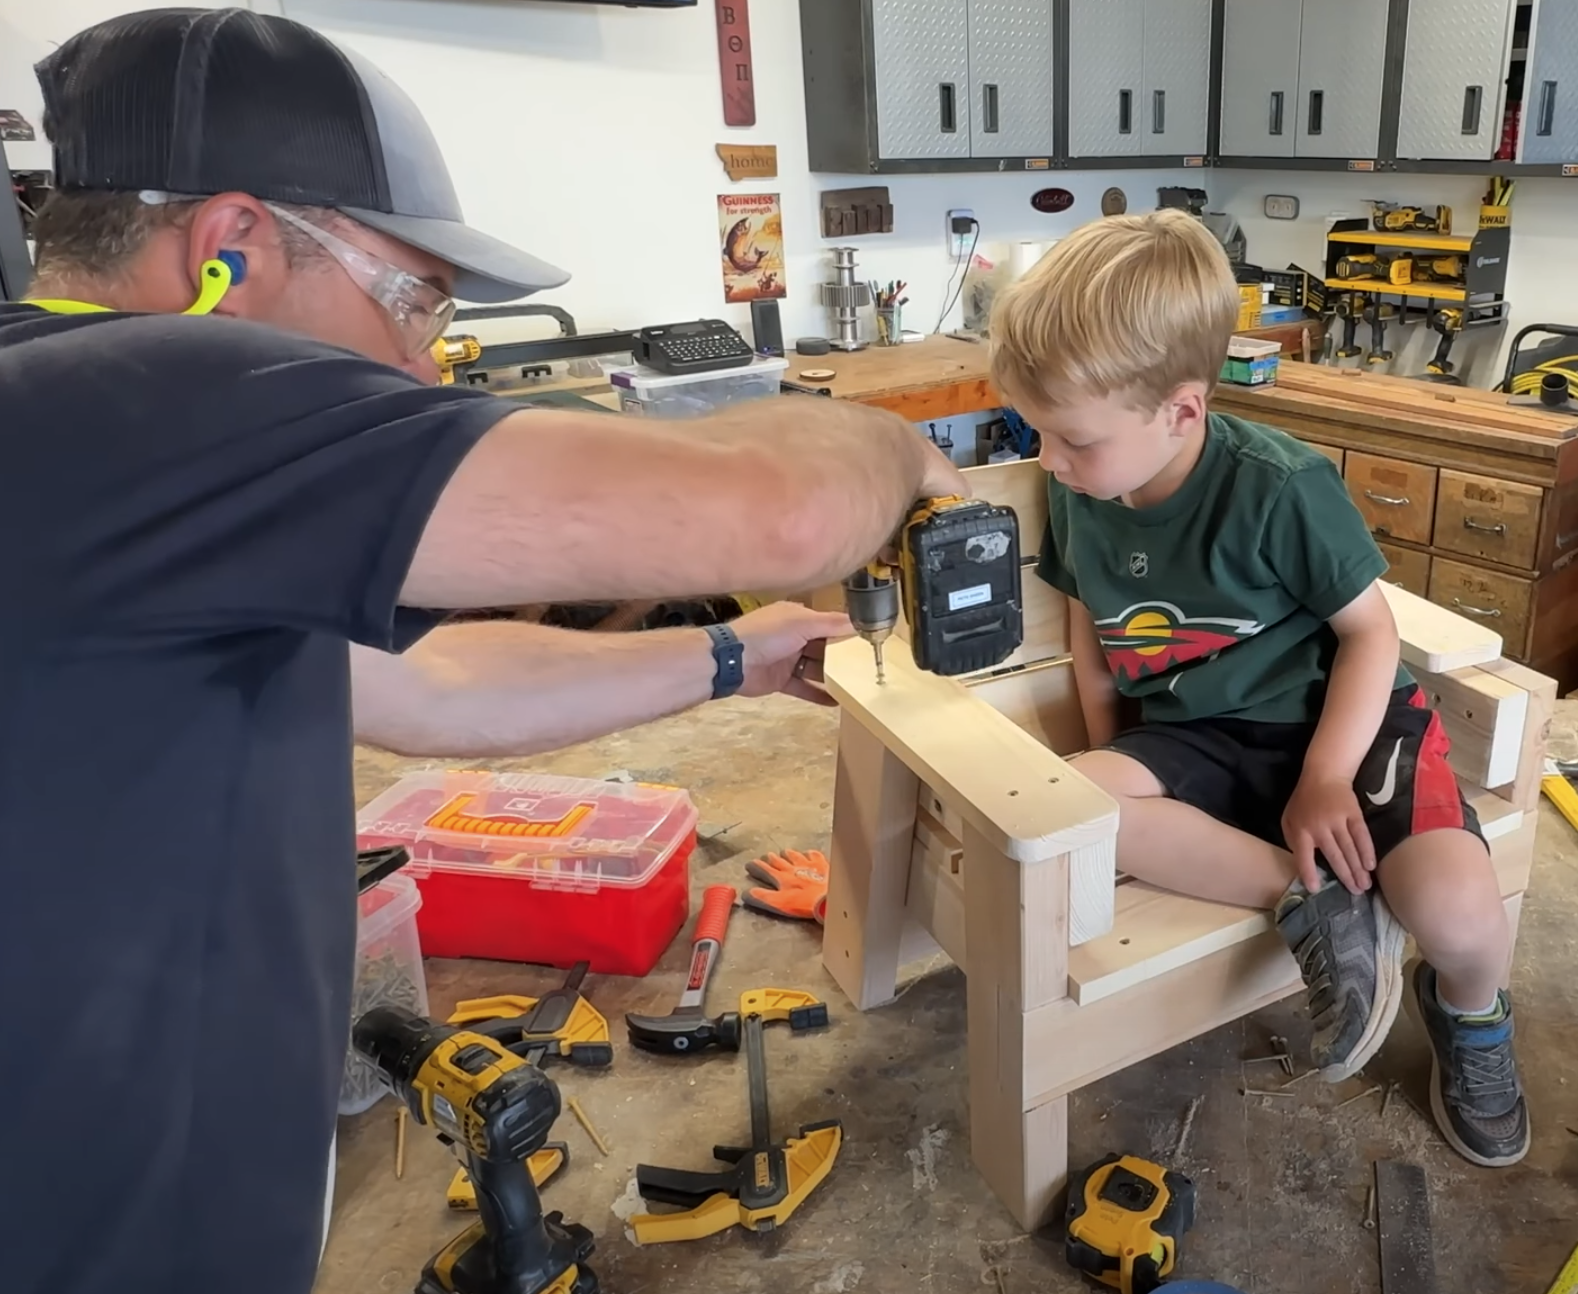
Whether you’re building it for your own backyard, gifting it for a birthday, or donating it to a charity auction, it’s a quick project with lasting memories attached. My son enjoyed “helping” with this build and was pretty proud of his finished project. We hope you have fun with this build as well! Learn how to build a kids patio chair today! Get the kid's chair plans here!
 1")
Tune in to the video below for more information and the step-by-step video of this build.
Materials You'll Need
- Scrap wood or dimensional lumber (2x4s, 1x4s)
- Wood screws (2½" and 3")
- Miter saw
- Jigsaw or Circular Saw
- Orbital sander and 220-grit sandpaper
- Drill/driver
- Speed Square
- Clamps
- Tape Measure
- Timber oil or outdoor stain of your choice. We used: Walnut Transparent Exterior Wood Stain
Please note there are affiliate links in this article. By using the links to purchase the items used in this project you are helping support our DIY Projects with Pete. Thank you!
Download the full, printable DIY plans here! Kid Patio Chair
 2")
Step-by-Step DIY Kids Patio Chair Build:
Cut Your Chair Legs
Start by cutting two front legs from scrap wood, then adjust your miter saw to a 15° angle to cut two matching rear legs.
 3")
Make Armrest Supports
Measure and cut the armrest supports, leaving one side flat and one with a 15° angle to match the back legs.
 4")
Cut Notches in the Front Legs
Mark a 3½” gap, 1½” deep, in each front leg to fit the front support board. Use a jigsaw or circular saw and speed square to make clean, accurate cuts.
 5")
Sand All Pieces
Smooth all surfaces with an orbital sander and 220-grit sandpaper to remove sharp edges and splinters.
 6")
Assemble the Chair
Use wood screws to attach the front and rear legs to the armrest supports, ensuring everything is flush and square.
 7")
Install Seat and Back Supports
Add the front, seat slat, and rear support boards, making sure they’re evenly spaced and aligned.
 8")
Attach the Seat Slats and Backrest Boards
Space out your slats for drainage and secure them in place. Cut backrest supports and round the tops for a polished look.
 9")
Add Arm rests
Round off the front corners of the armrests, then attach with wood screws.
 10")
Finishing Touches
Give the entire chair a final sanding to remove any rough spots. Apply your choice of outdoor stain or timber oil to protect against the elements, let it dry, and then you have yourself a kids patio chair.
 11")
Kid Approved!
This DIY kids patio chair is a great way to create a functional, handmade piece of furniture while making lasting memories in the workshop. Whether you build one chair or a whole matching set, it’s a rewarding project for any woodworking enthusiast. Grab the full plans here and start your next backyard project today!
 12")
If you enjoyed this build need more kid seating around the patio, check out our kid double chair video build below. We also have plans for this kids sized double chair bench available!
Grab your child sized Double Chair Plans here!
Adult Sized Chairs Available
Need more seating around the patio? We also have youtube video tutorials and detailed plans available for the adult sized patio chair and three different versions of the double chair.
 13")
 14")
 15")
 16")