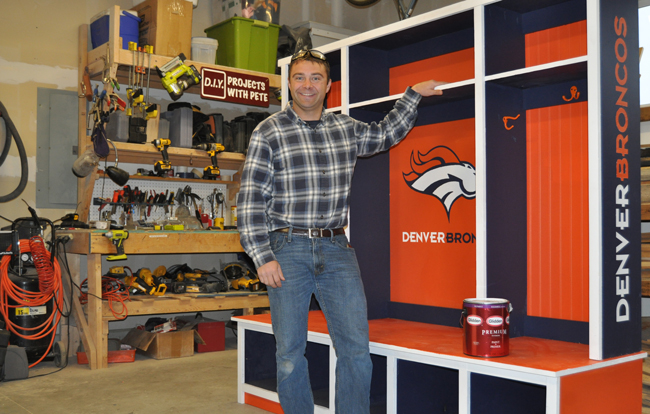
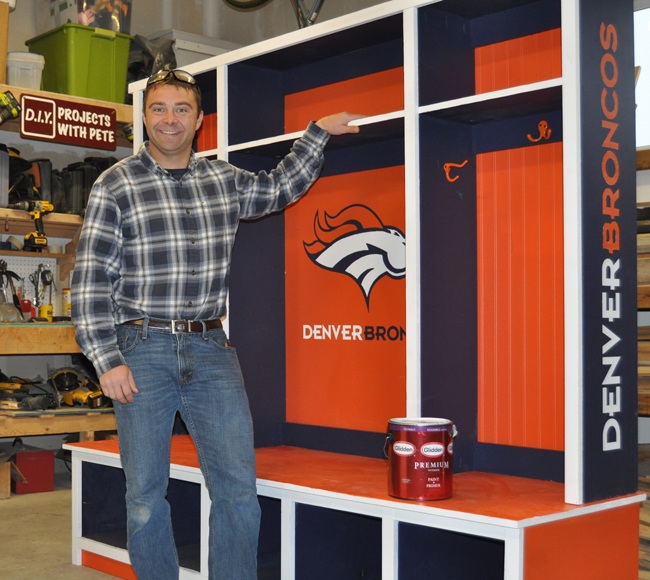
If you are looking for ideas on how to build a hutch you've come to the right place! I partnered up with Glidden Paint for this project and used their NFL team colors paint to deck it out with Denver Broncos team colors. Glidden has the only official NFL Team Colors paint and has an exclusive relationship with the NFL. So their paint is spot on with whatever NFL team color you need. I specifically used Denver Orange and Denver Navy team colors for this project. It turned out great and I already can think of a number of other fun projects to do for the football season.
PLEASE click the link to download the FREE DIY HUTCH PLANS
Tools Needed
Please note that many of the links in this post are affiliate links which means I'll get a small commission if you purchase any of the tools using them. This is what helps support the website so I can continue making free plans for you. So thank you for your support!
Circular Saw – I use a Dewalt 20 Volt Cordless Saw (Ryobi also makes a less expensive saw).
Drill – I use both Dewalt and Ryobi drills.
Kreg Jig – The K4 is was I have.
Miter Saw – I'd recommend a 12 inch miter saw.
Orbital Sander – Dewalt makes a nice one.
Nailer – I used the Ryobi Airstrike nailer for this project. But you can use a normal air nailer compressor kit or old fashioned hammer.
Tape Measure, Ruler, Pencil
Optional:
Clamps – Clamps are helpful for any project. I love to use JackClamps.
Kreg Jig Face Clamp – Very handy.
Kreg Jig Right Angle Clamp – A must!
Straight Edge – This is not 100% necessary for this project but it helps make the circular saw cuts straight.
Kreg Jig Rip – Super handy for making straight cuts
Square
Supplies Needed
Wood Glue – I'd recommend Gorilla brand wood glue.
Box of 1 1/4 inch Kreg Screws
Painters Tape
Nails for nailer – I used 18 gauge 1 1/2 inch nails for the trim. Sandpaper Coat Rack Hooks – I used a total of 6.
Paint or Stain – I painted mine using NFL Team Colors paint from Glidden which is availabe at the Home Depot. Brushes / Rollers for Painting
Wood:
QTY: 2 – 4×8 sheets of 3/4 inch plywood for bench and lower cubbies
QTY: 8 – 1x2x8 boards for trim
QTY: 6 – 1x4x8 boards for shelf supports and lower part of base
QTY: 6 – 1x12x6 boards for shelf uprights, shelves, and top
QTY: 2 – 4×8 sheets of bead board for optional back panels
Step 1
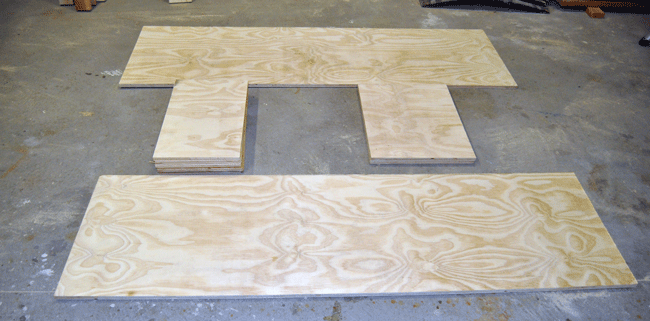
Measure and cut the plywood down to size for the lower bench and cubbies. Cut the bench top and lower portion out of the first sheet. Cut the remaining 6 pieces from the second sheet of plywood. I'd recommend using a circular saw and a straight edge to help with the process. 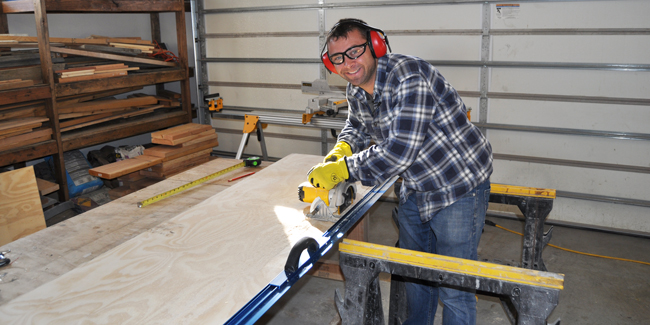 You will have a total of 8 boards cut from the plywood. Make sure to use good quality 3/4 inch plywood.
Step 2
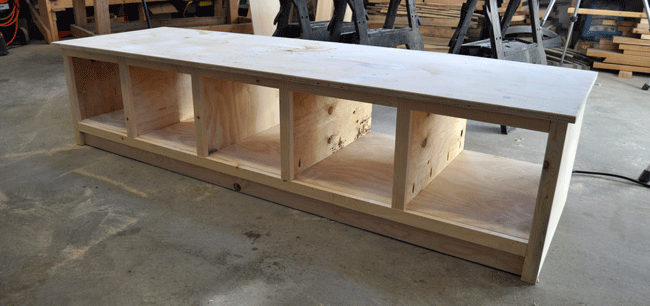
Assemble the lower bench and cubbies using pocket holes. Set your Kreg Jig to the 3/4 inch stock settings and get out your 1 1/4 inch long Kreg Jig screws. 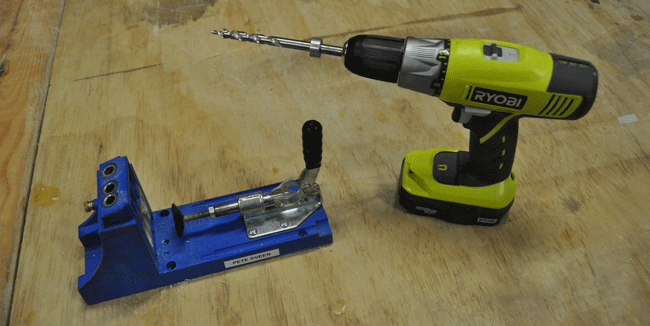 Drill the pocket holes on the top and bottom side of the 4 smaller boards. Drill pocket holes only on the top sides of the two larger end boards. Note that I have three pocket holes showing on the front side of the board on the right hand side of the photo below. That was a mistake. Yes, I too make mistakes! Use a ruler and a straight edge to evenly space out all boards. I'd recommend using wood glue in addition to the 1 1/4 inch kreg screws.
  Attach the lower shelf on both sides and to each vertical divider.
 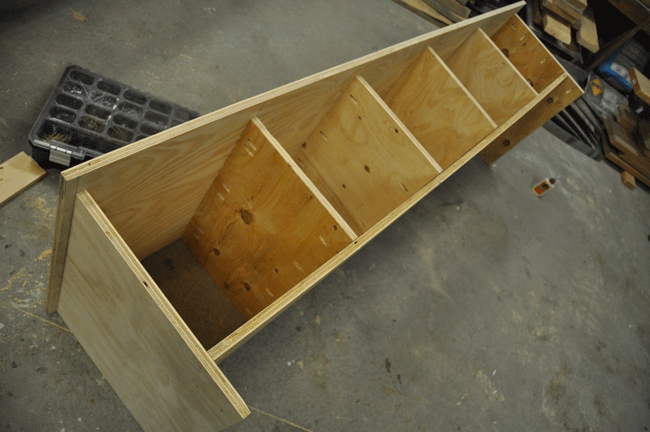 Attach 1×4's to the base of the lower unit. This gives it a nice bold look and strengthens the furniture. Attach the 1×4's using pocket holes and Kreg Jig screws.
 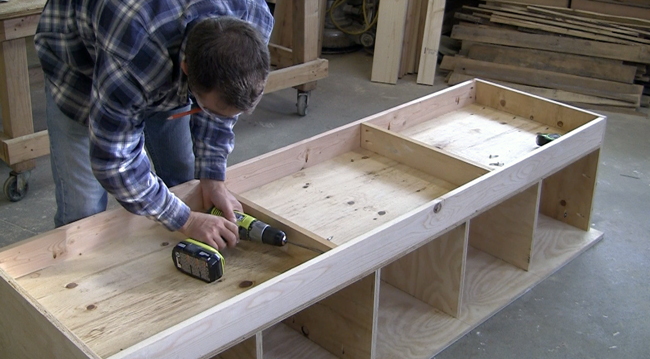 Cut 1×2 trim with a miter saw and then attach using a nailer. I've been using Ryobi Airstrike Nailers and have been super impressed with them. They are battery powered so I don't have to deal with cords and air compressor noise.
 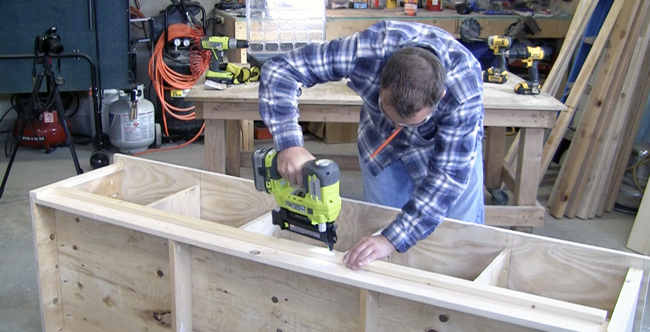 I used 1 1/2 inch 18 gauge brad nails. You could use a normal hammer and nails if you do not have an air nailer. Center the trim pieces on the 4 dividers. The two outer pieces overlap the outer edge about 1/4 of an inch.
 Step 4
Now it's time to work on the upper section of the hutch. I used 1x12x6 boards and cut them down to size. A straight edge and a circular saw will work well. You could also use a miter saw. Refer to downloadable plans for more info and photos.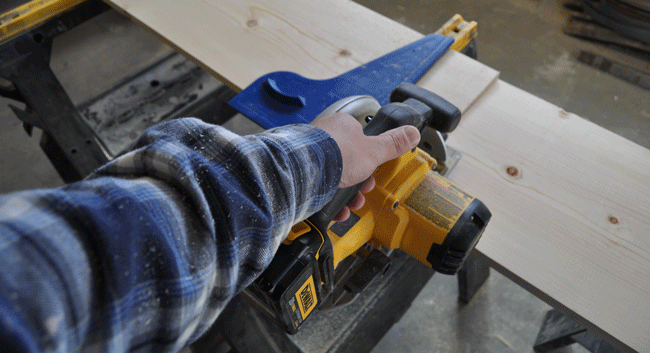 Begin by attaching the top of the unit to the sides with 1 1/4 inch pocket holes screws. I'd recommend using a Kreg Jig right angle clamp if you have one.
 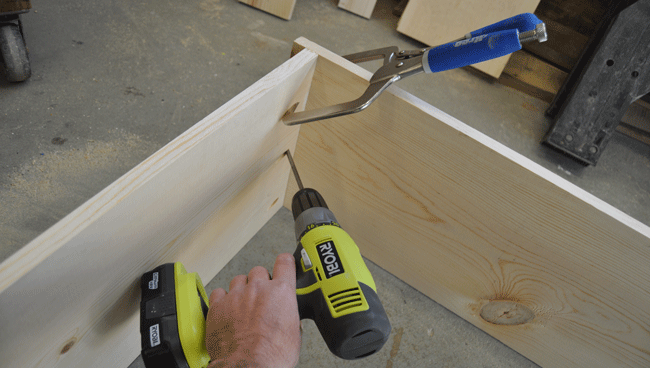 Drill 3 to 4 pocket holes for each connection.
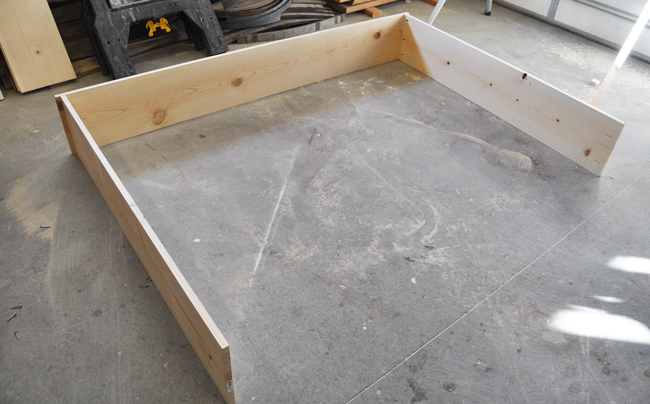
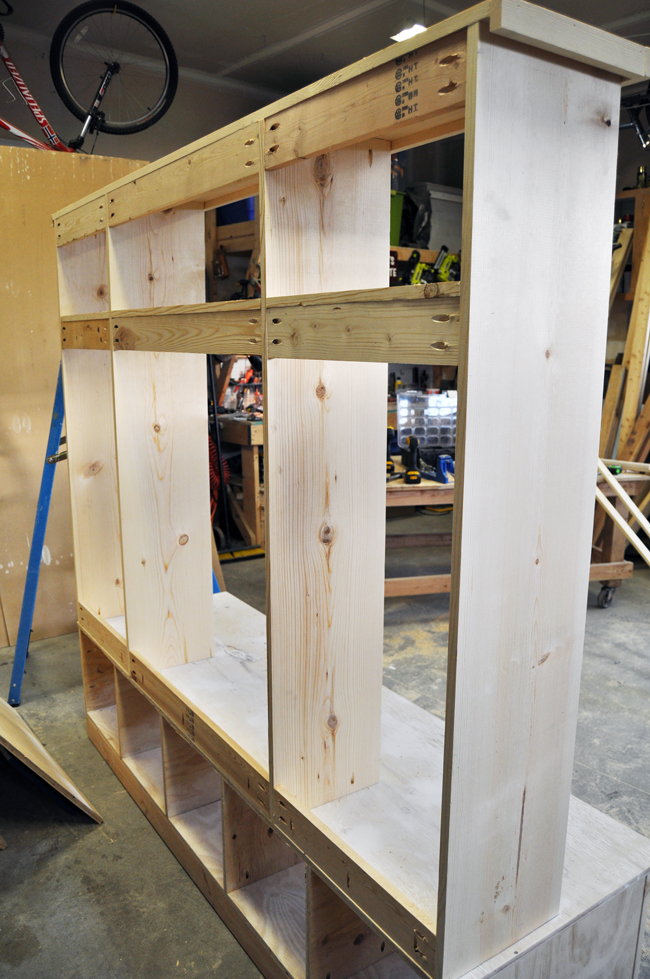
 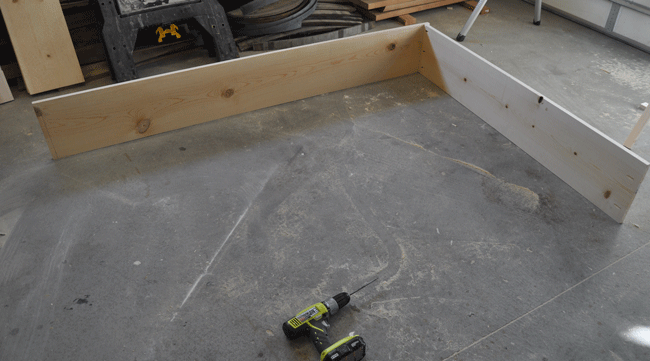 Here is what it will look like after both sides have been attached.
  Next figure out the spacing you'd like for each locker. I made the two lockers with 20 inches between the boards. Attach the verticals when you have the correct spacing.
 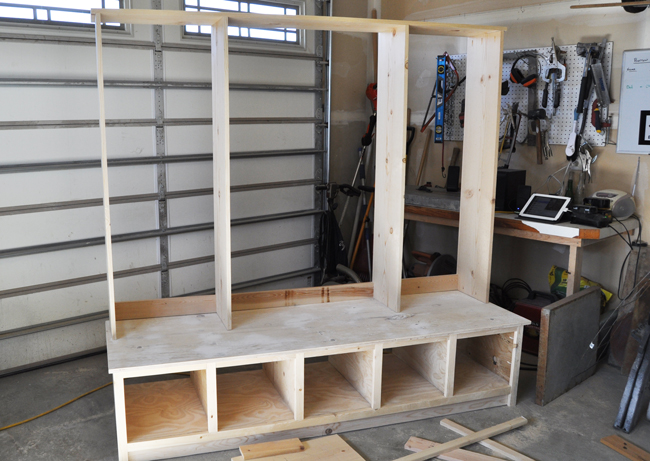 Use 1×4 boards to connect the verticals to each other on the bottom side. You can see I drilled pocket holes facing down so I could connect the upper unit to the lower bench after completing the project and moving it into the house.
 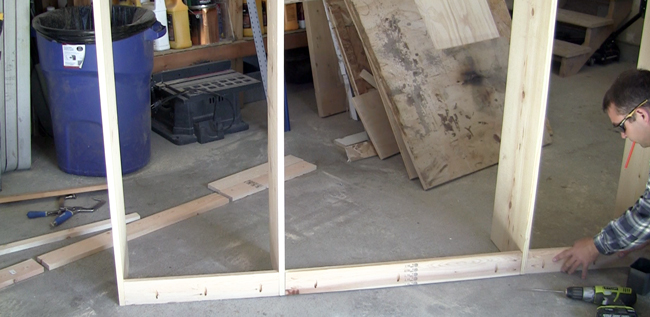 Use 1×4 boards to strengthen the upper unit. Don't forget glue as well!
 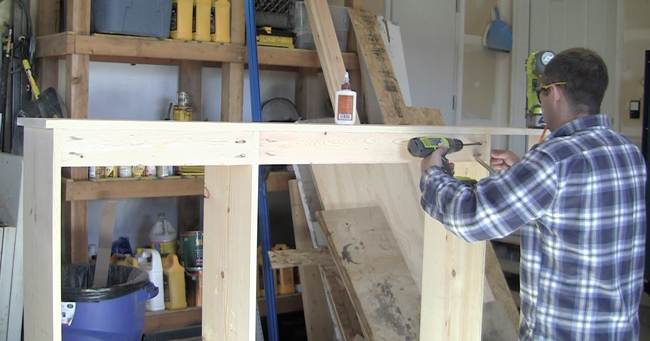 Measure for the shelves and attach more 1×4 supports.
 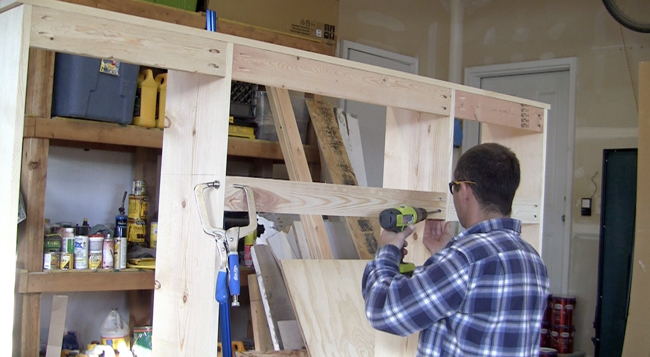 Install shelves that you've cut from the 1×12 boards. Drill 3 pocket holes on both the left and right underside. Then attach using screws and glue. I ran a bead of blue along the 1×4 support on which the shelf rests on.
 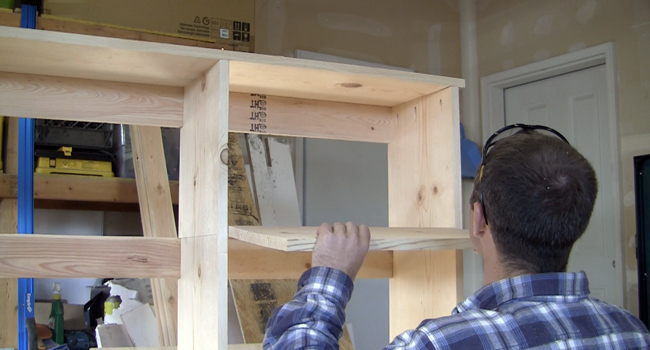 Attach 1×2 trim using a nailer or hammer and nails.
 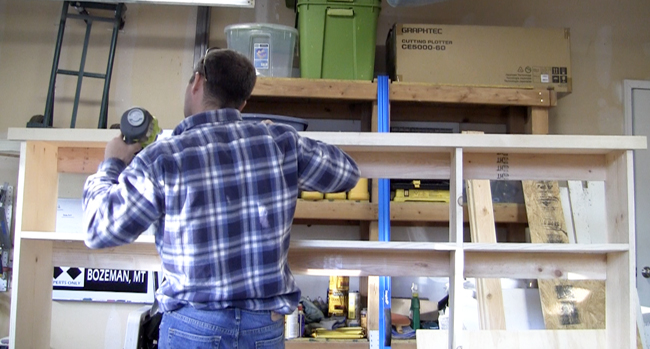 Below is a look of the finished front side shelves and trim.
 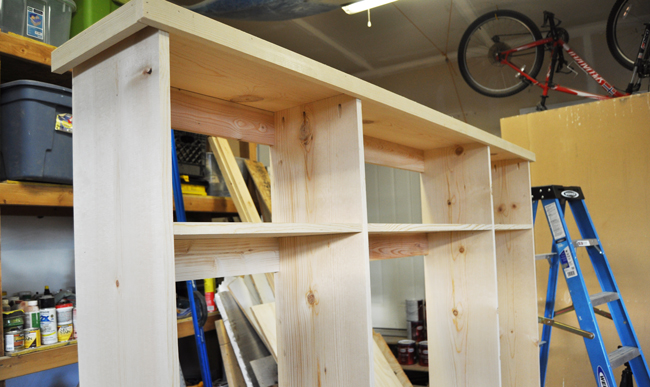 View of the backside.
 Step 5
Measure and cut bead board to use as paneling for the back of the hutch. One 4×8 sheet is not quite enough so I had to buy two of them. I'd recommend cutting them into sections to cover the top unit and lower section separately. This way you can move the furniture in two separate pieces. Otherwise you'd have a tough time fitting them through a door 🙂 Refer to downloadable plans for more info and photos.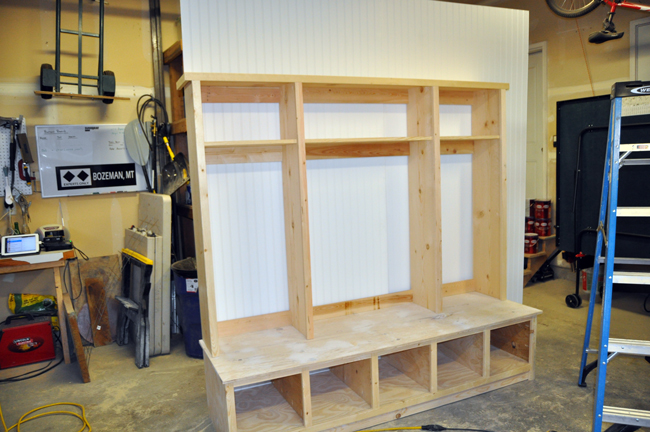 Cut the bead board with a circular saw. I'd recommend cutting it from the backside of the paneling.
 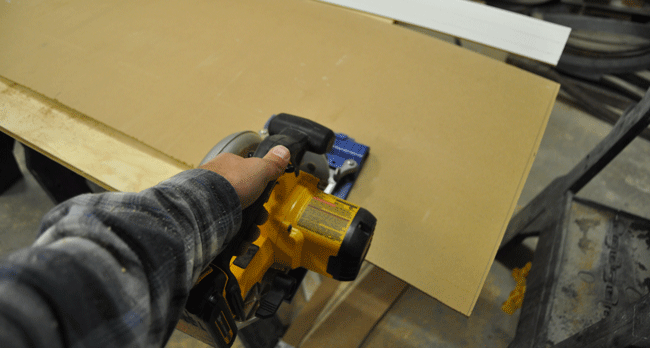 Here is what the paneling looked like after making the cuts. I ended up using the flat side of the bead board for the center area of the hutch so I had a smooth surface for the Denver Bronco's logo.
Step 6
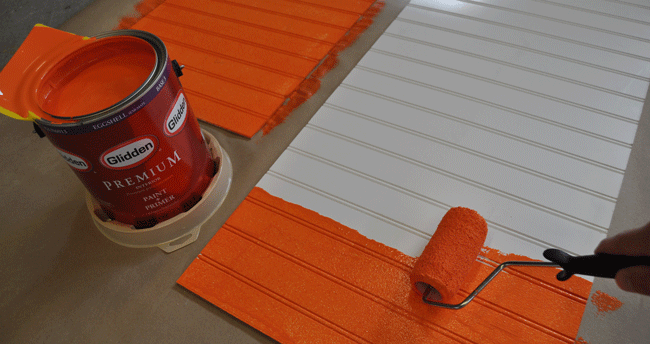
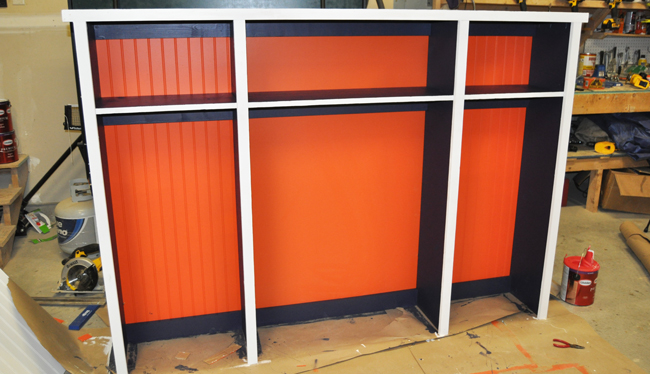
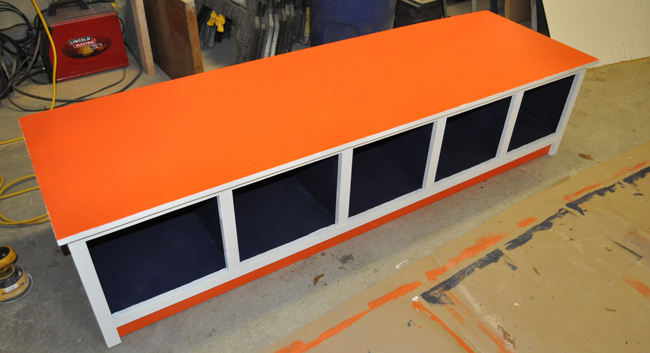
It's time to paint or stain your project! If you plan on painting it in honor of your favorite NFL team I'd highly recommend using NFL Team Colors Paint made by Glidden. You can buy it at your local Home Depot. The Home Depot in Bozeman, Montana loves using NFL Team Color Paint as well and they painted logos for their favorite teams as well! Although the hutch I built is decked out in Denver Broncos colors, you can paint or stain this hutch to work in any part of your home.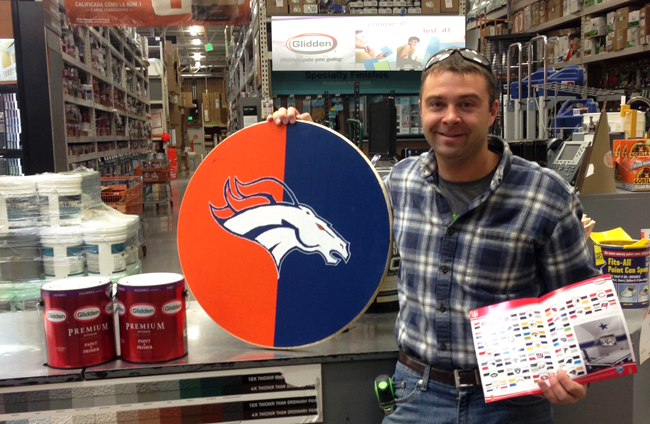 Use a roller to apply the paint to the bead board. Since the bead board was already white I did not use a separate primer. Apply 2 coats. ( I used Denver Orange NFL Team Colors Paint)
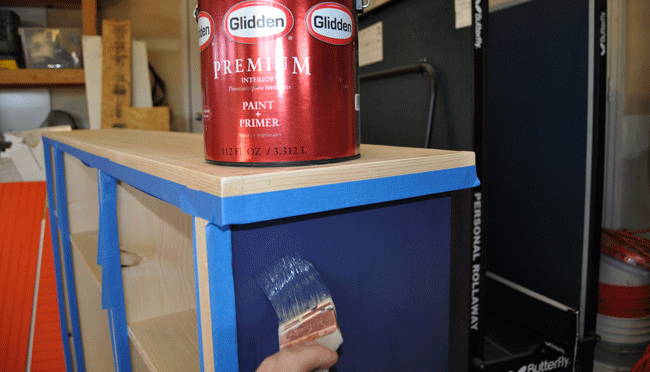
  Use masking tape to help create clean lines. I used Denver Navy NFL Team Colors Paint.
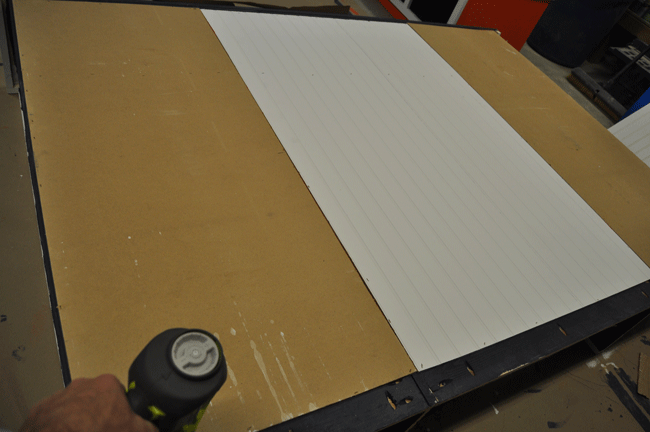
  Once all of the painting is completed you'll want to attach the paneling using an air nailer or stapler.
  Completed top unit
  Completed lower bench unit
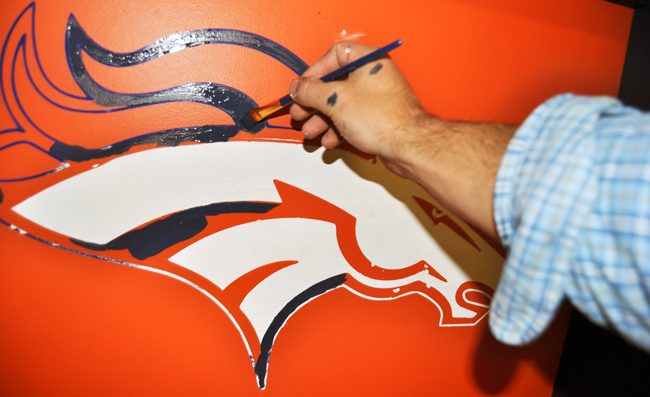
  Use stencils or freehand your favorite team logo onto the hutch.
  Once you've completed painting or staining the hutch, let it dry and then move move it into your home in the two sections. Once in place, attach the upper unit to the bench using Kreg Jig screws. You could use flat metal brackets if you'd prefer. Below is a photo of the hutch being used in a kid's bedroom. Plenty of room for toys, shoes, and gear!
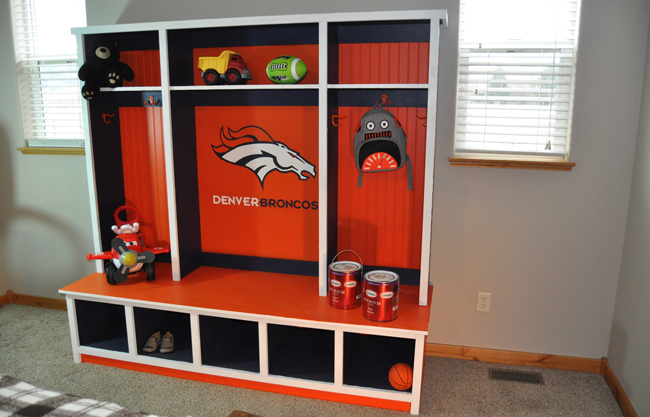 Job well done! I hope this tutorial inspires you to make your own storage hutch. They are great for bedrooms, mudrooms, and sports themed rooms in your home. Feel free to modify the plans as you'd like to make it suit your home. Then paint or stain the hutch to your liking! Refer to downloadable plans for more info and photos.

 Step 4
 Step 5