Acid staining a patio can turn your boring grey concrete into a beautiful patio your friends and family will love. I did this particular project on my patio and it turned out great. In this post I will walk you through the acid staining process. Acid staining concrete is a simple DIY project that can be done in a weekend. Did I mention it only cost me $125? Let's get to it. You can do this! Please note some of the links in this article are affiliate links. This means that if you end up purchasing acid stain or tools that I recommend, I'll get a small commission which will help support more free tutorials on DIYPETE.com.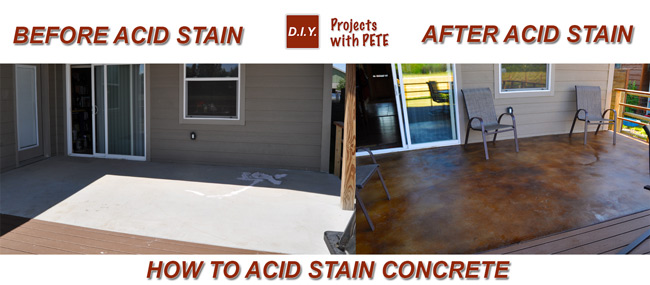
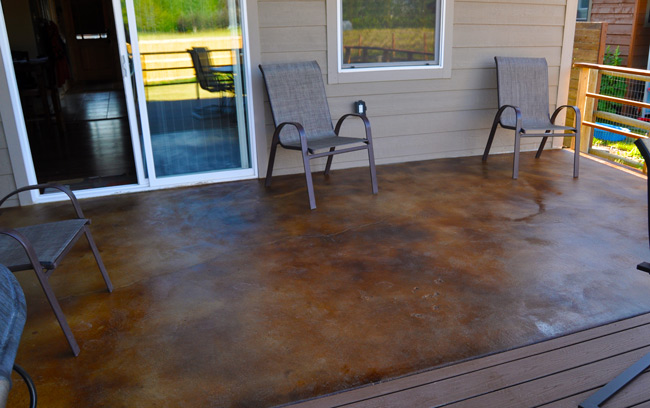
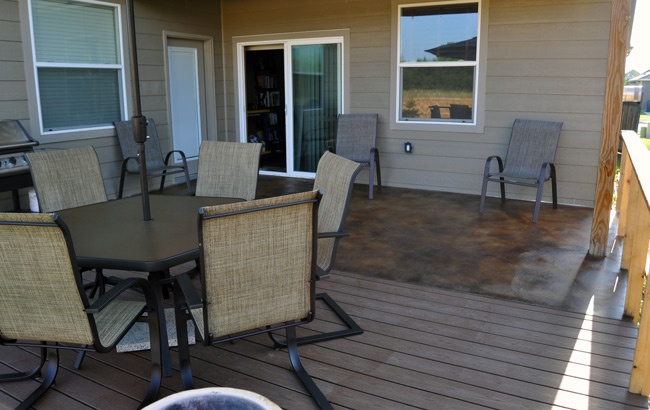
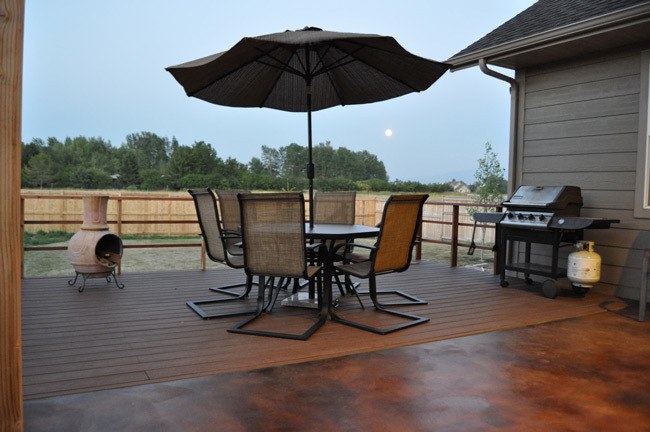
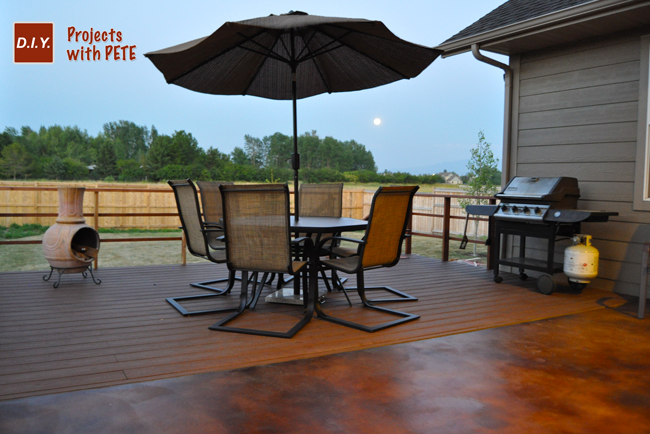
Here is a look at the completed patio. The stain ended up looking really nice in combination with the new TREX enhance decking.
 Quick Facts about Acid Stain
How acid stain works:
Metallic salts in the acid stain chemically react with limestone in concrete. This causes all sorts of variation and no two patios will ever turn out the same. I like to call them a work of art.
Cost to acid stain concrete:
Do It Yourself Acid Staining is affordable. The biggest expenses involve the acid stain and a sealer. My concrete patio is 220 square feet and the total cost was about $135. I already owned a pressure washer and had ammonia, a pump sprayer, and painting supplies. Only a fraction of the acid stain was used, but the smallest quantity usually available is a full gallon. A gallon of stain generally ranges between $45 to $75. I used about a fifth of a gallon for my patio, so I have a lot more to share with friends or for other patios. The other large expense is sealer. Sealer was $30 / gallon and I used about 3/4 of a gallon for the first coat and 1/2 a gallon for the second coat. I had to buy two gallons, so the cost was $60. The per square foot cost to acid stain the patio was $.63. This does not include the paint brush, roller, spray bottles, protective equipment, or power washer. I'd recommend borrowing a pressure washer if you do not have one. I really like the pressure washer I use and if you are in the market to purchase one here is the link to the pressure washer I own and recommend.
Degree of Difficulty
On a scale of 1-10, I'd call acid staining a 4 out of 10 with 10 being difficult. Staining requires doing a great job prepping the surface (cleaning the concrete), spraying on stain, and then rolling on a sealer. This is definitely doable for any DIY'er.
Time for Project
This project can easily be accomplished in a weekend or 2 days. The staining and neutralizing can be completed on day 1. On day 2 seal the concrete and let it dry.
Safety:
You must always be careful when working with chemicals. Please read and follow the manufacturers recommendations for safety equipment. Eye protection, rubber gloves, pants, and boots are a no brainer. Make sure to wear a respirator if it is windy outside or if you'll be doing staining indoors.
Acid Stain Brands and Color Options:
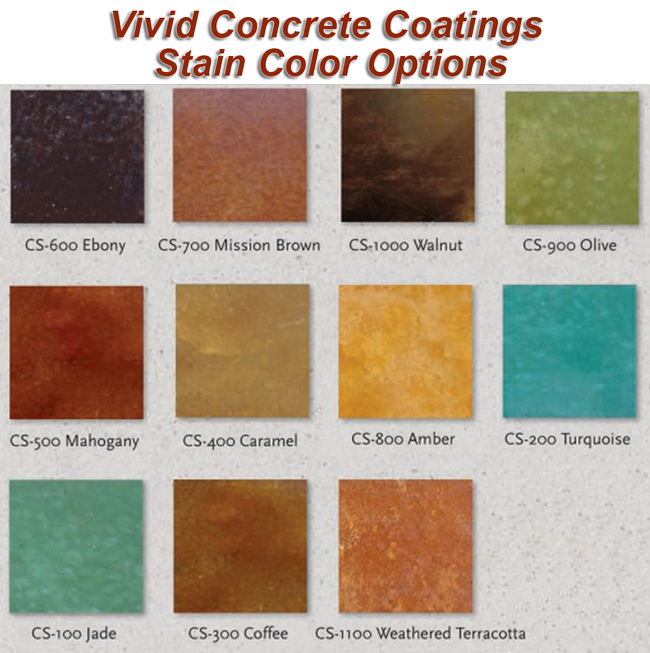
There are a number of brands of acid stains on the market. I've used quite a few and all have worked well. It really depends what brands are available in your area. Some hardware stores in the south where decorative concrete is more popular may carry Quikrete Acid stain. However, most hardware stores do not carry acid stain. So, you'll need to either find a concrete supply store in your area or you'll need to order it online. Concrete Coatings makes the most affordable acid stains I've found on the market and you can order them from Amazon by clicking here.
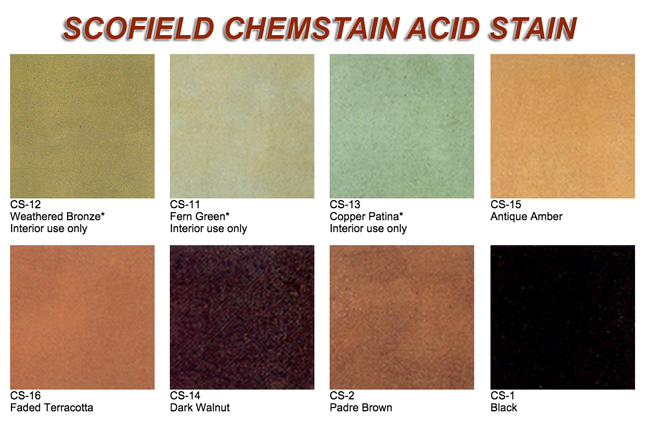
Stains come in a variety of colors. Most are shades of browns. However, you will also find shades of green and blue. Here is a look at some of the colors put out by various brands.
How to Acid Stain Concrete
Step 1: Gather Tools and Supplies
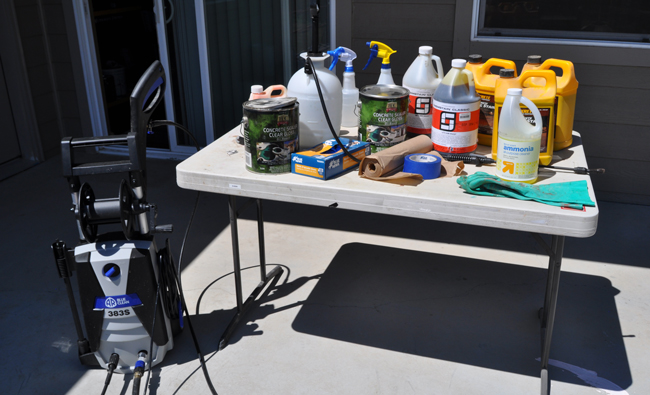
Pressure Washer and Hose
Scrub Brush, Broom, Concrete Degreaser (If needed)
1 or 2 Pump Sprayers – Optional spray bottle for highlight color
Acid stain from a concrete supplier or you can easily order it online by clicking here. $45/gallon
Colors used: Dark Walnut (Chemstain), Coffee (Quikrete)
Ammonia
Shop Broom
Painters Tape and Mask
Sealer – I used H&C Solvent Based Concrete Sealer from Sherwin Williams $30/gallon
Here is another great sealer option I've used which is in the same price range and can be ordered from Amazon.
Rubber Gloves
Eye Protection
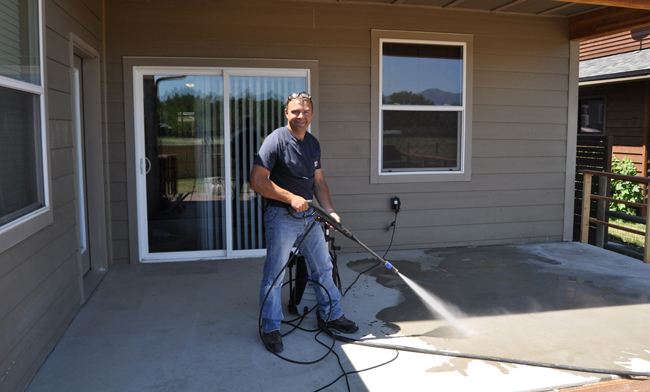
Step 2: Power Wash
Use a power washer to do an initial cleaning of the concrete. Once wet, you'll be able to see if there are problem areas of oil, paint, or grease. You will want to remove any paint or oil because acid stain will not “TAKE” or “REACT” with the concrete in those areas.
 Step 3: Degrease and Remove Stains
Use a concrete degreaser to clean the concrete and to remove grease, oil, and other stains.
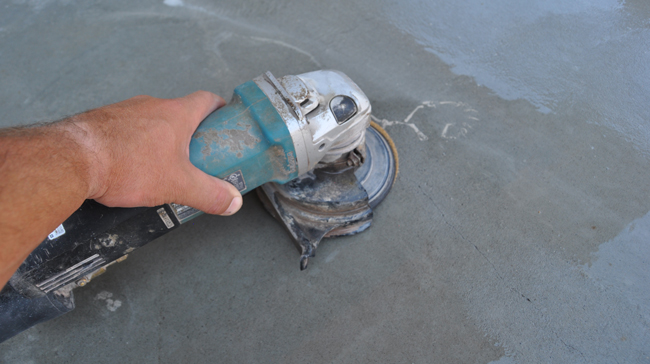
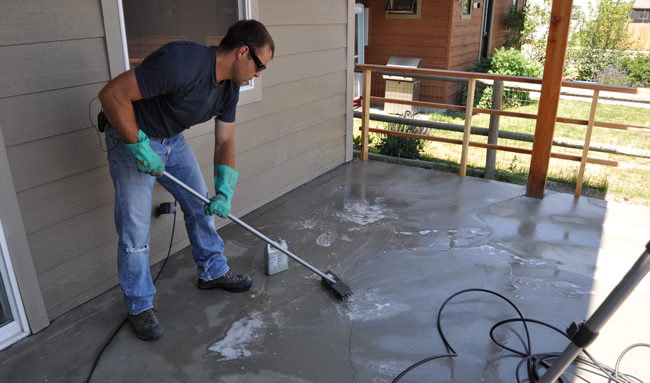 Paint is somewhat tough to remove. Try using a paint remover in combination with a razor blade or wire brush first. If this does not work, try using an orbital sander. The concrete will look slightly different where you've used these tools, but will look much better than it would if there were paint or grease areas.
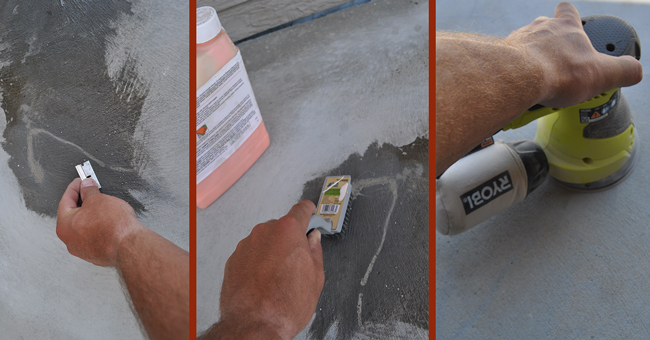 If all else fails I'd recommend renting, borrowing, or purchasing a concrete wet polisher. This will get rid of paint quickly and easily. Hand polishing concrete diamond pads also work and are quite a bit cheaper. You'll just need to put in a little more effort.
 Step 4: Tape and Mask
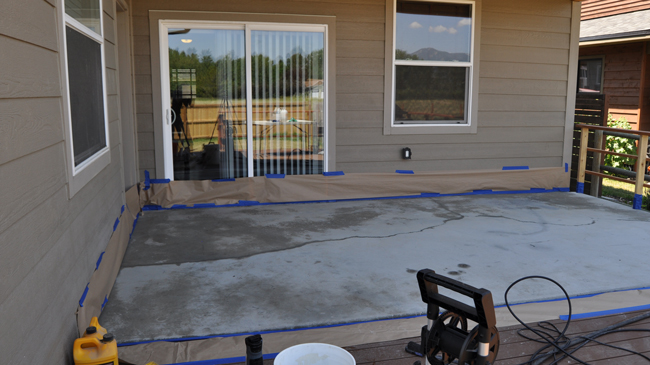
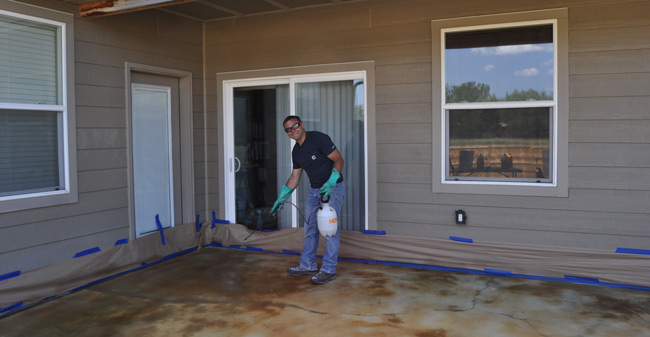
After cleaning and letting the area dry up, you'll want to tape and mask siding, trim, doors, and any other surfaces you don't want to get stain on.
 Step 5: Prepare Acid Stain
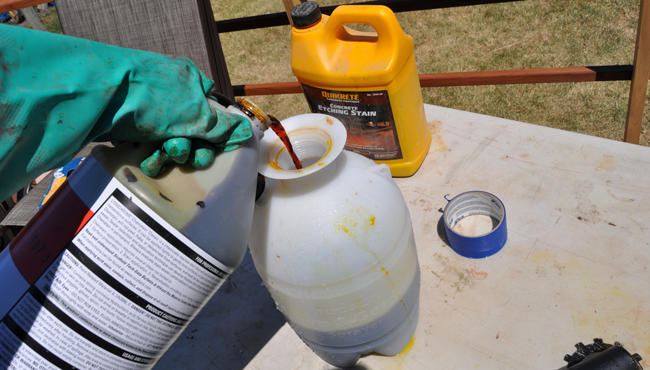
Pour acid stain into a pump sprayer. For this patio, I used Dark Walnut by Scofield Chemstain. This gave the concrete a natural brown color. You can use a highlight color if you'd like to mix another color in a separate sprayer. This is not necessary. I highlighted mine with Quikrete Coffee Acid stain.
I would recommend diluting the acid stain according to the manufacturers instructions. I mixed mine about 1 part stain to 1 part water. Remember you can always add additional coats to darken the stain. You cannot lighten a stain, which is why I prefer diluting the stain and doing multiple coats to give me a little more control over how dark the stain will be.
 Step 6: Wet the concrete
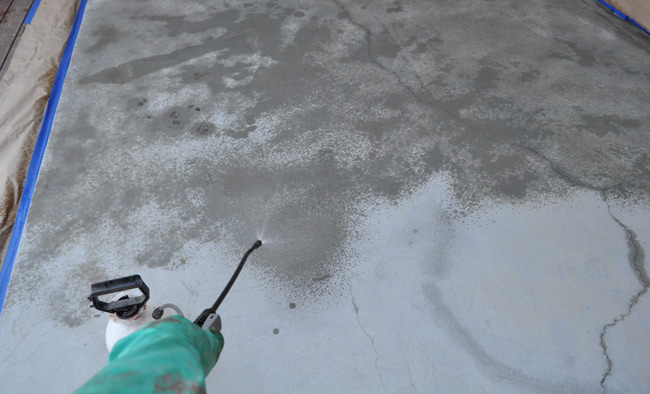
Before applying acid stain, I'd recommend misting the entire surface with water. You don't want too much that it puddles, but the entire surface should be saturated. This helps the stain go on more evenly and also makes the staining process a little more forgiving. For instance, if you accidentally get a drop of acid stain on dry concrete it is going to leave a more noticeable spot. If the concrete is wet, it will help it blend a bit more. I used an additional pump sprayer for this process.
 Step 7: Stain Vertical Surfaces if Needed
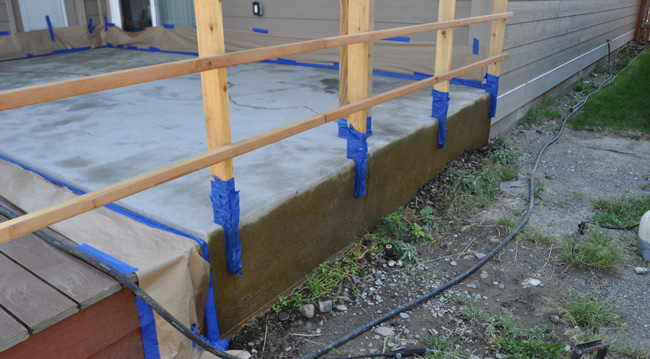
Use a pump sprayer to apply stain to vertical surfaces. Apply lightly to minimize drips.
 Step 8: Apply Acid Stain to Concrete
Use a pump sprayer to apply the acid stain. Apply enough to saturate the concrete but not to puddle. Apply in a zig-zag type motion to give it variation and a random look as opposed to applying in straight lines. (See the video for a better description). Do not walk on the acid stain once it is applied or you'll have footprints in the final product. If you'd like a more uniform finish with less variation, a second person can use a shop broom to help brush the stain into the concrete immediately after you've sprayed the stain.
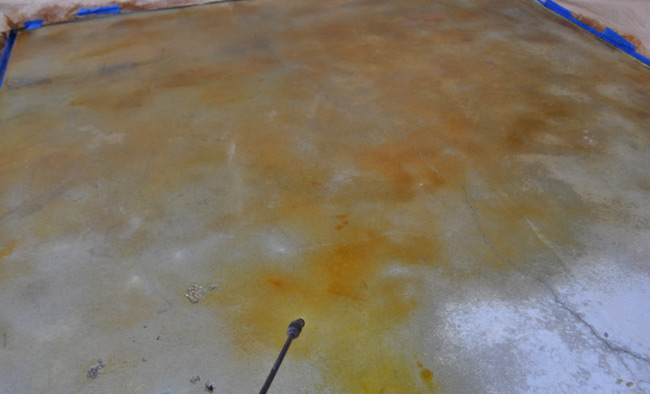 This is a photo of the stain reacting after the first coat. Allow it to dry completely.
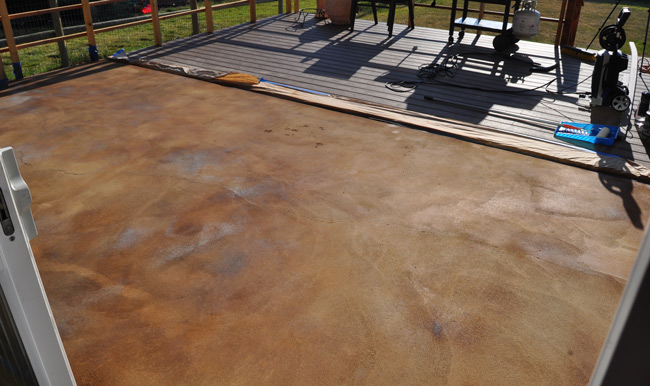
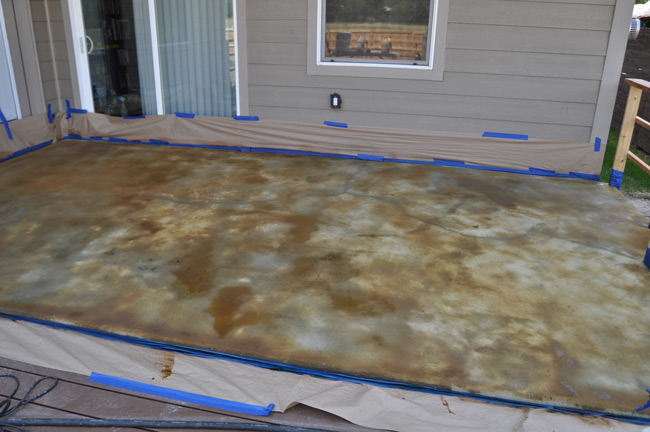 Here is what the stain looked like after the first coat. It looks pretty light in the photo, but once a sealer is applied the stain darkens dramatically. To test what the finished color will look like, spray a little water on the surface. The water will give you an idea of the finished color once a sealer is applied. I decided I wanted to have a darker finished product, so I applied one more coat of stain.
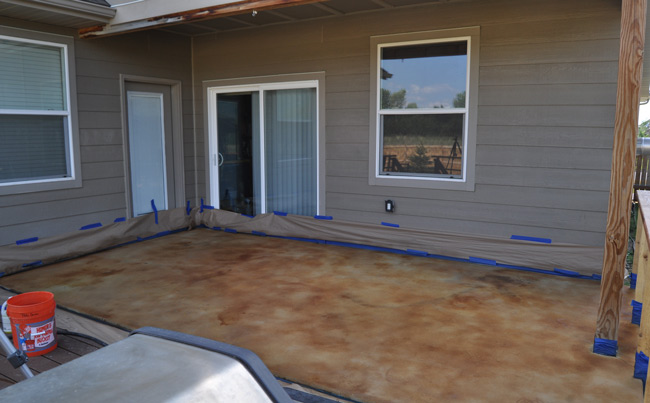 Applying the second coat of stain to darken the concrete up a little more. Allow the stain to dry for a full 8 hours or overnight before neutralizing the stain. This will ensure the stain penetrates into the surface completely.
 Step 9: Neutralize Acid Stain
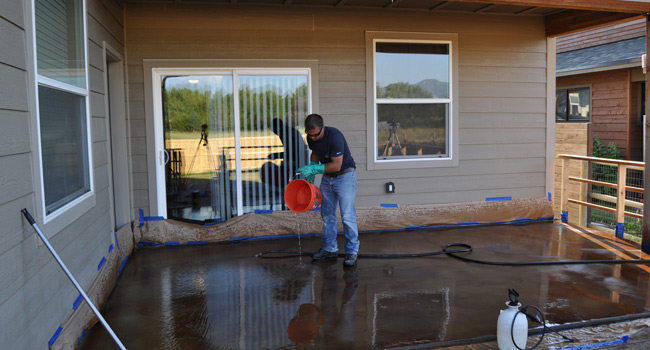
Neutralize the stain using Ammonia and water once the stain has dried for at least 8 hours. I'd recommend using 2 cups of ammonia per 5 gallon bucket of water. Once neutralized, the acid will no longer react.
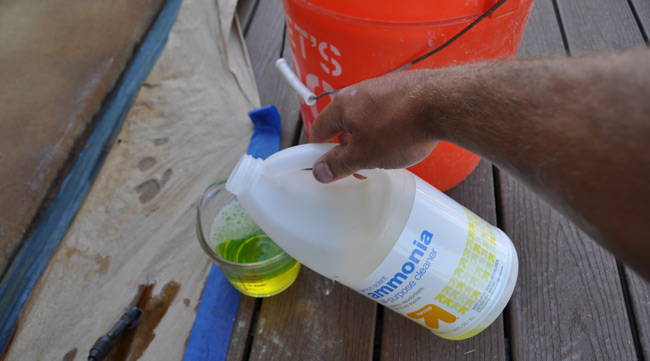 Pour the ammonia/water mixture around the entire surface of the concrete.
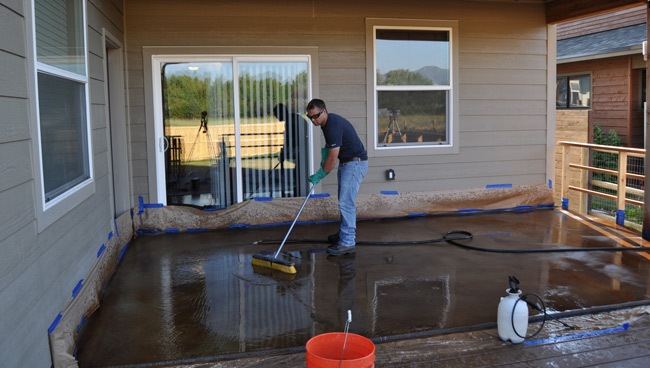
 Use a shop broom and lightly brush the surface to remove residue. I'd recommend a shop broom instead of a mop for outdoor staining because broom finished and trowel finished concrete can shred a mop pretty easily. Once you've brushed the entire surface, rinse with a hose. Repeat the neutralizing and rinsing process one more time to ensure all of the residue is gone. The water should be clear without stain color in it.
 Let the concrete dry completely prior to applying a sealer. About 5 to 8 hours is typically plenty. Make sure rain is not in the forecast.
 Step 10: Apply Sealer
Seal the concrete. I like to use solvent based sealers for concrete patios, but you are welcome to use water-based if you'd prefer. I've found H&C concrete sealer to work well for outdoor applications. The Clear Gloss version gives the stain a rich color / wet look and is super durable. I've also had good luck using SuperSeal 2000 which is available on Amazon. Make sure you don't seal when the temperature is above the recommended sealing temperature set by the manufacturer. Bubbling of the sealer is one problem that can occur if sealed when the concrete is too hot. If you are sealing the concrete with a roller and bubbles are forming, you can get rid of bubbles by running a brush over the problem areas.
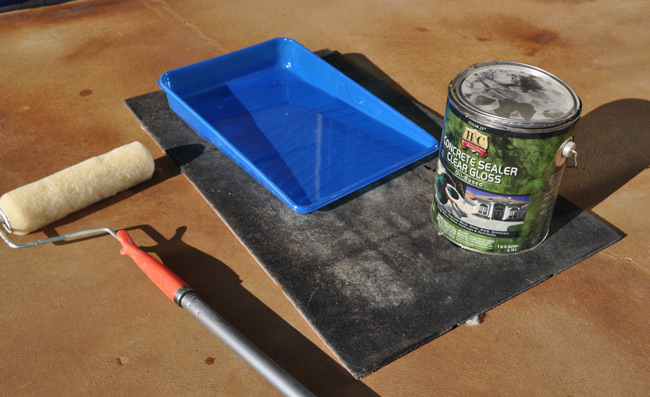 Use a brush to apply sealer around the edges and in hard to reach places.
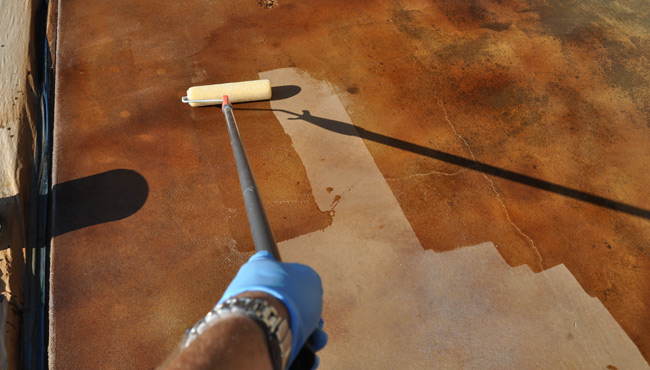
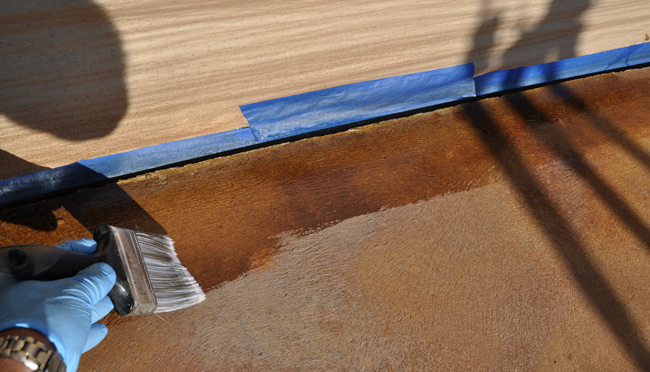 Use a 3/8 nap roller to apply the sealer. Apply the first coat. Let the first coat dry for the proper time recommended by the manufacturer. Apply a second coat in a perpendicular direction to how the first coat was applied. Let the final coat of sealer dry properly before walking on the newly stained patio.
 Step 11: Clean up
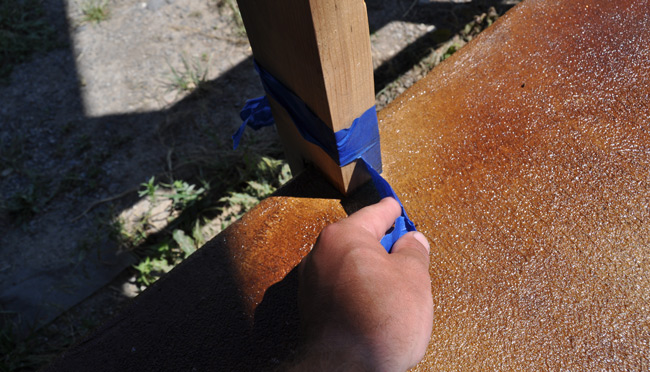
Remove tape and masking once the sealer has dried. Wait at least 24 hours before putting chairs or patio furniture on the concrete.
 Step 12: Add Furniture and Enjoy!
Host a BBQ or sit and relax on your new acid stained concrete patio! Your friends will all want to stain their concrete patios after seeing how good of job you did!
Here is a link to patio furniture you can order to fill up your new space. If you are wanting to fill your patio with DIY cedar furniture, I'd highly recommend building Ana White's Outdoor Sofas!
 Please like, share, and pin this project about how to acid stain concrete helpful! Thanks so much for checking out DIYPETE.com and cheers from Montana!


 Quick Facts about Acid Stain

 Step 3: Degrease and Remove Stains
 Step 5: Prepare Acid Stain
 Step 6: Wet the concrete
 Step 7: Stain Vertical Surfaces if Needed
 Step 8: Apply Acid Stain to Concrete
 Step 9: Neutralize Acid Stain
 Step 11: Clean up
 Step 12: Add Furniture and Enjoy!