

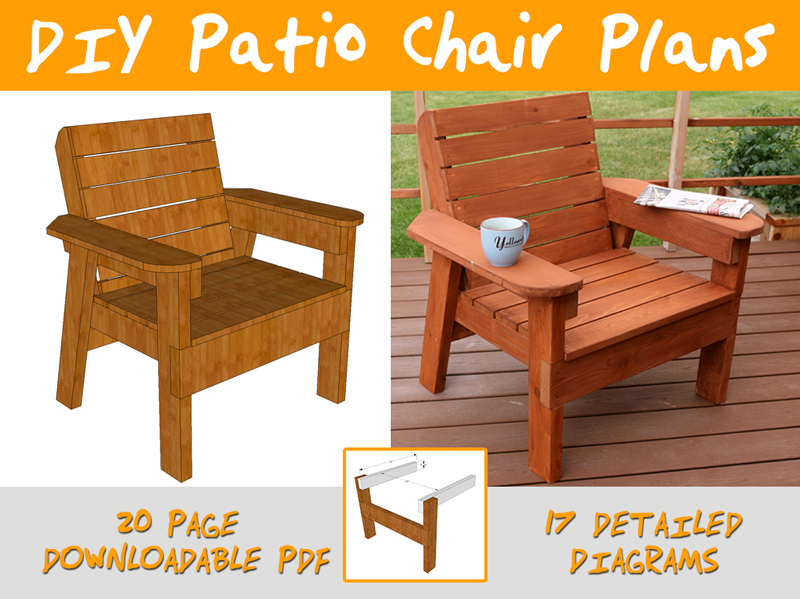
Here is a simple to build DIY Patio Chair. This cedar chair is a great introductory project to woodworking. The seat is about 16 inches high and there are 22 inches of room between the armrests, so you will have plenty of room to move around. The back is at a slight angle which will provide a comfortable place for you to sip on your coffee, read the paper, or enjoy your next barbecue. Along with this detailed post, you'll find a complete DIY Patio Chair video tutorial and plans. What are you waiting for? Let's get started with the build!

Tools Needed
Miter Saw– I’d recommend a 12 inch miter saw
Table Saw
Drill
Impact Driver (Optional)
Orbital Sander– Ryobi makes a nice one.
JigSaw
Respirator mask
Kreg Jig (Optional)
Carpenters Square
Clamps
Tape measure, straight edge, pencil
Respirator/dust mask, eye, ear, and hand protection
*Please note some of the links in this tutorial are affiliate links. By using the links to purchase products, you’ll help support more projects on DIYPETE.com. Thank you!
Supplies Needed
2×4 Boards, 1×4 Boards, 2×6 Board, 1×6 Board, Wood Screws, Wood Glue, Wood Putty, Sandpaper
I used Cedar because it does well in the outdoor elements. Redwood is another good and affordable choice. To minimize costs, you can build this out of pine, fir, spruce, and other budget friendly boards. Just make sure to give it a good coat of deck stain or paint. Then keep on top of the maintenance to prevent the wood from rotting etc.
Download DIY Patio Chair Plans
Please Download the Plans to get the cut list and blueprints for the patio chair project. They are available for a small cost.

Watch the Patio Chair Video Tutorial
Take Action!
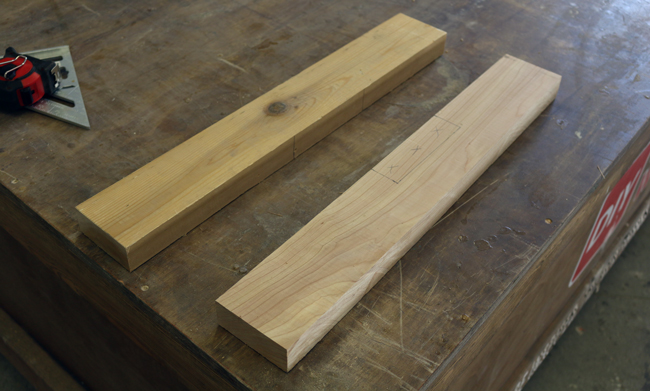
The first step of the project is to make the front legs for this project. I used a miter saw to make the majority of the cuts.

Build the Legs

Measure up from the bottom (according to the plans) and make a mark. Then measure up 5 1/2 inches and put another mark. You'll measure back 1 1/2 inches. This will be the notch for a 2×6 board that will connect the front legs. Please note that a 2×6 board is actually 1 1/2 inches thick and 5 1/2 inches wide.
Cut out the notches using a jigsaw.

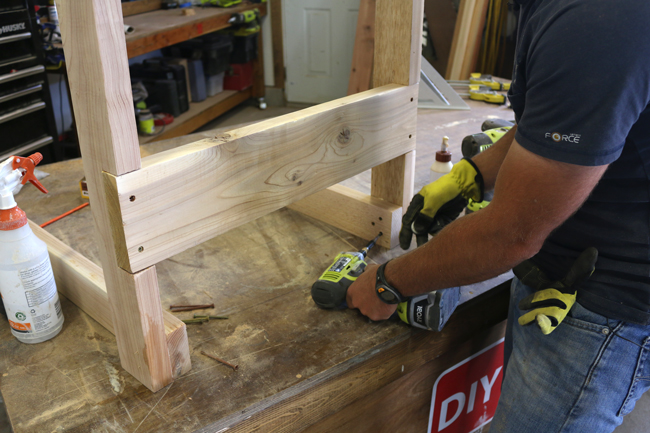
Connect the 2×6 board to each front leg. Fit it in the notch and use a carpenters square to make sure everything is lined up correctly. Always pre-drill to prevent the wood from splitting. Then use wood glue at the joints, and screw together. I am using an impact wrench in this photo, but a normal drill will work well too.
Add the Chair Armrest Supports

Flip the chair upside down so you have a flat surface to work on. Then attach the armrest supports to the front legs using wood glue and about 3 screws for each side.
Rear Legs
Cut the rear legs. All angles cut for the legs and supports of this project are at 15 degrees. The exceptions are the angles for the top of the backrest and the back of the armrest surface which are cut at different angles and are purely done for looks. The rear legs have a 15 degree angle at each end.

Use clamps to hold the legs in place while you line them up. For my project, I measured 12 inches back from the inside of the front leg. The rear leg is placed at that mark, and lined up so the angle is flush with the top of the armrest support. The leg also needs to rest evenly on the ground.

Connect the rear legs. Measure straight up from the table surface. Clamp the support in place and then attach from the outside using wood glue and screws. The lower corner of the support board should be flush with the front of the rear leg. The support board should be oriented straight up or at 90 degree angle to the ground.
Seat Supports

I used 3 seat supports. One for each end and one in the center. The front of the board is cut at a 90 degree angle, and the others are all 15 degrees. Connect the two outer supports to the legs with screws. The board should be parallel to the ground, and should rest evenly and level on the rear support board. The inside of the 15 degree angle should be close to even with the back side of the support board. (as shown below)
Backrest Supports

Cut and add the backrest supports. I used a total of 2 of them. Cut 15 degree angles at each end. You can then cut two 30 degree angles on top to give it a rounded over appearance. You can then use the board as a template to cut the second backrest so you get the same exact angles on the top. These angles are just for looks, so if they don't turn out perfect it's okay. You could round over the tops with a coffee can and jigsaw if you'd prefer.

Add the second backrest support. Once this step is complete, we have the frame ready to add the seat and back wood slats.
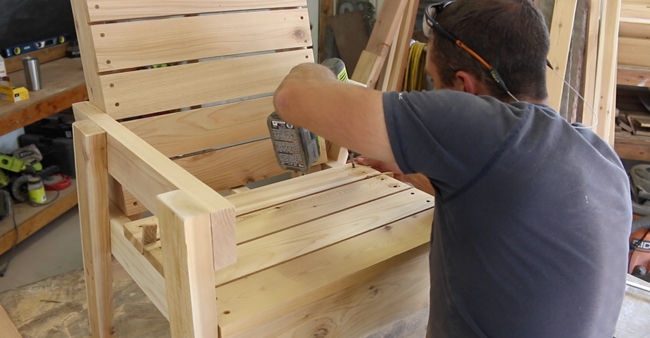
Make Seat and Chair Back

Use 1×4 boards to make the seat and chair back. A 1×4 board is actually 3/4 inches thick and 3 1/2 inches wide. I prefer to make the backrest first, followed by the seat. Use 1/4 inch spacers to evenly space each board. Use a table saw to rip down the width of 1 or 2 boards if needed to make them fit perfectly. Always pre-drill.

Start at the front of the seat and move your way back. Overlap the front board about a 1/4 of an inch.

Shape and Attach Armrests
Round the front of the armrests. A paint can works perfect for this process. I decided to do a 45 degree angle on the back side of the armrest. Cut the angle with a miter saw.
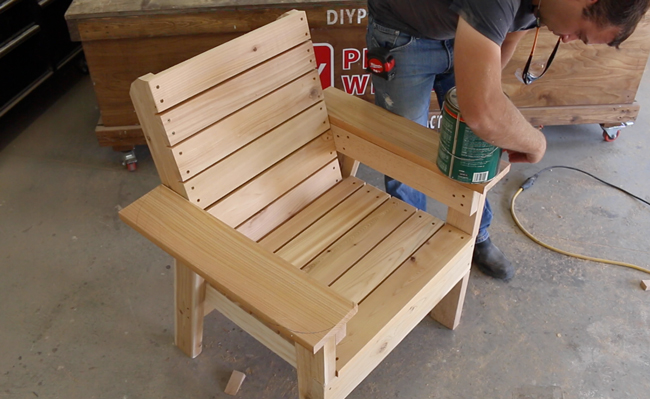
Attach each armrest from the top side. Use wood glue and screws.

Wood Putty

Fill in the screw holes with wood putty. (Make sure each screw is countersunk) Use a stainable wood putty if you plan to use a stain and not paint.

Let the wood putty dry. Then remove with an orbital sander. The putty underneath the armrests is a bit harder to remove. Try not to have a whole lot of excess putty in those areas. Either use a lower profile type sander or sand by hand.

Add a finish

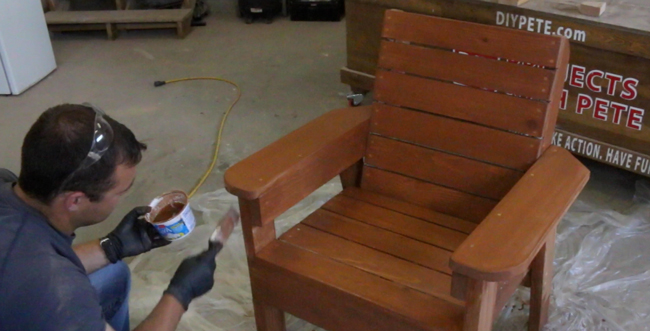
Complete the chair with your finish of choice. I used a deck stain I found at Sherwin Williams. Brush on a couple coats and let dry.

Enjoy!
Please share your chair projects below. I'd love to see how yours turned out! Please post to the DIY Pete Facebook page as well. Download the plans here to get started.