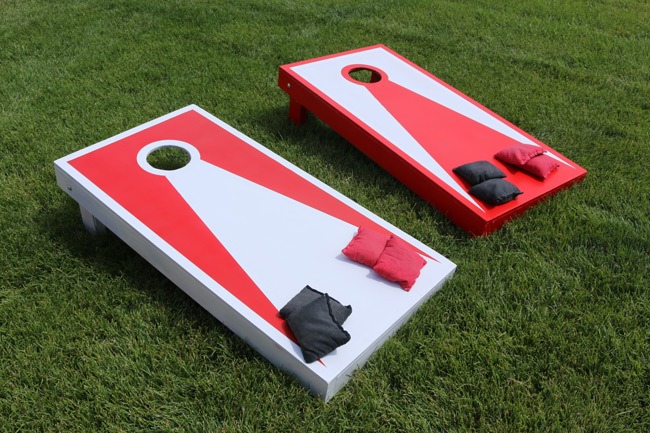
Cornhole toss is a great activity to play while tailgating or enjoying your next barbecue. Building cornhole boards is a simple DIY project you can easily complete in a weekend. For this tailgate themed project I used Krylon® COVERMAXX® Spray Paint. The DIY Cornhole Plans for this project can be downloaded here.
Please note I only promote brands and products from companies I believe in which is why I chose to partner with Krylon. This is a sponsored post and I was compensated for sharing this project.
Gather Materials
Gather your materials to build this project. You’ll need 2×4 boards, ½ inch plywood, carriage bolts, washers, wing nuts, screws, wood glue, masking tape, stencils/decals, and Krylon COVERMAXX Spray Paint. Spray paint works great for this project and gives you a professional finish. You can find Krylon COVERMAXX at your local Walmart. For your convenience, I’ve created FREE DIY Cornhole Game Plans for this project, which can be downloaded here!

Make your Cuts and Assemble
Cut the 2×4 boards to size according to the plans. A miter saw makes this process go quickly.
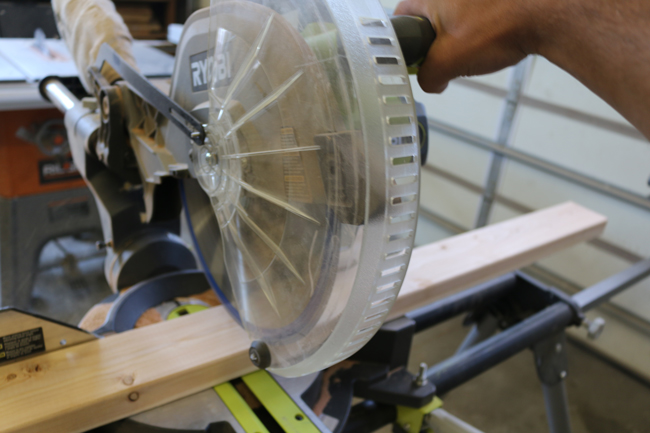
Cut the shorter boards for each end. Make sure they match the dimensions of the plywood.

Sand the rough ends and sides of the boards so you’ll have a smooth finish. I recommend 220 grit sandpaper.

Assemble the 2×4 boards to each other using wood screws and glue. Always pre-drill.

Apply wood glue to the top of the 2×4 platform and set the plywood in place.
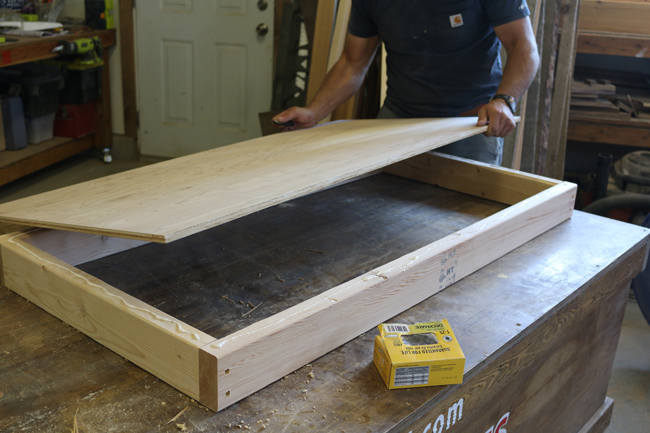
Attach the ½ inch plywood using short wood screws from the top side. Pre-drill, and then countersink each screw about 1/8th of an inch.
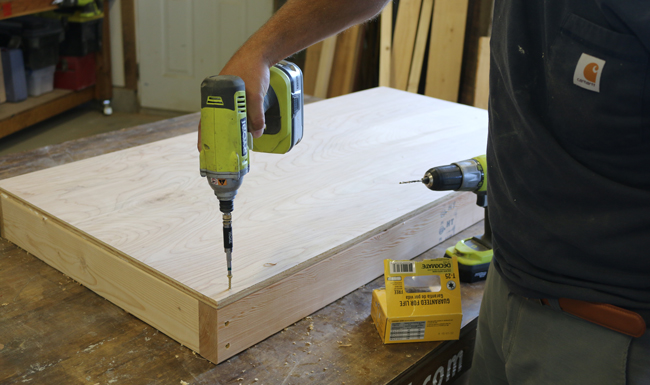
Here is a look at the plywood attached to the frame.

Measure 9 inches from the top and put a mark. Then find the center (left to right), which should be approximately 12 inches.

Drill Hole
Create a 6 inch diameter circle. Use a 6 inch cornhole bit or compass and jigsaw to create the hole.

If you don’t have a large 6” hole saw, simply draw a circle with a compass and cut using a jigsaw as shown below.

Drill a 3/8 inch diameter hole 1 ¾ inch down from one end of each leg.

Use a small paint can or a compass to draw an arc on the end of the leg with the hole. The rounded end will allow the leg to move up and down.

A jigsaw is used to round each end of the legs.

Add Cornhole Legs
Place a leg in the corner with the rounded end flush against the back 2×4. Then use the hole you already drilled in the leg as a guide. Place the bit trough that hole and drill a new hole into the side 2×4.

Push a carriage bolt through the side board and leg. Use a washer and wing nut on the other side to secure the leg in place. Test to make sure the leg moves up and down. Sand excess wood off the rounded side of the leg if it isn’t moving up and down easily.

You will need to cut the legs at an angle so they rest evenly on the floor. They typically need to be cut at an angle of about 8 degrees. To ensure the table is 12″ off the ground and has the correct angle I like to level the table using the process below.
Put the cornhole platform on a large and flat table. Shove a box underneath and check to ensure the back board is at 12″ above the surface. Once this has been done, slide the corner of the platform over the edge of your surface.
Once the table has been slid to the side, you can use the surface below as a straight edge to draw a line for the angle that will need to be cut.

Cut the angle on the miter saw. It will typically range between 5 to 10 degrees. Here is a photo of the legs with the angle cut.
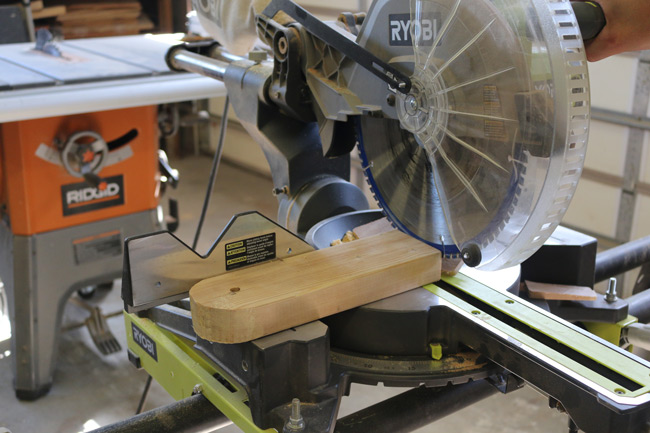
Fill the screw holes with wood putty. Allow the putty to dry.

Sand excess wood putty and the top surface of the boards with 220 grit sandpaper.

Paint the Cornhole Boards
Paint the boards with your Krylon color of choice. I painted the surfaces with Krylon COVERMAXX White Gloss prior to adding colors. This way the colors are as bright as possible. I’d recommend 2-3 thin coats. Always read the product label for proper application and safety instructions.

Use masking tape and mask material to create a design for your boards. I did each board so the design looked the same, but reversed the colors on each.
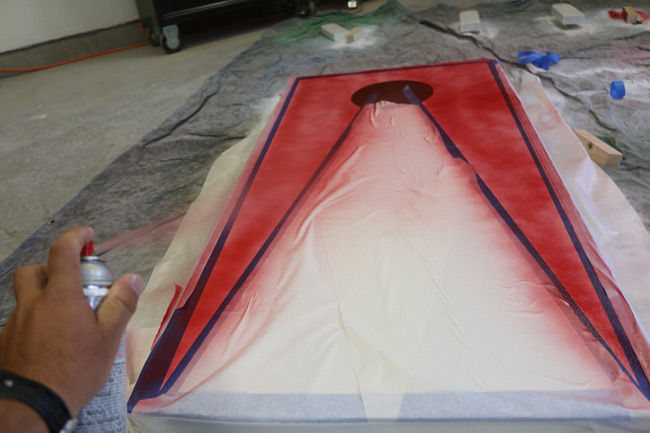
Apply 2 to 3 coats of the color of your choice. I used Krylon COVERMAXX in Banner Red.

Here is a photo showing the second board, which is painted with the colors reversed.

Let the paint dry. Slowly remove the masking material and stencils.

I made a circular stencil to add a ring around the hole.
 Reassemble the boards. Seal the boards with Krylon COVERMAXX Acrylic Crystal Clear sealer to protect your beautiful paint job! Add decals with a cool design or your favorite sports team logo if you’d like.

DIY Cornhole Plans
Download the free Cornhole Board Plans here.

