Tool Level: Black Diamond Special tools required: Welder and Plasma Cutter
Project Skill Level: Black Diamond
This project requires special tools and is an advanced DIY Project. I understand this is advanced for the typical DIY'er, but think you'll enjoy learning the process in case you want to get into metal work someday. I learned how to weld and plasma cut by watching youtube videos and buying a welder from Home Depot. You can too!

Tool Required
Plasma Cutter – I use the Hobart 250CI
Welder – I use a flux core wire fed welder that will plug into any 110 outlet.
Torch and Propane Tank – (Either use a hand held propane torch (under $10 at home depot) or a Weed Torch
Dremel tool – optional
Grinder with Flap Disk
Orbital Sander with 120 and 220 Grit paper
Ferric Nitrate and Liver of Sulphur (To Patina) Otherwise use salt/vinegar mixture
Paste Wax
Muriatic Acid – To clean off the metal
Pencil, Soapstone, or Sharpie
Measuring Tape
Raw Materials Needed:
QTY 1: 36″x12″ Sheet of 14 gauge steel for background layer – Buy at a local steel supplier
QTY 1: 30″x8″ Sheet of 16 gauge steel for silhouette layer
QTY 1: 40″ of 1 inch square tubing for brackets – (Will cut in half during the project)
Design – Draw a design on your metal. If you need help drawing it to scale and have an image on your computer shoot me a message or visit www.signsofthemountains.com. They can send you a custom decal and only run $10 / square foot.
Step 1
Clean the Metal
In the video I actually do this later in the process but it can be done earlier. Metal has a greasy coating when you buy it and I've found that muriatic acid works well to clean it. Brush it on with an acid resistant brush, let it sit for 5 minutes, and then brush in circles with a scotch pad. Once completed rinse with water and try. (Make sure to wear rubber gloves, a respirator, and to have proper ventilation.
Step 2
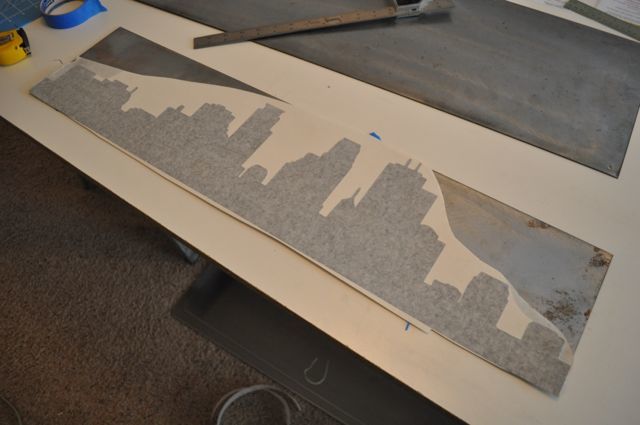
Get a decal from SignsoftheMountains.com or draw your own design.

Step 3
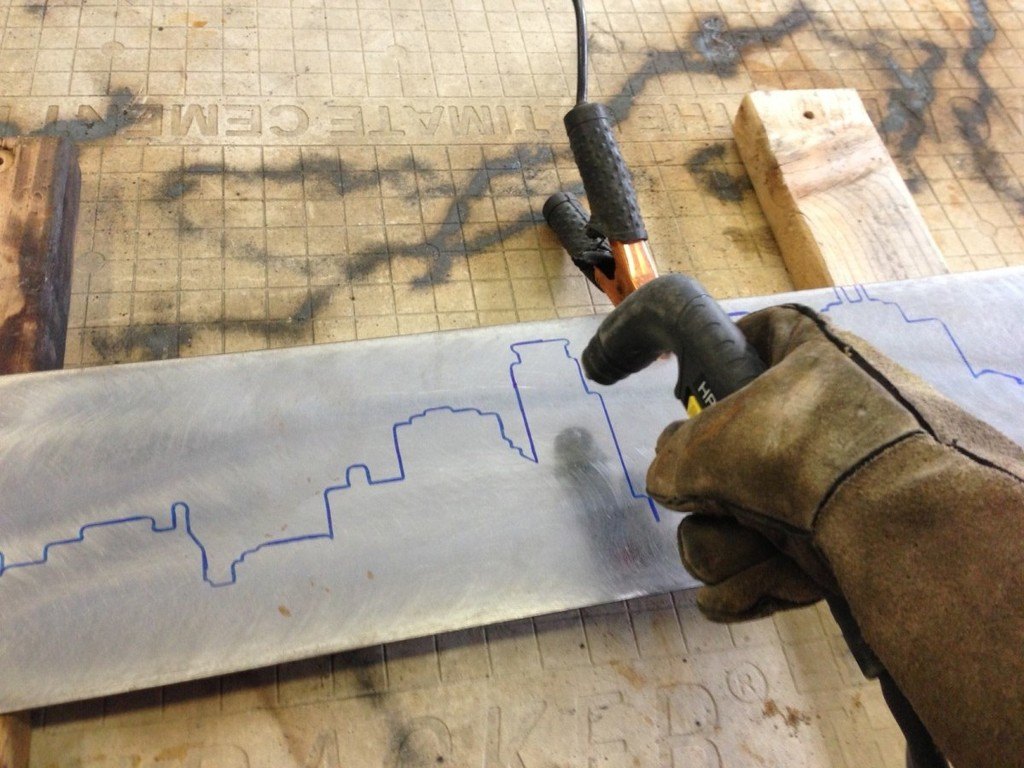
Apply the stencil and trace around it. Or, draw your own artwork ont the metal.

Step 4
Cut the design out with a Plasma Torch. After cutting, I like to clean up the rough edges with an angle grinder followed by a Dremel tool (see video for more details).


Step 5
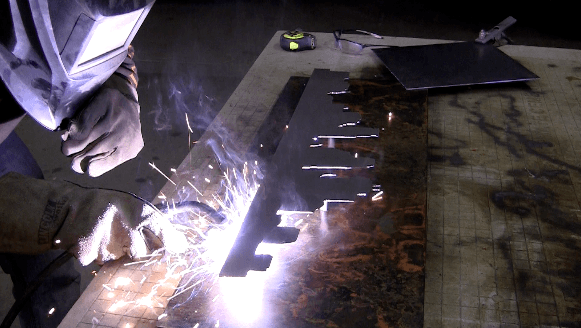
Cut and then Weld the square tubing on. I did a 24 inch piece on top and a smaller piece on bottom simply because that was all I had around the shop. The bracket serves two purposes. The first is to give the piece dimension and bring it out from the wall. The second is to have a bracket so the sign can be hung. I like to use the plasma cutter to make a hole in the top bracket which enables you to easily hang the piece when completed. You'll use a photo mount to hang the piece. After welding the brackets you'll have weld marks on the front of the metal. These can be removed by using 120 and the 220 grit paper on an orbital sander.

Step 6
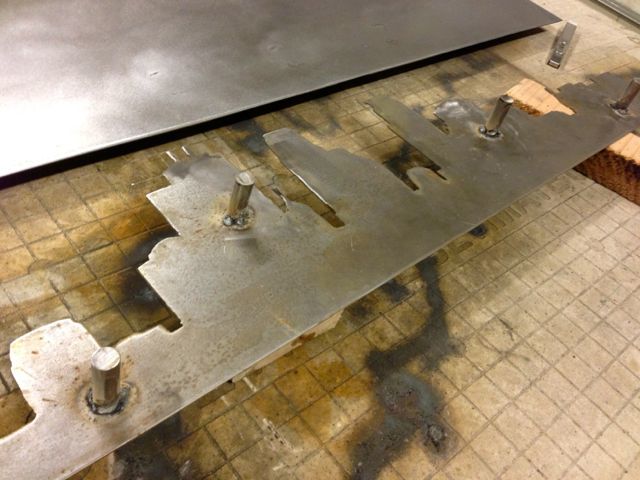
Take your half inch rod and cut it into four pieces. (Each 1 1/2 inches long). Weld these onto the back of the city silhouette. You'll have weld marks on the front so use your orbital sander to get rid of them and to clean up any rough edges / slag.

Step 7
It's time to Patina. I use a propane tank and a weed torch to speed up the process, but you can do the patina process without it. The torch simply speeds up the process. I use Ferric Nitrate and Potassium sulfate in this example. I couldn't find them locally so ended up ordering them from a science store online. Here are the links.
Ferric Nitrate – Potassium Sulfate

Step 8
Once the patina is looking the way you'd like it, grab your silhouette and center it on the background. Then weld the two pieces together.

Step 9
Apply paste wax to the background and silhouette. Use a rag to rub the wax on in circles. Then buff off. The patina will darken up quite a bit. When buffed it will really shine up and look nice.

Step 10
Hang your piece. I use a picture fram mount to do so. Hook the frame in the top bracket on the back of your piece.


Step 11
Admire your work and show it off to all your friends. JOB WELL DONE! Grab a cool refreshment and enjoy. Don't forget to send picture or post them to our facebook page at www.petesveen.com/diyprojectswithpete because I'd love to see your work!


I've had requests from people interested in buying these signs as well. I do create custom items when I have time. You can see what is available at https://www.signsofthemountains.com.
Comment below with any ideas, suggestions, or questions you may have!


