
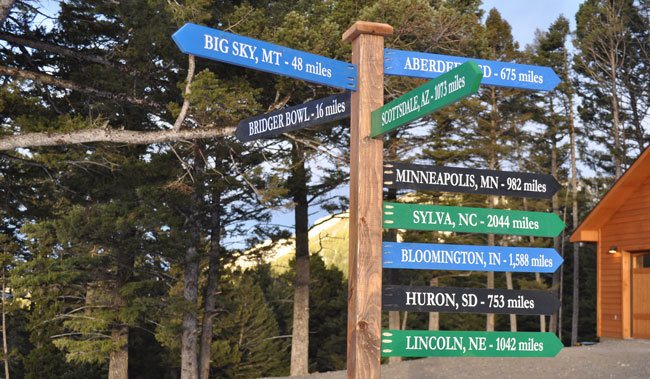
This past weekend I decided to build a directional sign post as a birthday gift for my Dad. He loves to travel and so I made signs with the places he visits frequently and has connections with. Many of the locations on the signs are cities where family lives. I also found the distance from Bozeman, Montana to all of the locations and put the driving mileage to each city.
Project Materials
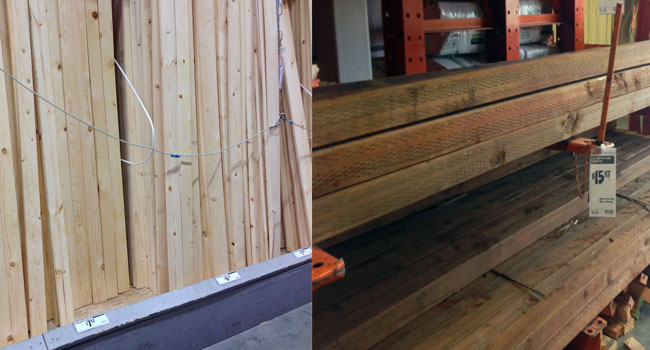
- Sign Blanks - 1x4 boards cut to 30" in width for each sign
- Sign Post - Pick up one 4x4 by 10 foot post
- 2.5" Kreg Jig Screws
- Sandpaper
- Stain - I used Special Walnut stain by Minwax
- Outdoor Polyurethane
- Quikrete fast setting concrete
- Spray Paint
- Paint for city name writing or decals which can be ordered from (www.signsofthemountains.com)
Tools
- Power Drill
- 12″ Miter Saw
- Kreg Jig
- Orbital Sander
- Shovel and Post Hole Digging Tools
Need more tool recommendations or curious about the tools I trust and use in my builds? Visit my Storefronts on Amazon and Lowes to find everything I recommend for DIY projects big and small!
Video Tutorial
Step 1
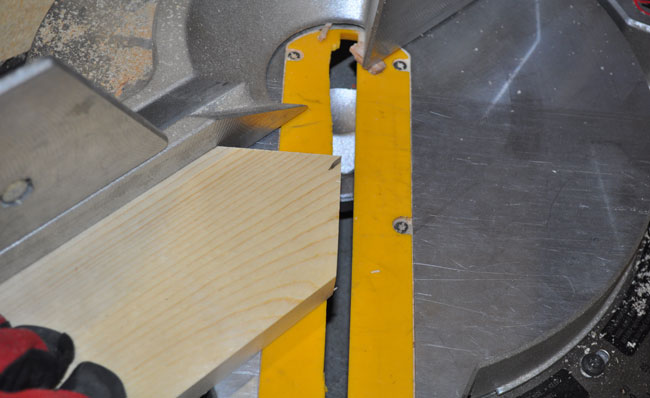
Cut all sign blanks using a miter saw. For my project, all sign blanks were cut to 30" in length. Cut as many sign blanks as you'd like. I did a total of 9 and might add more later. Cut one of the ends to form an arrow by setting the miter saw to 45 degrees.
Step 2
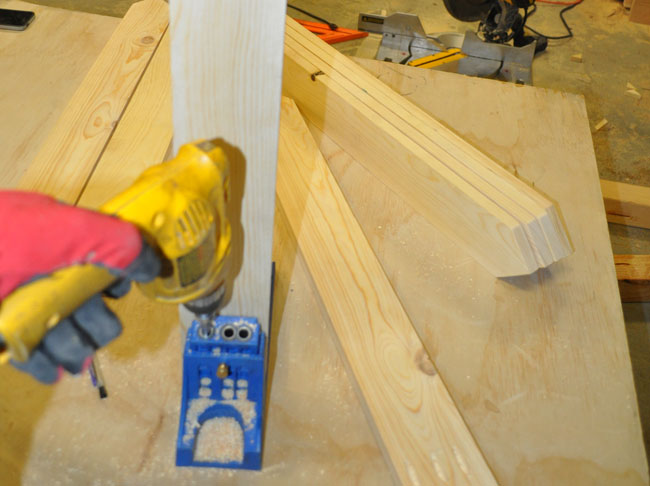
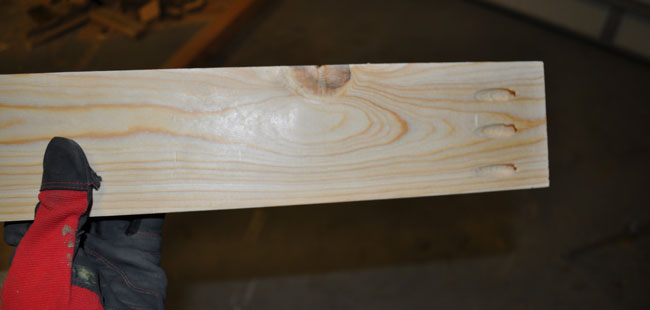
Sand the boards and then use a Kreg Jig to make pocket holes in the 1x4 signs which will be used to attach the 1x4 to the 4x4 post.
Drill 3 Kreg Jig holes in each sign.
Step 3
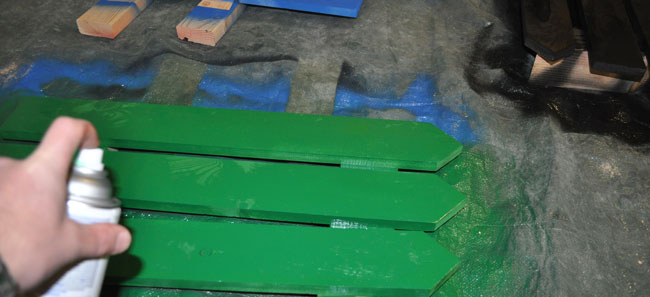
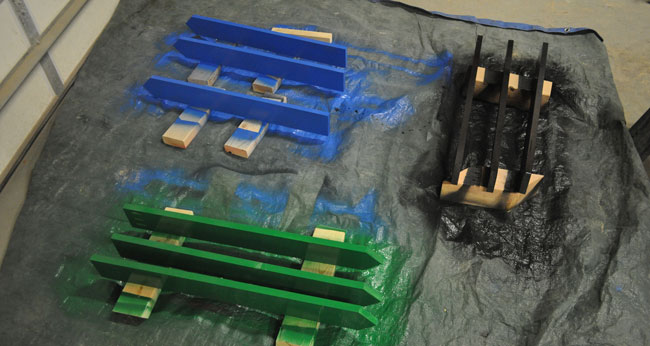
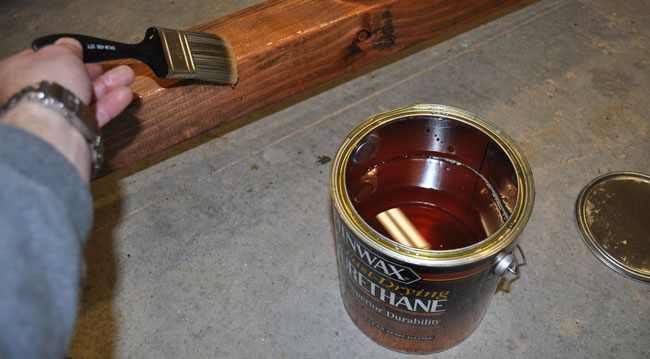
Paint the sign boards with your colors of choice. I used spray paint from Rustoleum. Use proper ventilation while painting and wear a respirator or mask to protect yourself from the fumes. Paint both sides of each board with 3 coats.
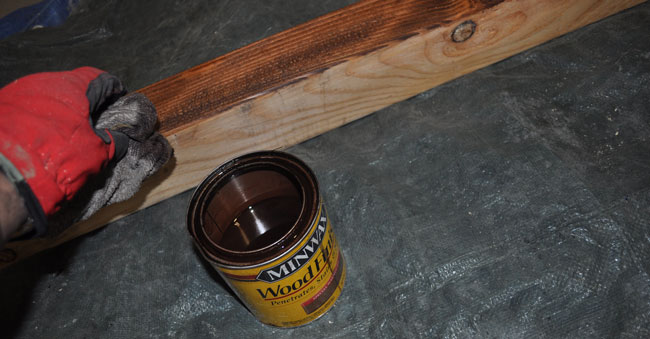
Stain the 4x4 if with one coat of Minwax stain. Wipe on with a rag. Then apply 2 to 3 thick coats of outdoor poly on the post.
Step 4
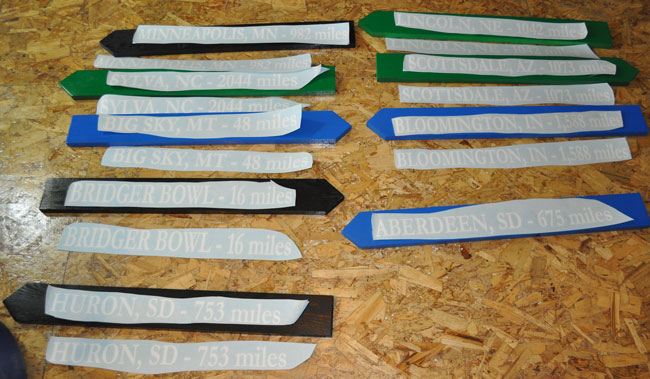
Either paint the city names / mileage, use stencils, or purchase custom decals from a local sign supplier. I own a sign company and so if you need custom decals head over to http://www.signsofthemountains.com/contact/ and let me know what you need!
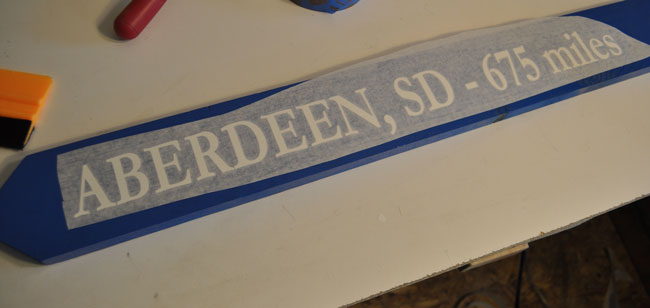
Set the signs out and in the direction you'll want it to point. Apply the decals.

Step 5
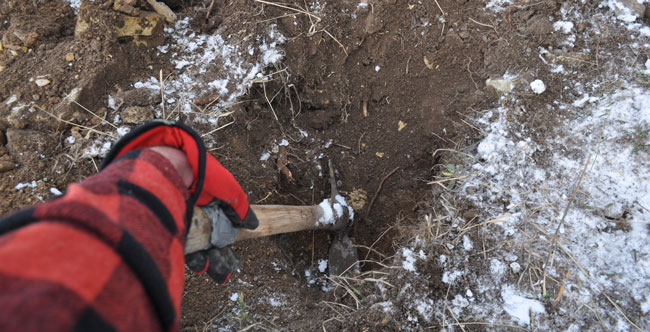
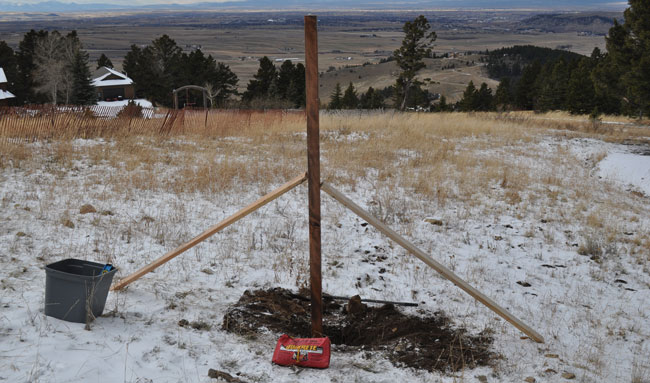

Dig hole for the post. For a 10 foot post I'd recommend digging 2.5 to 3 feet deep.
After the hole is dug, place the 4x4 in the hole and temporarily stabilize by screwing a 2x4 on each side as braces.
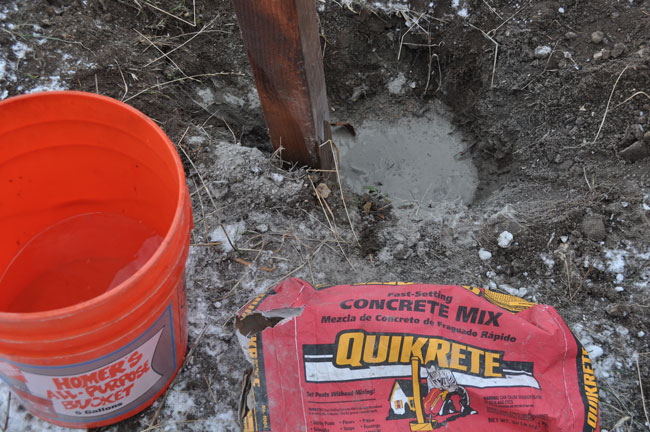
Fill around the post with Quikrete fast setting concrete. Then pour a little water on the mix to activate the concrete reaction.
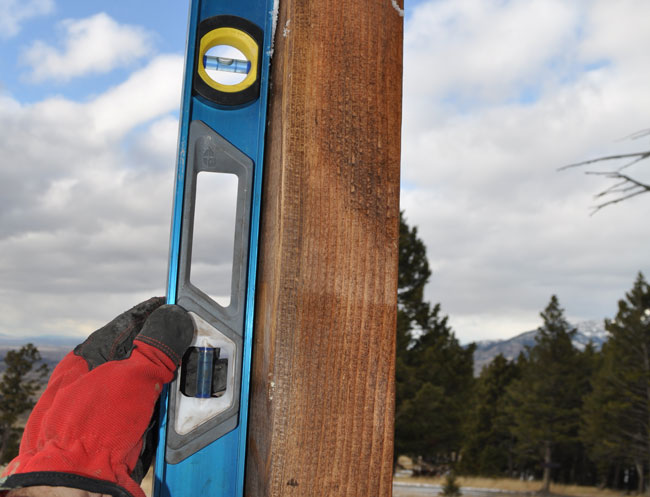
Use a level to make sure the sign stands up straight.Use a couple screws to attach a decorative post top. Mine was $1.49 at Home Depot.
Step 6
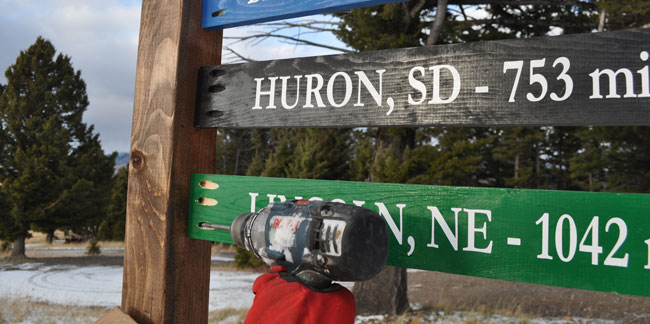
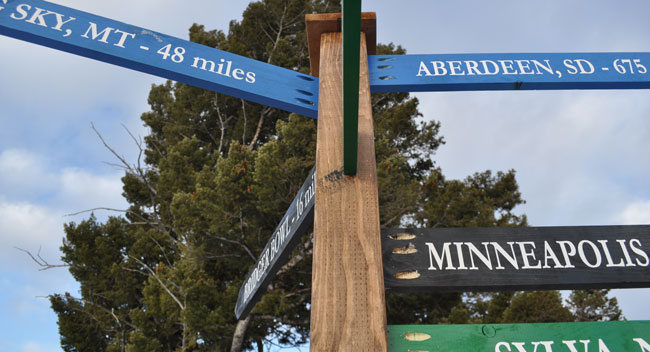
Attach the signs to the post using 2.5 inch Kreg screws. Space signs accordingly and point them in the direction of the city or place.
Step 7
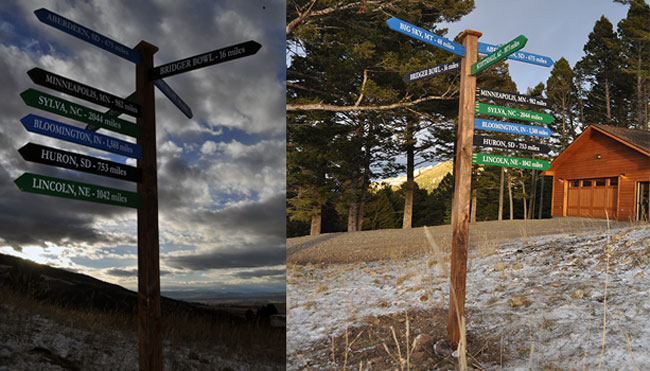
Admire your work!
I hope you go out and build your own project! They are fun to build and will get a lot of compliments. Please Pin, Like, and Share!
More Projects from DIY PETE
If you enjoyed this project, be sure to subscribe to our Youtube Channel for all our more recent projects. Check out our plans page for your next weekend project and other of our most popular projects below. Cheers!
