Impact-Site-Verification: -610258735
In this tutorial we will go over how to build simple shelving for small closets. My wife and I have an older home with little storage space and very small closets. We've had to make the most of each closet by building simple wood shelving that maximizes the storage space of each closet so we can stay organized as best as possible.
Planning shelves for small closets
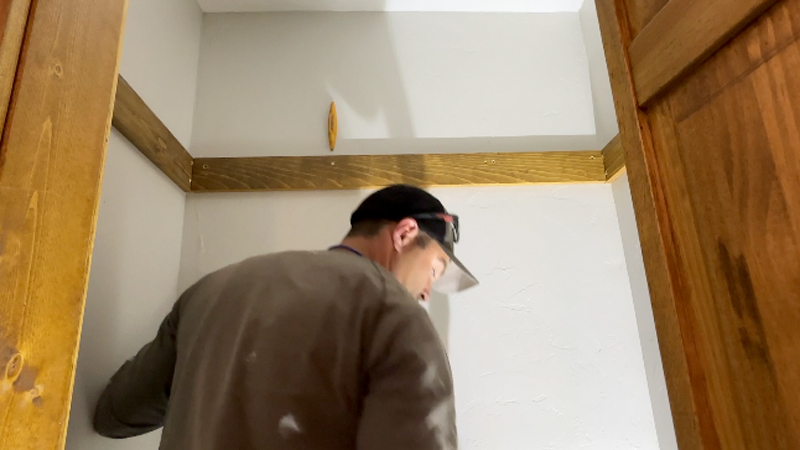
The first step is to take a look at the closet and brainstorm the best layout for what you need to store. Our small closet is 44 inches wide by 28 inches deep with a standard 8 foot height. We decided an upper shelf that is 44″x 13″ and then 28″x13″ shelves on the side would be efficient for storing totes and linens. In the photo below, I'm finding studs in the wall so the shelving system will be able to attach to them and make it super strong.

Cut boards to size
The next step was to cut boards to size for the simple shelving in our small closet. Use a table saw or circular saw to cut the plywood. We used radiata pine, which is the best quality and most affordable plywood at our local Home Depot.
I've built shelves many different ways. If you are looking to build adjustable shelves in more of a bookcase style, check out my bookcase tutorial here. In addition, I have a tutorial for larger closet shelves here.

Assemble the top shelf
We created a 44 inch by 13 inch deep top shelf. This is a good depth if your total closet depth is around 28-30 inches. If you have a shallow 22-24 inch deep closet I'd recommend an 11-12 inch deep top shelf so you have room to fit totes between the closet header and shelf.

Build standalone shelves
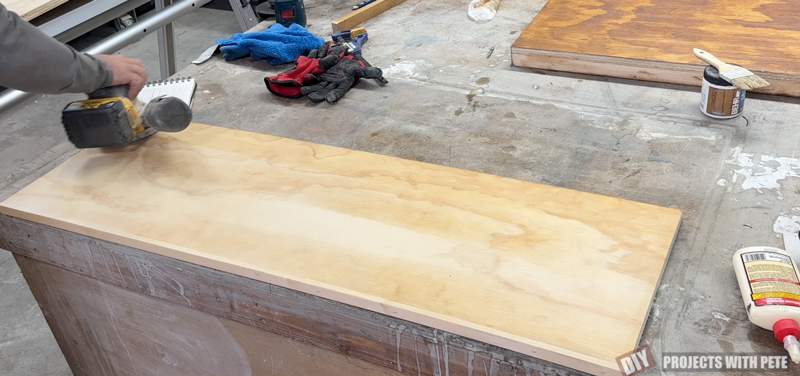
The side shelves for this small closet are 28 inches wide by 13 inches in depth. The beauty of building your own simple shelves for small closets is that you can customize them to fit your exact needs. The shelves have a frame formed around the sides which gives it strength, and an area that can be attached to the wall with 3 inch long screws. The strips are attached to the plywood using wood glue sand screws. I cut the front strip to 2 inches and it covers the front of the plywood. The other strips are 1 1/4 inch in height and the plywood is 3/4 inches thick.

Build supports for upper shelves
I used 1×4 boards to create support for the upper shelf. The 1×4 boards are attached to the studs in the wall and the upper shelf will sit on the boards. Use two 3 inch long screws at each stud.

Stain shelves
Stain or paint your shelves with your finish of choice. I like to use water based stains and sealers on my closet projects because they dry super quick and don't smell. This means we don't need to wait 2-3 days for oil based stains and sealers to dry and air out before bringing them into the house. We are able to build, stain, seal, and install our shelves in the same day. We used golden oak water based stain and a water based polyurethane.

Install shelves
The side shelves are installed by pre-drilling holes in the lower frame of the shelf where it will be attached to the wall. Then insert 3 inch long wood screws and make sure they go into the studs in the wall. Use a level to ensure the shelves go in evenly. We did 16 inches of height between each shelf. You'll also want to install a closet rod if you would like to hang clothes.

Enjoy!
Once you've built your shelving, it's time to start putting them to good use! We use the side shelves to store pillows, linens, and totes. The top shelf stores additional linens and a tote. I hope you found the tutorial helpful and that it inspires you to tackle your small closet project soon!

