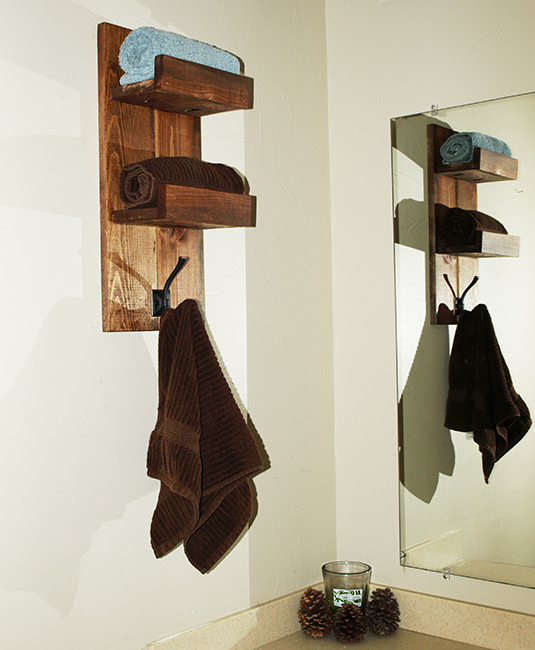
Add a touch of simplicity and elegance to your bathroom with this easy to assemble wooden towel rack! We were inspired to make this by Whitney over at Shanty-2-Chic. However, we decided to modify it by using tongue and groove and adjusting it to fit our space more efficiently.
Tools
Drill
Kreg Jig
Miter Saw
Table Saw or Circular Saw (optional)
Wood
QTY: 1 Type: 1×10 by 20 inches long
OR
QTY: 2 Type: 1×6 tongue and groove (We had scrap pieces laying around)
Other Supplies
Towel Hook
Wood Glue
The Build
I had some extra 1×6 tongue and groove wood lying around , so I decided to put it to good use and build a towel rack. You can easily make this project with whatever scrap wood you have in your shop. You can also tweak the design to fit your needs as well, but in this tutorial we created a towel rack with a height of 20″ and a width of 9″.
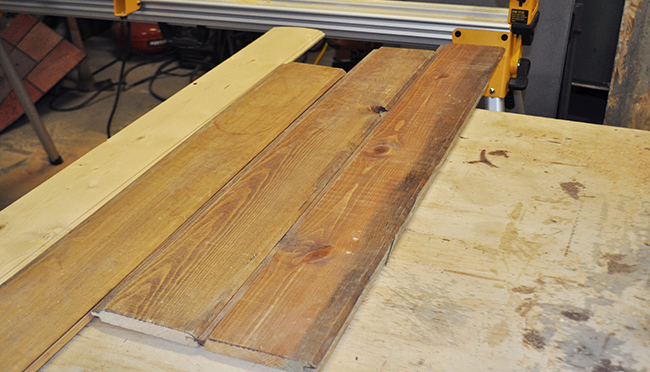
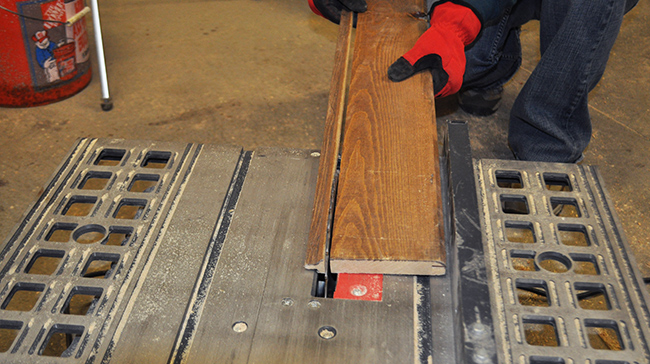
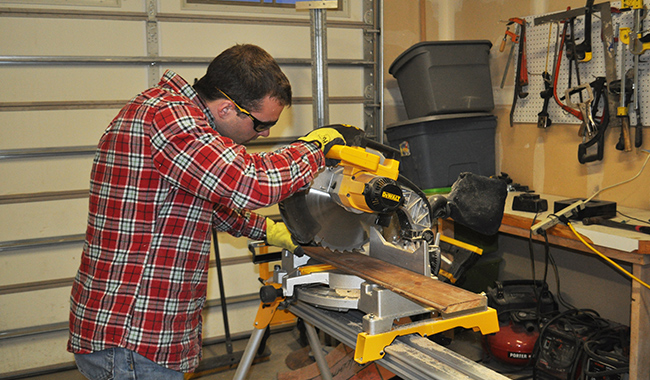
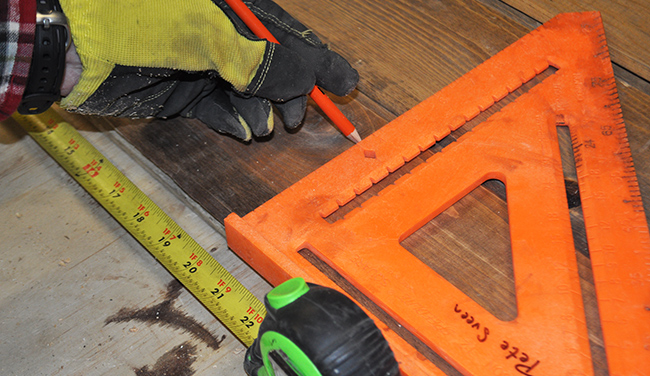 First we measured out the wood for 20″ and marked it for reference. Then we trimmed the tongue and groove boards, and proceeded to cut the boards down to 20 inches.
 Next you'll want to layout your two boards side by side. Place your towel hook near the bottom of the boards, in the center.
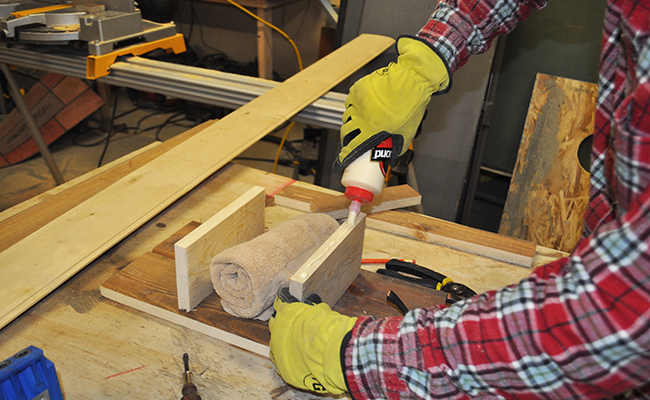
 Next we cut smaller boards to use as shelves on the towel rack. We cut our shelves to have a slightly smaller width than the base board to give it a bit of dimension. Then we cut 1×2's of the same width as the shelves to act as a small lip on the shelves.
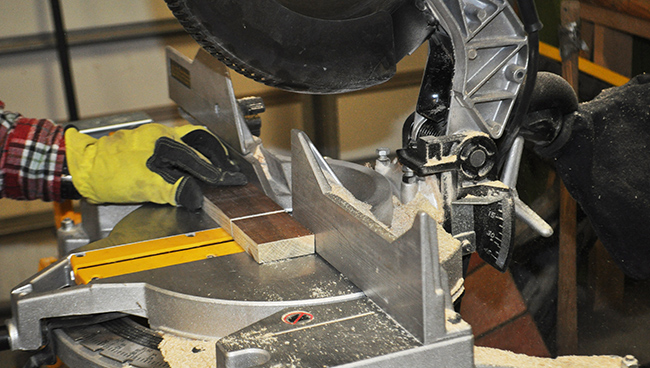 The picture below shows what your shelves should look like.
 Use wood glue and nails to attach the 1×2's to the shelf boards. I used the nail gun for this.
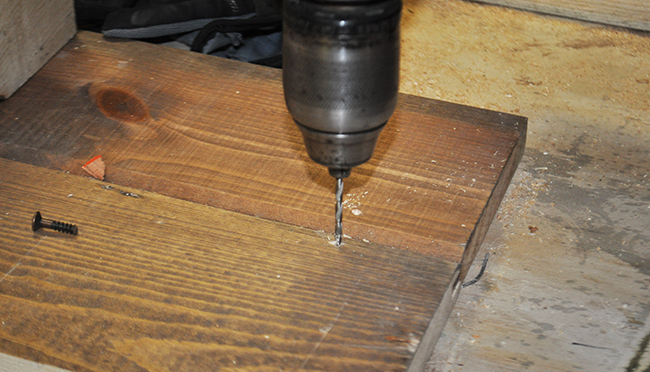
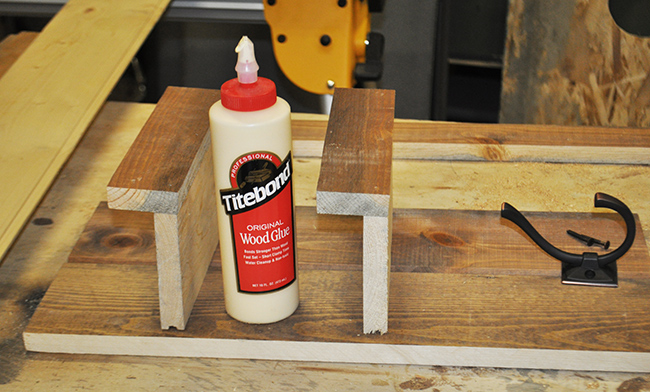 After gluing the shelf pieces together, you can drill holes for where the towel hook will go, and then measure out where exactly you want to place your shelves.
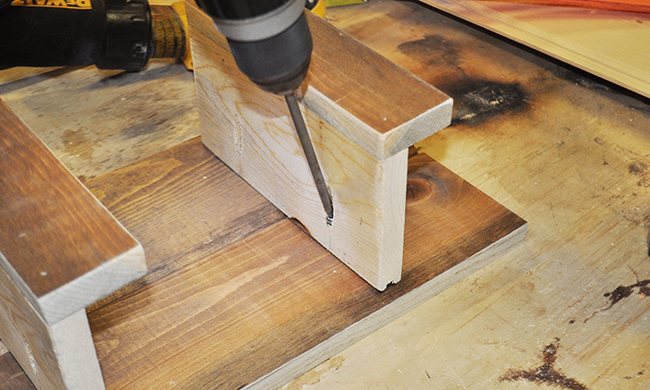
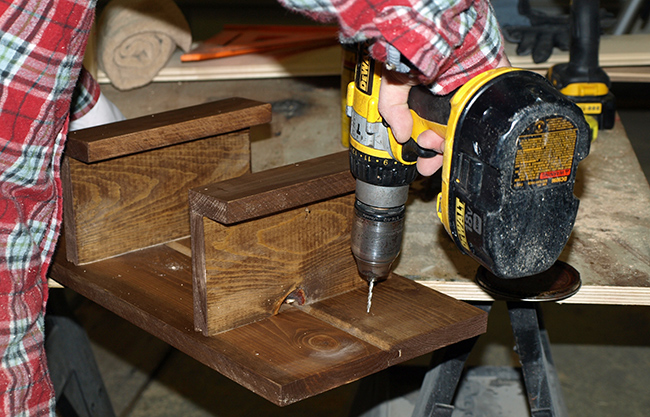
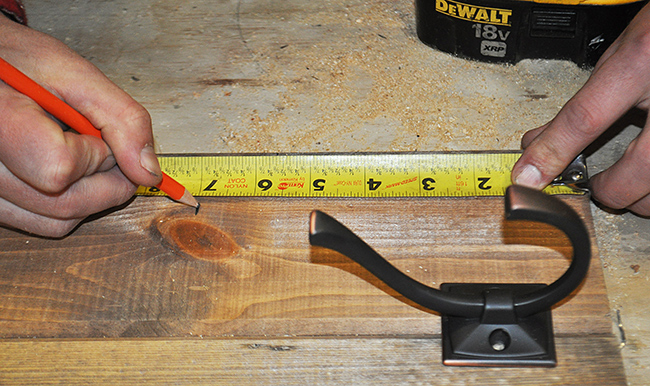 Once you've marked out where your shelves will sit, use a Kreg Jig to drill pocket holes into the bottom of the shelves.
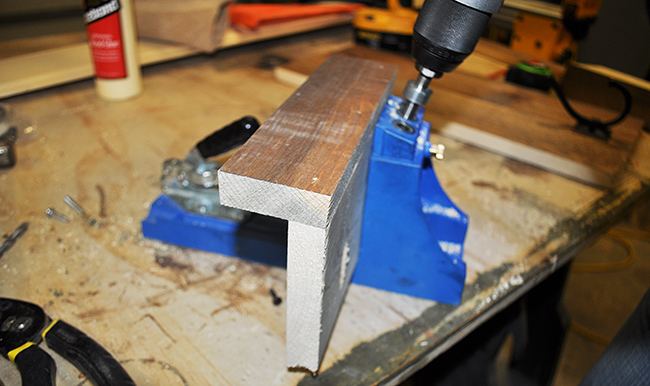 After you've finished drilling the holes, then you can go ahead and easily attach the shelves to the base board and screw on the towel hook.
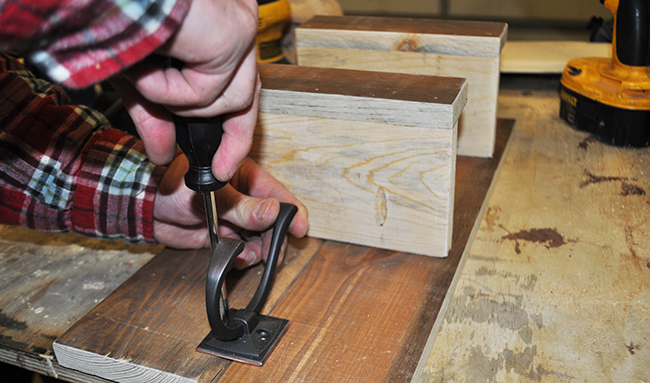 You're almost done – looking good!
 Finish it off with a nice wood stain for a polished look. I used “Special Walnut” from Minwax.
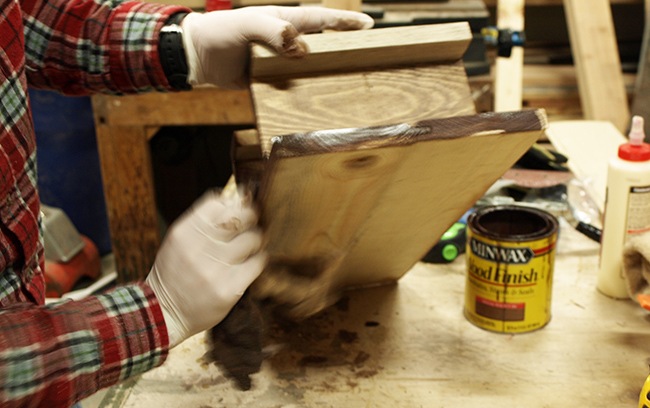 To mount, drill a couple more holes into the base board and then attach to your wall of choice. I drilled one hole near the top center and another one near the bottom center.
 You'll want to use a stud finder to find a stud to attach the rack to. I used 3″ screws to go through the rack and into the wall stud.
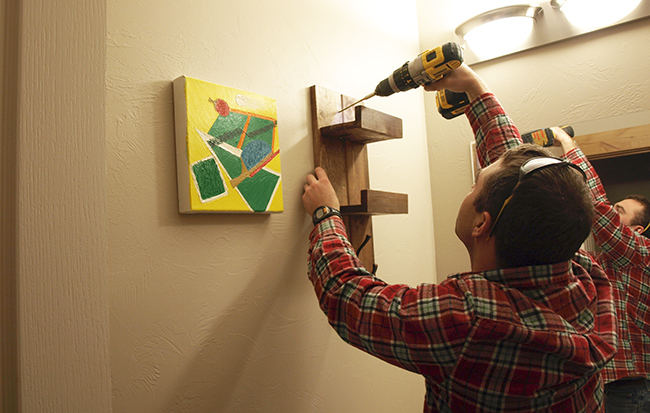 Add towels, and your towel rack is complete!
Please pin and share if you like this project or are inspired to create a towel rack of your own!


