Thanks for stopping by to check out the tutorial on how to make an outdoor gas fireplace. I've been searching for months to find a good tutorial and plans to make a more DIY friendly gas fire pit that didn't involve welding and masonry. Turns out there isn't much on the subject, so I researched to build my own.
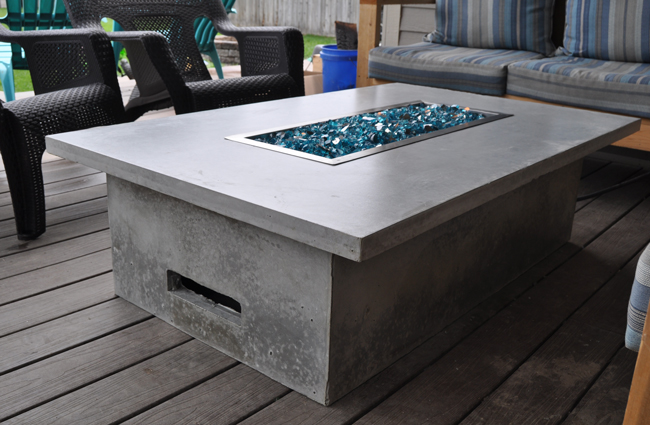
The outdoor gas fireplace is built out of two separate pieces of concrete. It consists of a base shaped like a box, and a concrete table top. I ordered the burner, fireplace pan, fire glass, and gas hookup kit from a company on Amazon.
Disclaimer: Recommendations for proper airflow for a propane kit were taken by creating 2 vents on opposite sides of the base. Please do your research for your specific kit and manufacturer to ensure your table is built safely and to code. Build at your own risk. Always hire a licensed professional for gas hookups and to inspect your build prior to using.
Quick Facts:
Estimated weight: Top – 184 pounds | Base – 230 pounds Total: 414 pounds
Fireplace Kit Cost: $467
Wood, Concrete, and Supplies: $240
Approximate total cost (not including tools ) $710-$800
Download Plans and Gather Materials
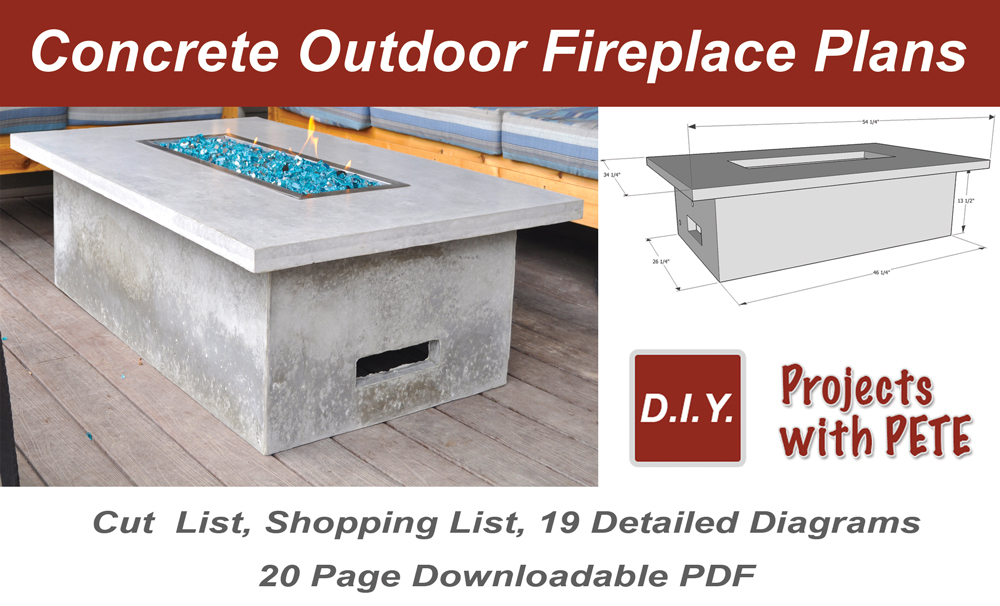
Plans Download Link – Shopping list, Cut List, Detailed Diagrams – 20 Pages
Fireplace Supplies: $442 for Propane Setup
30 inch x 10 inch Drop in metal Pan – $183
Propane Gas Hookup Kit – $139
Propane Tank – Purchase Locally – 20 gallon tank approximately $30, Refill is $15-$20
Natural Gas Hookup Kit – $129
FireGlass 30 lbs needed choose your color – $120 ( I used Caribbean Blue)

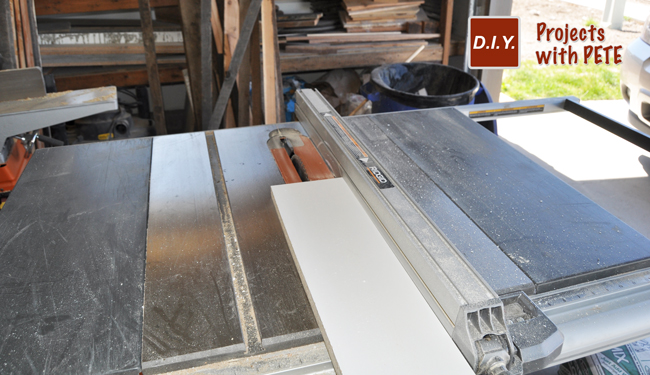
Cut Melamine for the Table Top Mold
Use a circular saw to cut the base piece for the concrete table top. I wanted 12 inches of concrete around all side of the burner and cut the wood accordingly. 12 inches is plenty of room for plates, drinks, and to rest your feet.

Cut Side Strips
The side strips will hold the concrete in place. You'll cut 4 side strips to 2 1/4 inches wide. This will give you a 1 1/2 inch thick concrete top because the extra 3/4 of an inch is attached to the side of the base piece.

Cut Foam Knockout
A foam knockout is used to create a void or hole for the fireplace pan to rest in. There are all sorts of sizes to choose from. The firepan used for this projects is 30 inches by 10 inches with an H style burner.

Table Mold Boards Prior to Assembly
A look at the base piece, side strips, and foam.

Attach Foam and Sidewalls
Attach the foam to the base with silicon. Connect the sidewalls using 1 5/8 inch screws. Always pre-drill.

Seal edges
Run a bead of silicon caulk along the edges to help give the concrete a slightly beveled top edge. Use your index finger or a caulk rounding tool to rounder and smooth the bead. Remove excess with a paper towel.

Add Re-enforcement
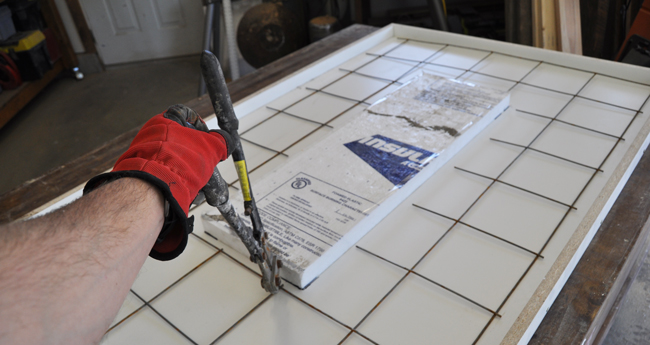
Use a 4×8 sheet of steel re-enforcement for the concrete top. Cut it to size using a bolt cutter. Leave an inch of room between the re-enforcement and sidewalls. Cut out around the foam knockout. Then bend as needed to ensure it lays flat.

Assemble Mold for Base
The mold for the base basically consists of a box placed within a box. The outer box will be screwed together using 1 5/8 inch screws. Always pre-drill.

Attach bottom piece to outer box.

Connect the knockouts. The manufacture recommended a total of 2 vents that were 6 inches by 3 inches. They recommended they be place near the bottom for use with propane kits, and directly across from each other to increase airflow. I build mine 9 inches by 3 inches. Please consult with your manufacturer and a licensed professional in your area.
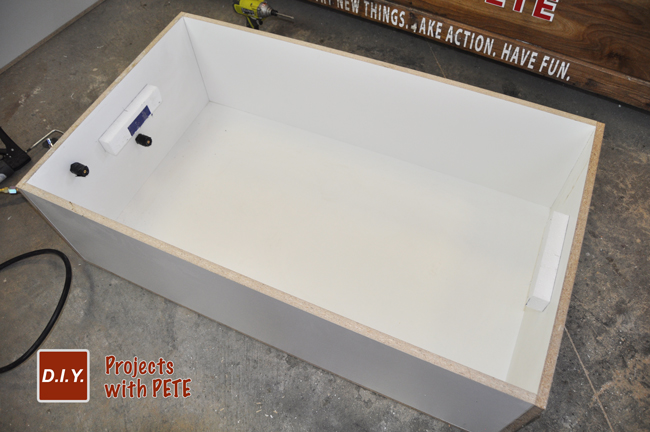
Create the inner box. Drill pocket holes to connect the boards from the inside. A Kreg Jig K4 works great for this process.

Fasten the inside box to the bottom piece using 1 1/4 inch screws. Check to make sure there is a 1 1/2 inch gap all the way around. This is the channel the concrete will be poured into.

Mix and Pour Concrete
Mix the concrete. I'd recommend using a bag mix. Mixes like Quikrete 5000 or Sakrete 5000 will work well. However, I recently started using a product by Cement-All (Green Mix with Aggregate) which I am loving because it cures in just a few hours and so you can build this project in a weekend if you have the time. If you use Cement-All, make sure to use cold water. I'd also highly recommend using their additives which will give you more working time and an easier to pour mix. Cement-all is also a bit lighter colored so I commonly mix in just a little charcoal colored coloring. I purchase all the cement products at my local Home Depot. Cement-All is about $11 / bag instead of $5 or $6 like the other mixes. But for me, the time saved is well worth it.
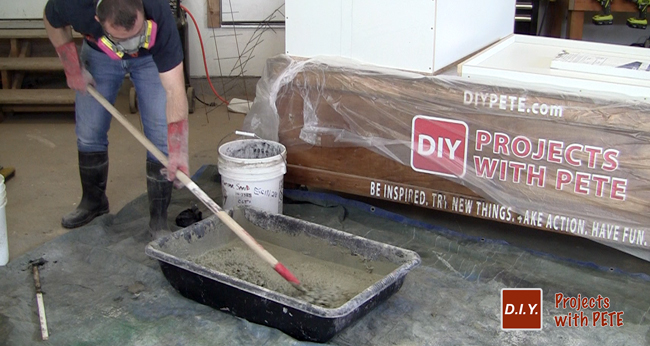
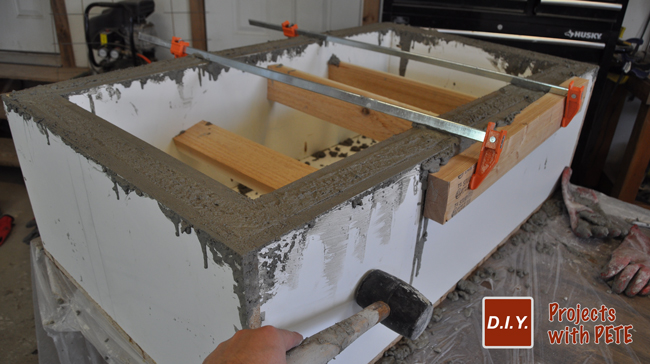
Use a bucket to help pour the concrete in the channel. Vibrate the concrete occasionally to move it into all the areas of the mold and to release air pockets. Re-enforcement is always a good idea but sometimes it's hard to put in a mold like this. You could bend steel mesh or add fiber re-enforcement. To be honest, I showed how to add re-enforcement in the video, but did not actually use any. I simply used the Cement-All mix and it turned out bomb proof.

The mold started to bow a little bit, so I added 2×4 boards in the center, and clamps on the outside. This fixed the problem, but I'd recommend setting up braces / boards to hold things in place prior to the pour. Learn from my mistake 🙂
Pour the concrete into the top table mold. Spread evenly until it is slightly more then half full. Vibrate the concrete occasionally.
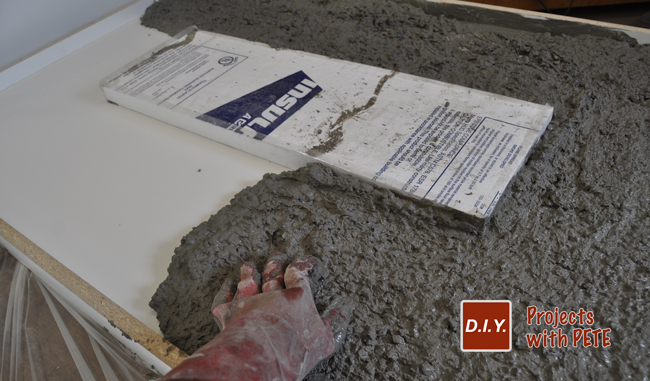
Lay the steel re-enforcement in the concrete. The fill the rest of the mold and level out / screed the concrete.

Wait, then De-mold
Allow the concrete plenty of time to cure. I'd recommend to wait a minimum or 4 days to de-mold the base if you use a normal mix. If you choose an accelerated mix like cement all, you can easily de-mold about 3 hours after the pour. That's why I love this stuff. Plus I've had really good luck with having fewer air pockets.

Move the sides of the mold. Using a chisel is helpful for he process. Always pry between wood surfaces and never against concrete.

Here is a look at the concrete top fresh out of the mold. It didn't have any voids to fill. However, if you do have voids to fill I'd recommend watching my dining table tutorial where I show the process.
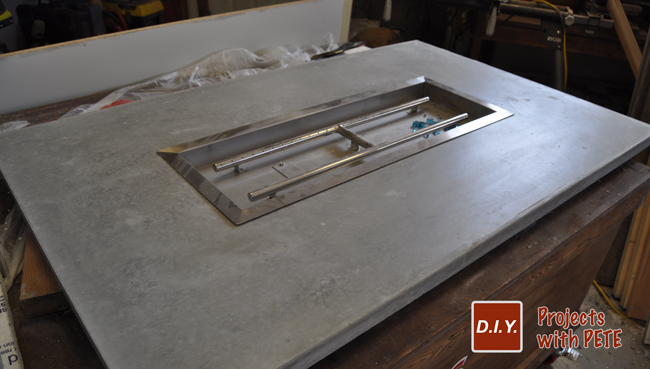
Here is a look at the base. It had a few voids but not many. I really like the organic look of the sides and the variation in color.

Sand the concrete top and fill voids as needed.

Sand the base using an orbital sander and 120 grit paper.

Here I'm testing the kit. Make sure to have a licensed professional install your gas lines, the kit, and look over your work.
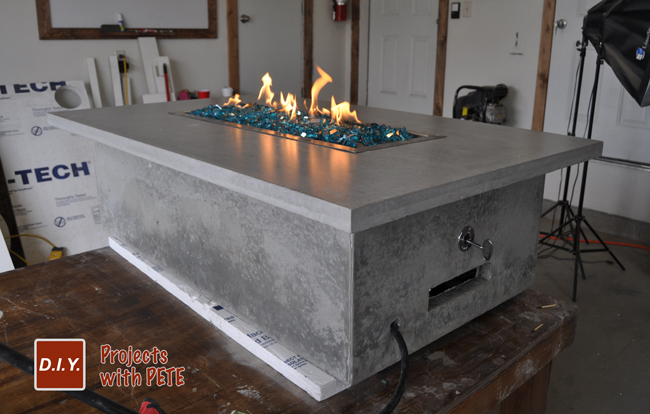
This is the propane kit I used. It hooks up to a standard propane tank. It has a key as a secondary on/off valve, and a hookup/air regulator that goes to the bottom of the fire pan. Here is the outdoor gas fireplace propane kit I ordered from American Glass on Amazon.
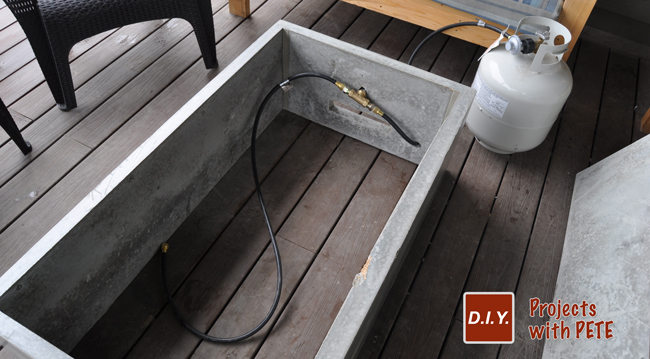
Set the concrete top into place. Run a bead of silicon along the top of the base if you'd like to help prevent it from sliding. (It is pretty heavy and doesn't really budge though.)
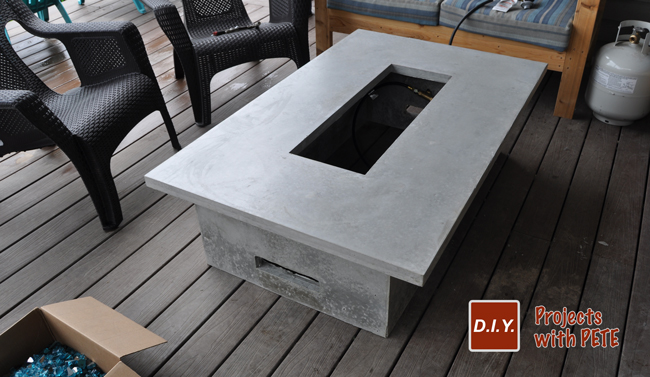
Have the H burner connected and drop the trough into place.
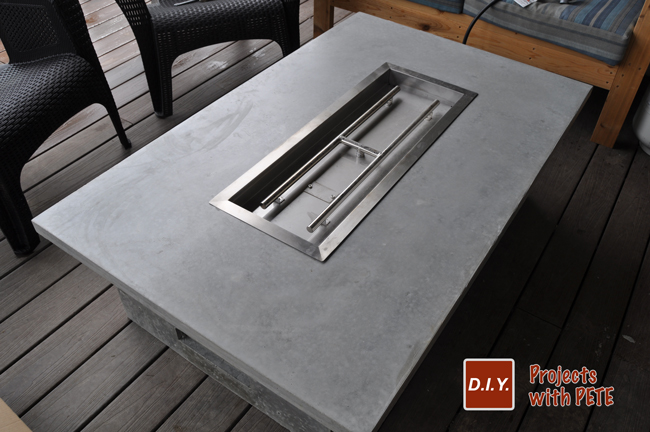
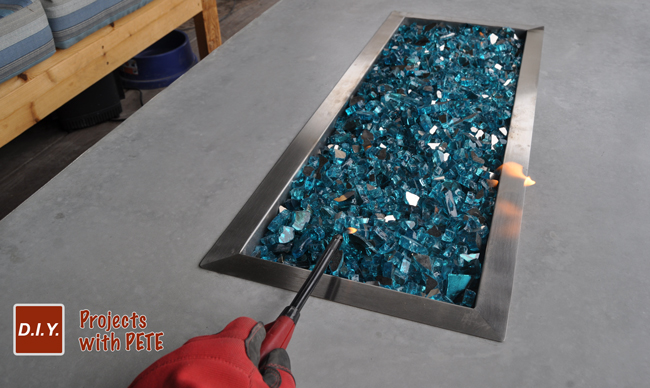
Pour the fire glass into the trough. They recommend completely covering the burner. It's pretty cool have the flame randomly burns out of the glass. DO NOT USE regular glass. Fire glass has been specially treated so it won't pop or crack. It will take approximately 30 pounds of fire glass for the 30 inch by 10 inch unit. It comes in all sorts of colors. Here is the link to the 1/2 inch caribbean blue fire glass I used.

The key is a secondary valve which controls the gas valve.
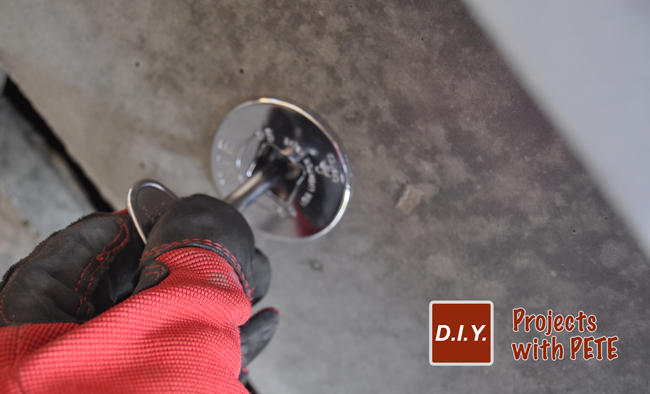
The fire is lit very similar to a gas grill. Turn on the gas a little and use a lighter to ignite the flame.
Fun to build, but even nicer to relax by the new fireplace.

Enjoy your new outdoor gas fireplace!
Please like, share, and comment below if you found this DIY gas fire pit tutorial helpful. The plans can be downloaded here.

First barbecue of the season!


