In this tutorial I will show you how to make a wooden frame for a map of out a pallet. I absolutely love maps and found some awesome raised relieved topographic maps from a company named Hubbard Scientific. I had a pallet laying around and thought this would be the perfect project to use it for.
Supplies Needed:
Map to frame
Pallet (Free) – Search for a pallet that is chemical free
Sealer (Minwax Waterbased Spray Sealer)
Staples – For attaching map to frame
Nails for nail gun (18 gauge 1 1/2inch long)
Wood glue
Sandpaper
Razor blade
Craft paper
Picture hanging hardware
Metal L brackets for securing frame corners
Safety Supplies – Safety Glasses, Gloves, Ear Protection, Respirator or Dust Mask to use while cutting the wood
Tools Needed
Miter Saw
Table Saw
Jigsaw or Sawzall
Hammer and Prybar
Nailer (Electric or Air Compressor) – Ryobi now makes a battery powered 18 gauge Nailer
Stapler
90 Degree Corner Jig
Find a Map and Pallet
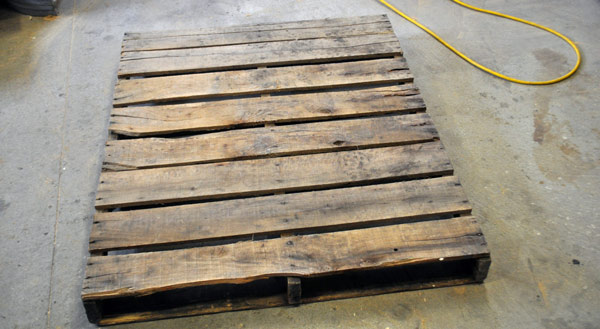
Find a pallet for the project. Ask a local business if they are looking to get rid of any pallets. Most businesses are happy to have you take the pallets and put them to good use. I found mine at a local store in Bozeman named BibsNBinkies.com. I like to find pallets that look worn and have stamp marks on the side. Research what the stamps mean, as many pallets have harmful chemicals in them. So just be careful and do your research before choosing a pallet.
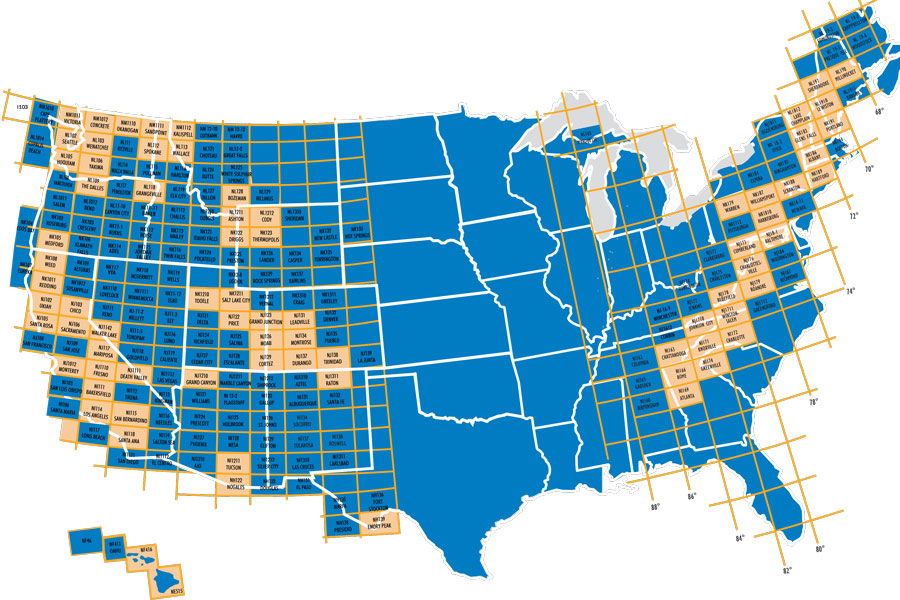
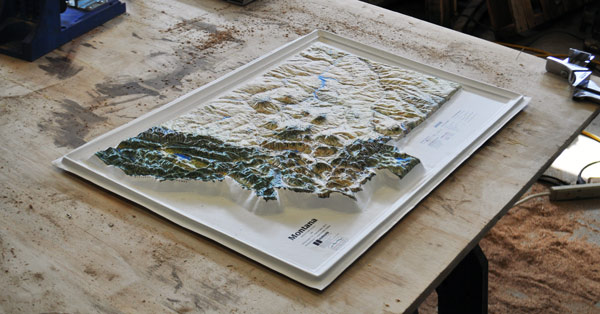
 The raised relief maps are made by a company out of Wisconsin named Hubbard Scientific. Below is one of the maps I got for this project. The company makes raised relief maps for most mountainous areas in the United States. Here is a diagram showing the locations maps are made for. You can purchase the maps directly from their website and they are in the $25 to $40 price range. Some local outdoor stores will carry them as well. I was able to pick my maps up at Northern Lights Trading Company in Bozeman, Montana!
Take Apart the Pallet
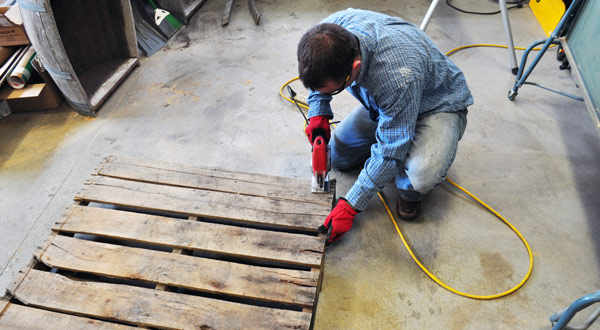
Use a jigsaw or sawzall to start removing the boards from the pallet. Cut along each end of the board. I'd recommend wearing a dust mask for this process.
 Remove the board from the center part of the pallet using a chisel and hammer. Make sure to wear gloves, eye, and ear protection.
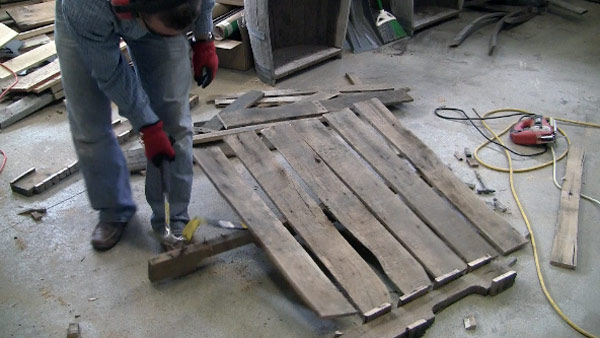 Examine the boards and decide which ones you'd like to use. These are the boards I removed from my pallet.
 Cut the boards to size
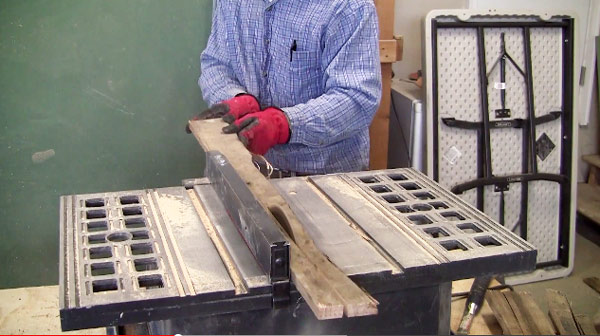
I ripped my boards down to 2 1/2 inches wide for the map frames. Remove all nails prior to making the cuts. Use a table saw to rip the boards down to size. Run the straightest side of the pallet board against the table saw's fence. Cut 4 boards to create a boarder for each side of your map.
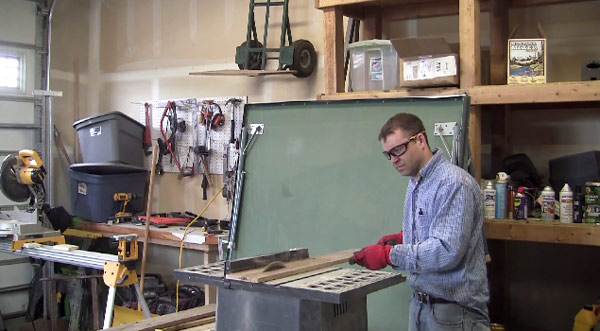 Cut an additional 4 boards down to 1 inch wide. You will use this as trim for the frame. The trim gives the frame more dimension and strengthens it. The trim also covers up the newly cut edges of your 2 1/2 wide boards so you will only see the worn and weathered pallet wood.
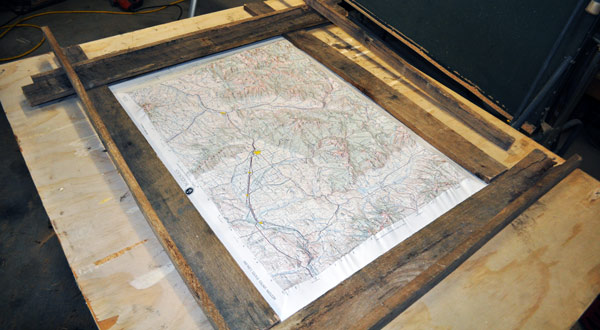
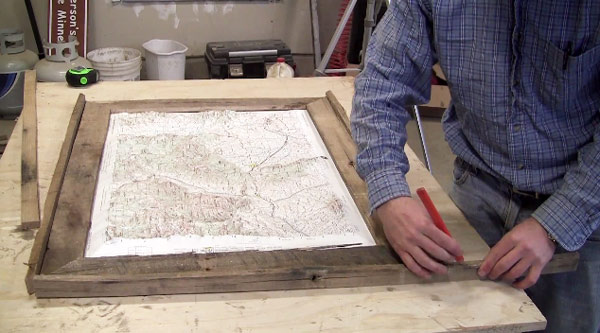
Lay out the boards around your map. Decide where each board will go. (I made 2 maps during the build.) One is of the state of Montana. The other is of the valley and region I live in. These were gifts for my older brother.

 Use a miter saw to cut a 45 degree angle at each corner. The top and bottom boards will be the same size. The left and right boards will be the same size as well.
 Dry fit the boards together to ensure they fit correctly. Once the 2 1/2 inch boards for the frame look good you can move on to the trim.
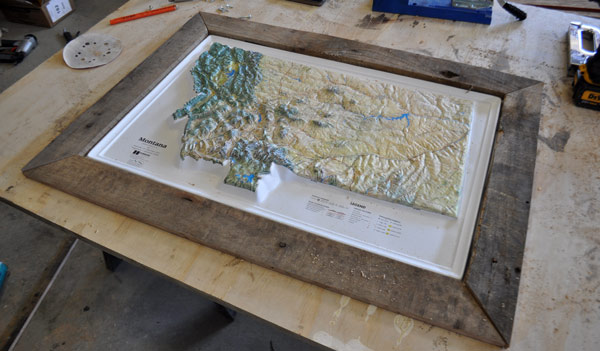 Use a miter saw to cut the 1 inch trim. Cut at a 45 degree angle.
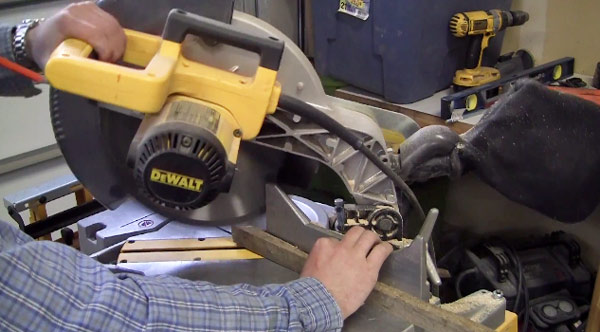
Dry fit the trim around the frame. Measure each board one at a time to ensure a perfect fit.
 Assemble
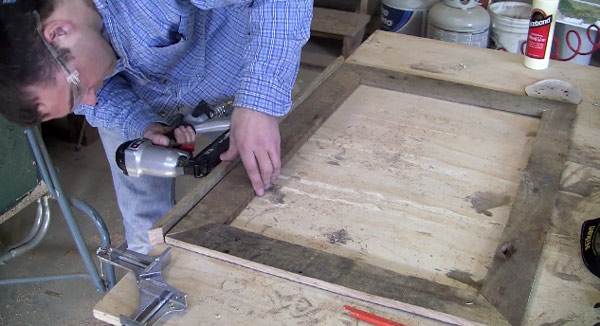
Next, assemble your frame. I'd recommend using e a 90 degree angle clamp to get a tight fit at the mitered corners. Put a little wood glue on each corner and then use a nailer with 1 1/2 inch 18 gauge nails to nail them together. Do this for each corner.
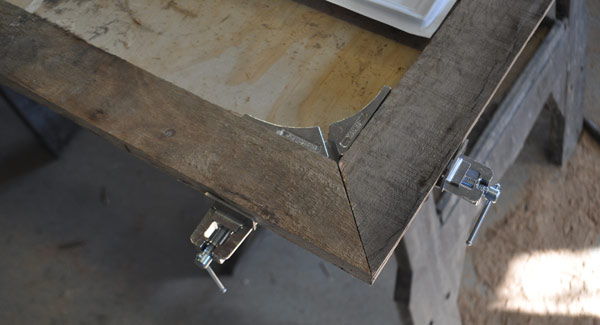 Attach the 1 inch trim using a nailer. Use 1 1/2 inch 18 gauge nails.
 Mounting hardware
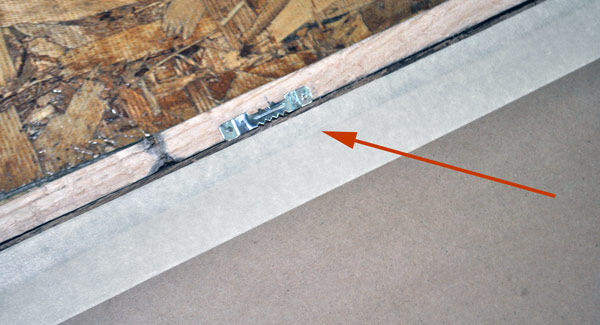
Attach picture hanging hardware so you can hang the map on a wall. Center the hardware on the top board.
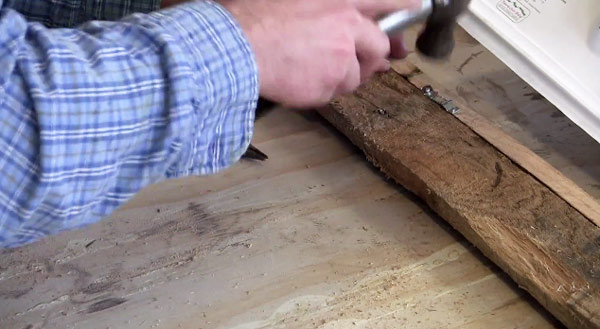 Up close shot of the mounting hardware. (Simply attach with the two nails included in the package.)
 Attaching the map
Set the map in from the backside to make sure it fits. If you are wanting to frame a photo I'd recommend using a router to cut a rabbet (or inset) into the frame. The inset will hold glass and a picture in place. You'd then put cardboard or some sort of backing behind the photo to hold it in place. To keep the backing in I'd recommend using push points.
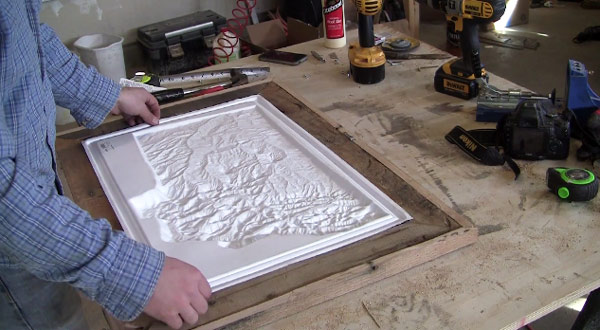 You will want to seal the frame prior to attaching the map. Once the sealer has dried I used T50 staples and a staple gun to hold the map in place. These Hubbard Scientific raised relief maps are made of a vinyl / plastic material.
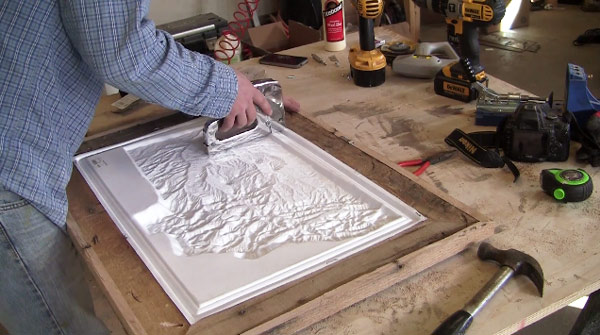 The staples will easily go through pine. However, you may need to use a hammer to get the staples all the way in if the pallet boards are a hard wood.
Sealing the frame
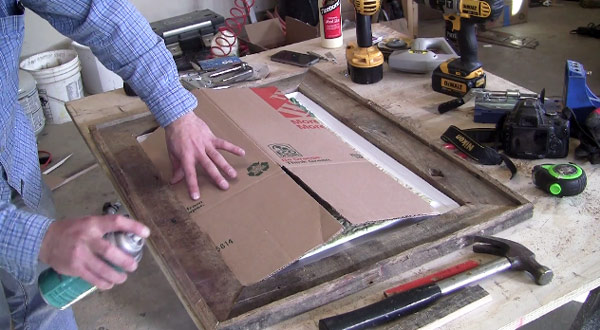
I decided to seal the project after attaching the map. I'd recommend sealing before attaching it, but since I forgot to I simply masked the map using cardboard. I used a waterbased sealer from Minwax. It kept the wood the natural color and added a nice layer of protection. It also dried super quick and was easy to apply. (No fumes either!)
 Back of frame
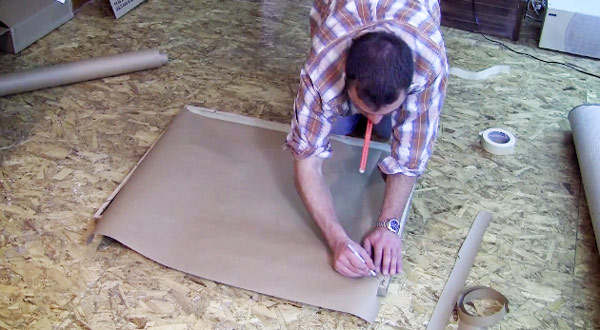
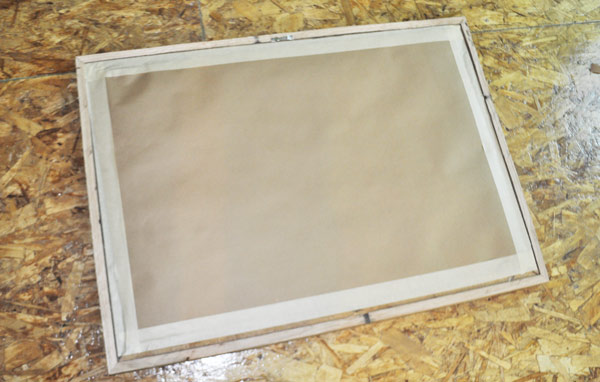
To give the frame a finished look and professional touch I used craft paper to cover the back. I cut the craft paper to size using a razor knife and then attached using masking tape. The craft paper also keeps dust out.
 Hang and enjoy!
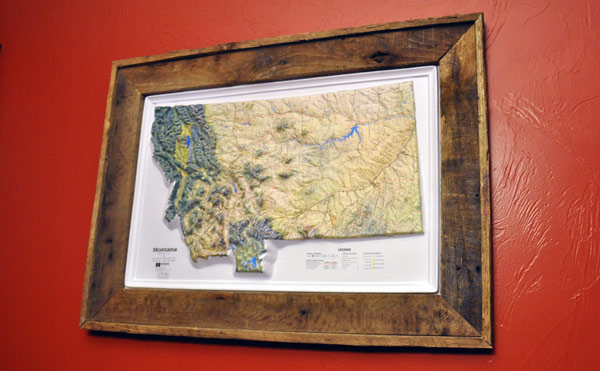
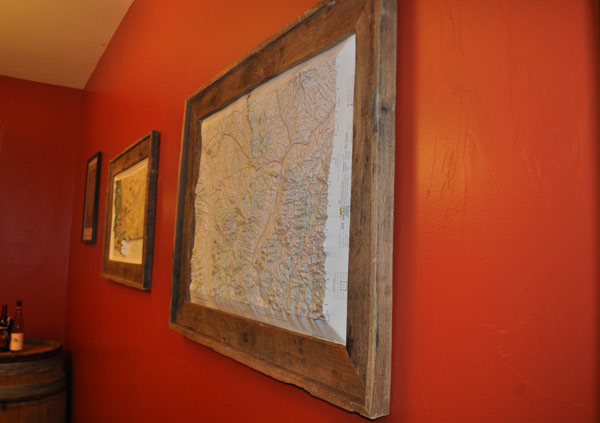
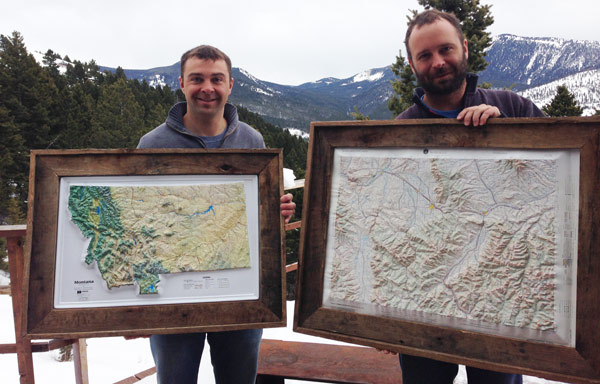
 My brother and I holding the completed framed maps. They were his birthday gift. Happy Birthday BROTHER!!
Thanks so much for checking out the tutorial and video! I hope they inspire you to build your own pallet frames. Please connect on Facebook and share this project with your friends by clicking below on the Facebook, Twitter, or Pinterest buttons. Thanks and cheers from Montana! – DIY PETE


 Mounting hardware
 Attaching the map
 Back of frame
 Hang and enjoy!