
Thinking about installing an inground trampoline in your backyard? We recently completed a full DIY inground trampoline installation — from digging the hole to laying the sod — and documented the entire process to share with you. This guide walks through exactly how we did it, what it cost, and what we'd tell anyone planning the same project.
Watch the full step-by-step video here:
Why Choose an Inground Trampoline?
Before diving into the install, it's worth covering why we went this route instead of a standard above-ground trampoline.
Inground trampolines:
- Sit flush with your yard for a sleeker, more integrated look
- Won't blow away in high winds like traditional trampolines can
- Feel safer since there's no fall height off the sides
- Blend into your landscaping instead of dominating it
After researching several brands and reading feedback from other owners, we chose our trampoline system through Trampolines.com — the same company that sponsored this project.
Step 1: Assemble the Galvanized Steel Frame
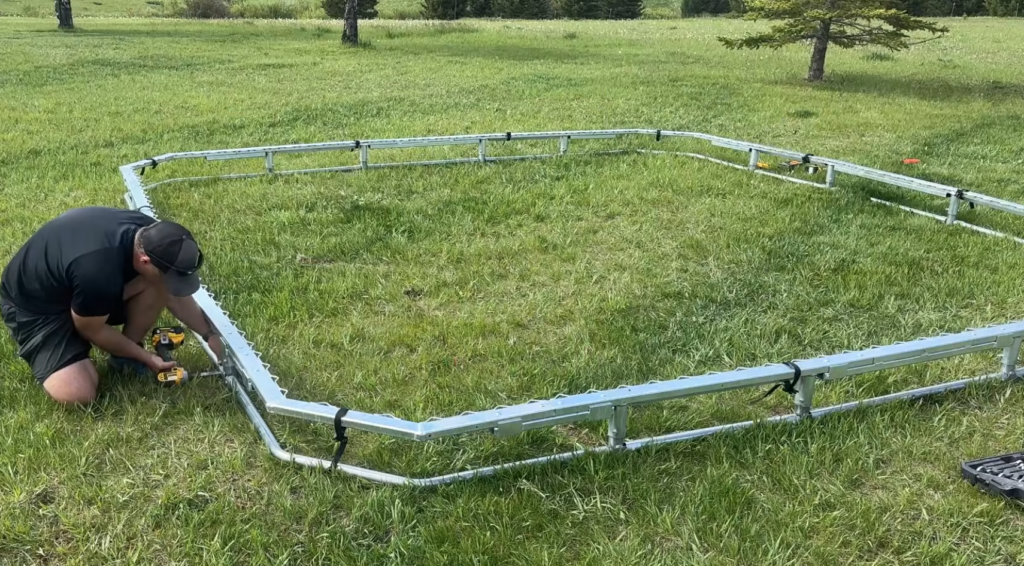
The first stage of any inground trampoline install is putting together the frame. Our kit used a galvanized steel frame that connects with nuts, bolts, and washers.
Tips for frame assembly:
- A drill or impact wrench with socket attachments speeds things up significantly compared to hand tools
- Work around the frame piece by piece until the full shape comes together (we chose a 15 ft x 15 ft square)
- Flip the padding upside down first to line up strap placement with the frame before final assembly
- Insert and bolt the legs while lifting the frame — a second set of hands helps, but it's doable solo
- If a connector doesn't line up perfectly, gently pull the corner to square up the frame
Frame assembly took about 2 hours total. Once built, the frame is HEAVY, so we used moving dollies to position it in the yard before digging.
Step 2: Choose Your Location and Check the Grade
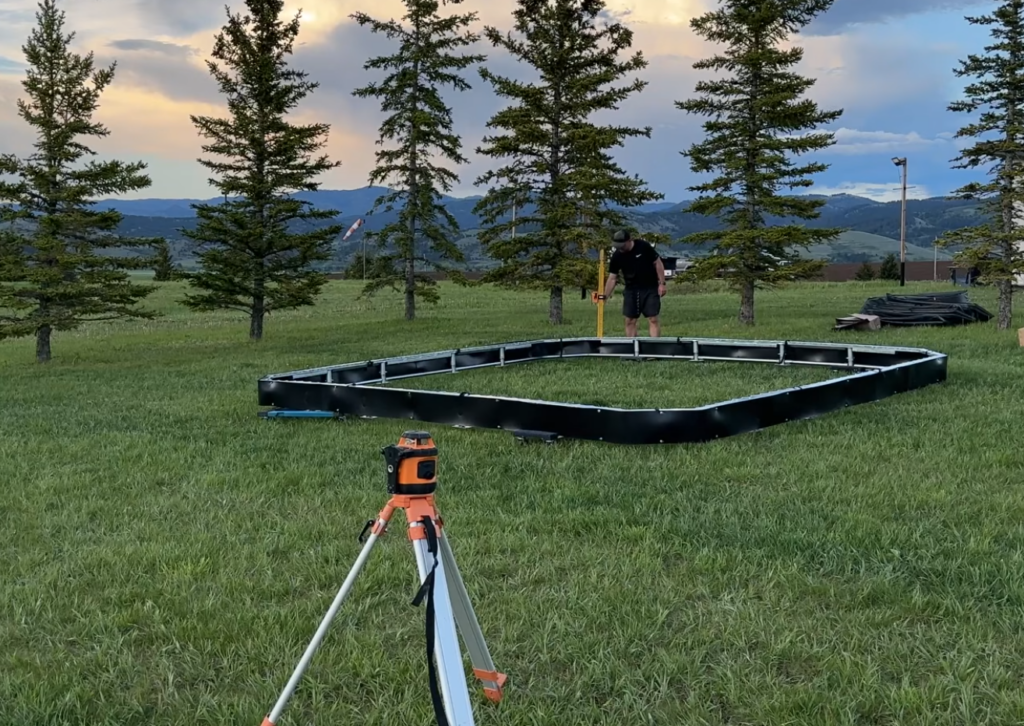
Before digging, pick a spot with enough clearance from trees, fences, and structures. We used a surveying level to check the grade of our yard and found a 6–12 inch difference between corners.
*Important information for planning how deep to dig on each side.
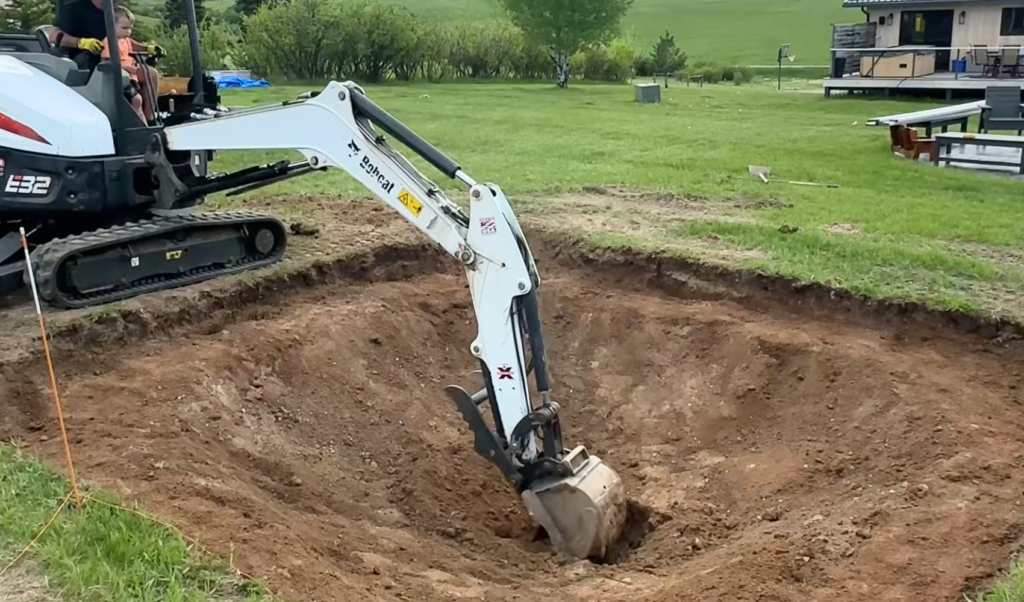
Step 3: Dig the Hole
This is the most labor-intensive part of the project. Here's what we learned:
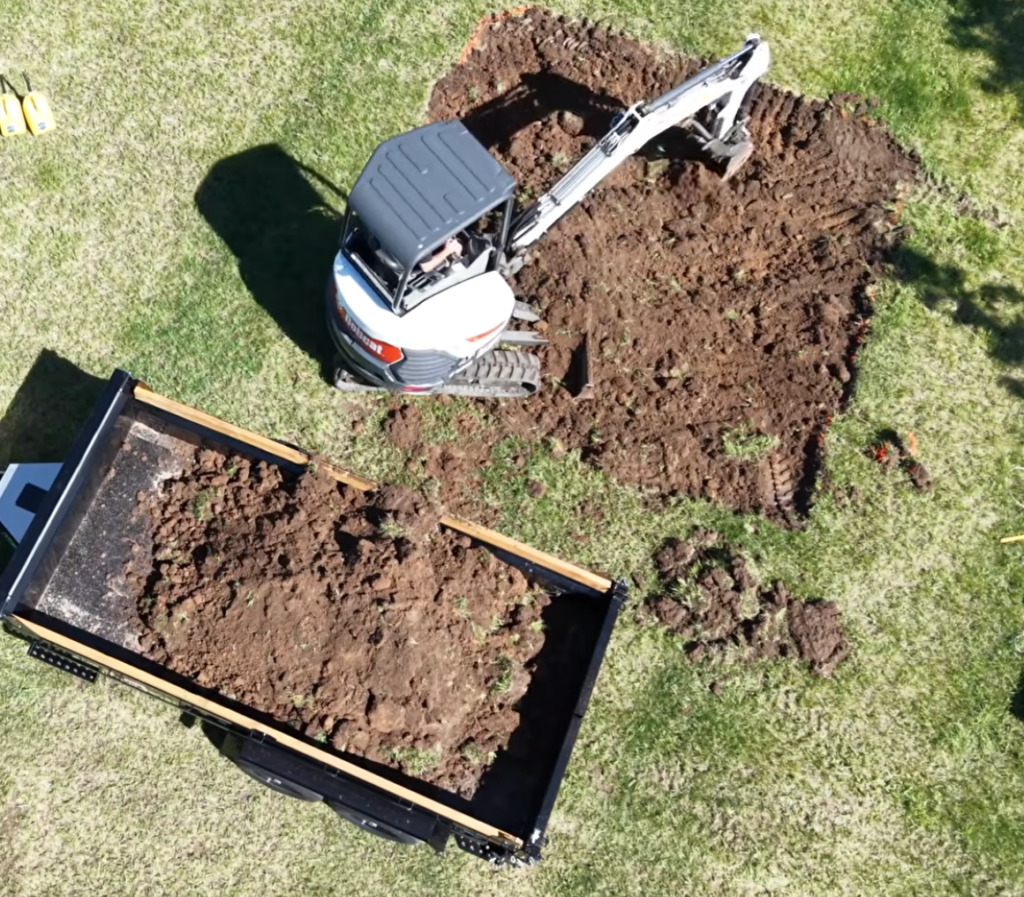
- Renting equipment: A mini excavator typically runs $300–$500 per day if you're digging it yourself. We used a Bobcat E32.
- Call 811 first. Before any digging, get your utility lines marked. It's free and takes just a couple of days.
- Overdig the perimeter by 2–4 inches to leave room for backfilling later.
- Soil type matters. If you're dealing with heavy clay soil like ours, a shovel alone won't cut it — an excavator makes the job far more manageable.
- Separate topsoil from subsoil as you dig. The organic top layer is worth keeping separate to reuse elsewhere in your yard.
Digging the Shelf
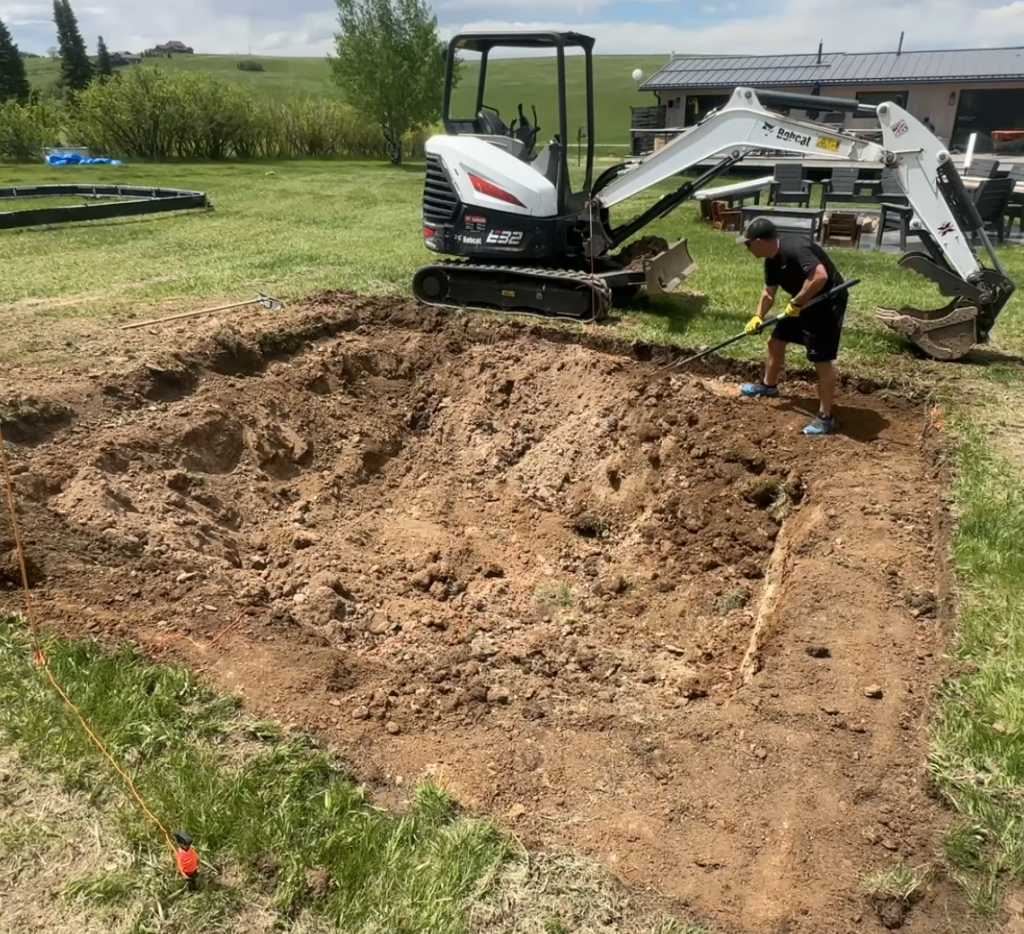
The "shelf" is the ledge the trampoline frame sits on
- Overdig the shelf by 4–6 inches for adjustment room
- Standard shelf depth is around 9 inches for flat, level ground (deeper if you're correcting for slope)
- Center hole depth should be close to 36 inches
- Rake the shelf periodically to check levelness, since excavator teeth leave a rough finish
Experienced installers can dig the hole in 2–3 hours. As a first-timer, it took us closer to 6–7 hours spread across an afternoon and morning.
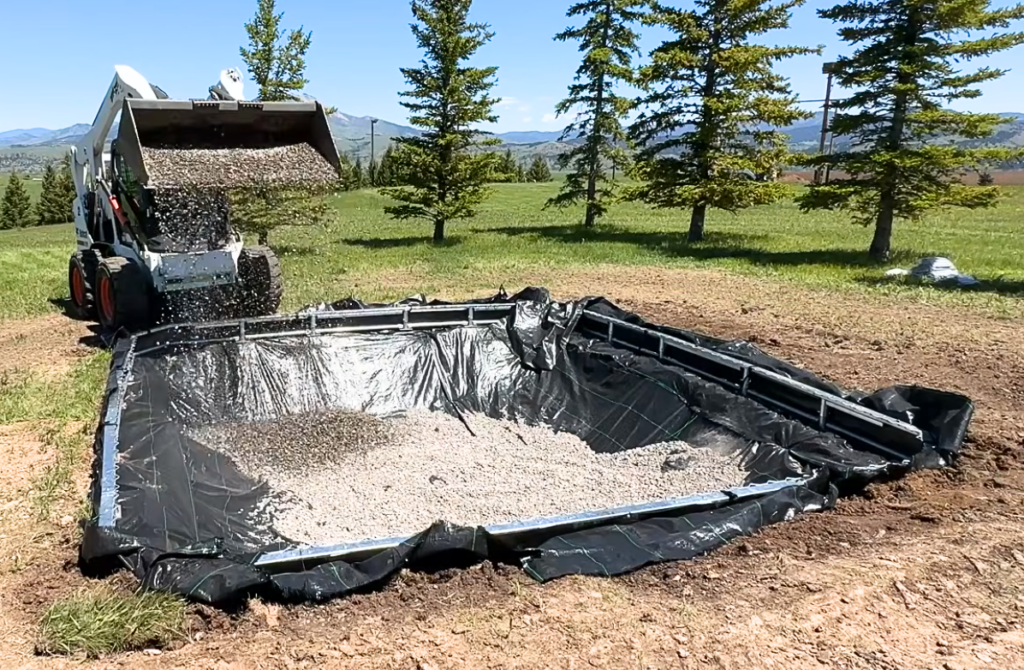
Step 4: Add Drainage
Drainage is one of the most important steps in an inground trampoline install.
- We used 2 tons of 3/4" washed rock for drainage (around $67 at a local gravel yard)
- Some installers add a 5-gallon bucket filled with gravel and wrapped in weed barrier at the center of the hole, allowing a sump pump to be added if water ever pools
- A weed barrier layer plus gravel on top was sufficient for our soil and climate, but this will vary depending on where you live
Even after 2.5 inches of rain in two days, we had zero pooling — but the sump bucket is there as a backup if needed.
Step 5: Lower and Level the Frame
Once the hole was ready, we lowered the frame back in using dollies and jacks.
- Use a jack to raise sections of the frame and dig out or fill in underneath to level it
- Concrete blocks under the feet can help level a frame on sloped ground and double as a more stable foundation than dirt alone
- A 6 ft level works, but a laser level makes checking all corners much faster and more accurate
Step 6: Install the Weed Barrier
To keep backfill dirt from migrating into the trampoline pit:
- Use heavy-duty landscape fabric (we used a 100 ft x 6 ft roll from Lowe's)
- Secure it with 4-inch landscape staples
- Overlap each sheet and run the fabric underneath the frame's feet and against the retaining wall
Step 7: Backfill, Add Gravel, and Level the Yard
- Backfill around the trampoline with the soil removed earlier, then rake it smooth
- Add 2–3 inches of washed rock over the weed fabric for better drainage (recommended especially in moderate-to-heavy rainfall climates)
- Add topsoil around the edges to prep for sod or grass
Step 8: OPTIONAL: Lay Sod for an Instant Finished Look
Rather than wait weeks for grass seed to fill in, we used sod rolls for immediate results — especially important with kids running back and forth.
- Sod cost: $5 per roll, covering 10 sq ft (2 ft x 5 ft) — about 50 cents/sq ft
- We used 46 rolls for a total of $230
- Water thoroughly for the first couple of weeks after installation
Step 9: Add Under-Trampoline LED Lights (Optional but Worth It)
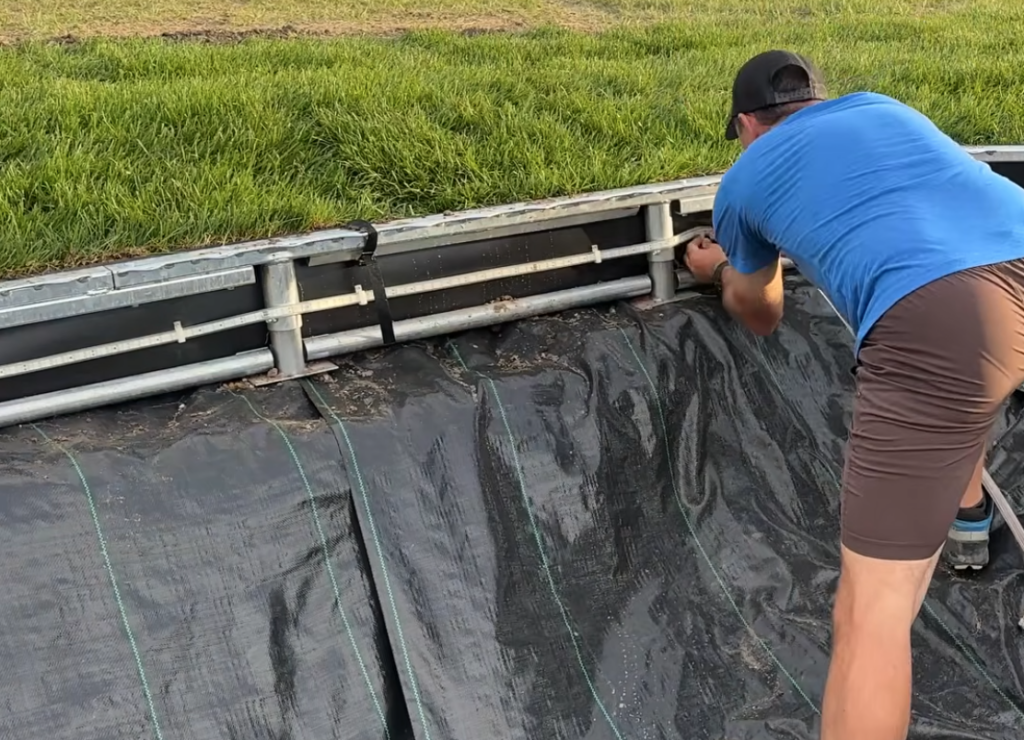
Our kit included heavy-duty, exterior-rated LED strip lighting that mounts to the inside of the frame.
- The control unit screws onto the retaining wall
- Clips are installed roughly every 18 inches around the perimeter to hold the strip in place
- Installation is quick and adds a serious "wow factor" for evening jumping sessions
Step 10: Attach Springs, Mat, and Padding
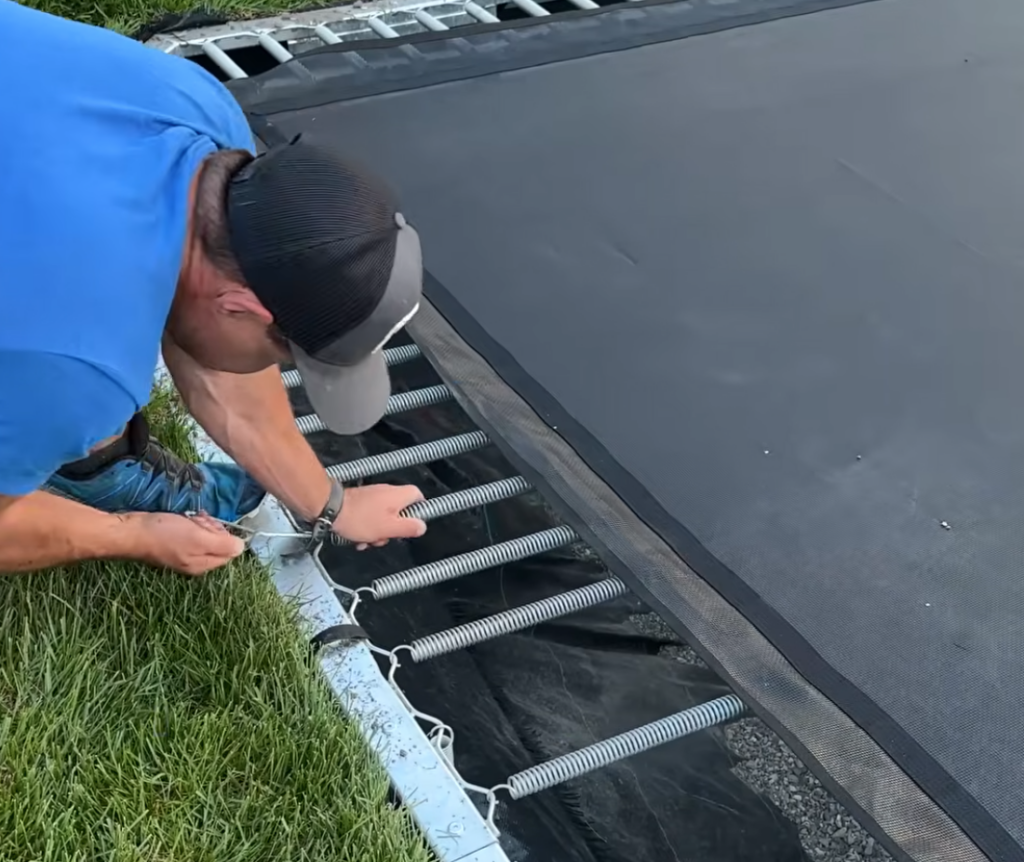
- Each corner uses two shorter springs; the rest of the perimeter uses longer springs
- Lay the mat over the frame and connect springs — this took about 30 minutes total
- Use the included pull tool for the last few (and toughest) springs
- Unroll the safety pad over the frame and spring area, threading a few springs through the underside sleeve to secure it, then fasten the buckles
Final Cost Breakdown
| Item | Approximate Cost |
|---|---|
| Trampoline kit (15' x 15') | ~$4,500 |
| Excavator rental | $300–$500/day |
| Washed rock (2 tons) | $67 |
| Topsoil (2 tons) | $44 |
| Sod (46 rolls) | $230 |
| Total project cost | ~$5,100+ (excluding tools already owned) |
Pricing will vary based on your location, soil conditions, and yard size.
Was It Worth It?
Absolutely. It was a multi-day project involving heavy equipment, careful leveling, and a fair amount of trial and error — but the end result is a safe, sleek, ground-level trampoline that's become the most-used feature in our backyard. Kids and even the adults have said it's one of the bounciest trampolines they've been on, and it's already created countless family memories.
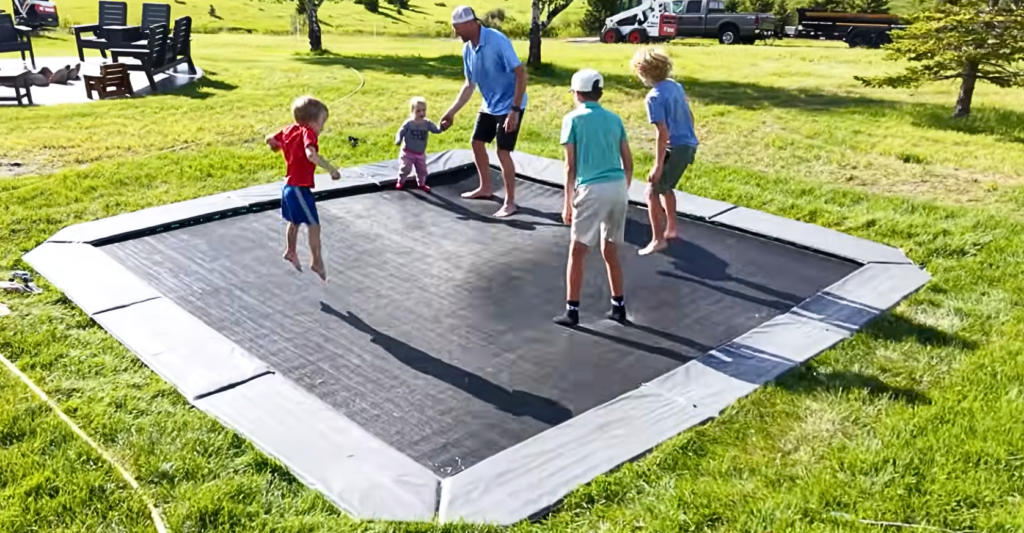
Watch the Full Installation Video
Want to see every step of this project in action — from the first bolt to the first bounce? Check out the full video walkthrough here:
Ready to Start Your Own Inground Trampoline Project?
We researched several trampoline companies before choosing the system featured in this build. If you're ready to start planning your own inground trampoline installation, you can check out the same trampoline we used here:
Frequently Asked Questions
How deep do you need to dig for an inground trampoline? Most inground trampolines require a hole around 36 inches deep at the center, with a shelf roughly 9 inches deep around the perimeter for the frame to sit on (deeper if your yard has significant slope).
How much does it cost to install an inground trampoline? Between the trampoline kit, excavation, drainage materials, topsoil, and sod, total costs commonly range from $4,500 to $5,500+ depending on size and site conditions.
Do I need drainage for an inground trampoline? Yes, especially in areas with moderate to heavy rainfall. A layer of weed barrier and washed gravel is typically sufficient, though some installers add a sump bucket for extra protection in poor-draining soil.
Can I install an inground trampoline myself? Yes — this entire project was completed as a DIY install, including renting a mini excavator. Some steps go faster with a second person, but it's manageable solo or with occasional help.
How long does it take to install an inground trampoline? Frame assembly took about 2 hours, digging took 6–7 hours as a first-timer (2–3 hours for experienced installers), and the remaining steps (drainage, leveling, sod, lights, mat, and springs) added another day or so of work.
Other Projects By DIYPETE
If you enjoyed this DIY project, be sure to subscribe to our DIY PETE Youtube Channel to follow along on our upcoming projects and check out our plans page to find your next weekend build.
Cheers!