If you’re on well water (or any non-municipal water source) and have hard water, chances are you’ve wondered at some point: Is our water actually safe to drink? Or maybe you’re already battling hard water—spotty dishes, clogged shower heads, crusty fixtures, and appliances that don’t last as long as they should. Let us show you how to fix your hard water and make it safe.
That’s exactly where we were and our water filtration system has been a game changer.
In this project, I’ll walk you through how we tested our water, analyzed the lab results, and installed a full home water treatment system—including a water softener, sediment filter, UV filter, and reverse osmosis drinking water system. I’ll also share the real-world benefits our family has seen after three months of use. Our hope is this article will help you decide what system makes sense for your home.
Please note there are affiliate links in this article. By using the links to purchase the items used in this project you are helping support our DIY Projects with Pete. Thank you!
Why Test Your Water First (Don’t Skip This Step)
Before buying filters or equipment, the most important step is getting your water tested by a lab. Guessing can lead to wasted money and potentially missing a real issue.
We ordered a water test kit from SpringWell Water Filtration, which shipped directly to our house and was competitively priced compared to other lab kits.
How the Water Test Works
- Fill out basic info about your water source
- Run cold water for 3–5 minutes
- Collect samples from a faucet (I used our kitchen sink since that’s where we drink the most water)
- Fill the small brown bottle for bacteria testing
- Mail everything back using the prepaid label
I also tested our fridge filter, just out of curiosity to see how much that filter was actually removing.

Turnaround time: about 12 days from mailbox to results.
Tip: If you want to test multiple locations (bathroom sink, fridge, shop, etc.), you can order extra sample bottles.
Our Lab Results
Overall, our water tested pretty well—but there were two big takeaways:
- Hardness: ~10.4 grains per gallon
→ This put us in the hard to very hard water range - Bacteria: No coliform or E. coli, but other bacteria was present in our water
SpringWell then followed up with an email on recommendations based on our lab report. They encouraged to call if there was any additional questions so I called them to talk through the options and asked questions to helped us decide what steps we wanted to take to address our hard water.
The Water System We Installed
Based on our results and goals, we installed a whole-home solution which includes:
1. Smart Water Monitor & Automatic Shutoff
The smart water monitor and automatic shutoff was the first thing I installed and has been a great piece of mind to be able to know and control what your water is doing.
- Tracks water usage
- Detects leaks
- Automatically shuts off water if something seems wrong
- Lets you control everything from your phone

2. Sediment Filter (First Line of Defense)
The water sediment filter is installed right after the main water line enters the house.
- Removes sand, dirt, and larger particles
- Protects the rest of the system
- Easy DIY install

3. 48,000-Grain Water Softener
The water softener handles all water before it reaches the water heater.
Why it matters:
- Prevents scale buildup
- Extends appliance life
- Makes cleaning way easier
The softener system includes a brine tank and even has a smartphone app to monitor usage and salt levels.
4. UV Water Filter (Bacteria Protection)
The UV water filter gives us continuous protection against bacteria that could show up between well shock treatments.
- Chemical-free
- Installed after the softener
- Great peace of mind for well water homes

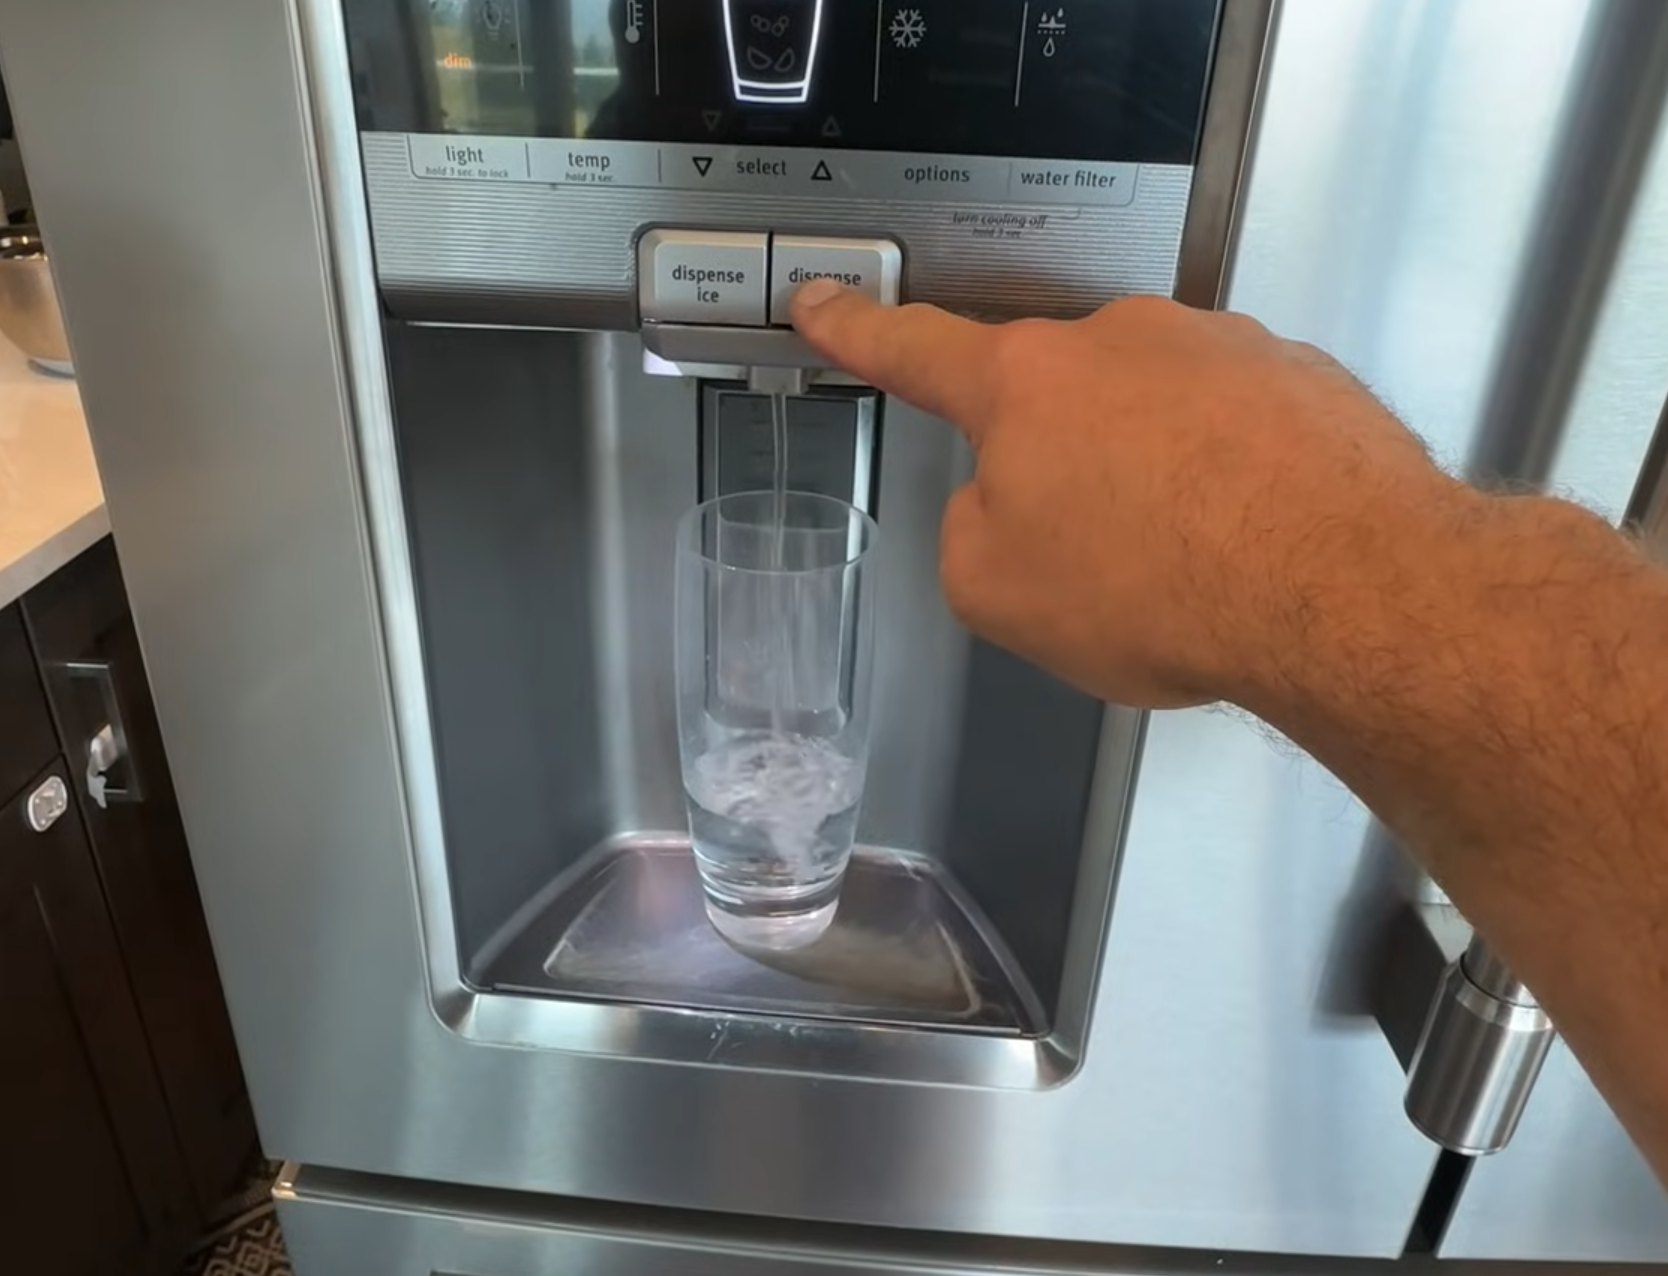
5. Reverse Osmosis System (Drinking Water)
The reverse osmosis system is installed under the kitchen sink.
Includes:
- Dedicated RO faucet
- Storage tank
- Four-stage filtration
- All install hardware
Install time was about 1.5 hours, and it was very straightforward.
Yes—RO systems do take up some cabinet space, but it was worth the trade-off for us. We love being able to get our drinking right from the sink. It has a faster flow rate and is much easier to fill up the coffee post or large water jug when compared to our fridge filter.

Bonus: RO Water to the Fridge (Highly Recommend)
While I had everything open, I ran a line from the RO system to our fridge using a simple T-splitter and ¼-inch tubing.
Now we have:
- RO water at the sink
- RO water at the fridge
If you don’t have open access below the cabinets, you may need to drill through the cabinet backs—but it is still very doable and in my opinion worth it.
Final System Layout & Valves
Our finished setup includes:
- Bypass valves on the sediment and UV filters (makes maintenance easy)
- Exterior hose bibs not softened (better for plants)
- A valve to optionally fill our hot tub with softened water
That hot tub change alone made a huge difference and a great bonus. Now there are no more hard water lines.

Real-World Benefits After 3 Months
This is where things really stood out for us.
✔ Better Showers & Fixtures
- No more clogged showerheads
- No more crusty calcium buildup
- Water feels noticeably softer and more “silky”
✔ Cleaner Dishes & Glassware
- No hazy residue
- No hard water spots
✔ Healthier Appliances
- No sediment in washing machine lines
- Less worry about scale buildup in coffee machines
✔ Better Drinking Water
- RO system TDS reading: 15 (very low)
- No need for bottled water
- Much easier to fill coffee pots and containers
Final Thoughts on this Water System
This was the full process and system we choose to:
- Fix our hard water
- Protect our plumbing and appliances
- Make sure our family has clean, safe drinking water
If you’re researching water filtration, I hope this gives you a clear roadmap—from testing to install to the real benefits. Want more information? To check out the full process with a breakdown of each step in the installation watch my Youtube video here, and check out this article. If you decide to choose this system for your home, use Promo Code DIYPETE10 for 10% off your entire order.
Whether you have you installed a water filtration or softener system, still in the research phase, or dealing with hard water or well issues we hope this article helps in the decision process.
Drop a comment below and let me know.
If you found this helpful, consider checking out the video, giving it a thumbs up, and subscribing to the youtube channel.
Cheers!