I've been wanting a standup desk for a long time, and finally decided to take action and build one. After doing a lot of research, I decided it was going to be most cost and time effective to buy a standing desk frame, and to build my own standing desktop. I found that I could save the most money and time by buying the base and building the top myself.
In this post you'll learn how to save money building your own DIY Standing Desk and where to get a base. In fact, I even have a special discount code exclusively for DIY Pete readers and viewers that I worked out with my good friend Mark over at StandModern.com. Mark is a great guy and entrepreneur who lives in Bozeman, Montana and has a really cool standing desk company. If you use the Stand Modern coupon code DIYPETE10 after going through the following DIY Pete landing page you'll save $10 off anything on their site over $150, including the standing desk base. They offer free and fast shipping.
UPLIFT Desk® Features:
Maximum Weight 355 Pounds
Desktop 43″ to 96″ wide
26 inches of height adjustment 23.5 to 49.5
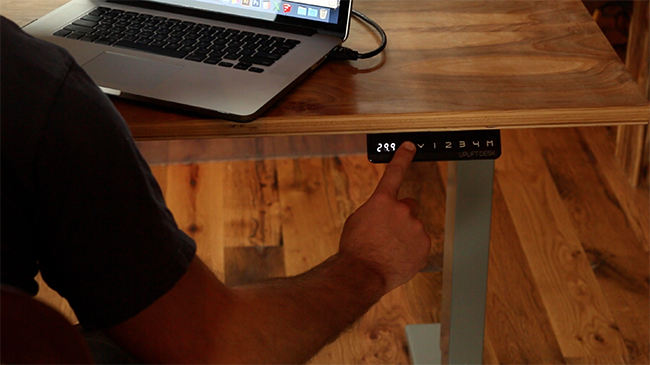
4 programmable height presets and digital desk height readout
7-year all-inclusive warranty on the entire desk base
Tools & Supplies Needed
Drill – I use a Ryobi Drill and Driver Kit
Orbital Sander
Table Saw
220, 320, 400, & 600 grit sandpaper
1 pack of 3/4 inch screws
Wood Glue
Lacquer
Electronic UPLIFT 900 Standing Desk Base purchased at Stand Modern
Birch or Maple Plywood top – $75 3/4 inch sheet laminated to a 1/4 inch sheet for a total thickness of 1 inch
Purchase and Assemble the Base
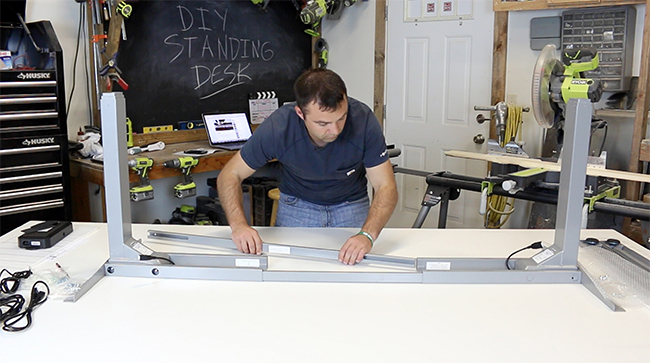
The first step of building your DIY Standing Desk is to find decide on a base for the desk. Some of the best quality and most affordable standing desks I've found can be ordered here – be sure to use the code DIYPETE10 for $10 off any order over $150. I got the Uplift 900 standing desk base frame for my project. Assemble the base, refer to this extra video we put together for help assembling the base and for an interview with the product solutions director of Stand Modern, discussing the benefits of standing, and more.
Make Your Cuts
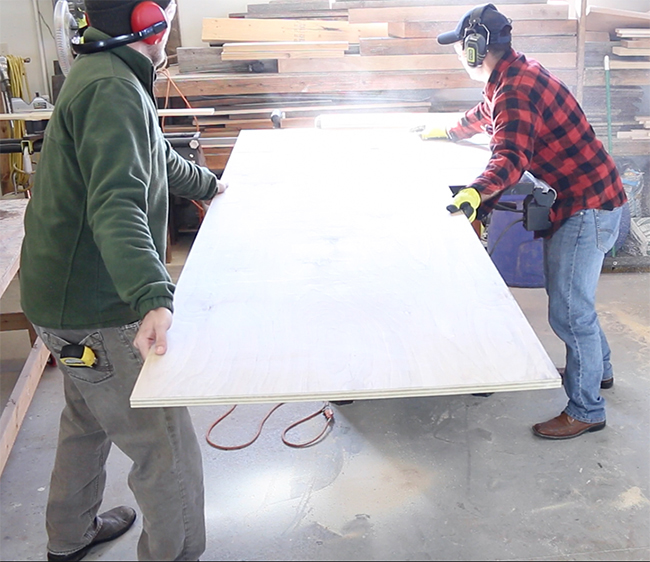
Determine the width, depth, and thickness for your desktop. I'd recommend a minimum thickness of 1 inch. 3/4 of an inch may work, but adding a little extra thickness will make your table stronger. I made my table 1 inch thick by laminating a sheet of 3/4 inch birch plywood to a 1/4 inch thick piece of birch plywood. On the table saw, we cut our boards to size. The final size of my DIY standing desk ended up being 78″ long by 30″ wide by 1″ thick.
Build Your Custom Desktop
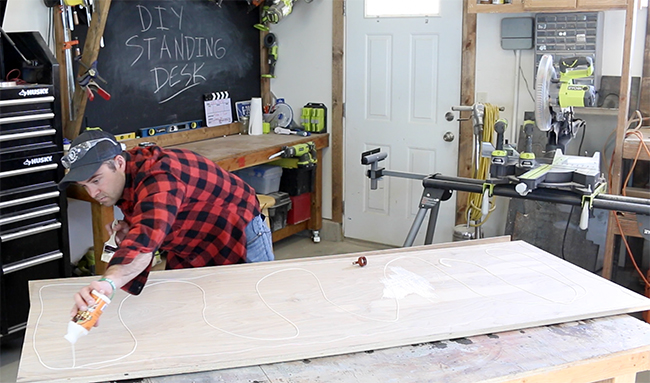
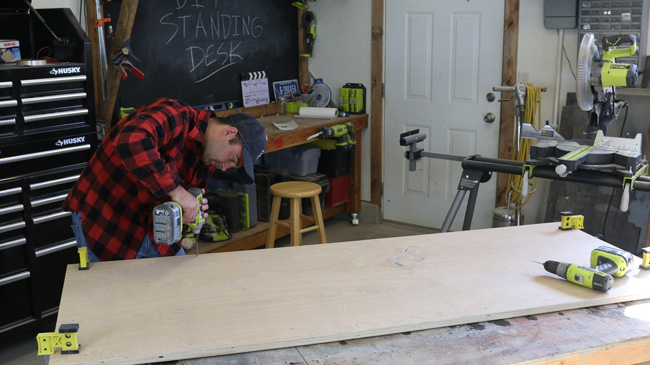
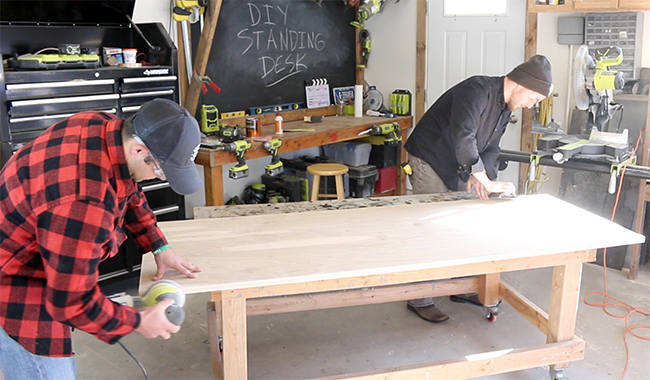
Once all of your boards for your desktop are cut, its time to laminate the 3/4″ plywood to the 1/4″ piece. Add plenty of wood glue during this process, focusing special attention on the edges and corners. Screw it together from the underside using 3/4″ screws. Add clamps and let the glue dry for the manufacturers recommended time.
Sand the Desktop
Give your desktop a once over with 220 grit sandpaper and your orbital sander. Take extra time to ease the edges and corners, making it as smooth as you'd like. Then work your way down through 320, 400, & 600 grit sandpaper. Prep everything for finishing and wipe any dust off with a tack cloth or a slightly damp microfiber cloth.
Finish the Desktop with Lacquer
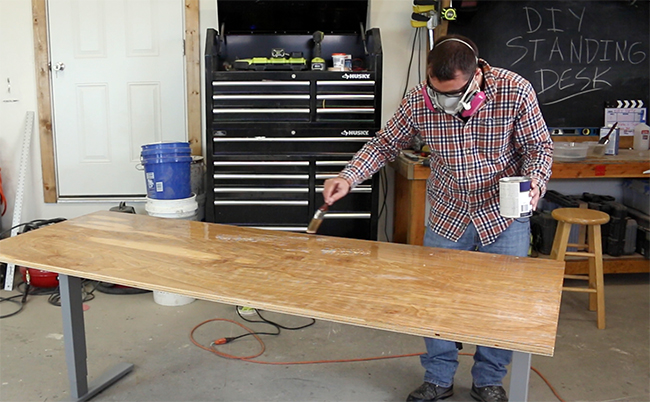
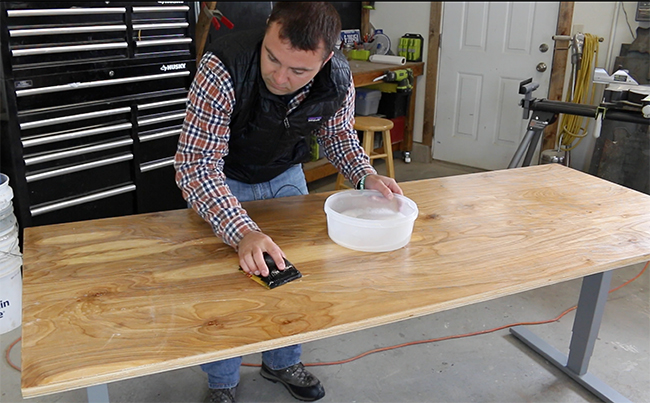
For my DIY Standing Desk, I wanted a slightly glossy finish with a durable surface. I find that lacquer protects better than polyurethane and chose to use lacquer for this project. Apply one coat of lacquer and let it dry. Then wet-sand it with 600 grit sandpaper before the next coat. I go over a special wet-sanding technique in the video that works great for smoothing out any finish. Then add a second coat of lacquer (you could keep adding more coats if desired) and let it cure. Do a very light wet-sanding with 800 after your coats and then buff out the finish with a microfiber cloth. This method provides for a great, durable finish.
Attach the UPLIFT 900 Base
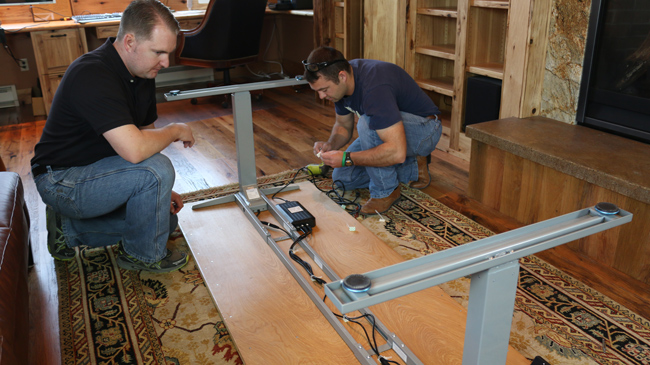
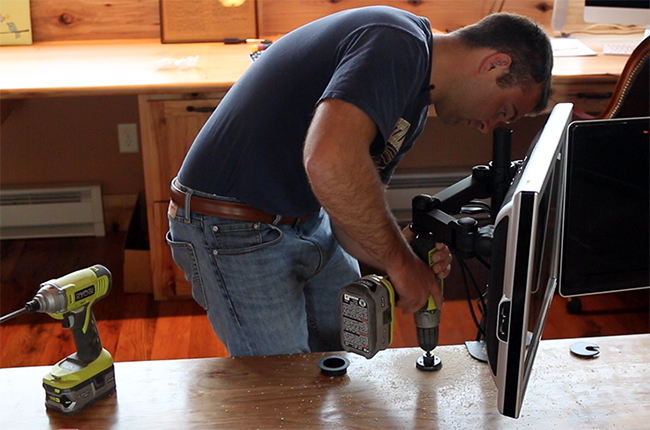
After your desktop for your DIY standing desk has finished curing, you're ready to install the sit – stand base! In the video, we go over attaching the UPLIFT 900 base, it really is an easy process. The base comes with all of the hardware you'll need to attach it to your custom desktop. Be sure to pre-drill any holes before adding screws. Attach the base and then stand the desk upright. I screwed out a 2″ spot for grommet hole mounts so my computer wires would be more hidden.
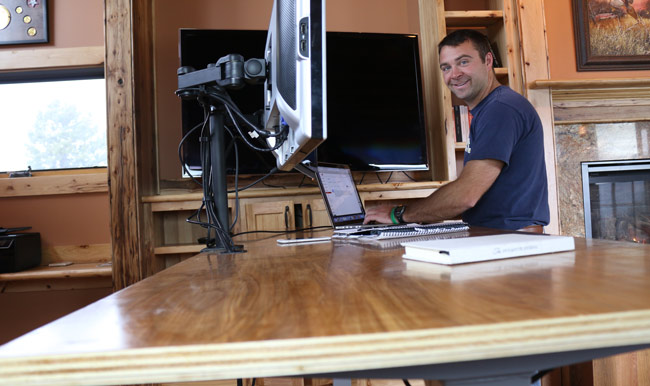
Enjoy your Standing Desk
I loved making this desk in collaboration with Stand Modern. I'd love to see how your DIY Standing Desk turns out – share below or elsewhere tagged with #DIYPETE. Be sure to use your coupon code DIYPETE10 at checkout to get $10 off any order over $150 through Stand Modern here. Cheers from Montana!


