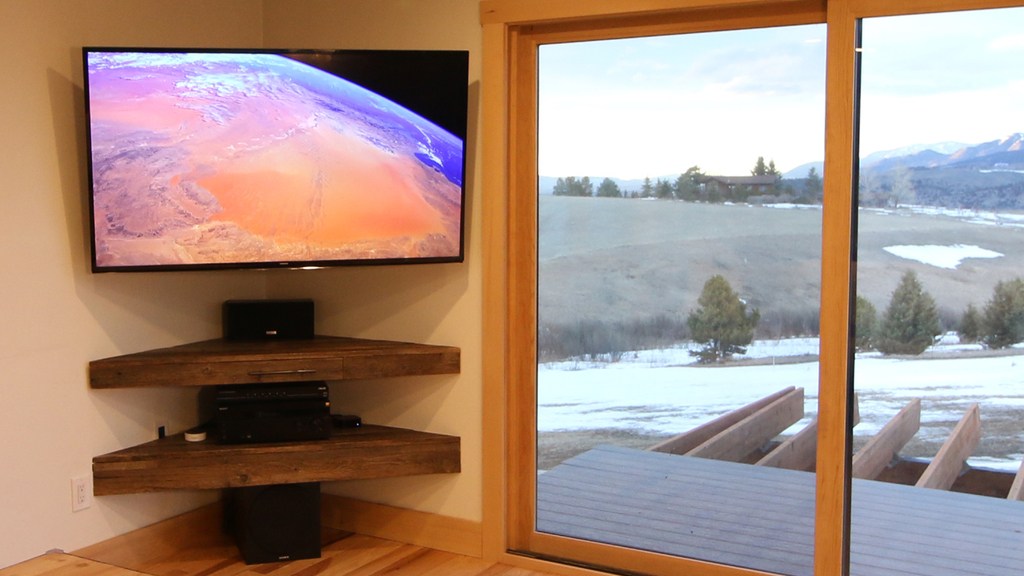
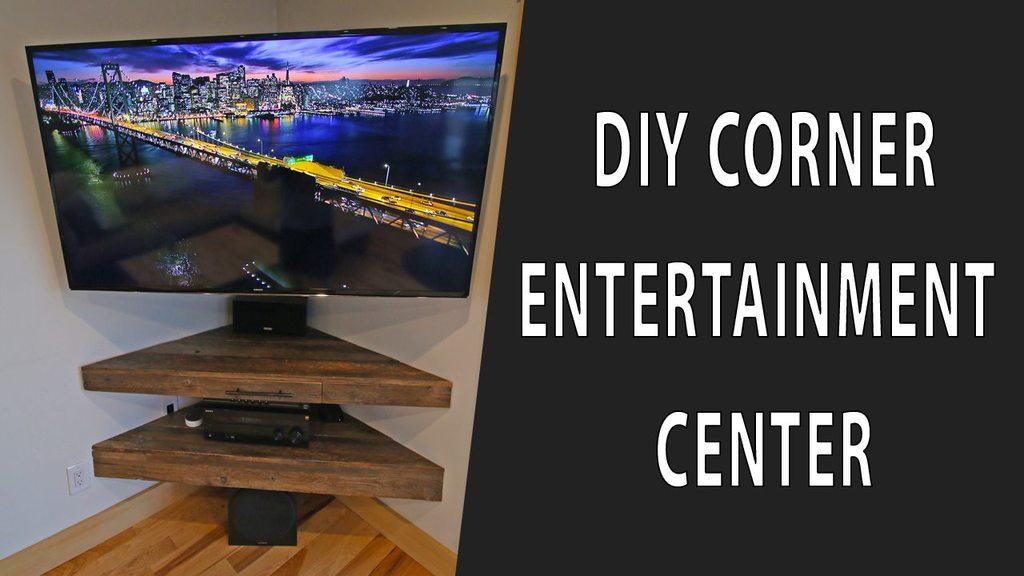
In today's post we'll walk through the process of building a DIY Corner Entertainment Center. This is a great solution for a room if you don't have the wall space for your TV and stereo equipment. You can follow along with the Youtube tutorial to help with the build process and the corner entertainment center plans can be downloaded here. Please note, affiliate links are used for many of the products linked to in this post. If you do choose to purchase an item through one of the links, you will be helping support more project tutorials on this website. Thank you and enjoy checking out the project!
Over the last year and a half I've been remodeling my 1970's split level home in Montana. The home didn't originally have many windows, so I decided to put in a bunch of new windows and sliding doors. This has been great, except that I don't have much wall space. That's why we decided to do a corner entertainment center, and we love it! Here is a look at the before and after photos of the upstairs living room and kitchen area.

Download DIY Pete's Plans below.

Since remodeling, the entertainment center has basically been the floor 🙂 Hence, we needed a new solution.
How to build a corner entertainment center
We started by determining the space we'd need for speakers and components. A subwoofer would need to go under the bottom shelf. Components including the Sony Amplifier would sit on the bottom shelf, and a speaker would go on the top shelf.

The next step was to start building the frame for the lower corner entertainment shelf. We built the frame using 1×2 pine boards that were in my scrap bin out in the garage.

Once the frame was assembled, we used wood glue, an air nailer, and 18 gauge nails to attach barn wood to it.

Each board was cut using a 45 degree angle on each end. The shelves go together very quickly.
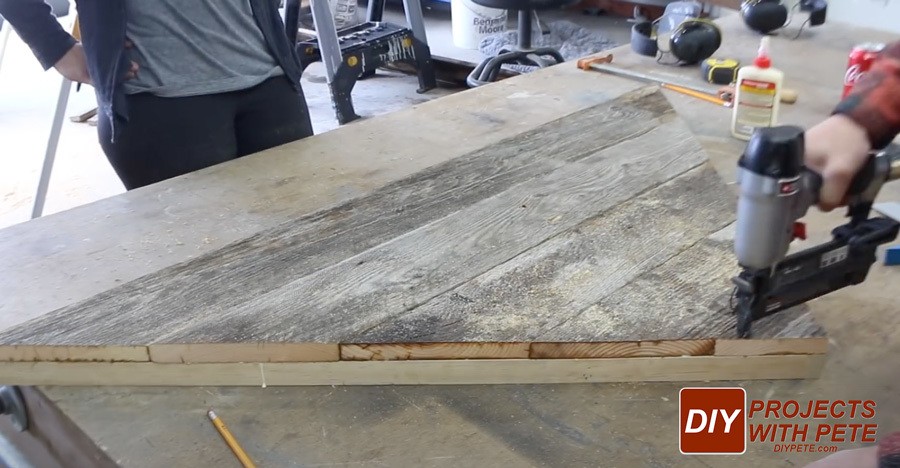
Upper shelf for corner entertainment center
Next, we built the upper shelf for the corner entertainment center. This was built out of 1×4 pine boards. The center area is where the drawer will go.

We used 14 inch drawer hardware for this project. This was placed flush with the bottom. The side with the wheel goes toward the front of the unit. It should be placed 1/16 of an inch in from the trim piece. See the video for more details or read the instructions that come with the hardware.
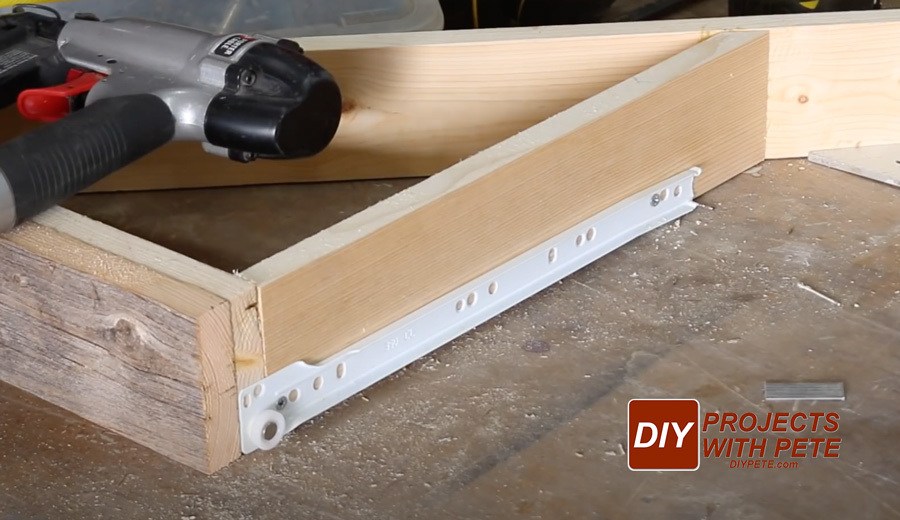
The drawer opening should be exactly 1 inch larger than the drawer width. Since the drawer is 17 inches wide, the opening is 18 inches.
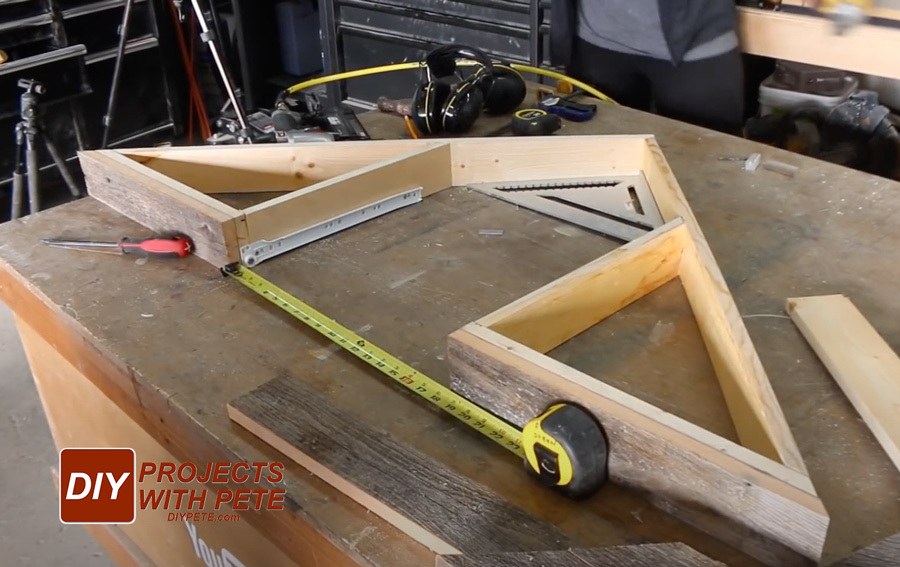
Attach the barn wood trim and boards using an air nailer.

The drawer was built out of half inch thick boards. I nailed on a 1/4 inch piece of plywood to form the bottom of the drawer.
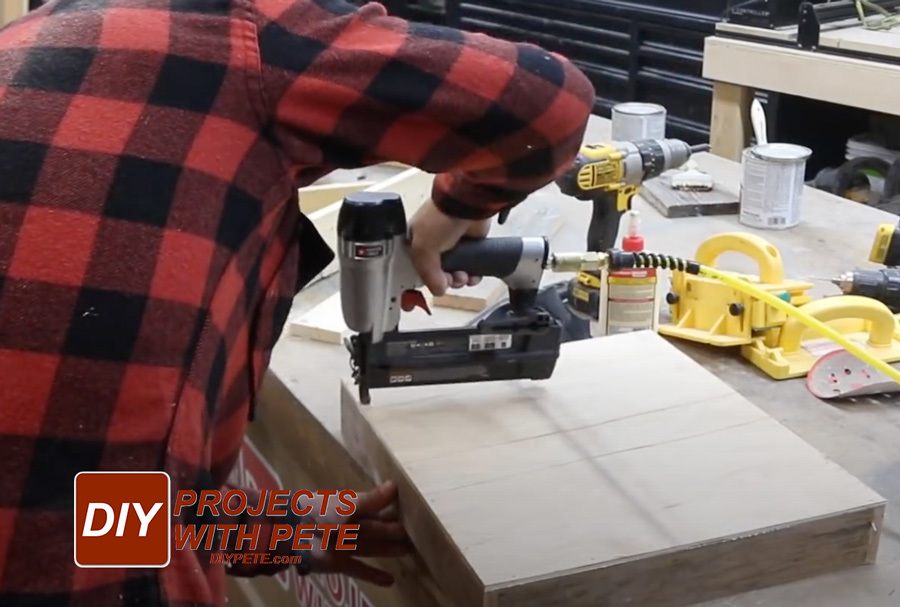
Attach the remaining drawer hardware.
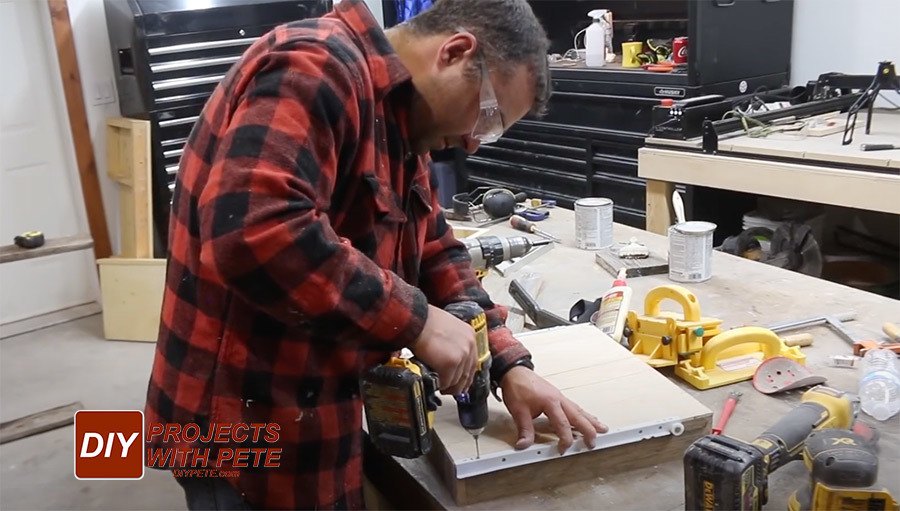
Insert and test fit the drawer. It should slide smoothly.

Place the drawer front into the opening. Center it so the 1/16 inch gap is even on the left and right side. Hold it in place, or tack it in place with your air nailer.

Permanently secure the drawer front to the drawer from the back side using wood screws.

Drill a hole toward the rear of the floating corner shelf so you can run cords and cables through the shelf. Next, sand the wood. We did a light sanding with 220 grit paper to expose some of the brown tones under the grey barn wood.

Add a finish to the wood. We chose to use a water-based polyurethane because it retained some of the natural grey tones of the wood. An oil based polyurethane would darken the wood quite a bit and bring out more dark brown tones.

In order to mount the TV perfectly centered in the corner, I built a custom corner bracket which allows the TV to come out further from the wall. This gives the tv enough room so it doesn't hit the wall on each side. This is only necessary for larger tv sizes. The tv in this project is a 60″ flatscreen.

I reused the mount I already owned and used an angle grinder with a cutoff wheel to shorten the mounting hole area of the bracket. If you are ordering a new tv mount, I'd recommend buying a corner mount bracket. This way, you don't need to build one.

Here is a closer look.

Find the studs in the wall to determine where you'll be able to attach the floating shelves. I used a magnetic stud buddy to easily find each stud.

Attach each corner entertainment center floating shelf using 3 1/2 inch long wood screws. Drill through the frame and into each stud.
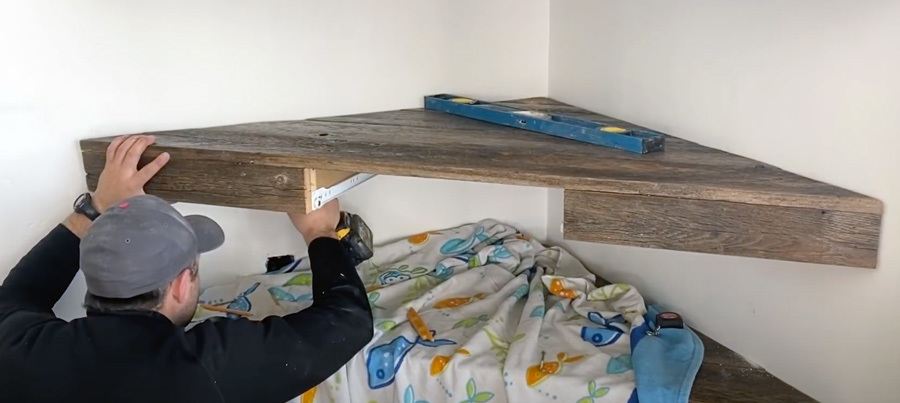
Insert the drawer and start organizing your new floating shelf entertainment center.

Enjoy your new corner entertainment center! Please share photos of your project below, or let me know what you think of this build. You can download the corner entertainment center plans here. Cheers! – Pete
