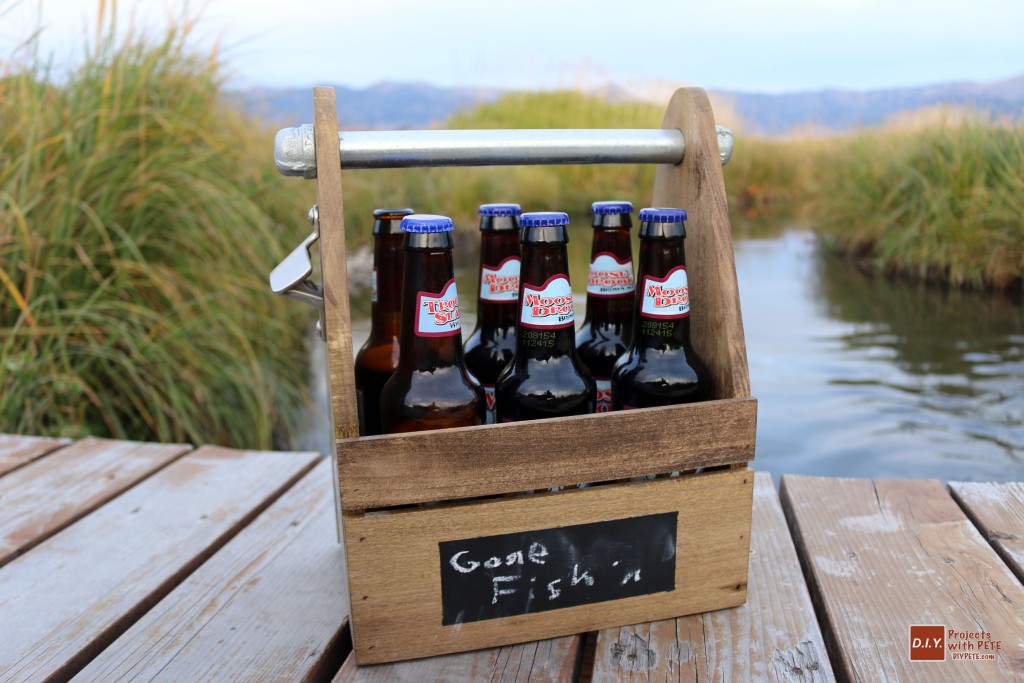
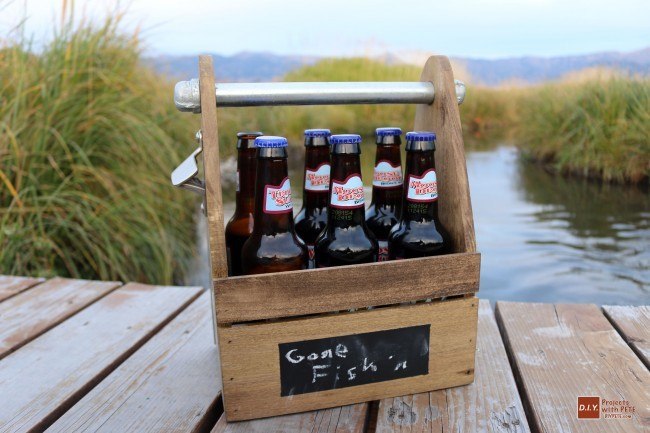
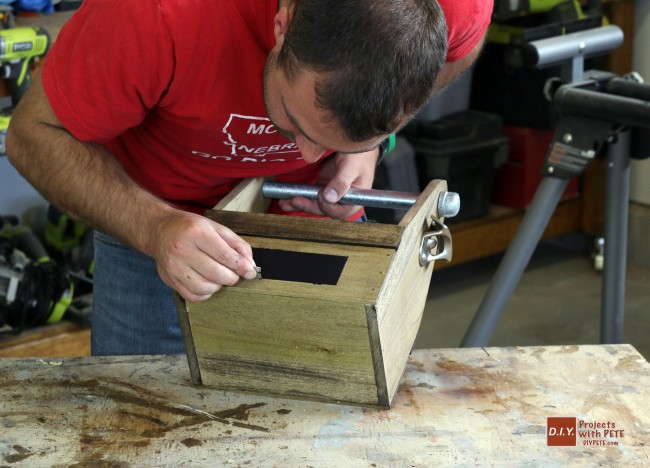
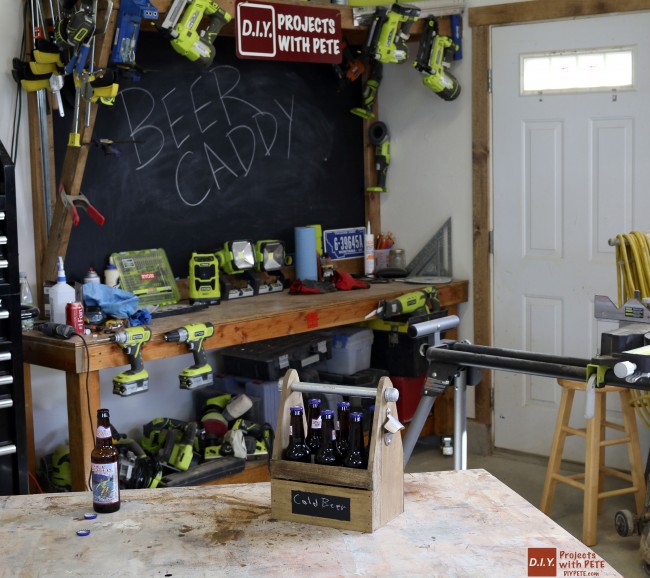
For this week's tutorial we made a wood beer caddy! This is a great project that is easy to create, a lot of fun, and draws attention at bbq’s or in the man cave. They also make for great gifts! Good luck with the project and have fun building it! Please post project photos on the Facebook page at www.facebook.com/DIYPROJECTSWITHPETE or elsewhere tagged with #DIYPETE Be sure to check out the downloadable plans here.
The aerial footage seen in the video above was shot with my new drone, the DJI Phantom 3. I bought this off of Amazon.
Tools Needed
Miter Saw– I’d recommend a 12 inch sliding, miter saw.
Orbital Sander– Ryobi makes a nice one.
Jig Saw
Nail Gun- I use Ryobi’s nail guns
Drill– I use Ryobi drills.
Tape Measure, Ruler, Pencil
Optional:
Circular Saw-Can be used instead of miter saw
Clamps– Clamps are helpful for any project. I love to use JackClamps.
Speed Square
Wood List
QTY: 1 – 1⁄2” x 8” x 3 Foot Poplar Board
QTY: 1 – 1⁄4” x 4” x 4 Foot Poplar Board
QTY: 1 – 1⁄4” x 2” x 2 Foot Poplar Board
Approximate Total Cost: $20
*Approximate Total Cost (Not including tools and supplies you might have like rubber gloves, paint brush, stain, paint, screws, etc.)
Make All of the Cuts
Cut each piece to size on your miter saw. For all cuts’ lengths and widths, refer to the cut list above. Some cuts may require ripping on the table saw or sliding miter saw, this is optional though, you can buy boards to exact size at store. For a complete, detailed cut list, refer to the downloadable plans here.
Mark and Cut the End Pieces
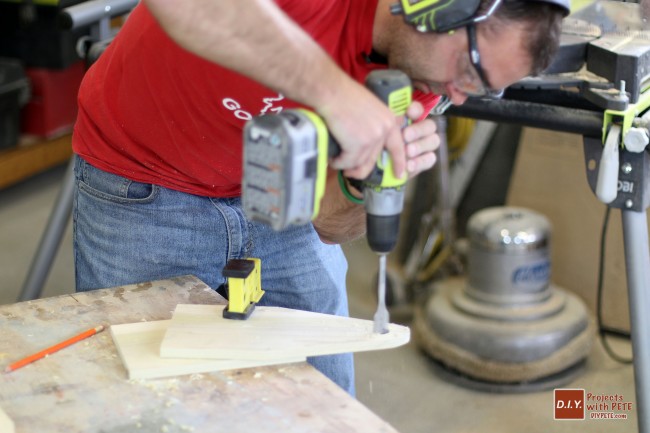
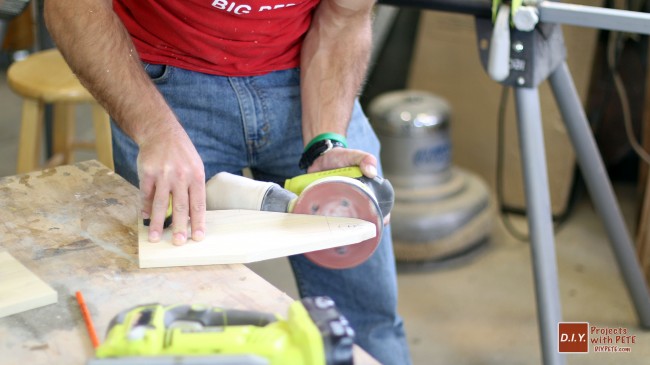
For this beer caddy design, the two end pieces have an angle and a rounded top. These cuts are not hard if you do it all step-by-step with your miter saw or jig saw. The first thing we need to do is measure out where the angle starts and stops. On one of the end boards, measure 5 1⁄2” up from the bottom and make a mark on both sides. Then on the top, measure 2 1⁄4” in and make marks on either side. Then mark and drill the holes for the handle to go through. Detailed dimensions, measurements, and layout in the plans here.
Assemble The Caddy
Once you have all of your boards cut to size and shape, it's time to assemble the beer caddy. Apply glue to any joints that will be nailed together. Start by lining up the flush bottom with one of the end pieces. Glue and nail and repeat for the other end. Now with the bottom in place, we can attach the lower and upper side strips. For more detailed steps, photos, and dimensions refer to the download plans here.
Apply Stain and Clearcoat
We’re almost done with your beer caddy! Lastly, we need to apply your stain of choice and finish it off with polyurethane or another clear coat/sealer. I chose Minwax’s Special Walnut finish and the spray polyurethane. Use a brush to cut any edges or hard to get to corners. Once its all covered with the stain, allow it to dry for the manufacturer's recommended time and then hit it all with a clear coat. You’re done!
A couple of add-ons/customizations I added to my beer caddy are: the bottle opener mounted on one end piece, the 5” wide by 2 1⁄4” tall chalkboard strip on the side, and the vinyl decals. The opportunities are endless here. Have fun and DIY! Download plans here!

