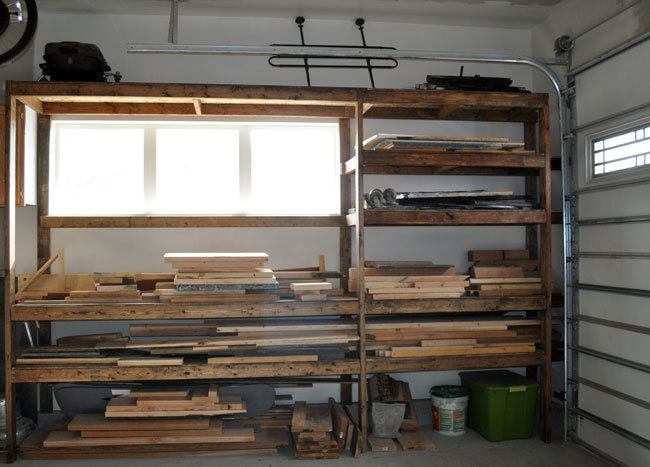
This weekend I took on a project to gain some much needed room in my garage. To maximize space, I built some simple shelves out of 2×4 construction grade pine and plywood. The project took up the majority of my weekend. — I am feeling much better now that my garage is organized though!
Before creating and finishing garage wall shelves, I wanted to texture and paint the wall. I'm slowly going to finish the whole garage, so it made sense to do it before the shelves went in. In this project I'll go over the basics of how I finished the wall and then built shelving. I am by know means an expert with drywall, but have learned enough be be able to make a garage wall look nice. For those of you out there unsure about texturing, remember that it is just a garage, and is an excellent place to practice and learn.
Let's start by taking a look at what I had to work with. For some reason, contractors in Bozeman, Montana don't believe in finishing out garages. They simply do the drywall and taping. I wanted to have nice looking walls so I grabbed some drywall mud and got to work.
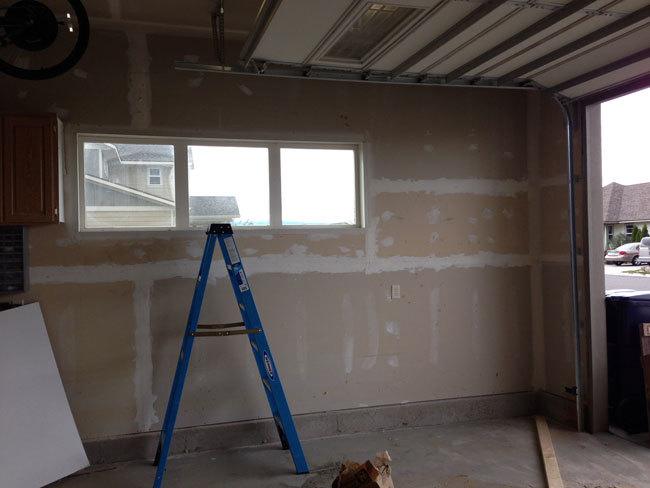
Step 1. Prep Wall
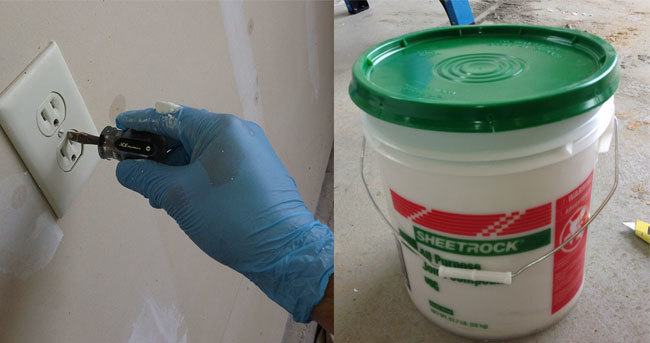
Remove light switches and protect the surrounding as needed. I like to use a drop cloth or plastic on the ground to protect it from paint or glops of mud. Purchase a bucket of pre-mixed drywall mud at your hardware store. This 5 gallon bucket was about $10.00.
 Step 2:
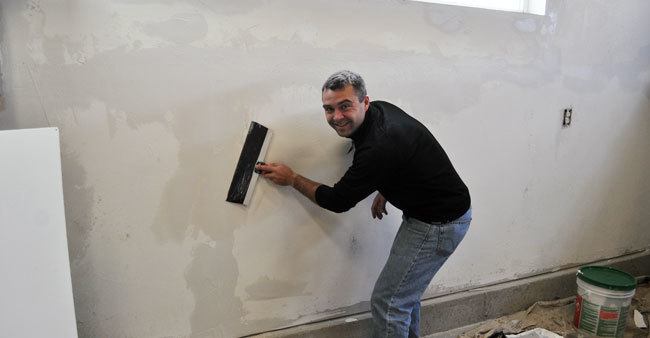
Texture the wall. There are many different techniques, but I chose to apply the mud with a drywall knife and to give the wall a troweled type finish. I chose this method for a few different reasons. The first is because texturing is an easy way to hide a bad tape job and to add some dimension to the wall. The second is because I was only doing a section of the garage and didn't want to tape anything off. Spraying involves much more prep work and I don't like the finish as much.
Scoop some mud on your knife and start texturing. First, mud over the taped areas if needed and feather them out to get a nice flat surface. Once that is taken care of you can begin the texturing. Put some mud on the knife and trowel it on the wall in swiping motions. It will give you a nice textured look. Let the texture dry before sanding.
 Step 3
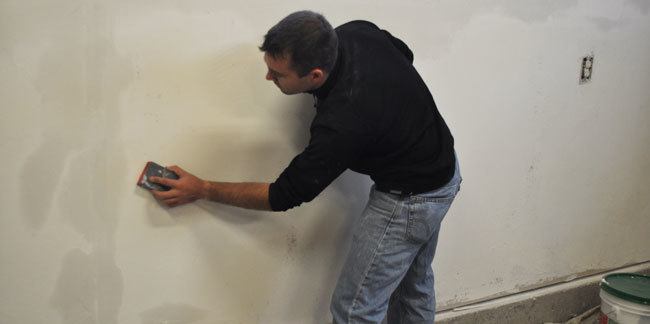
Lightly sand the wall to remove any bumps or unwanted ridges in the texture. It's good to wear a mask for this process because it gets dusty. For photo purposes I took mine off. After sanding, take a broom to the wall to knock off any remaining dust prior to painting.
 Step 4
It's time to paint. You'll want to pick up drywall sealer, paint, some rollers, and a brush. I picked up a gallon of sealer for $9.50 and a gallon of semi-gloss off-white paint for around $12.00. I usually buy a little more expensive paint, but not for a garage. The semi-gloss works well because you can clean it easily.
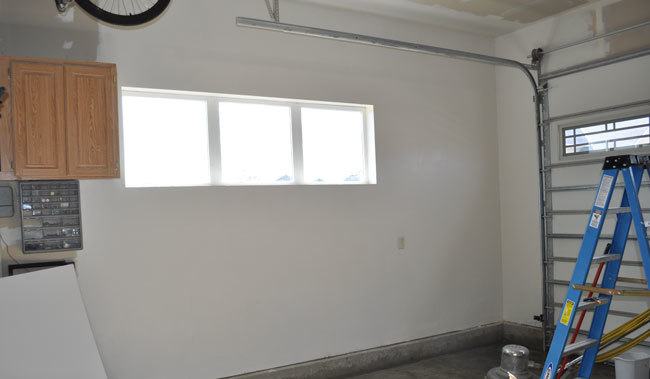
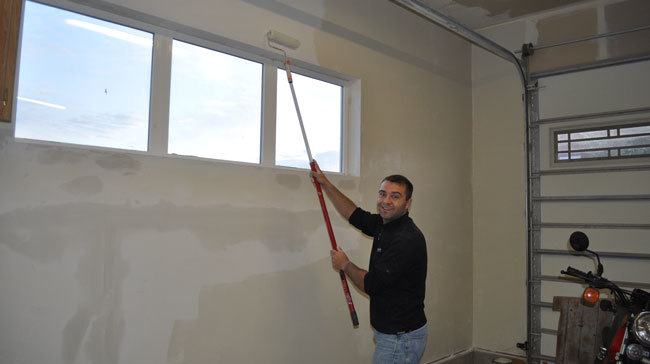 It is a good idea to have the paint store tint the primer/sealer in a similar color to your actual paint. This will help make it possible to have nice looking walls with just two coats. I did one coat of primer and one coat of paint. Below is a photo of the finished wall.
 SHELVES
Finally! It's time for the shelves. I bought a good amount of 2×4's and some OSB plywood from Home Depot. To make the shelves look a bit more finished, I stained all boards prior to installing with the “Special Walnut” stain from Minwax. It is not necessary to stain the wood if you'd rather not take the time.
 Layout
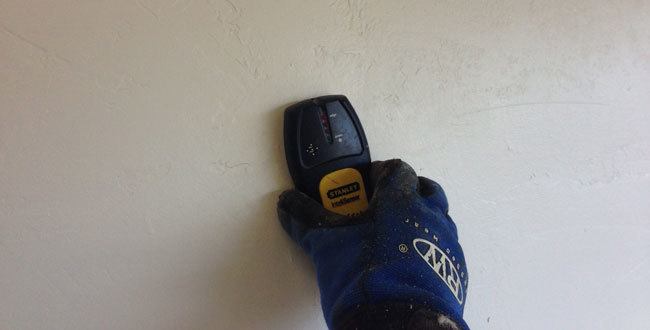
Decide how you want to layout your shelves. I don't usually build shelves with spans wider than 8 feet. You will notice my vertical 2×4 beams are spaced 8 feet or less from each other. I then run a 2×4 across the front and back horizontally. This gives support for the plywood. For additional support you can also add 2×4's between the two pieces as I did. It will prevent the plywood from sagging over time. For the first step you'll want to find the studs to attach your vertical supports to. I used 3.5″ torq screws to attach them.
 Continue building. Make sure to use a level to make sure all boards are straight. Garages typically slope downward toward the driveway. That said, do not measure up from the ground. Otherwise you will have crooked shelves. I like to build the lowest shelf about 20 inches off the ground. That way you can store 5 gallon buckets, air compressors, miter saws, and tall items underneath. Space the rest of your shelves to your needs. Tie in the top with 2×4's so you can have a top shelf.
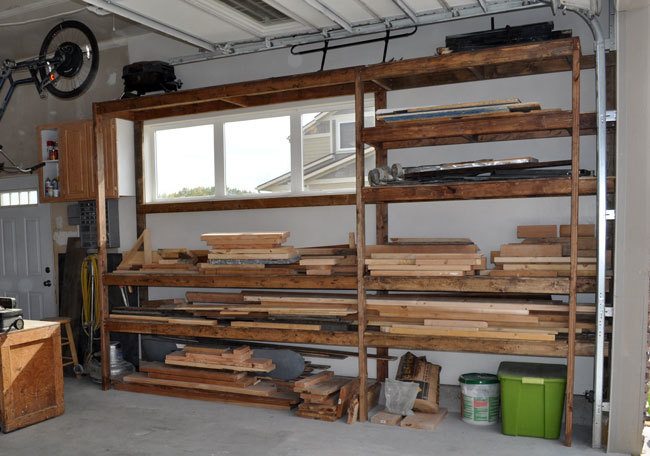
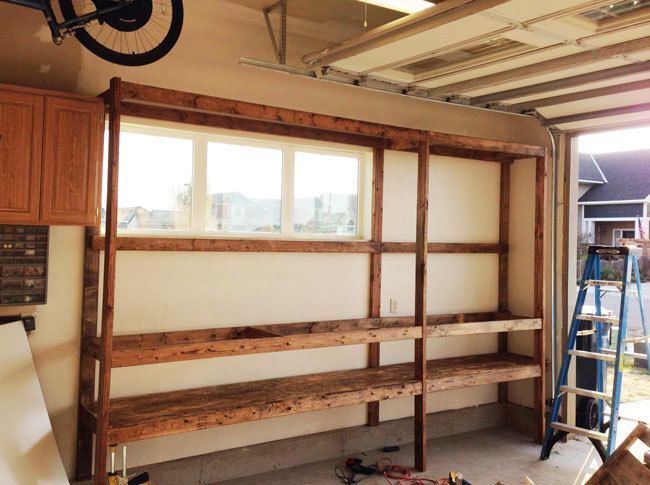 Once the plywood has been attached (using 1 1/4 screws) go ahead and use the shelves. They are solid and built to last. I store all of my scrap wood, metal, and concrete on my new shelves.
 If you have any questions about building shelving please comment below. The post was designed to give you some ideas on how to build shelving and finish walls in your garage. Hopefully it helps. Please share and like below! Thanks fellow DIY'ers!

