Building and creating with my hands has always been a passion of mine and something I love sharing with others. When I stumbled upon plans for the table I was thrilled and wanted to create the most in-depth video online sharing how to build a farmhouse table.
I've built a number of tables over the last few years, but this seems to be one of my favorites because of its bold looks. It's built out of 4×4, 2×4, and 2×10 lumber. The large beams give this table a bold look and make the table as solid as a tank. This farmhouse table build will score you a number of brownie points with your lady.
The original plans for the project are from Ana White's website, who has hundreds of free plans available. I modified the table by making the table wider and longer. The larger size provides more space to spread out and for food or a centerpiece in the middle. This table has been a conversation piece and has worked great for our dinner parties and meals. This farmhouse table will last for years and will be able to be passed on to family members for generations. Whitney from Shanty-2-Chic also has a post about creating this table and she collaborated with Ana-White on her project.

In-Depth Farmhouse Table Video Tutorial
Plans
The complete plans can be found on Ana's site and there is a downloadable PDF. Ana White and Whitney from Shanty-2-Chic partnered on creating the plans. The project is fairly simple and will take about a day to assemble + finishing time.
Modifications: The only modifications I made to Ana's plans were to the overall size. I used an additional 2×10 to increase the width of the table. I cut the table top boards a little longer and enlarged the width of the table base. I show the table top modifications in drawings below. Feel free to modify your table from the plans to best suit your needs.
Tools Needed
Power Drill
12″ Miter Saw
Kreg Jig
Orbital Sander
Clamps
Tape Measure
Pencil
Safety Glasses
Hearing Protection
Supplies
2 1/2 inch Kreg Screws – Need 1 Box
6 inch Torq Screws (for attaching 4×4's to each other) – Need about 40 or so
4.5 inch Torq Screws (for attaching 4×4 top braces to table top) Need about 20
2.5 inch Torq Screws (for attaching 2×4 top braces to table top) Need about 20
Sandpaper
Stain ( or White Vinegar / Steel Wool )
* The 6 inch and 4.5 inch screws can sometimes be difficult to find. I'd recommend going to a contractor supply or local building / lumber store. Only select Home Depot and Lowes stores carry them.
Materials – See Plans here (look at my modification diagrams to see how my table differs from Ana's plans.)

Wood for the Project
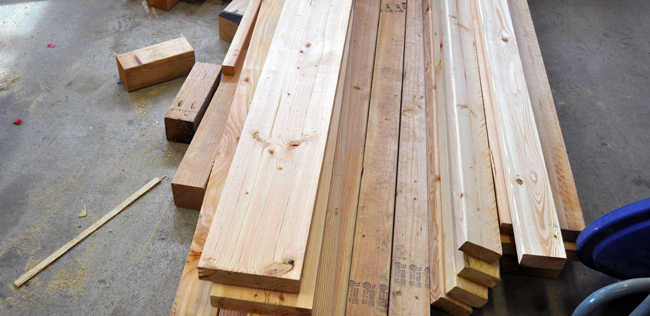
You'll need to buy 4×4, 2×10, and 2×4 boards for this project. These boards can be found at your local lumber yard. Take your time to find quality boards that are straight and have little warp.

The Build
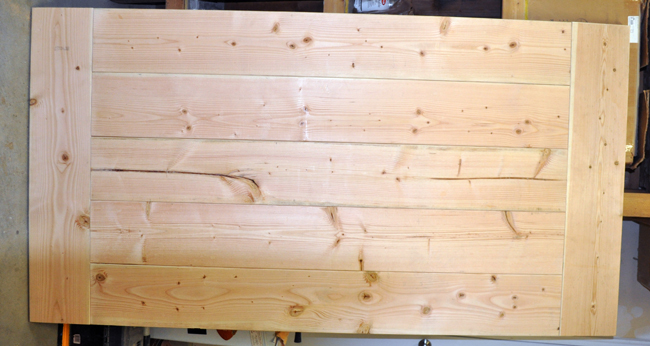
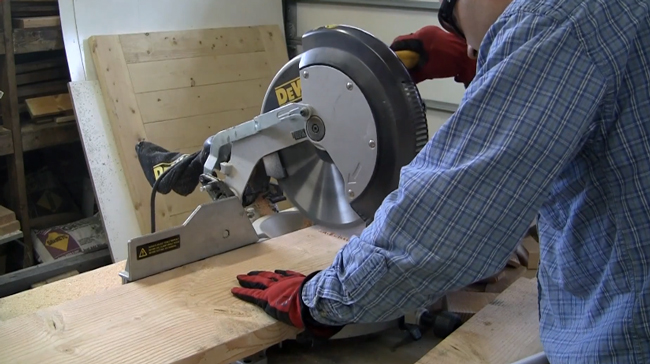
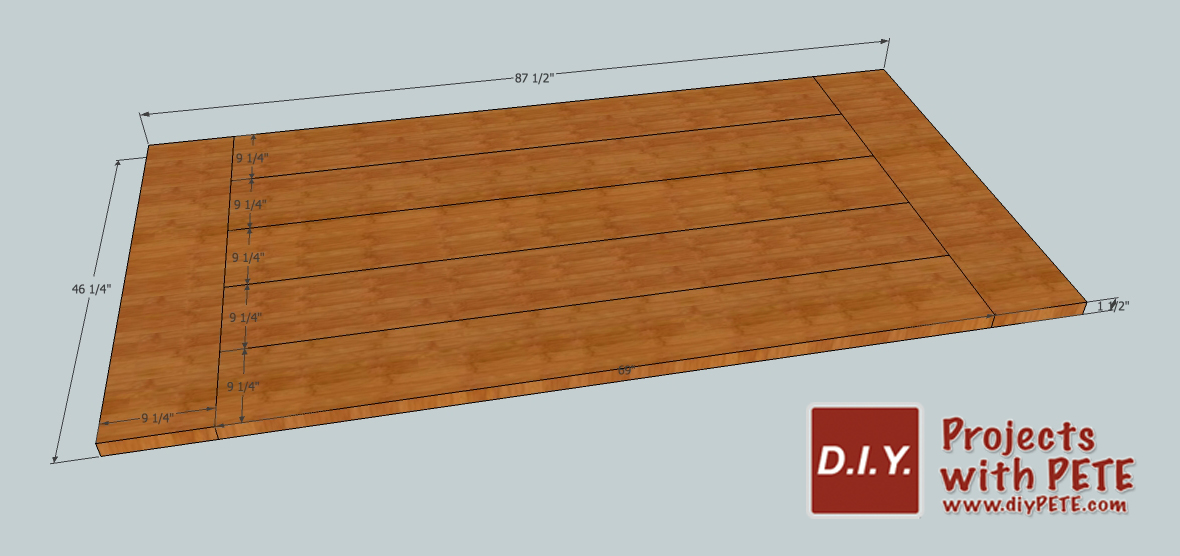
First, I built the table top out of 2x10s. I used 5 2×10's for the main part of the table and a 2×10 for each breadboard end. Ana's plans call for four main boards, but I wanted a little larger area to spread out. I used a 12″ miter saw to make all of the cuts. I cut the 5 boards to 69 inches long.
Here is a look at the table top. A 2×10 board is actually 9 1/4 inches wide. The total dimensions of the top are 46 1/4 inches by 87 1/2 inches.
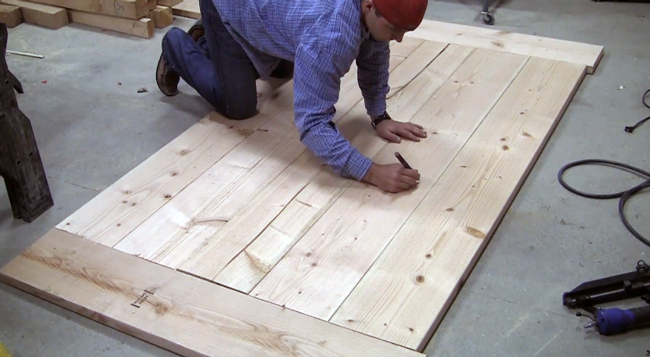
Line all of the boards up and mark where you'd like to drill pocket holes. I typically space the pocket holes about 8 to 10 inches apart.
Set the Kreg Jig at the 1 1/2 inch setting for the stock thickness. (My video says 2 1/2 inch setting but I meant to say 1 1/2 inch.)
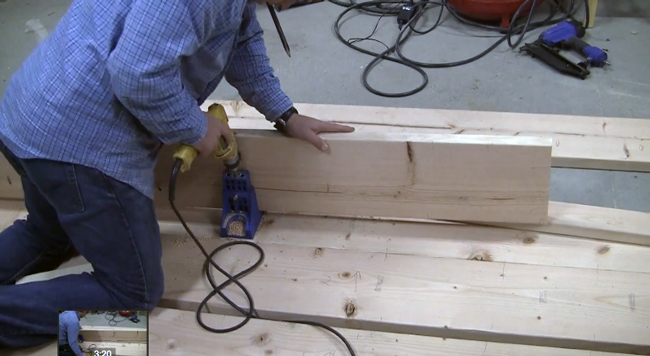
You'll attach each board using the 2.5 inch long Kreg Jig screws. It helps to clamp the boards to each other and use a little body weight to get the boards even with each other.
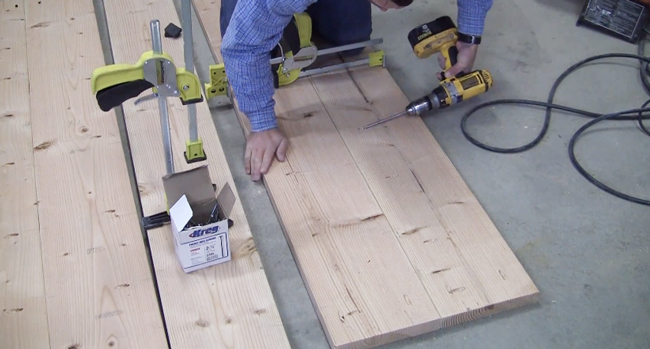
Drill two pocket holes on the ends of each board as well. They will be used to connect the main boards to the breadboard.
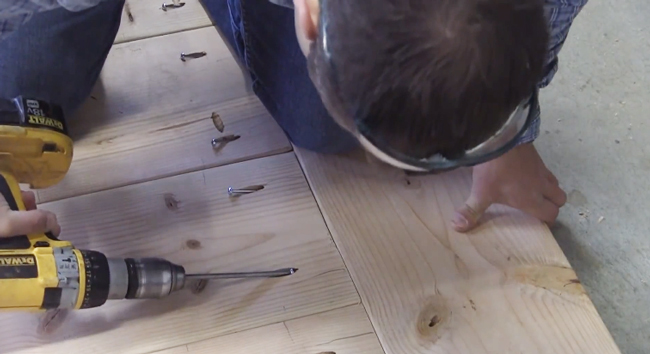 Here is a photo of the completed table top from the top side. The overall dimensions of my table are approximately 46 1/4 inches wide by 87 1/2 inches long.

The Farmhouse Table Base
I had to modify the width of the base a bit so that it fit the wider table top. Here is a diagram of the modifications I made to Ana's plans.
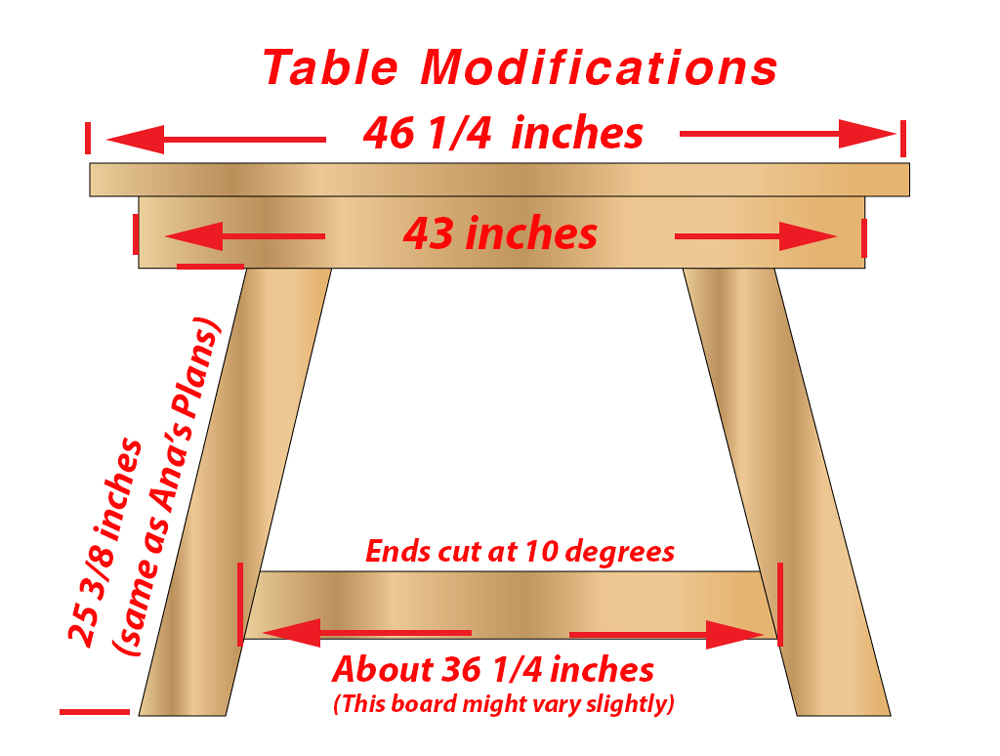
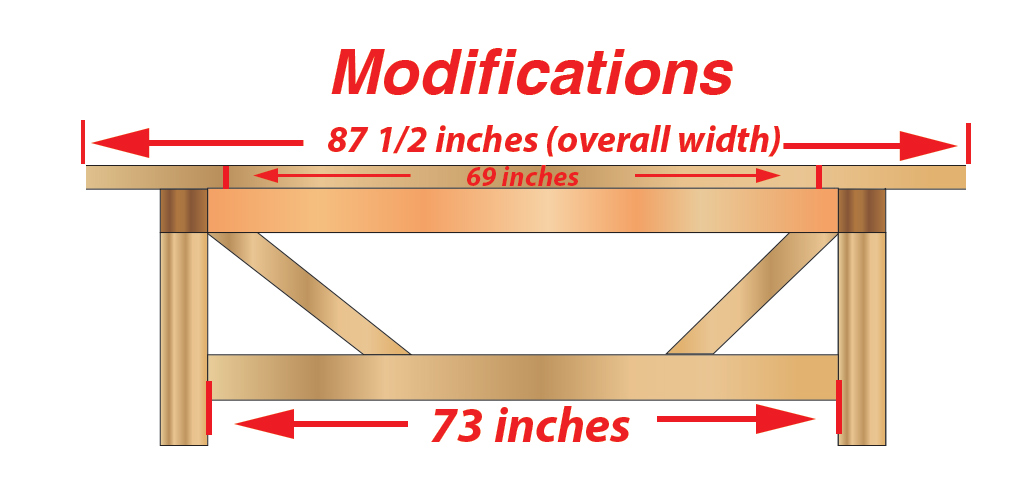
I built the two ends out of 4×4's. I used 6″ long torq screws (also known as star pattern screws or leg screws) to connect them (about 3 for each joint). The two vertical boards are cut at 10 degree angles (parallel to each other). The lower horizontal board is cut at a 10 degree angles as well (not parallel).
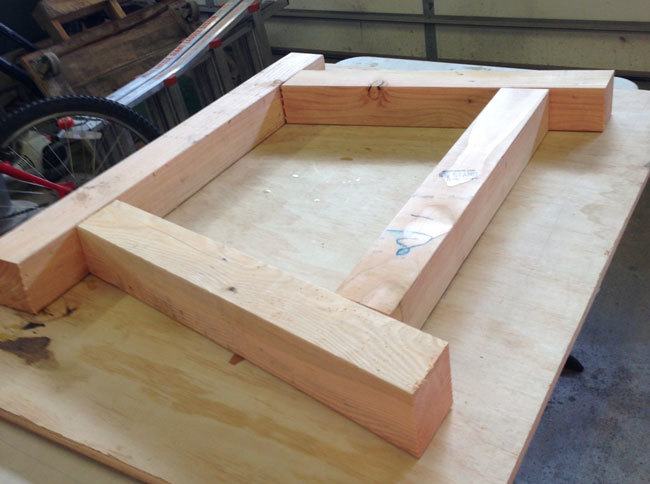
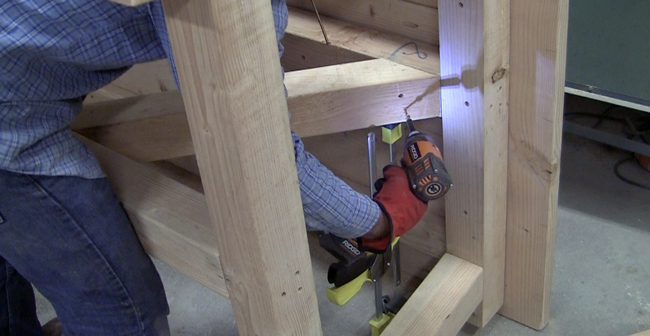
Connect the two ends together with the 4×4 horizontal beams on top and bottom. I didn't have an extra set up hands to help me, so I used Jack Clamps to help hold everything up while I tied the boards together with 6″ torq screws. I attached the two horizontal 2×4's using 2.5 inch Kreg Jig screws.
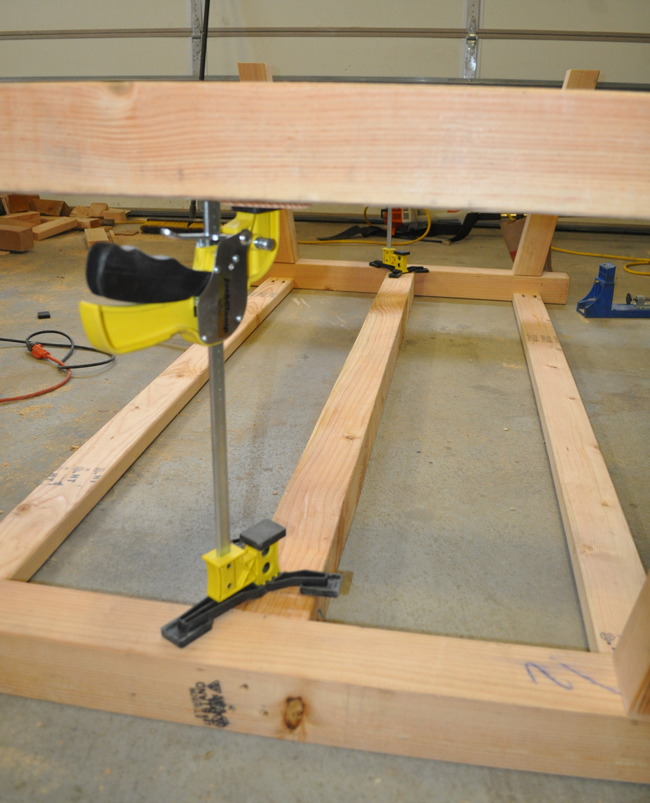
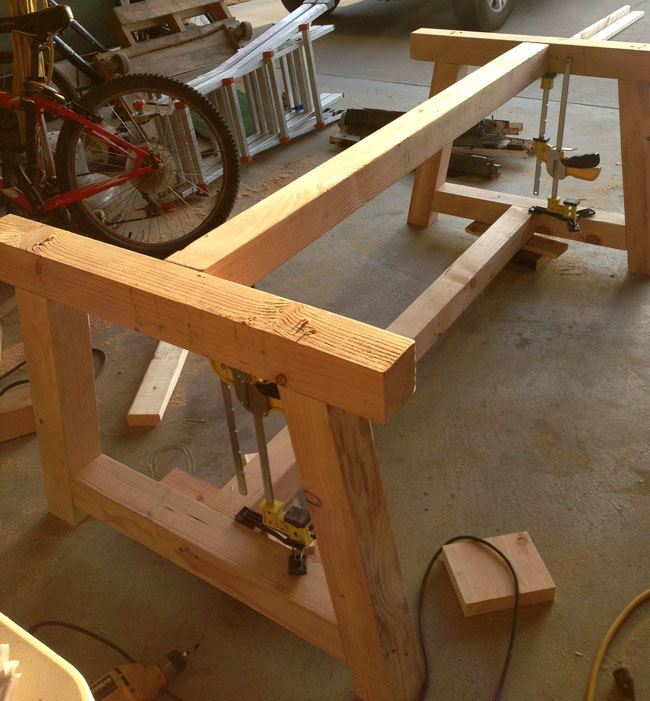 Attach the base to the top using 4.5″ torq screws through the 4×4 beams. Use 2 inch torq screws to connect the 2×4 to the table top. (I counter sunk mine a bit)
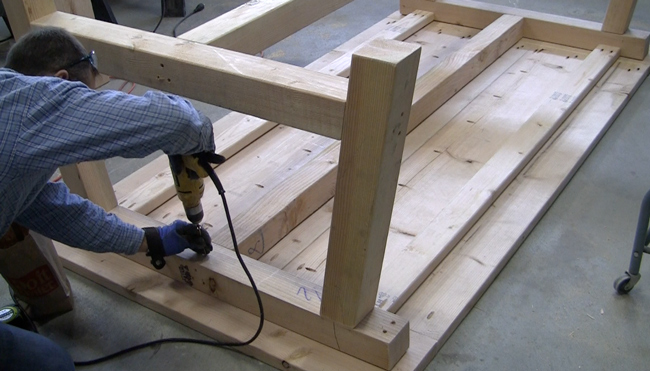
Cut the two braces at 45 degree angles. Attach using 2 to 3 screws on top and bottom that are 6 inches long. Drill the screws in at an angle.
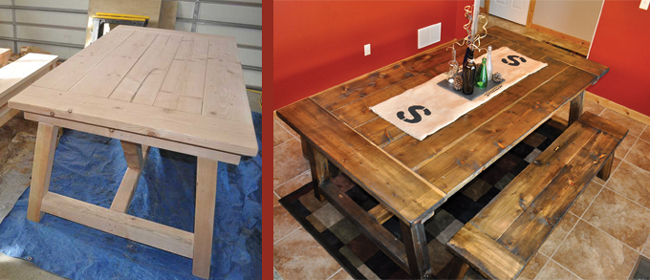
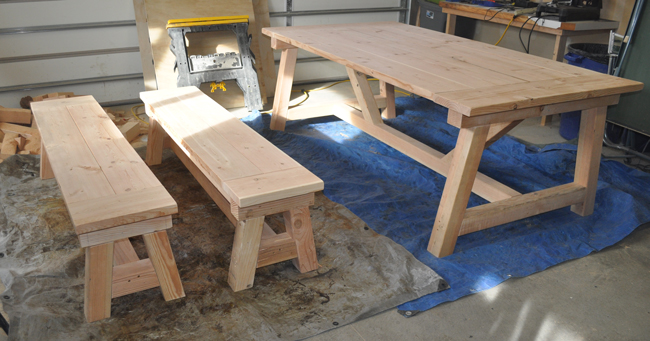
Here is a look at the completed table prior to staining and sealing the piece. I also created matching benches to fit this table. The plans can be found by clicking here. I modified the width so they are a total of 69″ wide. Instead of using a 2×10 for the breadboards I use 2×8's. Everything else was kept the same as Ana's plans. The inside span of my table where the benches fit in is 73″ so that left 2 inches of wiggle room on each side of the bench so it can easily slide in and out.
Finish
The next step is to make the table unique to you. I decided to distress the farm table by using tools around the shop to make the table look worn. I used nails to create wormhole marks and a circular saw blade and hammer to put some character into the table.
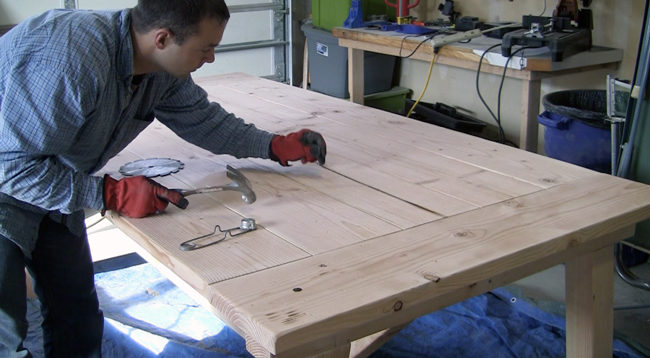
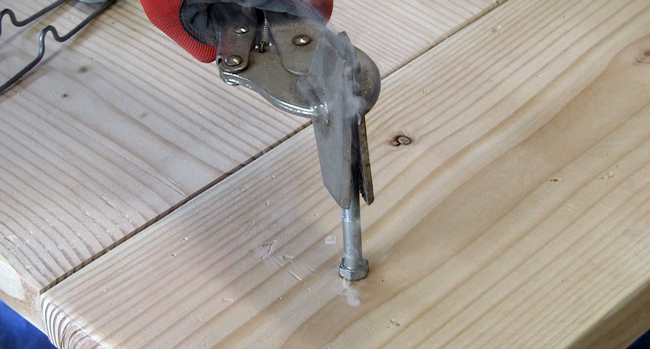
I then heated up an old bolt with a blow torch and created a neat bolt mark in one corner of the table top.
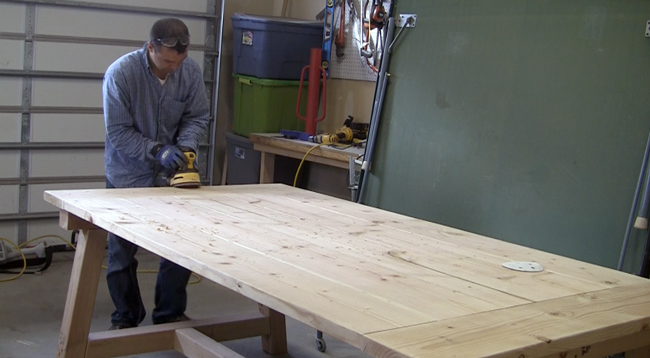
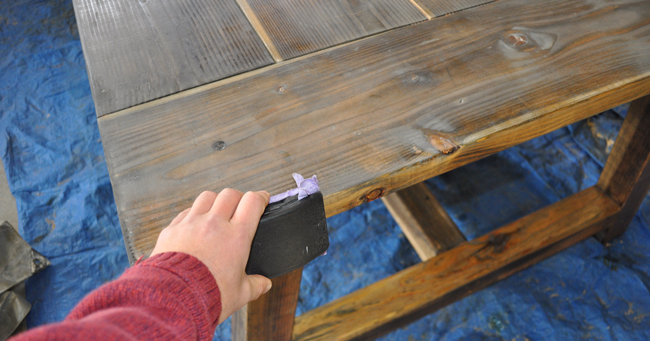
Use 120 and 220 grit sandpaper to smooth the table and to soften the table's corners.

Finish
I used a #00 Steel Wool and White Vinegar solution to patina the wood and give it an aged look. Put a good handful of steel wool in a jar and add white vinegar. Let the vinegar dilute the steel wool for at least 3 to 4 days. The mixture will get darker the longer you let it sit. I let mine sit for a full week. Once diluted, simply brush the mixture on your piece. Oxidation will occur as the mixture reacts with the tannins in the wood to give it variations in color. It changed the Fir wood to dark blues, greys, browns, and black. Do not use white Pine because it will not darken much at all. If you'd rather use a stain, Minwax has some great choices to choose from. A couple of my favorites are Special Walnut, Dark Walnut, Provincial, Weathered Grey, and Golden Oak.
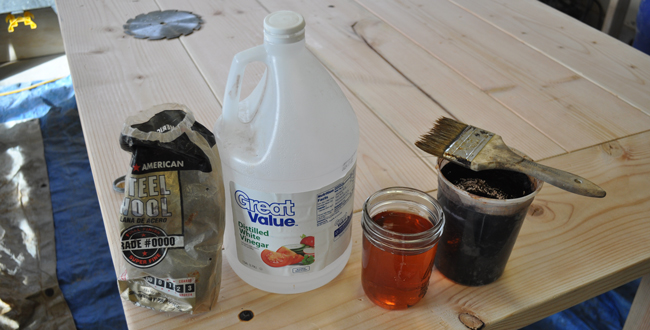
* You can always dilute your mixture if it is too strong. Simply pour a little of the strong mixture in a new cup and add white vinegar. Wipe the solution onto the table with a clean rag. Use a brush to get hard to reach areas.
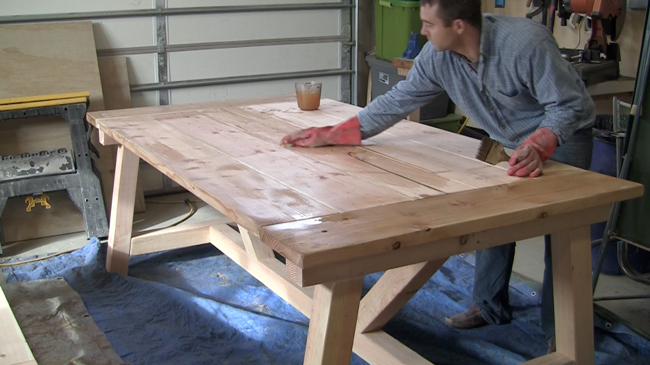
Let the solution soak in and dry for about 6 hours. The table will darken up quite a bit depending on how strong your solution is. The boards will all take the stain a bit differently and you never know exactly how it's going to turn out. That's the fun part!
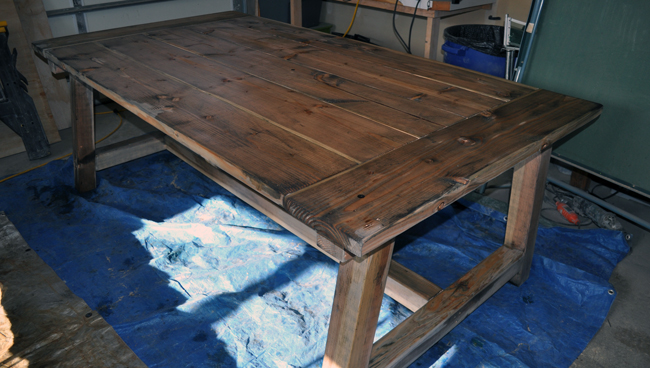
Here is what my table looked like the next morning when it was completely dry. It looks somewhat dull until a polyurethane is applied.
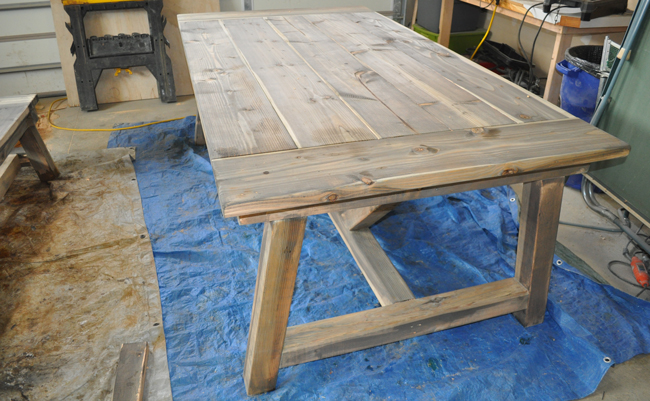
I finished the benches using the same technique. I loved the variation and stripes that were created with the steel wool and vinegar finish. I love rustic finishes. However, I know not everyone does, and so a stain with a wood conditioner might be a better option if you are looking for more of an even and consistent finish. Minwax makes a wood conditioner and it helps stain take more evenly.

Seal
Wipe or brush on 2 to 3 thin coats of Minwax polyurethane. The finish will make the colors pop and warm up the look of the wood to give it a honey like glow.
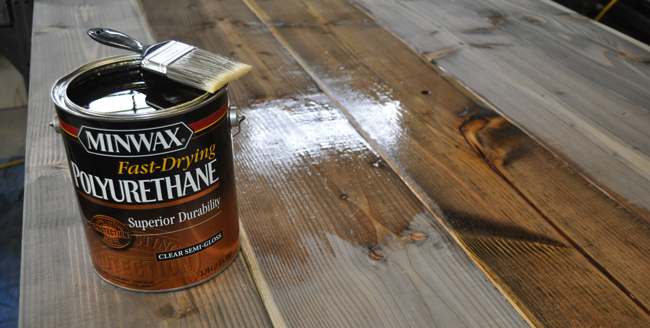
Let each coat dry completely and sand between coats with 220 or higher grit sandpaper.
Allow the final coat to dry and then carry grab some buddies to help carry the table into you home. This table is heavy, so entice your friends with a little pizza and beer.
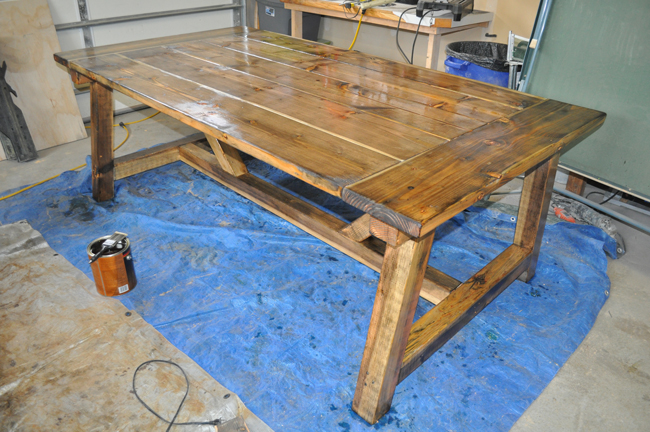
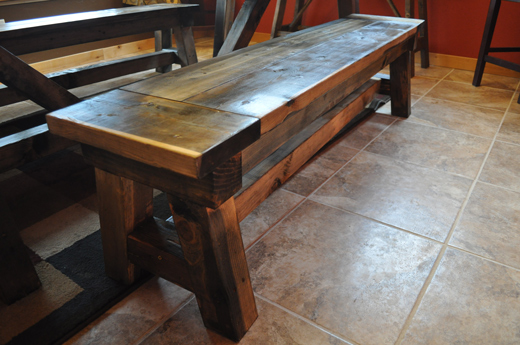
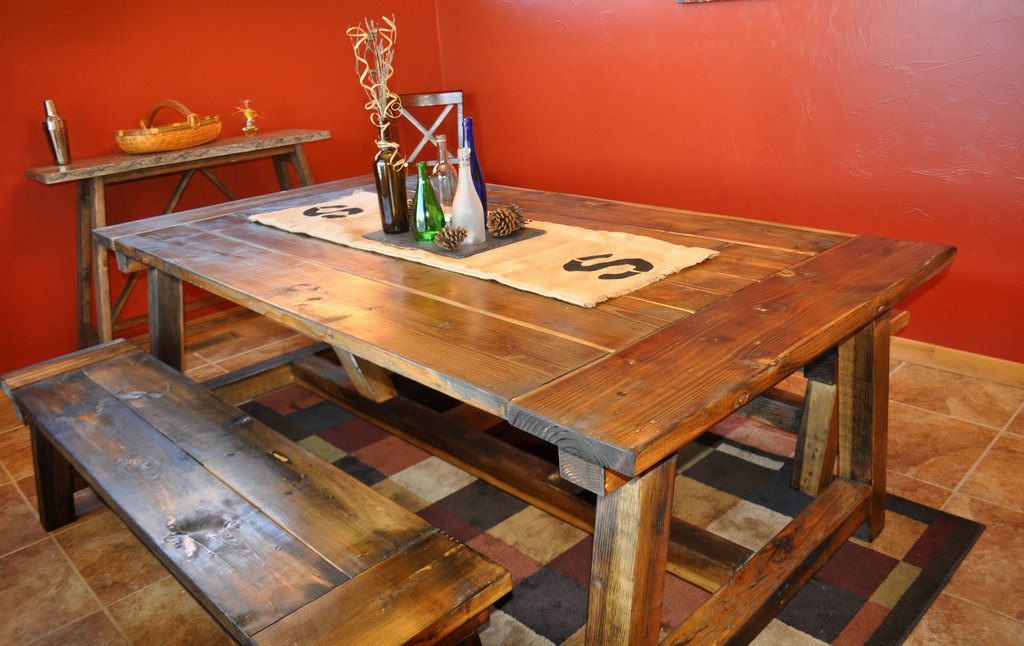
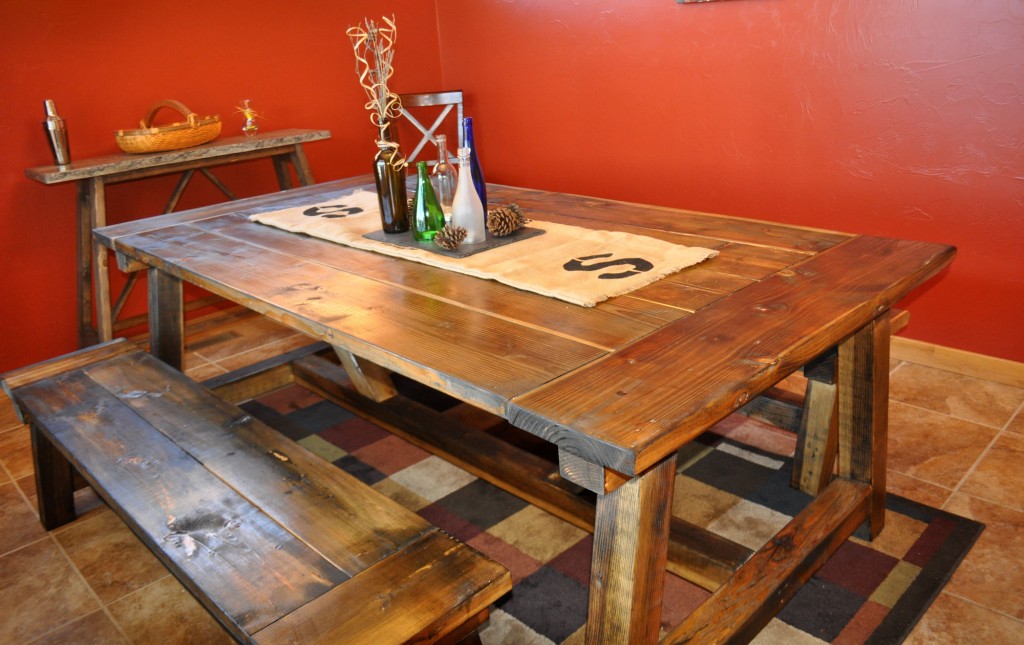
The finished table looks great and works awesome for dinner parties and gatherings!


Like this project? Please share with your friends and family by liking below or pinning the photos to Pinterest! Subscribe to my newsletter to hear about all the latest free project ideas and tutorials!

