

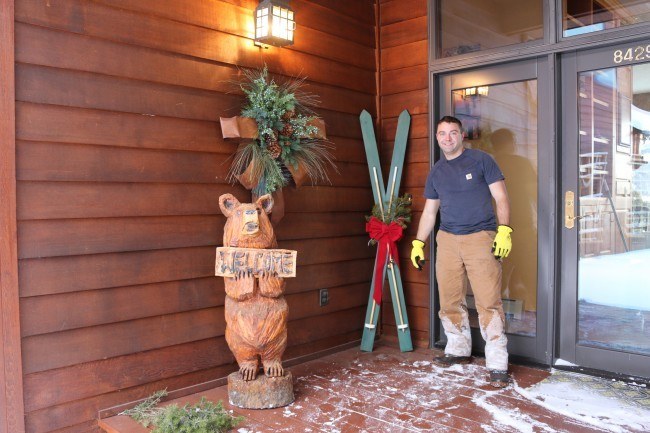
Happy Holidays to you all! Thank you for tuning in to our tutorial for this week. We made a wood ski replica wall hanging with wood poles that is a great piece of decor for any space. This project is very simple to make, affordable, and is a fun introduction to woodworking for beginners. Best of luck on yours!
Tools Needed
Miter Saw
Drill
Jigsaw
Orbital Sander– Ryobi makes a nice one.
Tape Measure, Straight Edge, Pencil
Eye and Ear protection
Supplies Needed
Lumber for the skis and poles/dowels
Gorilla Wood Glue
Minwax Polyurethane
Behr Paint
Cut the Skis to Size and Shape
We'll start this project by marking and making cuts for the wood skis. If you can purchase cedar wood pickets that are 1x4x6′ then you won't have to make too many customizing cuts. Trim the straight ends with either a miter or circular saw, draw your design on the tips of the skis and cut those to size and shape. See how I shaped mine in the video above.
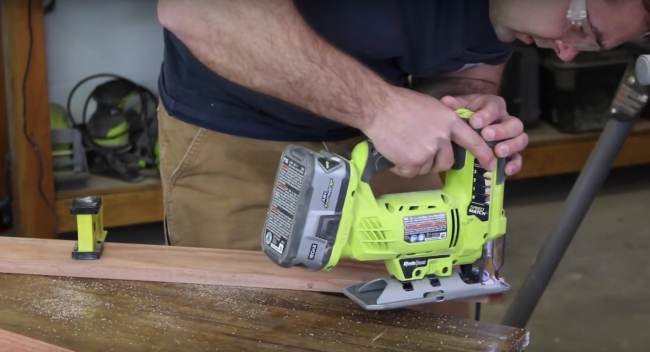
Cut the Pole Baskets
The pole bottom baskets will be two small pieces with one flat side and one rounded side. These are best to be cut with a jigsaw. We used a scrap piece of 1″ think cedar for these baskets. Draw the shape and size of these and then drill a 1/2″ hole through where the poles will fit. Then cut out the shapes with the jigsaw.
Cut the Dowels / Poles
With your 1/2″ dowels, we will mount one that sits on the top ski flat. This dowel will be cut to a small angle allowing the other dowel to fit between this gap to lay about 1/2″ off the back ski. Refer to the video for this. You can add points to the ends of the dowels with a sharp blade.

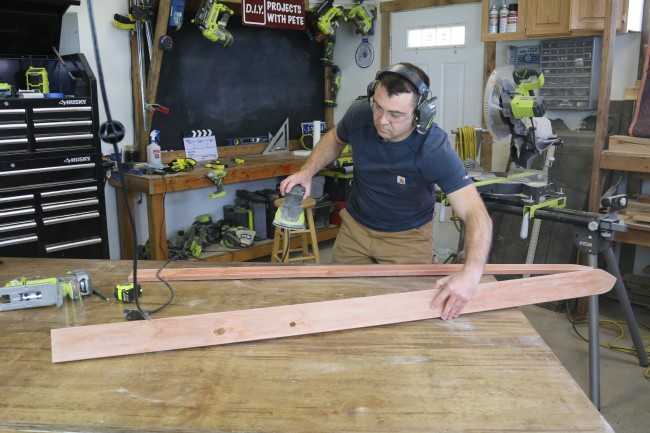
Sand All of the Wood Pieces
Once you have everything cut, we'll give it all a good sanding from 120 to a final 220 grit. Be sure to sand the edges of the skis, the points of the dowel poles, and the curves of the pole baskets.
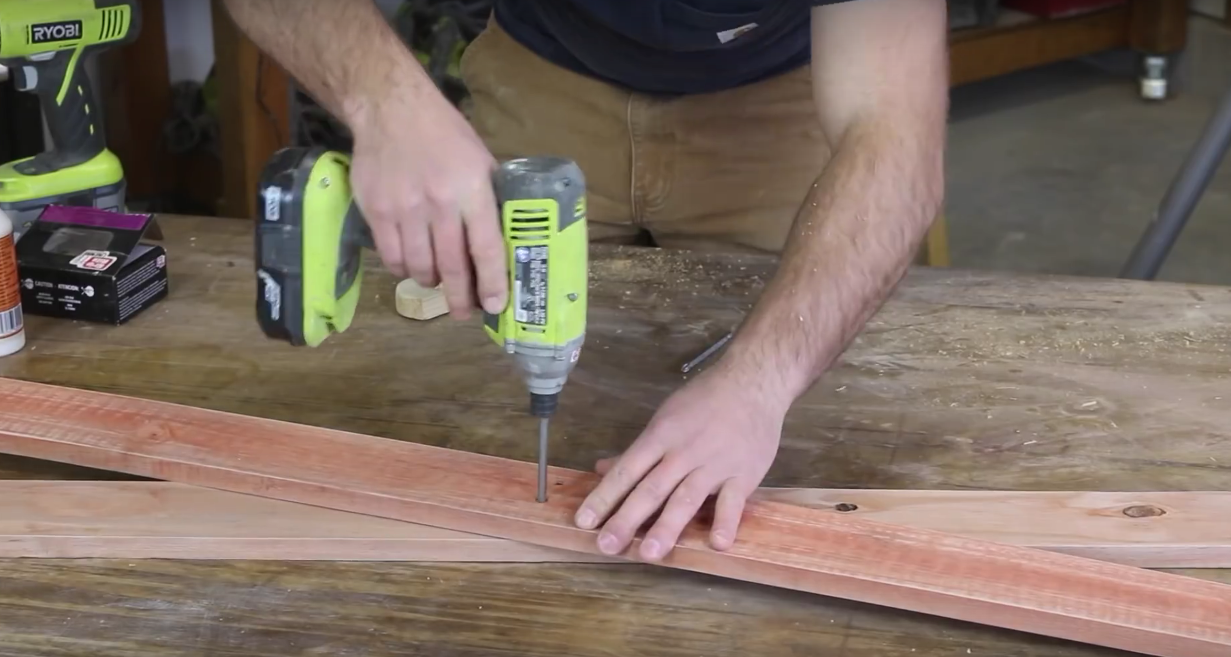
Screw the Skis Together
Using a straight end of a work station or with a straightedge, line the skis up to the cross that you desire. Pre drill four small holes in the back and then wood glue and screw the skis together with 1 1/4″ wood screws.
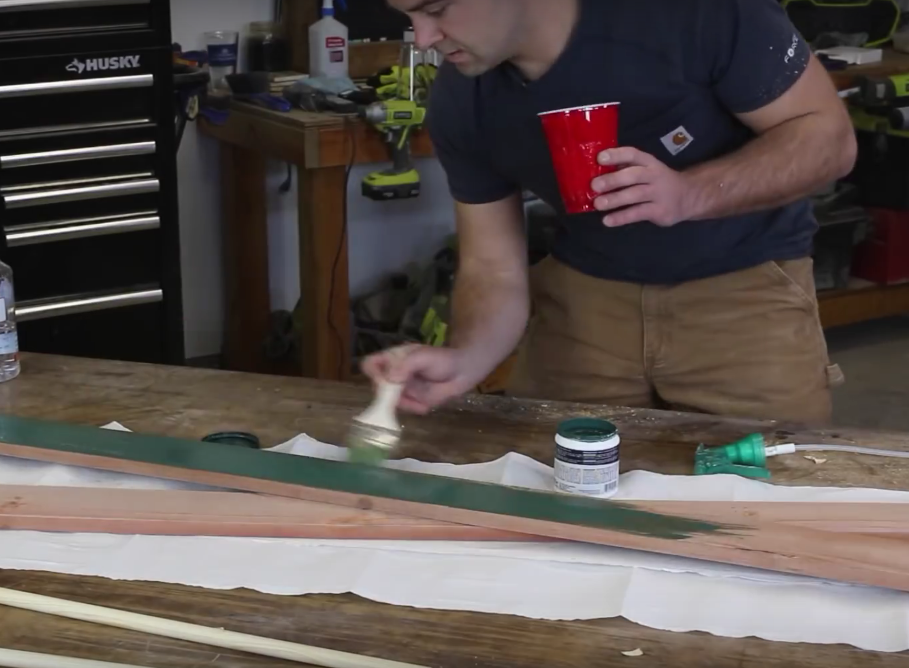
Paint or Stain the Skis
While we're waiting for the wood glue to help join the skis together, we'll add a very thin, diluted layer of the paint of your choice to the skis. We used a “dark forest pine” shade for Behr paints. You can add diluted paint or wood stain and attain the effect that you desire for the finished product.
Attach the Dowels / Poles
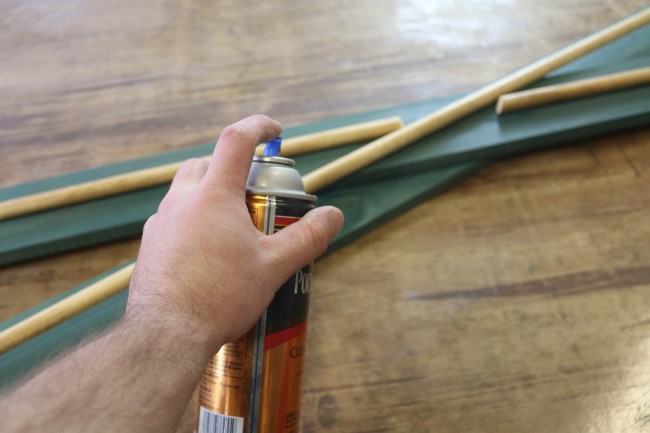
Finish Everything in Polyurethane