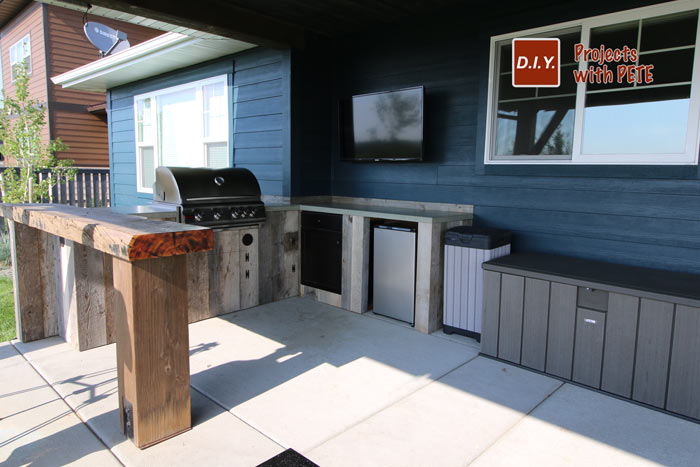
In this tutorial, we'll walk through the process of how to make DIY concrete counter tops for an outdoor kitchen. You'll learn how to measure for countertops, how to build the molds, how to pour concrete, how to seal, and how to install.
These DIY concrete countertops are made using Quikrete 5000 (the best concrete mix for outdoor countertop), which is a pre-mixed bag of concrete you can find at many stores in the United States for around $6 per bag. The total cost of the DIY concrete counters was about $197 (not including tools). Making your own DIY concrete countertops is very rewarding. You will have great looking and durable concrete counters for years, and your friends will think they are awesome!
Can these DIY concrete counters be made for indoor kitchens as well?
Absolutely! Concrete counters are durable both indoors or out. This DIY tutorial about how to make concrete kitchen countertops for an outdoor kitchen can be used to build all types of concrete counters, bars, tables, desks, and other flat surfaces.
Tool list to build DIY concrete countertop
Miter Saw
Circular Saw
Table Saw
Jigsaw
Orbital Sander
Drill / Impact Drill
Bolt cutter
Tape Measure
Cake fondant tool ( For applying silicone )
Hot glue gun ( if building templates )
Straight edge ruler
Carpenters square
Rubber mallet
Silicone gun
Vacuum
Utility knife
Level
Pencil
Spray bottle with water
Rubbing alcohol
Rags
Drillbits
Utility Knife
Safety gear
Respirator
Rubber gloves
Protective eyeglasses
Hearing protection
Supplies
Melamine ( particle board with a white coating ) $32 each (1 or 2 4×8 sheets) $64.00
Quikrete 5000 ( I used 7 and a half bags for this project ) $6 each – $42.00
4×8 sheet of steel reinforcement $8.00
1 5/8 inch drywall screws $6.00
Tuff Duck concrete sealer $25.00
Concrete countertop wax $14.00
100% Silicone ( Black ) $6.00
Razor blade $2.00
1/4 inch Plywood: To cut strips for optional templating $18
Steps: How to Make DIY Concrete Counters for an outdoor kitchen
Measure and build template
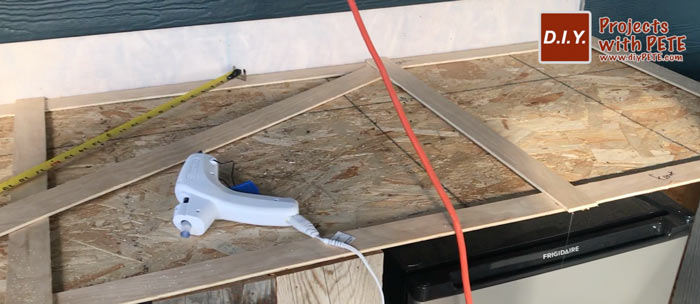
Determine the layout for your counters. Measure the spaces to determine the size for each slab. Rip 2 inch wide strips of 1/4 inch thick plywood on a table saw to make the templating pieces. The template will help you layout the design. It also helps ensure the layout is done correctly and transferred to the mold without errors. Label the sides (front, back, left right) and any key features.
Build concrete counter molds
Transfer the measurements and double check everything with the template. The counters are made using the reverse casting technique. This means the concrete will be poured into the mold and the concrete against the bottom of the mold will be super smooth because it forms against the melamine. This will be the actual top of your concrete counter once it is removed from the mold. Therefore, you will need to build the molds in a mirror like fashion. 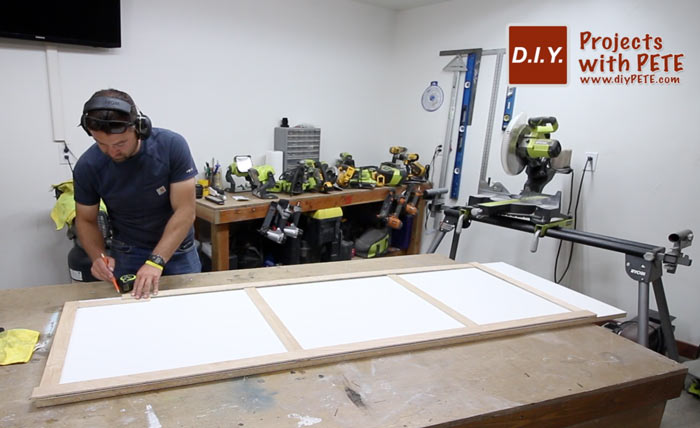
Cut the base piece of each mold using a circular saw or a table saw.
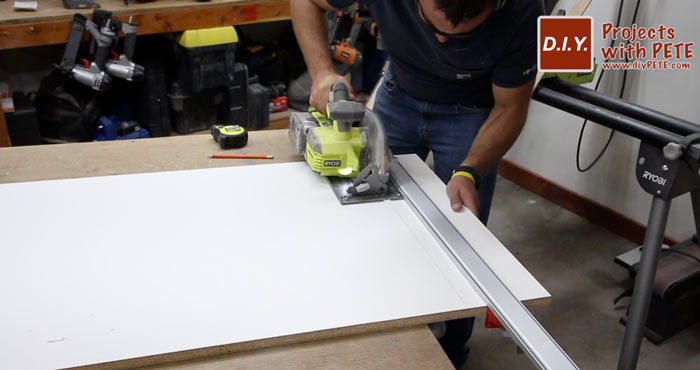
Use a table saw to cut the sidewall strips for the concrete counter mold. The concrete counters in today's example are 2 inches thick. The side strips need to be cut 3/4 of an inch wider to accommodate for the base piece of the mold you'll screw it to. I cut the strips to 2 3/4 inches in width.
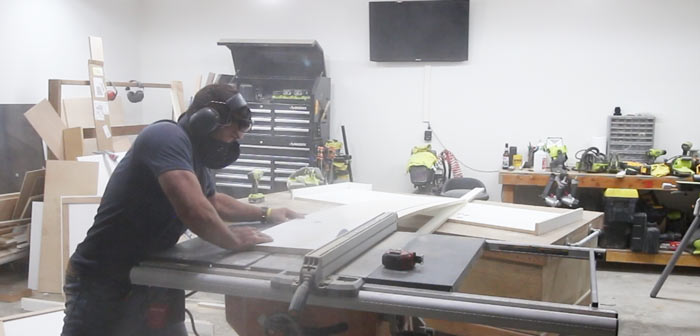
Layout the side strips. Measure and mark where to make each cut. Use a miter saw to cut the strips down in length.
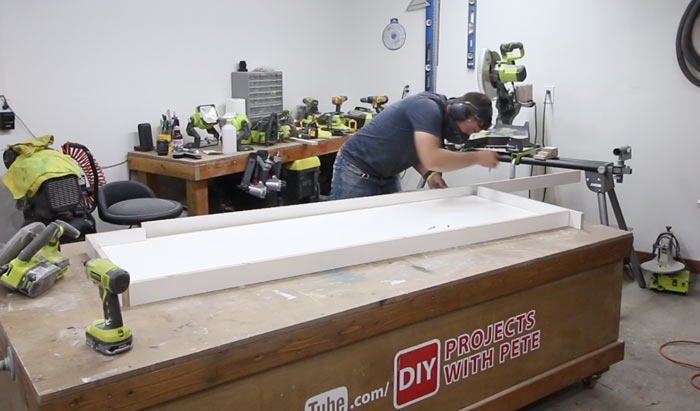
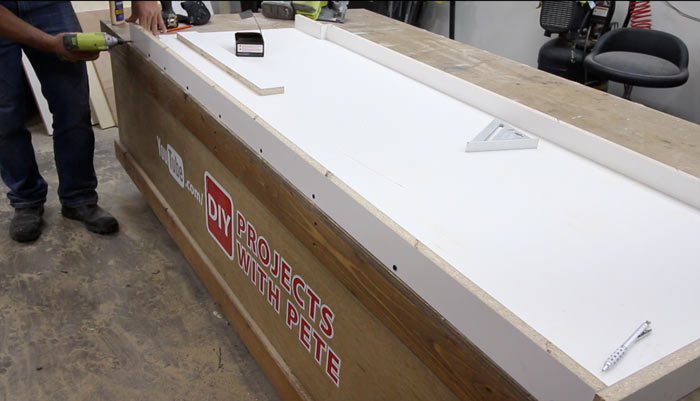
Attach the side strips to the base piece using 1 5/8 inch drywall screws. Pre-drill and then insert the screw. Hold the drill as level as possible. Make sure to press down firmly on the base piece and side strip while attaching. This will make sure they are flush against the work surface.
Add reinforcement
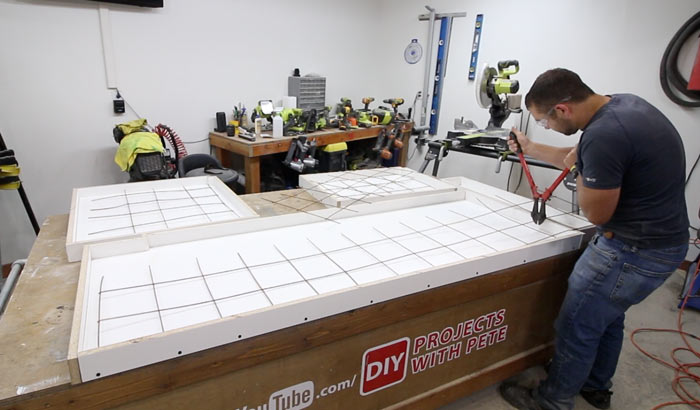
Use square mesh for the reinforcement. It is commonly found in 4×8 sheets at the hardware store. Cut the metal with a bolt cutter. Leave a one inch gap between the reinforcement and the sidewall. If the mold is 20 inches by 20 inches, you'll want to cut the mesh 18 inches by 18 inches.
Seal the mold
Seal the mold using black 100% silicone. Run a bead around the entire perimeter and up the sidewalls. Have plenty of paper towels around to clean up the nozzle when needed.
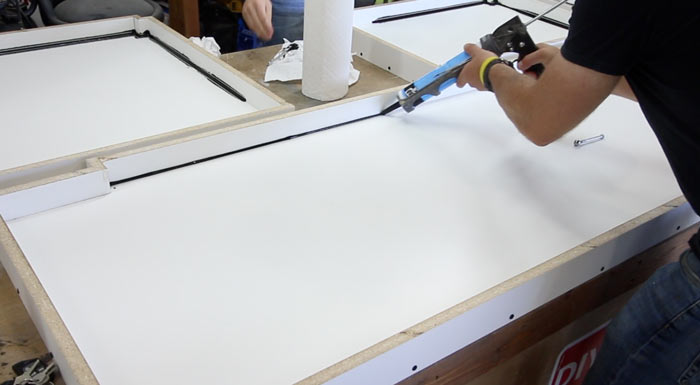
Use a cake fondant tool to create a rounded edge. Pull the tool along the crease and then up the corner. It will create 3 separate channels in the silicone as seen below. Dip the tool in water to smooth out the caulk and go over a couple times to clean things up if needed.
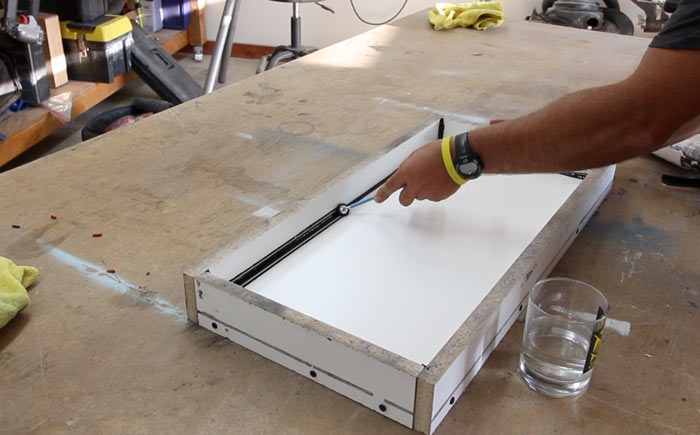
Allow the caulk at least a few hours to dry. Next, use a razor blade to remove the two side channels of the silicone. Once removed, you will have the center rounded channel.
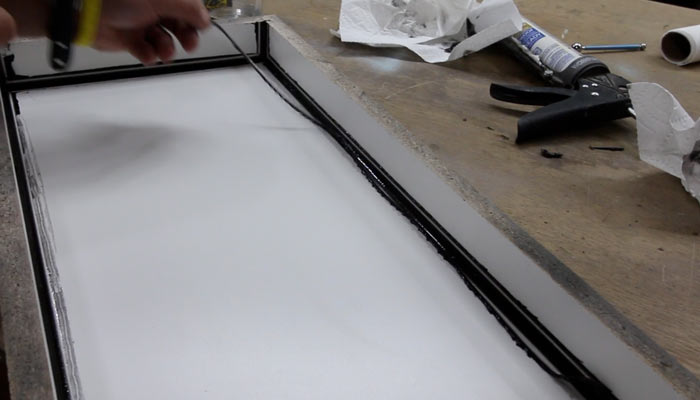
Clean up any residue or excess caulk using a rag and rubbing alcohol.

Mix and pour concrete!
Mix the concrete according to the manufacturers instructions. I used Quikrete 5000, which is about $6 per bag at the hardware store. Use a plastic mixing tub and mason hoe to mix up the concrete. I like to mix it to an oatmeal like consistency.
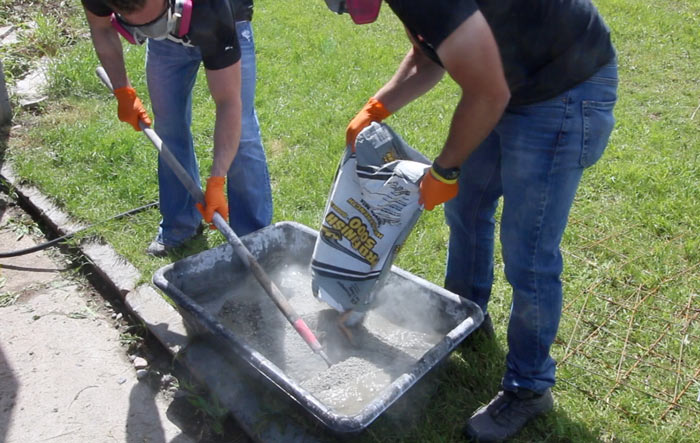
Transfer the concrete to the mold using a bucket.
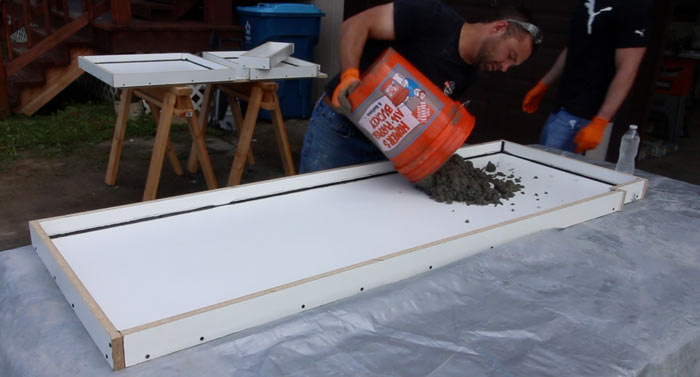
Spread the concrete around the mold. Fill the mold a little over half full with concrete.
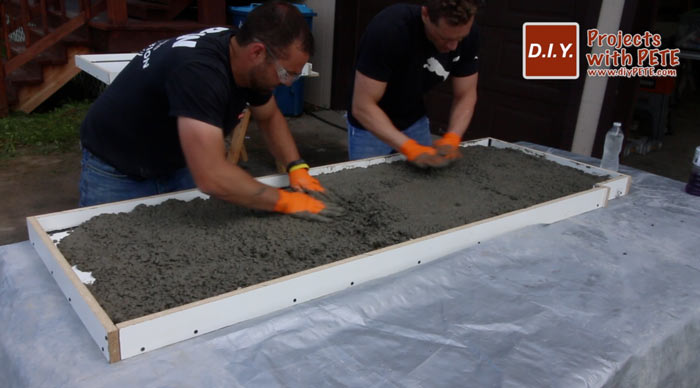
Vibrate the sides of the concrete using a rubber mallet or by holding a tool against the sidewalls that vibrates. I also like to lift the table up and down quickly. This helps get the air bubbles out of the concrete. It is very important to vibrate the concrete so you don't have too many air pockets and pinholes in the concrete.

Add the reinforcement to the mold once you've finished vibrating the concrete.
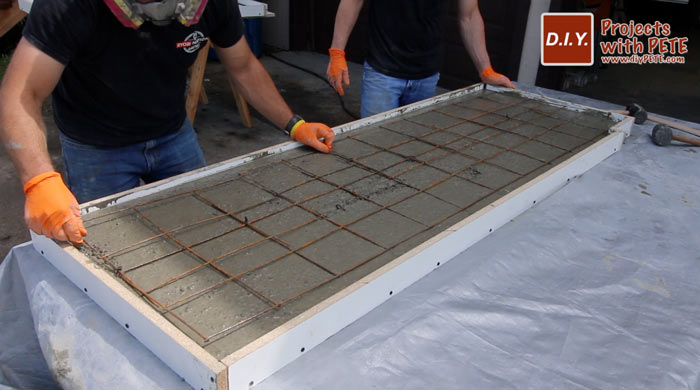
Screed the concrete to level it. Fill low spots with additional concrete. Put any excess concrete back in the bucket.
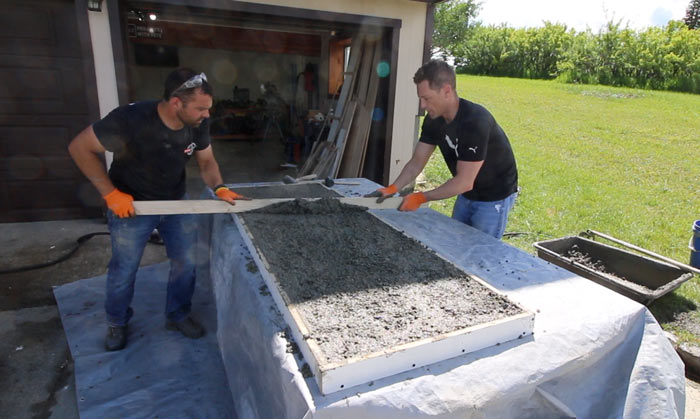
Trowel the concrete to smooth it out.
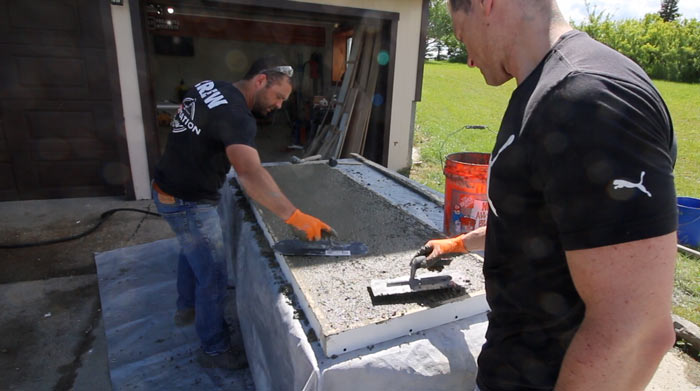
Level the work surface that the concrete will cure on. Give the concrete a few hours to set up. Once it begins to get firm, you can do another round of troweling. This will help give it a nice smooth finish on the underside.
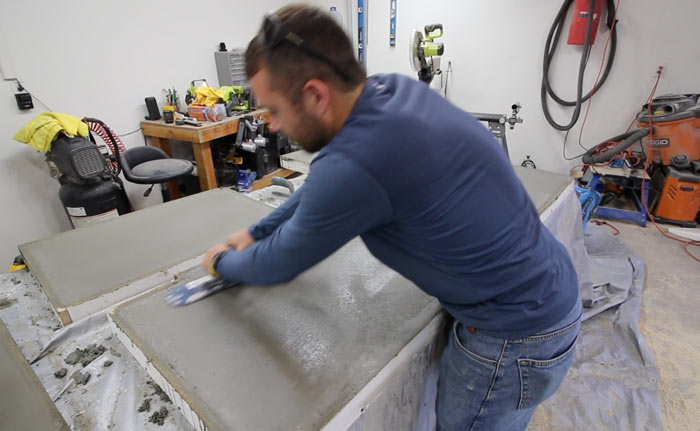
Let the concrete cure
Here is what the concrete will look like once it has been troweled the last time. I like to hard trowel the concrete so the underside is super smooth. Allow the concrete to cure at least 48 hours before de-molding. Temperature, humidity, the mix used, and other variables will vary the time the concrete needs to sit. Please refer to the manufacturers instructions for more information on cure times.
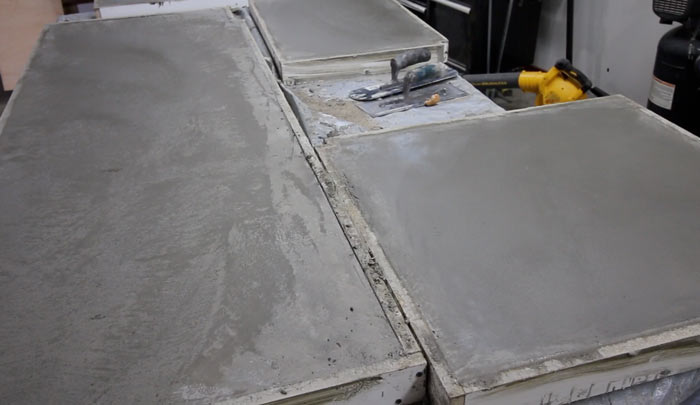
De-mold the concrete
Remove the sidewalls from the concrete. Use a flat screwdriver or chisel if you need to pry the sidewalls a little. Make sure to only pry against the wood, and not against concrete.
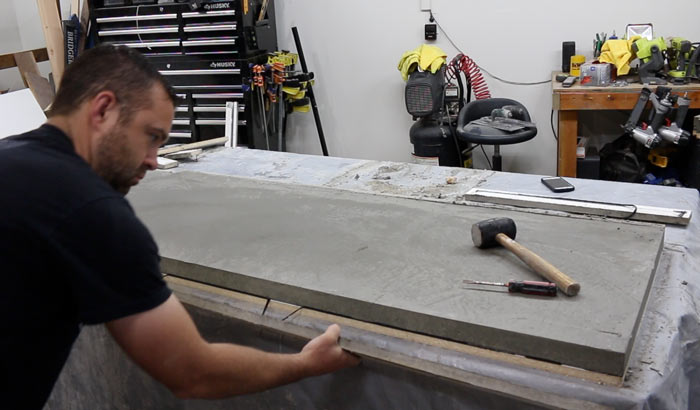
Lightly sand the bottom edges of the concrete to remove crisp edges. Let the concrete continue to cure.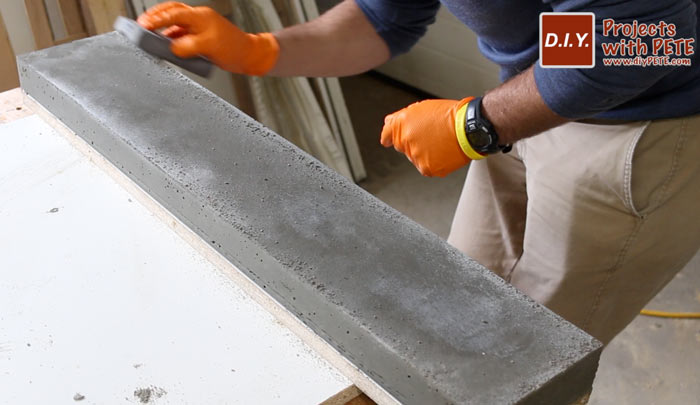
When ready, prepare to flip the concrete. Place towels where the concrete will rest during the flip. Foam or wood blocks work well to flip the concrete onto. Space the the foam or blocks evenly.
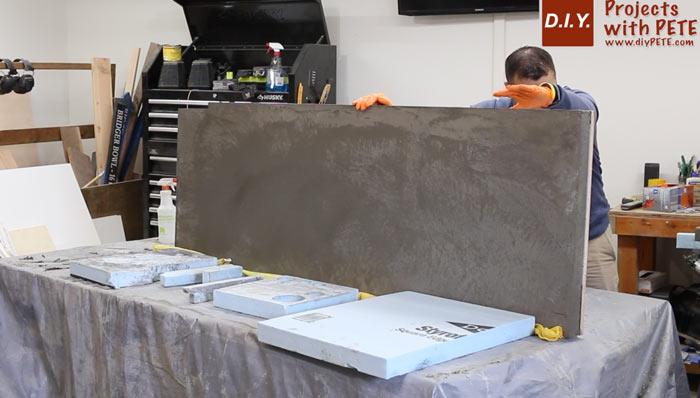
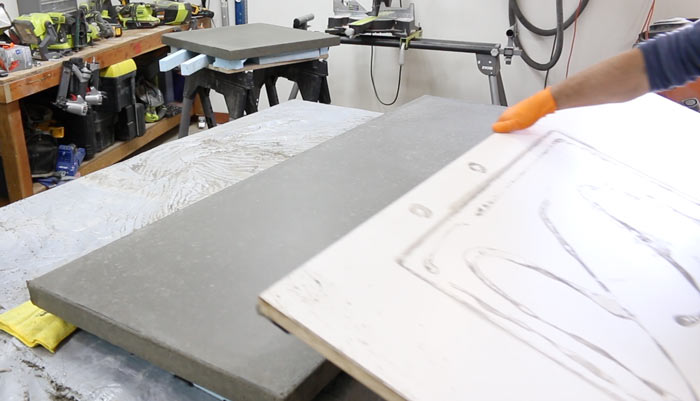
Remove the top of the mold. Let the concrete continue to dry. Hydrate the concrete by spraying it with a light mist of water.
Sand concrete
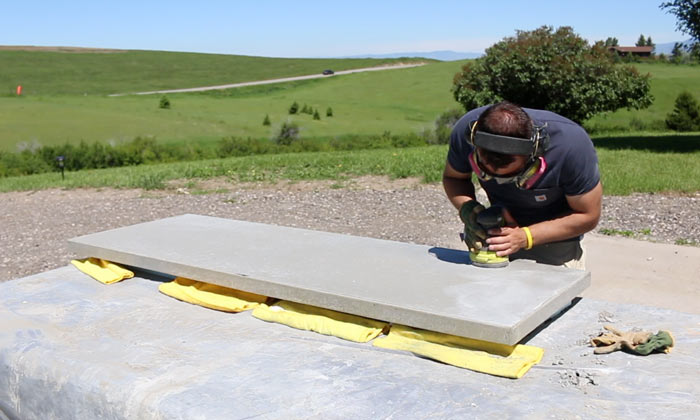
Use an orbital sander with 220 grit sandpaper to smooth the concrete. Sand the top and sides. Then rotate the concrete upside down and sand the underside with 120 grit paper. Don't spend a whole lot of time on the underside since it won't be seen. I'd recommend sanding the underside of the overhang area since people will run their fingers under them. This gives it a professional feel. If you are interested in wet polishing your countertops or learning how to add a sink, check out my indoor kitchen counter post and video here.
Seal the underside at this time. This way we don't have to flip it back over later. Once sealed with 2 coats, flip the slabs right side up.
Fill voids with slurry
Create a slurry mixture by combining portland cement with acrylic fortifier. You can add a little water as well. Mix to a toothpaste like consistency.
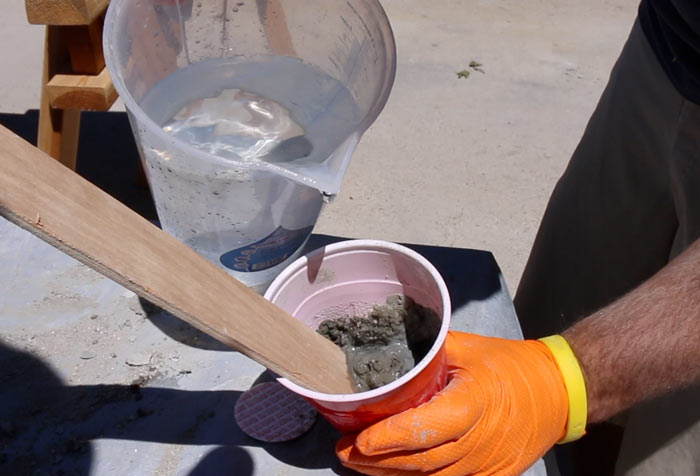
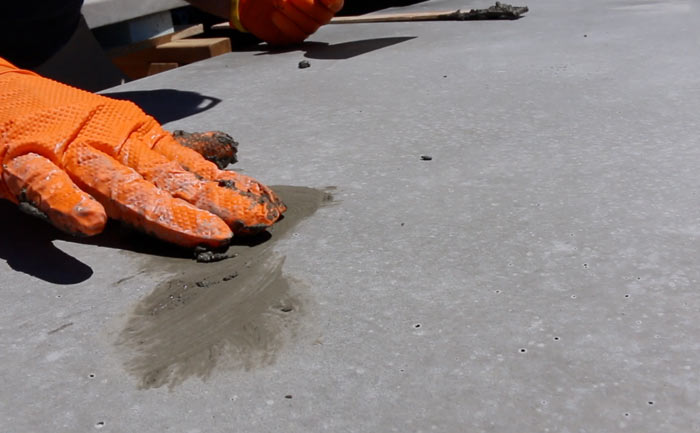
Rub the slurry into voids and pinholes using your hands and a plastic putty knife. Remove excess slurry once applied.
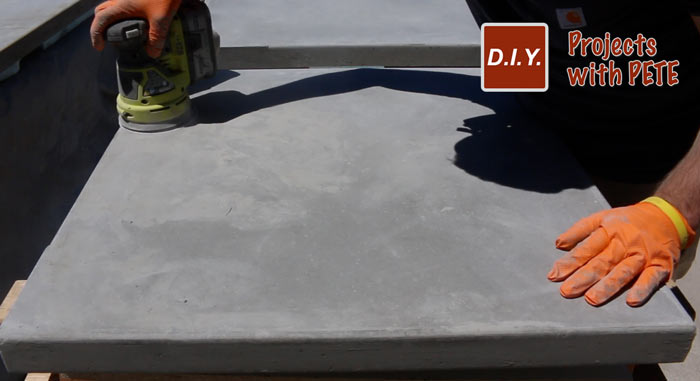
Sand the countertops to remove additional excess slurry. You can repeat the slurry filling / sanding process an additional time or two if needed.
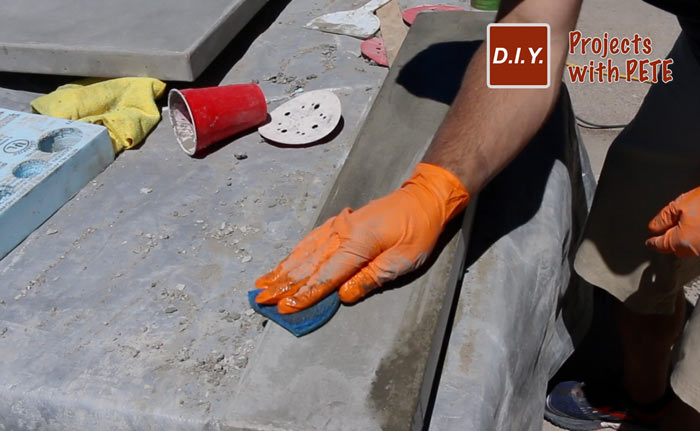
Use a damp sponge or rag to wipe the counters clean prior to sealing. The water will help clean any additional residue, and you'll be able to determine if all the haze is removed prior to sealing.
Seal the countertops
Seal the concrete countertops. I applied 3-4 coats of Tuff Duck concrete sealer using a microfiber rag. Follow the manufacturers instructions. The concrete will slightly darken. The sealer adds a professional touch and a little shine.
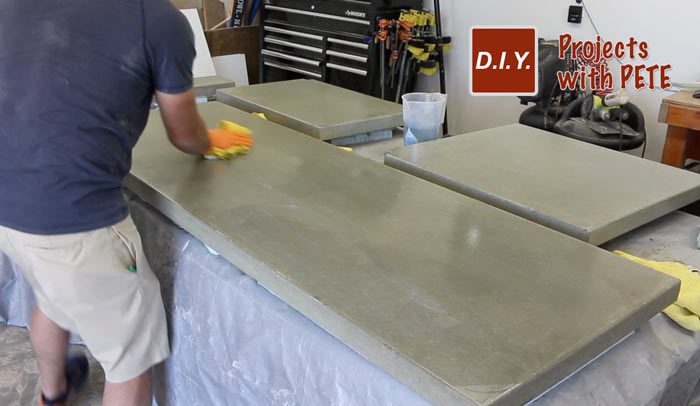
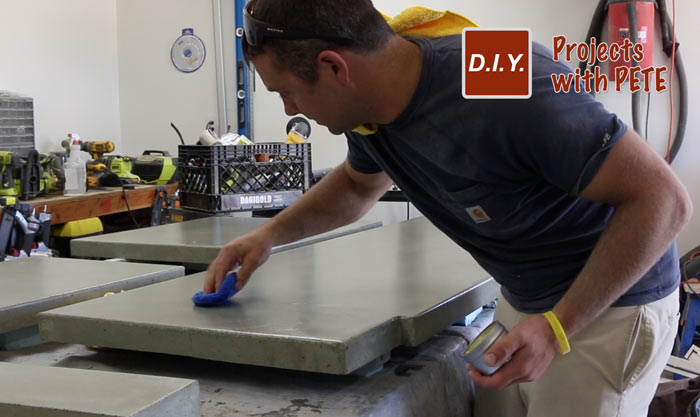
Wax the countertops to provide additional protection against stains. I would highly recommend using wax.
Install the concrete countertops
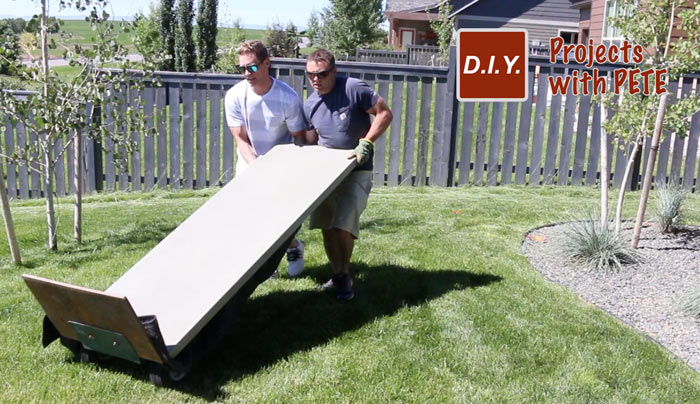
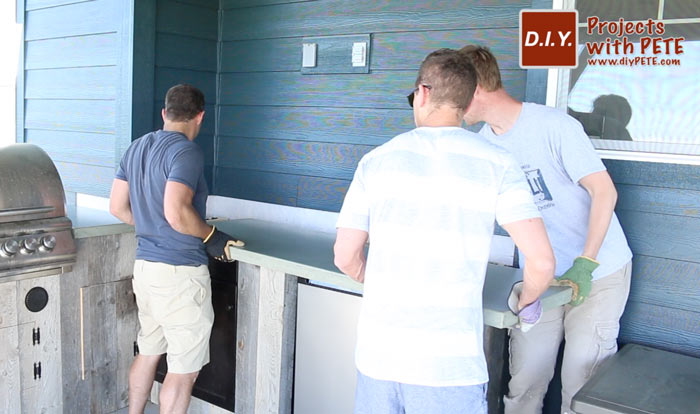
Move the concrete countertops using a dolly. This will help tremendously, since two inch thick concrete countertops weigh about 22 pounds per square foot.
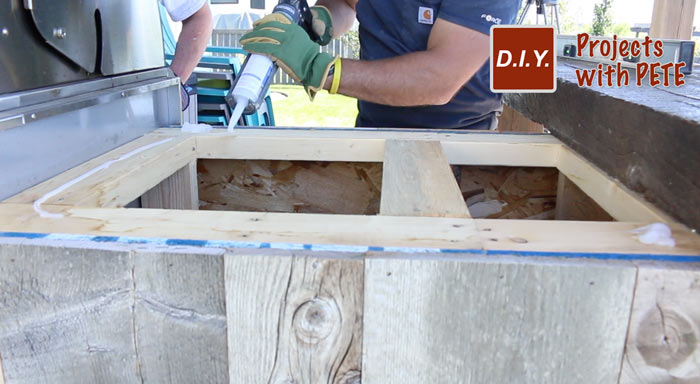
Apply 100% silicon to the base.
Lift and slide the countertops in place. Then check to make sure they are level and shim if necessary.
Caulk seams
We mixed black and white silicone to get a grey color similar to the concrete. Tape each side of the seam and apply the silicon.
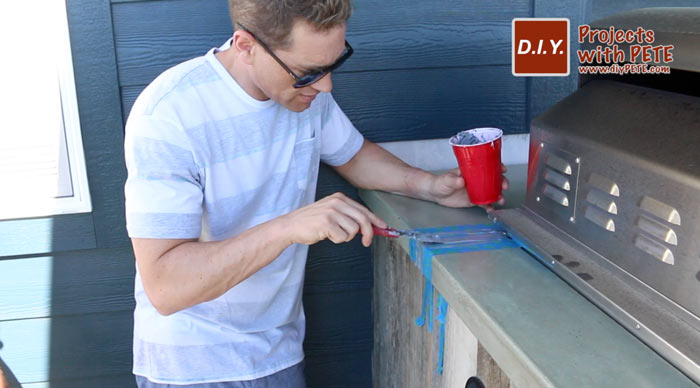
Here is an up close look at the seam.
![]()
We also tried clear silicone to see how it looked. I actually thought the clear silicone looked a little better.
![]()
Final touches
Kris installed barnwood trim around the backsplash area. It was attached using a nailer and some glue.
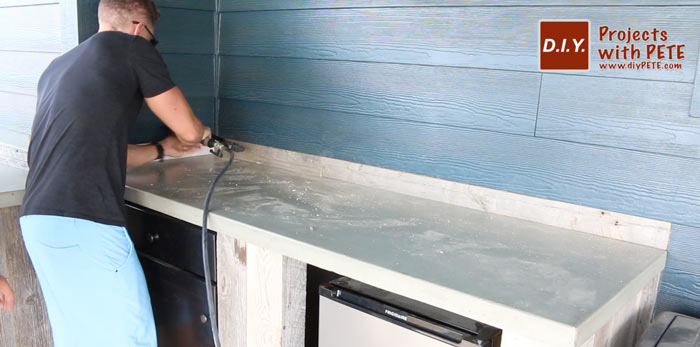
Clean up the area!
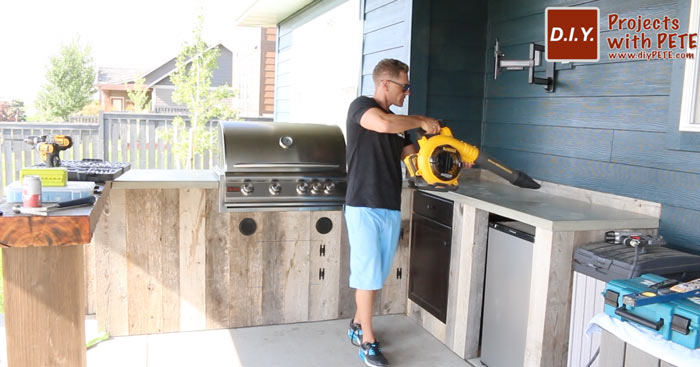
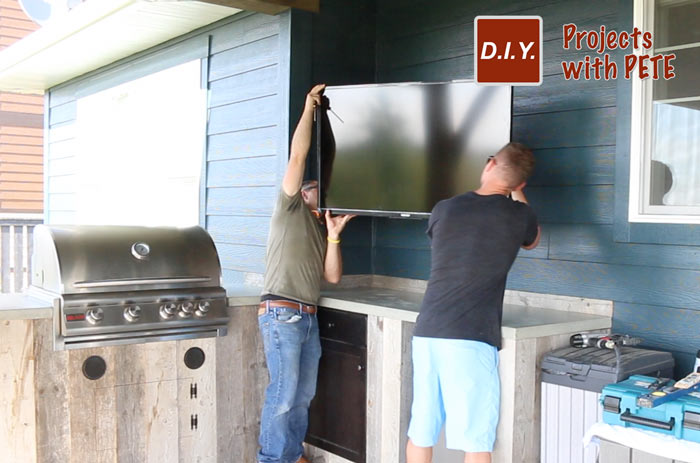
We installed a flat screen tv so Kris and his family can watch football and other sports outside.
Enjoy!
Enjoy your new DIY concrete kitchen countertops in your outdoor kitchen. I hope this tutorial provided value and helps with your future DIY concrete projects. Please like, share, and comment below! Please post photos of your concrete counters when complete! Cheers – Pete
