

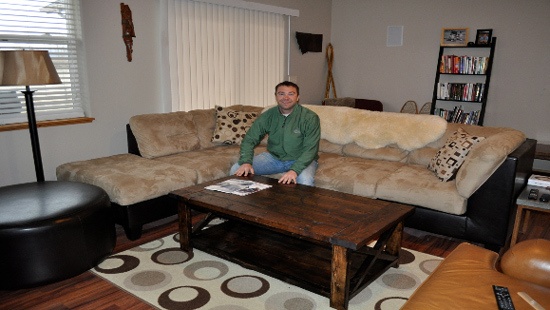
I needed a new coffee table for the living room and this design fit the bill perfectly. I came across a table from Ana-White.com that I loved, but modified it a bit because I wanted a breadboard style top. To see her plans click here. The difference between the coffee table in this post is that I cut the top pieces to 41" (vs 52") and added the 2x6 pieces to each end, making it come to 52" with a breadboard style top.
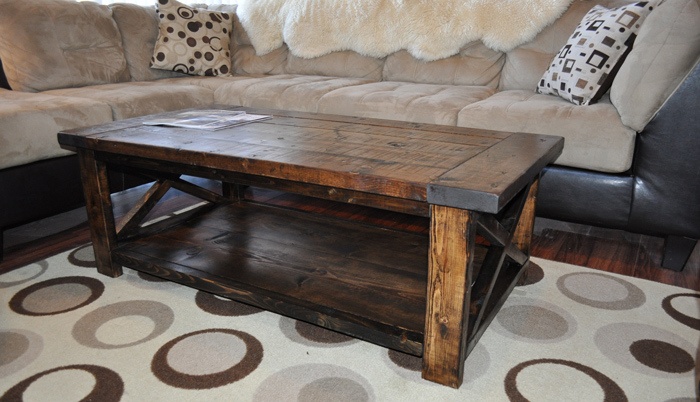
Level - Beginner to Intermediate - The hardest part is cutting the angled pieces of the coffee table
Overall Dimmensions: 52 x 27 x 18
Tools Needed
- Miter Saw
- Orbital Sander
- Sanding Block
- Drill
- Kreg Jig - My favorite tool in the shop (Makes Pocket Holes)
Need more tool recommendations or curious about the tools I trust and use in my builds? Visit my Amazon and Lowes Storefronts to find everything I recommend for DIY projects big and small!
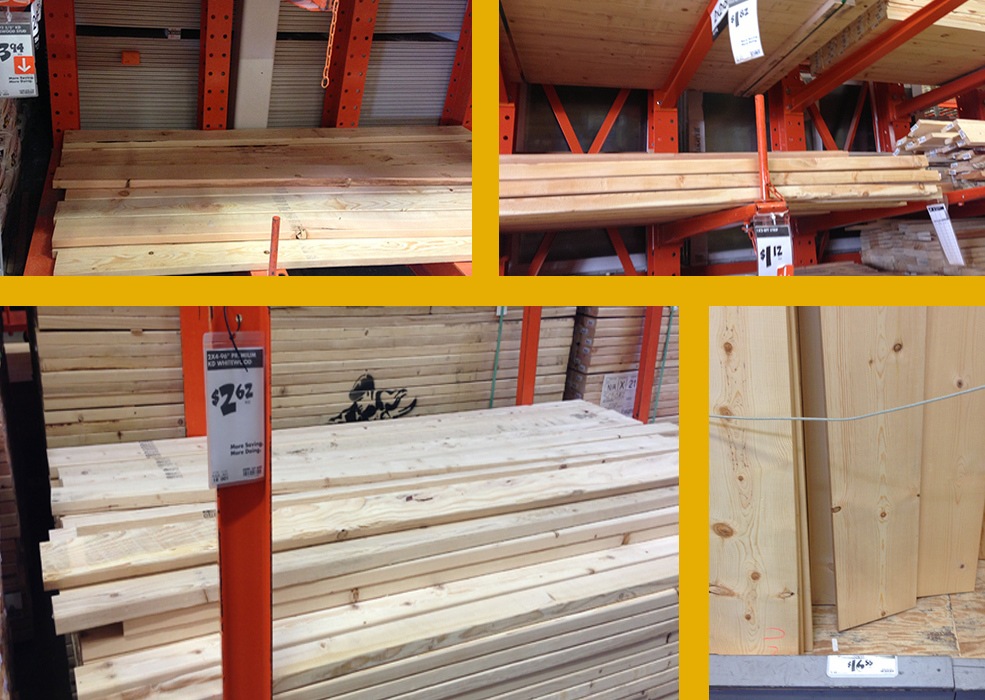
Shopping List
Lumber
QTY
- 4 2x6 x 8 foot long Pine Boards for top
- 2 2x4 x 8 foot long Pine boards for legs and end supports
- 3 2x2 x 8 foot long Pine Boards for side stretchers
- 1 1x12 x 8 foot long Pine Board for lower shelf
Cut List
QTY
- 5 - 2x6 41" long for top
- 2 - 2x6 29" for breadboards - Trim in later step to around 27 or 27.5"
- 4 - 2x4 16 1/2" long for legs
- 2 - 1x12 41" for shelf
- 4 - 2x2 41" side rails (upper and lower)
- 4 - 2x4 22 1/2" end rails
- 2 - 2x2 22 1/2" - both ends cut at 60 Degree Angle - See video for detailed instructions
- 4 - 2x2 11 1/4" - 60 degree angle for outside end and 30 degree angle for inside end
- 1 box 2 1/2" Kreg Screws
- 1 box 1 1/4" Kreg Screws
- 16 - 2 1/2" wood screws for attaching base to table top
Supplies
- 120 and 220 Grit sandpaper for Orbital Sander
- 400 Grit sandpaper for sanding block
- Semi-Gloss Polyurathane
- Vinegar/Steel Wool - Optional for a distressed finish
- Stain - I used Walnut Minwax
- Couple Brushes


Complete Plans from Ana-White.com
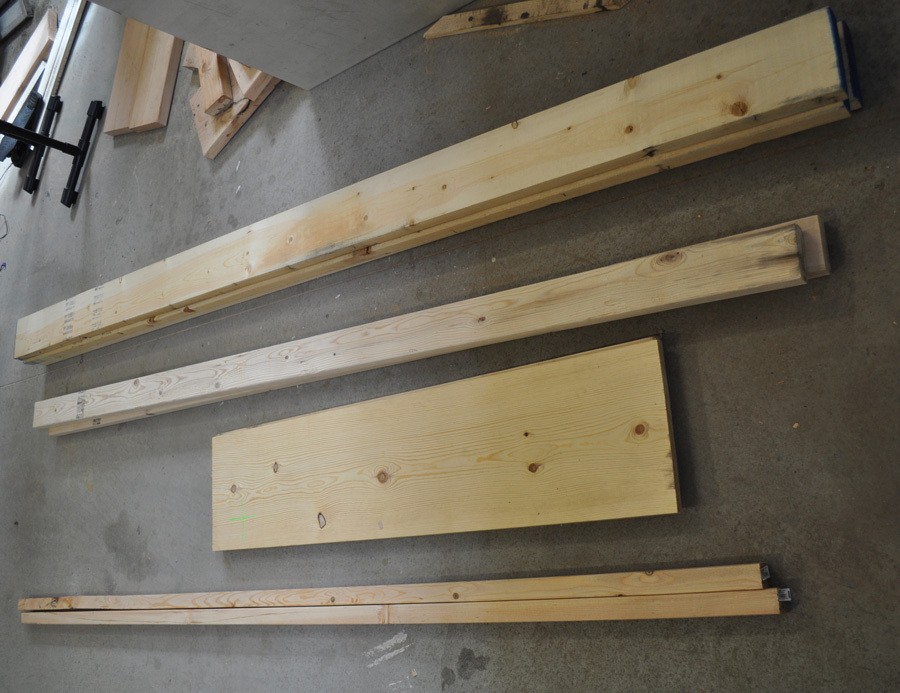
Step 1- Make Your Cuts
Make your cuts for the coffee table using a miter saw or circular saw. To cut the 60 degree angle for the "X" support you will need to make a jig similar to the one below.
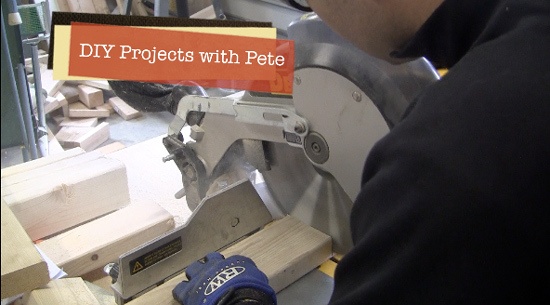
To cut a 60 degree angle safely I built a jig. I simply nailed 1x4 boards together in a triangle shape. The back 1x4 rests flat on the miter saw fence. You can use the side that runs straight towards you as your new fence. Set the 2x2 board against the fence and slide it into place. Cut the angle at 30 degrees on your miter saw (it will actually cut it at 60 degrees because of your jig.
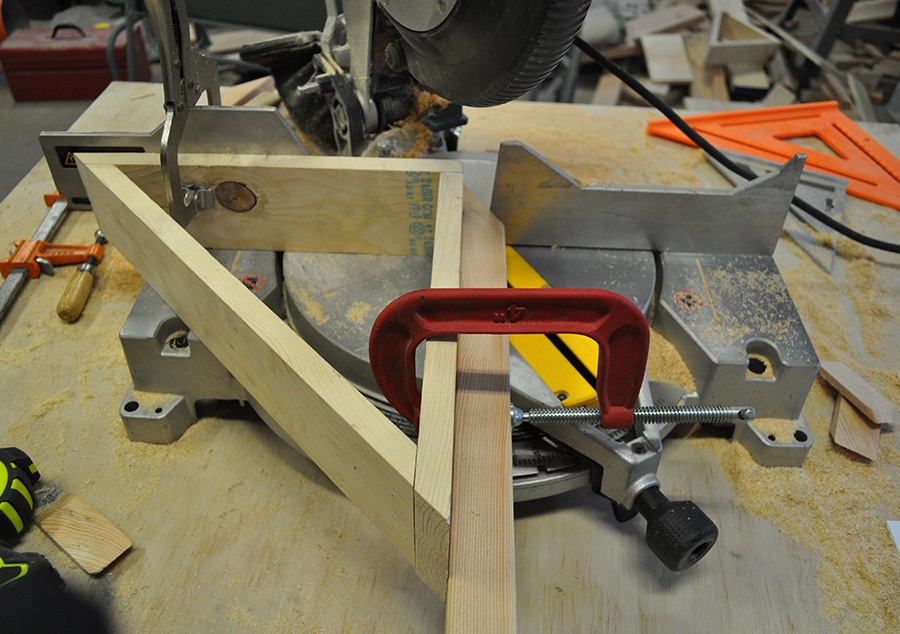
I explain the jig in this video.
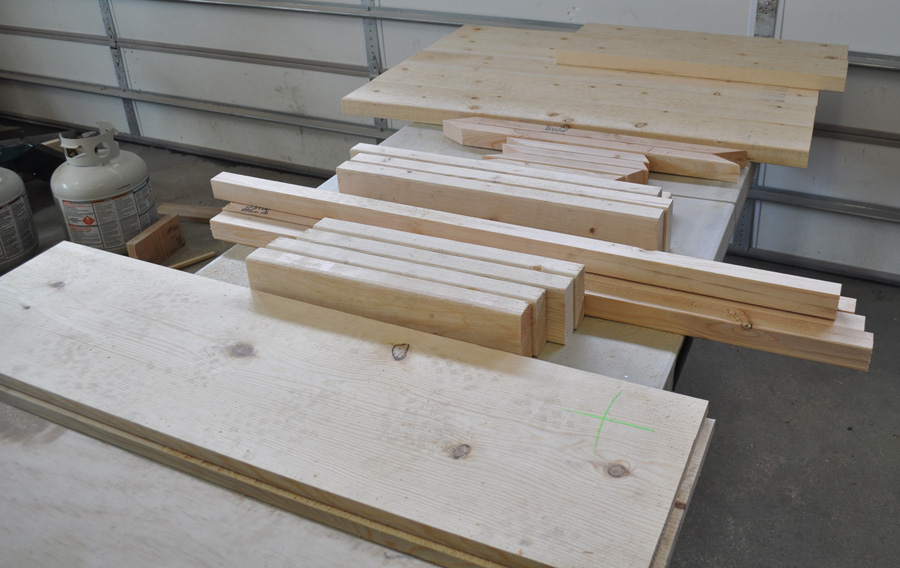
Step 2 - Assemble Sides of Table
Once your cuts are made it's time to assemble your table. For complete plans visit Ana-White.com. My table's top has been modified by doing breadboard style ends.
In this step take your 2x2 rails that are 41" long and drill 2 pocket holes on each end using a Kreg Jig. Then take 2 1/2 kreg screws and attach the side rails to each 2x4 end piece. Measure 2 1/4 inches up from the bottom to hang your lower 2x2 rail. Note that in the photo my pocket hole screws are pointing inward. The top rail's pocket holes can face inside the table or to the ground. No matter what they won't be seen. Make sure to have the lower rail's pocket holes facing the floor so you'll be able to attach the shelf to them later.
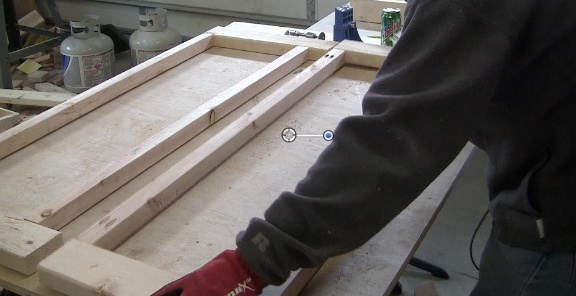
Step 3 - Assemble Ends
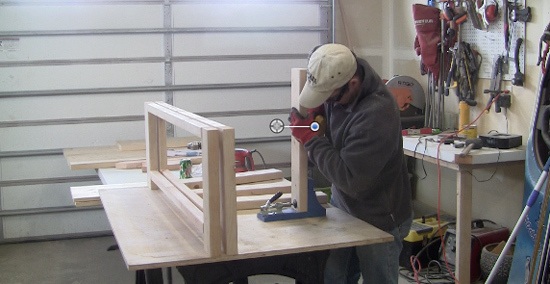
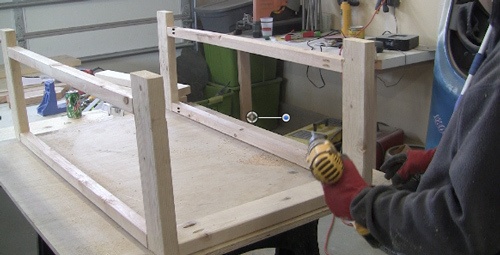
Attach the 22.5" 2x4's to each top end. Drill 2 pocket holes in each 2x4 end prior to attaching with 2 1/2 inch Kreg screws.
Step 4 - Attach lower 2x4 rails
Attach the lower 22 1/2" 2x4 rails on each end. Measure 2 1/4 inches up from the bottom leg for placement.
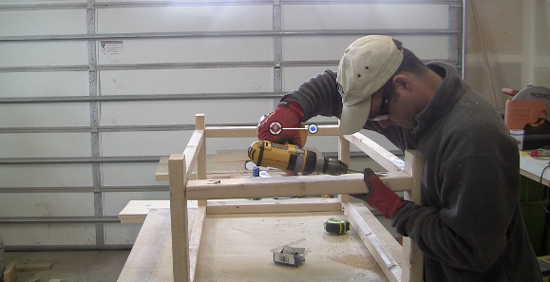
Step 5 - Assemble lower shelf
Drill pocket holes to attach the 41" 1x12 pieces to each other. Do them about every 8-10 inches. After you've attached the boards to each other using 1 1/4" Kreg screws drill more pocket holes around the perimeter of the entire piece. It will look like the photo below.
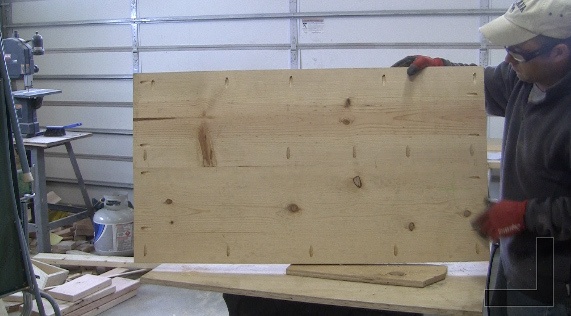
Step 6 - Attach Coffee Table Shelf
I've found that it is easiest to attach the shelf by attaching the 2x2 side rails prior to connecting it to the table. To do this you'll sort of take a minor step back by removing the two lower 2x2 side rails (only 8 screws). Then drill the shelf to the 2x2's as shown below. Lift the shelf into place and attach each end of the shelf to the lower end rails using 2 1/2" Kreg Screws. Once that is secure flip the table right side up and add the cross supports.
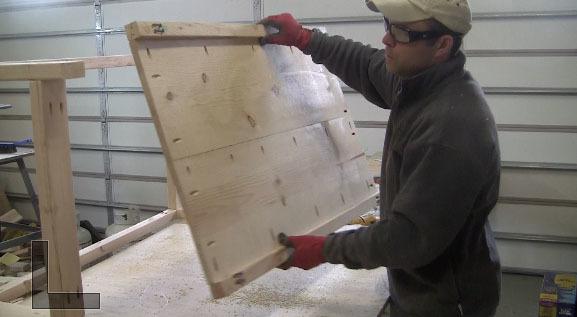
Step 7 - Attach cross supports
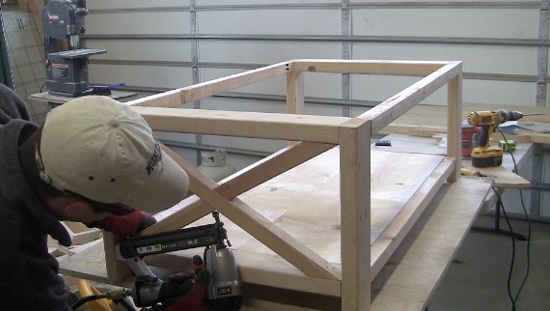
Use a nail gun or hammer and finish nails to connect the cross supports to the upper and lower 2x4 side rails. All outside angles are 60 degrees. The two shorter pieces have an inside angle at 30 degrees. The long piece is 22.5" from outside edge to to inside edge. The 2 shorter pieces are 11 1/4" from the inside to outer edge.
Step 8 - Assemble Table Top
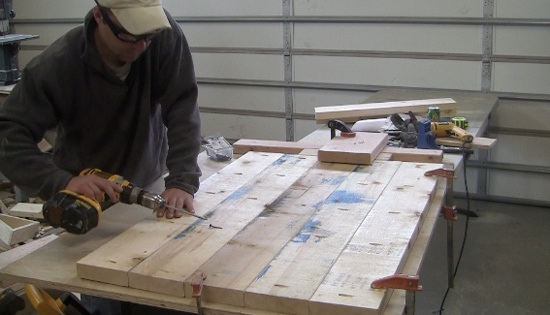
Attach each 2x6 ( 41" long ) to each other using 2 1/2" pocket screws. The Pockets holes should be spaced about every 8 inches from each other. Use clamps to help hold boards as you attach them to each other if needed. Note that you will drill the two boards on each side into the center. Thus, the center board will not have any pocket holes drilled in it.
Step 9 - Attach Breadboard Ends
Take your breadboard ends and place them against the coffee table top. Trim the end of the breadboards so they are flush with the width of the overall table. You will trim them down to around 27 1/4" to 27 1/2" most likely. Drill pocket holes so they line up to go in all 5 boards as shown below. Attach to the table top using 2 1/2" Kreg screws.

Step 10 - Attach table top to base
Flip the table base upside down and set it on the bottom side of the table top. Center it and then screw through the bottom of the 2x2 into the table top with 2 1/2" torque screws. Use about 3 to 4 screws on each side of the base.
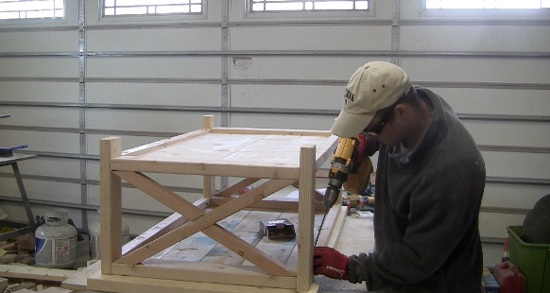
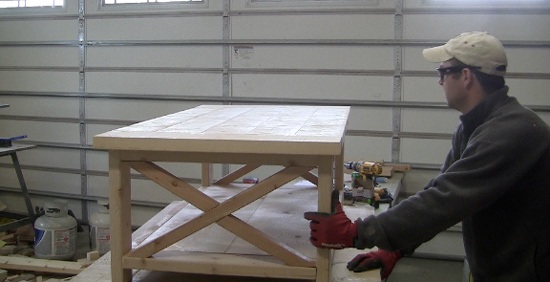
Flip the coffee table upright and you are finished assembling the table!

Part 2 - Finishing Coffee Table
Distress, Sand, Stain, and Finish
Watch video for detailed instructions
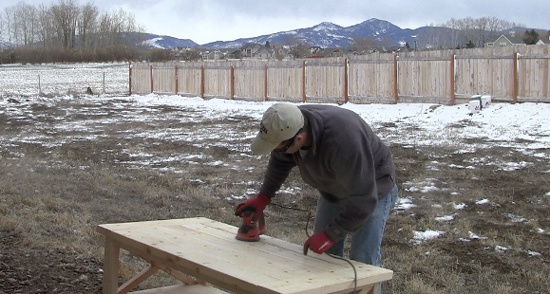
The first step after completely assembling the table is to sand the project. I typically use an orbital sander with 120 Grit paper. Sand the top and all sides until everything is very smooth. Don't sand too deep if you want to keep some of the wood's original texture.
Step 1 - Sand
Use an orbital sander and 120 grit sandpaper to smooth the table. Sand the top and base.
Step 2 - Distress table with tools
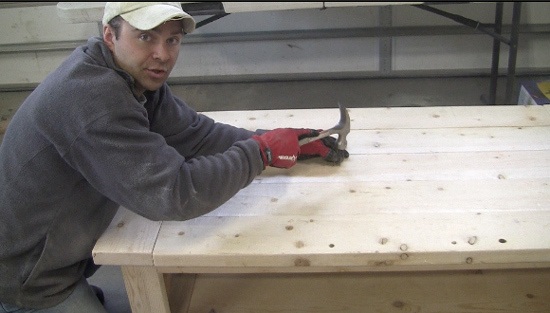
Mark the table up with various tools to give the table character. I like to use a hammer and a small bit to punch holes in the top that resemble worm holes (see Episode 3 -Part 2 video). You can also run a circular saw blade across to give it individual saw marks (without it being plugged in). Hammers, scraping tools, bolts, pipe wrenches, crow bars, and other tools can be used to mark up the table and give it a unique look. Make sure to keep marks random so they look natural and don't overdo the distressing!
Step 3 - Use Vinegar / Steel Wool Mixture - Optional
A vinegar and steel wool mixture will distress your wood and give it more of a barnwood look. The mixture reacts with the tannins in the wood to bring out grey and black colors. It also brings out the grain and distresses the wood. The solution works very well on fir. White pine does not react as well.
How to Make a Vinegar/Steel Wool Solution:
Put a handful of steel wool in a plastic cup and add vinegar. Do not cover the container. Let it sit for 24 hours or more. The vinegar will eventually disintegrate the steel wool. The longer it sits, the more potent the solution. To dilute simply add more white vinegar at anytime.
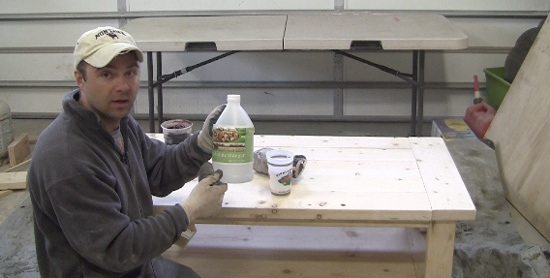
Once the mixture is made, simply brush the solution on the wood. It won't immediately turn colors, but over a few hours you'll notice a considerable difference.
Step 4 - Stain Table
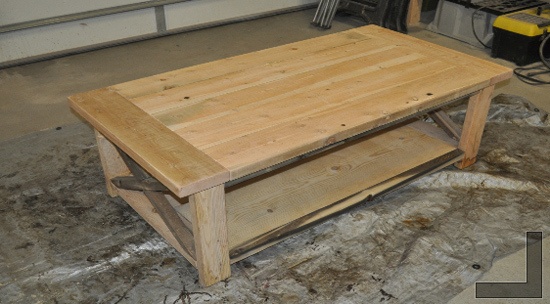
Once the vinegar solution dries (or if you decided not to do the solution) you can go ahead and stain the project. First use a rag or air compressor to remove any dust from the table. Then use a clean rag to apply the stain of your choice. Don't forget to wear gloves and ventilate the area. Have a brush in your other hand to stain hard to reach areas.

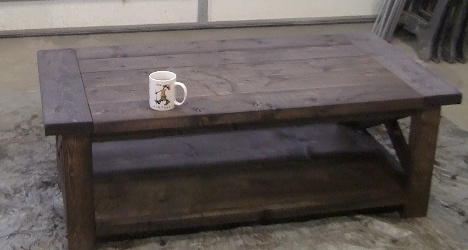
The table will look similar to this when the stain is dry. I usually only apply one coat.
Step 5 - Poly the table
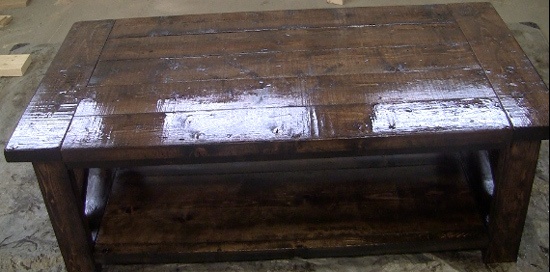
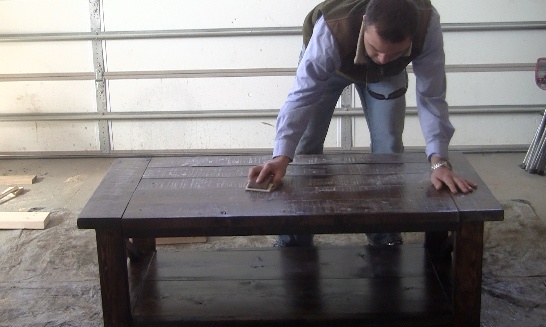
Use a polyurathane ( I used a Minwax Semi-Gloss ) to seal and protect the finished coffee table. Apply the 1st coat of polyurethane to the entire table. Once dry, add a second coat to the table top. I only generally do one coat of poly on the base. Once the second coat has dried take a sanding block with 400 grit sandpaper and lightly sand all areas you've poly'ed. Then take a clean damp rag to remove the dust and prepare for your final coat of poly.
Step 6 - Apply Final Coat of Poly
Use a clean rag to apply the 3rd coat of poly to the table top. Using a rag/cloth will allow the coat to go on smooth and thin. Let your table thoroughly dry and then move it into your home.
Step 7 - Sit back and Enjoy!
Relax, put your feet up, and enjoy your new table. It will be a great conversation piece that will last for years.
Please connect on facebook and post photos of your own projects. We'd love to see them! I you enjoyed this project, follow along on my Youtube Channel for all our latest projects! If you'd like to start a website like I did please check out my DIY Blog about buying a domain and setting up a blog or website cheaply and easily. I used Bluehost and Wordpress to create this website!
