
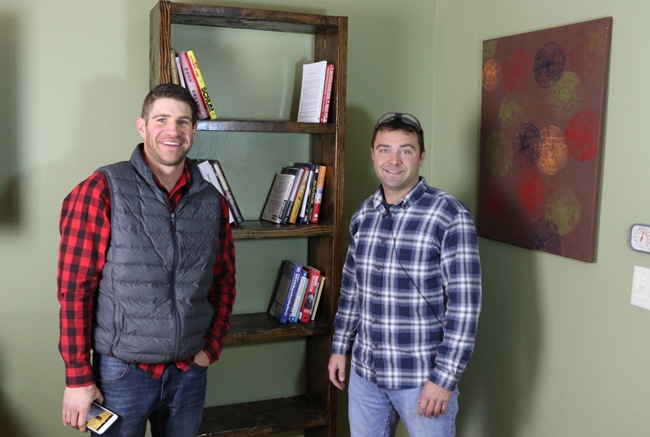
Hey there! For this project I teamed up with Paul Churchill from the Recovery Elevator Podcast to show How to Make a Bookshelf. Paul and I discovered that DIY projects have a very positive impact on all types of people, including people who struggle with alcohol addictions. Paul has struggled with alcoholism himself, and has now been sober for over 14 months. Woodworking has been a huge part of his success, as it's given him a new challenge and a fun hobby to replace drinking. It is said that there is 1 degree of separation between the majority of the population and alcoholism. Meaning that, it is likely that you know someone who is an alcoholic or have been affected by alcoholism in some way through family or friends.
Drinking alcohol is fine in moderation and I have to say I enjoy a good cocktail, yet I'm not condoning it in any way. Paul's goal and the reason we are collaborating is to help people struggling with an alcohol addiction. Finding hobbies to stay busy is extremely helpful in the recovery process, and in staying free of whatever addiction you might have.
Whatever the case, this is a fun and simple project for any beginning woodworker. We'll teach you how to make a bookshelf and when done one step at a time, this DIY project is a breeze!
Video coming soon!
Tools Needed
Miter Saw– I’d recommend a 12 inch sliding, miter saw
OR Circular Saw
Drill
And/OR Impact Driver
Orbital Sander– Ryobi makes a nice one.
Tape Measure, Straight Edge, Pencil
Eye and Ear protection
Supplies Needed
Wood – Refer to the list free plans here
Gorilla Wood Glue
Minwax Espresso Stain
Minwax Polyurethane
3” Wood Screws
Sandpaper
Approximate Total Cost: $60
This Simple Bookshelf can be made for approximately $60 in materials cost. This is the cost for the wood, wood finish, screws, and other basic supplies. *Note: This doesn’t include smaller things you may already have around the shop, including: glue, sandpaper, etc.
Cut the Boards
We'll start this project by marking and making cuts for the different bookshelf pieces. Refer to the cut list in the free plans for the dimensions. You’ll end up using nearly all of the four 2x10s that you purchased. I’d recommend cutting with a circular saw or miter saw. Once all of your cuts are made, we’ll prepare for assembling it.
Sand the Boards
Now that you’ve cut all of the boards to size, we can spend some time sanding all of the different bookshelf pieces. We will end up doing a final sand down before staining and finishing the bookshelf, so just a rough sanding works for now. Focus on cleaning the edges and any cut marks, splintering, as well as sanding off any lumber marks.

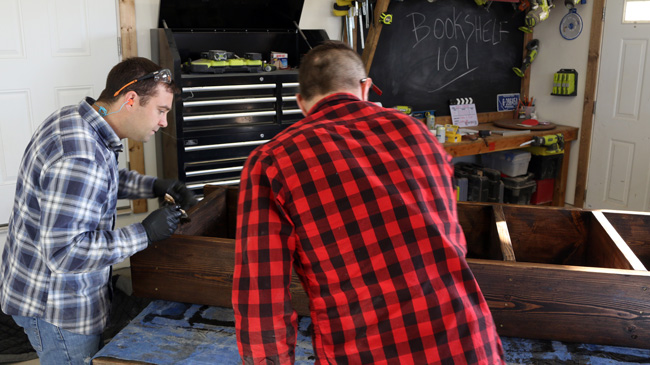
Assemble the Bookshelf
Once all of the bookshelf pieces are sanded, we’ll assemble it. We’re going to add wood glue to each joint, pre drill the holes, and then screw in the 3” wood or torx screws. Start by installing the very top shelf and it will go flush against the side boards, making a flush 90 degree, right angle on the top sides.

Spacing the Shelves
After you’ve installed the top, flush board, we can begin spacing our shelves and glueing and screwing the rest of the boards into place. The very bottom shelf is spaced 3” up from the bottom to the bottom of that shelf. The other four, remaining boards will be glued and screwed into place every 13 ½” inches or so (13 19/32” to be exact). Refer to the plans for more information.

Final Sanding and Finishing
You can add wood putty over the screw holes if desired. Once the shelves are in, the glue has dried, and you’ve laid a tarp down on the table then you’re ready for the final sanding and staining/finishing process. Sand the whole bookshelf down with a high grit sandpaper (400+) and then remove any dust off of the wood. Apply the wood stain generously with a microfiber rag and use a brush to get the tight spots. Let this air out and dry before completing finishing your bookshelf with a solid coat of polyurethane. Let the poly dry/cure/air before bringing your new bookshelf inside.

Install, and Enjoy!
Great work! Thanks for taking the time to follow my step-by-step tutorial here and watching the video on YouTube. Enjoy your new bookshelf and keep on rockin’ your DIY projects!
