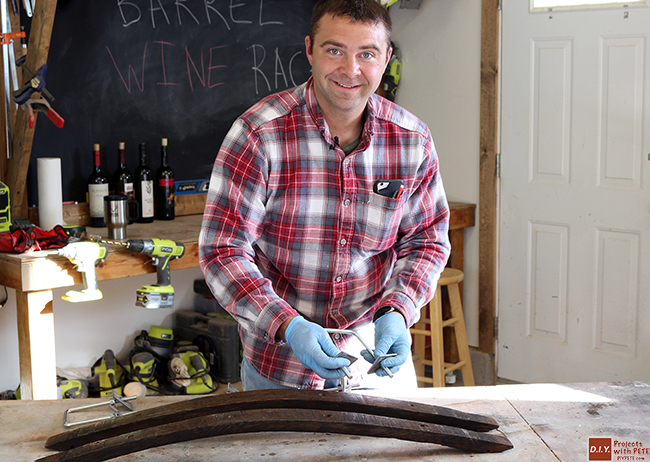
This week, we'll show you how to make a wine rack using parts of a wine barrel! Two wine barrel staves, four u-bolts, and some hardware is all you need to complete this project. It's a very unique look, is a quick project to complete, and looks great in any room! Continue reading this post for step-by-step instructions, projects photos, and more. Watch the tutorial video below or directly on YouTube here. Cheers!
Tools Needed:
Power Drill
Tape Measure, Ruler, Pencil
Eye and Ear protection
Optional:
Reciprocating Saw (or other hand saw)
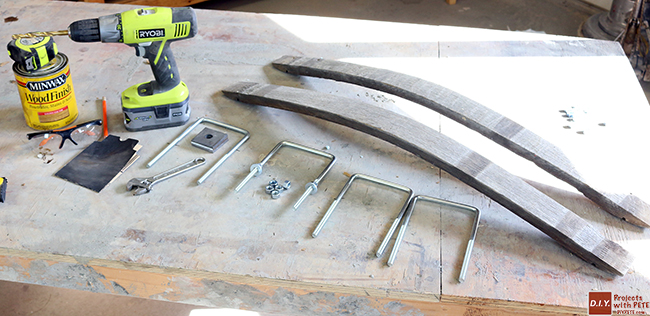
Supplies Needed:
Two wine barrel staves (whiskey and wine barrel staves are unique, its hard to find two that are the exact same width and character, thats what makes this project more unique)!
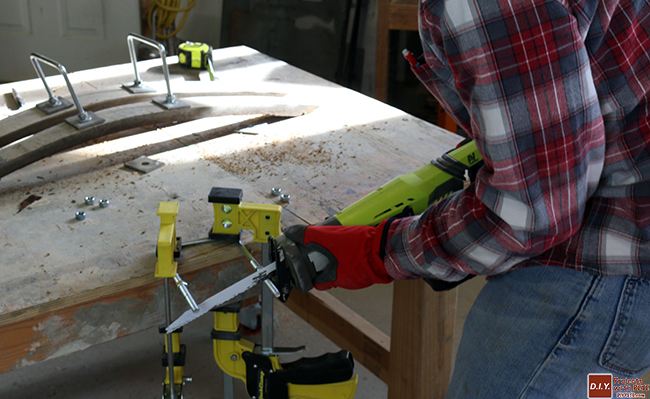
4 U-Bolts 4″ wide by 5 1/2″ long (we bought 4″x7″ and used a reciprocating saw to hack off 1 1/2″ from each u-bolt – the u-bolts can be bought on Amazon, here or at your local hardware or farm and ranch store like Murdochs).
16 5/16″ nuts (our u-bolts were 5/16″, so make sure to get the right sized nuts to correspond with your u-bolts).
8 washers
Optional:
8 steel bearing plates
Approximate Cost to Complete this Project: About $40
This includes the cost of the u-bolts, hardware (washers, nuts, etc.), minwax stain, and other supplies. Wine barrel staves can be tricky to purchase individually. You can keep an eye locally on craigslist for used barrels or buy a new barrel at your local farm each store. (This cost doesn't include things like sandpaper, drill bits, screws, etc).
Gather Barrel Staves, U-Bolts, and Other Supplies
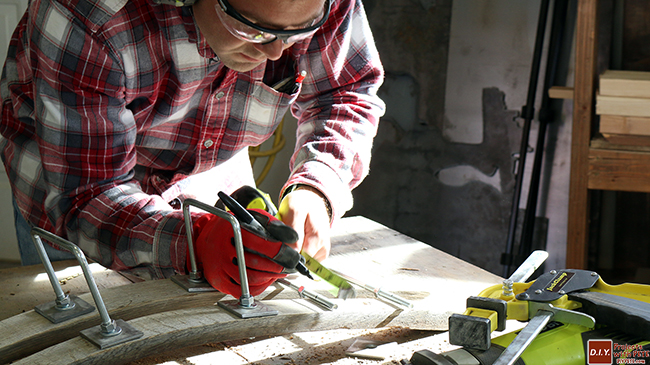
This project's supply list is simple: two wine barrel staves, four, 4″x7″ U-bolts, sixteen nuts, and eight washers. Optional additions are the eight bearing plates. Gather all of your supplies and lay out the staves. Let's mark where to drill our holes. Measure 7″ up from the bottom and top and make a mark on each stave, 7″ down from the top and make a mark again, then 7″ in between those marks. Each barrel stave should have a total of four, evenly spaced marks.
Drill the Holes for U-bolts
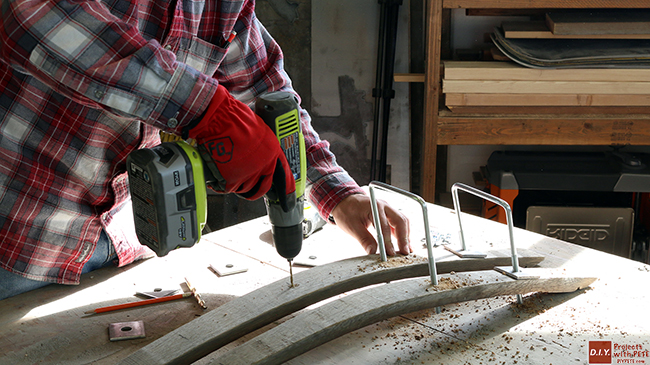
The u-bolts need to mount into the staves at an upward angle so the wine bottles will not roll off. It is about a 15 angle, but you can eyeball it and make adjusts later, as needed. With your drill, use a small 1/4″ bit to pre-drill the holes on each stave. Then come through with the 5/8″ drill bit and make the holes for the u-bolts to go in to. Again, eyeball the angle that you ultimately want the u-bolt to sit in at. Test fit everything, making sure you are satisfied with the angle. Remove the hardware and u-bolts.
Sand and Stain the Barrel Staves
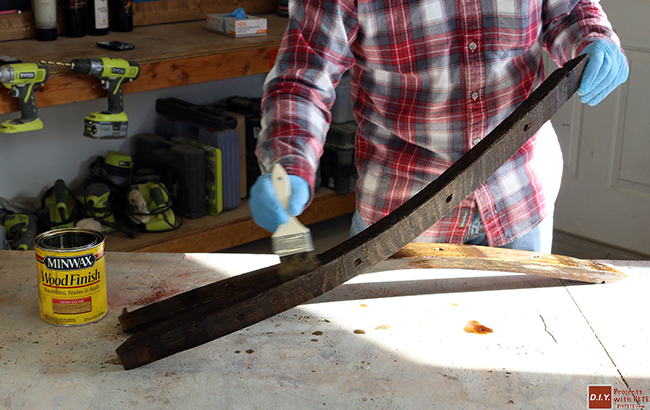
Using 150 to 220 grit sandpaper, we'll sand the barrel staves smooth. Get your finish of choice and prepare the boards for finishing. For my barrel wine rack, I went with Minwax Golden Oak finish and followed that up with Minwax spray on polyurethane. Be sure to leave enough time for your stain to dry before sealing with polyurethane.
Attach the U-Bolts and Hardware
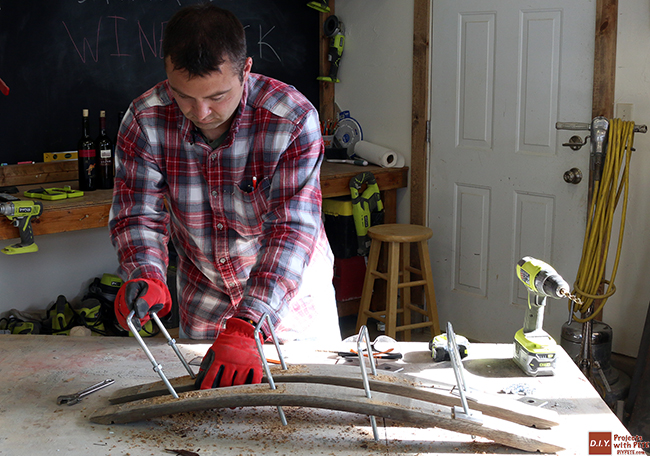
Once the finish has completed curing and drying, we'll attach the u-bolts and hardware. The u-bolts we bought were 7″ long and stuck out behind the staves a ways, so we decided to use a reciprocating saw to take 1 1/2″ off of each bolt. This is completely optional. I'd recommend attaching everything finger-tight first, squaring up the top and bottom of the wine rack, and then following through with a wrench to complete tightening. If you crank too tight on the wrench, you may lose some of your 15 angle that you drilled earlier, so be careful not to over tighten. Adjust the angles as needed, testing by placing wine bottles on the rack.
Install the Barrel Wine Rack
Considering the width of this wine rack will only hit one stud in the wall you install it into, you'll want to get drywall anchors. Pre-drill all of the holes into the staves. Find and mark out one stud in your wall, place the rack where it will mount, and mark out the other stave's position. Drill into the drywall and hammer in the drywall anchors. Using 3″ wood screws or other screws, mount the wine rack into place. You're done! Set the bottles up and enjoy.
This is a great, quick project that adds class and uniqueness to any room. The barrel wine rack can be done on a small budget and with minimal tools and supplies. I'd love to see your projects, share them in the comments below. Cheers!


