
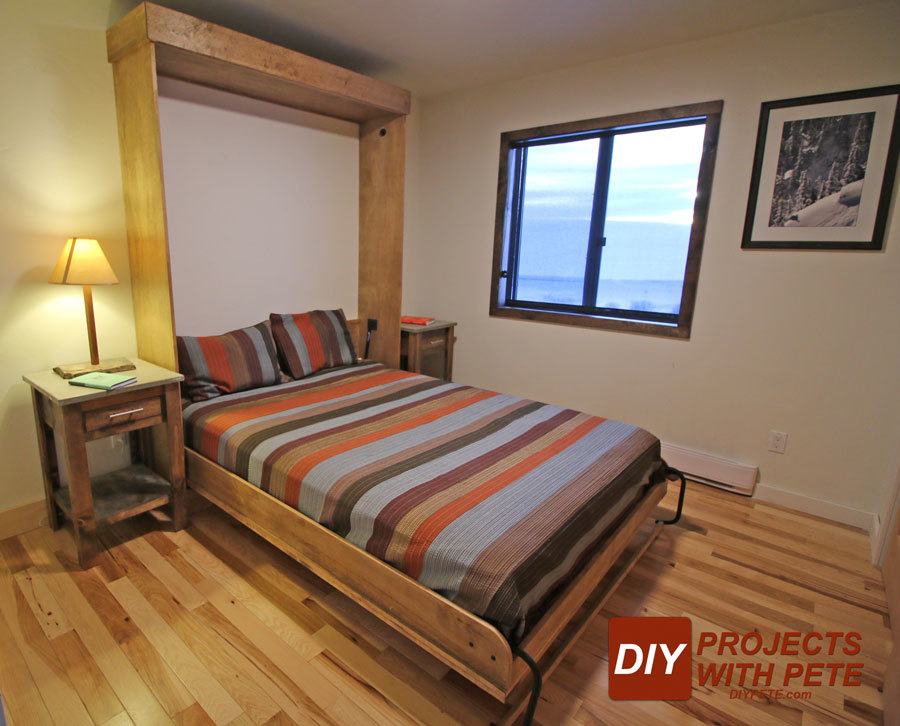
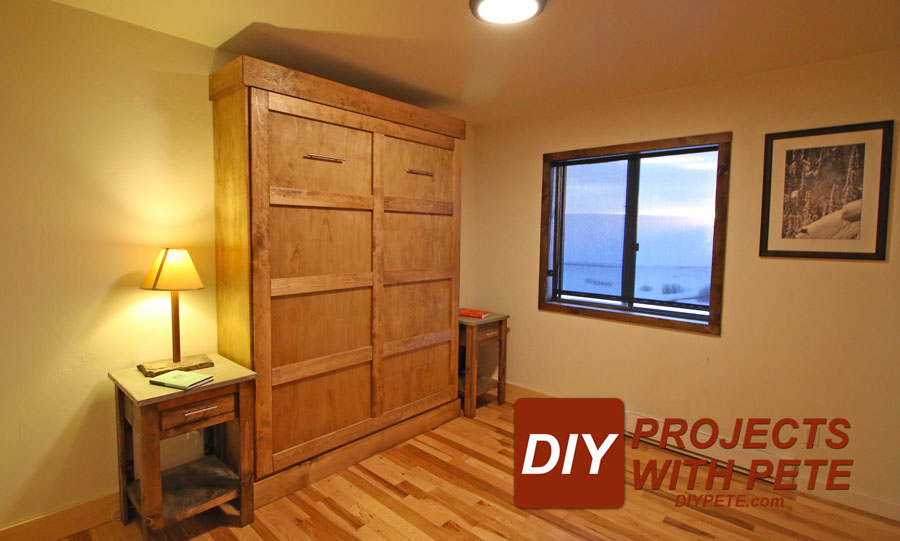
For today's project, we'll cover the process of how to build a DIY Murphy bed. A Murphy bed will make your home or space more efficient and will free up the room to use for other purposes. That guest bedroom can now be used as an office, exercise area, or playroom for the kids. The investment in time and money for this DIY Murphy bed will be well worth it!

DIY Murphy Bed Options
100% DIY Hardware ( cheapest method )
There are a number of ways to build a DIY Murphy bed. I chose to use a DIY Murphy bed kit for all of the hardware to save time and to make sure the bed works perfectly. I also wanted our DIY Murphy bed to look professional and be easy to raise and lower. If you are willing to take the time and don't care about the gas springs or pre-made hardware, then I'd recommend checking out DIY Tyler's Murphy bed build. He's a great guy and has a lot of really cool projects. Here is a link to his Youtube video.
DIY Murphy bed with hardware kit ( my choice )
For those who want the professional DIY Murphy bed kit, you'll invest around $300-500 depending on where and who you purchase the DIY Murphy bed kit from. I did a lot of research and ended up purchasing a gas spring kit on Amazon made by CreateABed for $299. I've been very happy with it and certainly would definitely recommend it. The DIY Murphy bed kit does come with plans for any size bed. I used their DIY Murphy bed plans for this build and customized the final product by adding trim on the front and sides.

Here is an affiliate link to the DIY Murphy Bed kit in case you want to purchase it. If you do purchase it on Amazon, I'll get a small kickback from Amazon for recommending it which will help fund new projects on my website. Thank you in advance! The DIY Murphy bed kits are available for all sizes of beds. I built a vertical Murphy bed, but they have horizontal Murphy beds as well.
Purchase a complete DIY Murphy bed cabinet and hardware
Complete DIY Murphy bed systems that you can buy online and assemble start in the $1250 range and go to about $2500. I looked at quite a few systems on Amazon and BeStar brand makes quite a few DIY Murphy bed solutions that are reasonably priced and have 4 to 5-star reviews. Here is an example of a Bestar Murphy bed that is close to $1300. You do need to assemble it similar to Ikea furniture, but they are already stained or painted and can be put together typically in a few hours. If you are not a DIY'er or simply want to save time then I'd recommend buying a Murphy bed. If you love to build and want a custom project then building one is going to be a good fit.
Why is it called a Murphy bed?
The Murphy bed was patented by William Murphy in the early 1900's. The story goes that William had a single bedroom apartment in San Francisco. According to Wikipedia, Murphy was an opera singer and would fold up the bed to convert the room into an area guests could visit and where he could host in his small apartment. Murphy beds are commonly referred to as wall beds.
How much did it cost to build my DIY queen size Murphy bed?
- Total Cost for Wood: $214
- Cost for Wood and Optional Trim: $291
- Total Cost for Wood and all supplies listed below including optional trim: $402
- Total Cost of all supplies + Kit $702
- *This does not include the cost of tools or a mattress. The price of materials will vary depending on where you live. I used an old mattress from my guest bedroom.
- * Please note that these are the nominal wood dimensions you will see on the price tags when buying the wood. The actual size of a 1×4 board is actually 3/4 inches thick by 3 1/2 inches wide. This is kind of confusing, but if you buy the below items you'll be good to go. I would recommend ordering the kit first, to double check all of the supplies.
- Create-a-bed Hardware Kit: $299
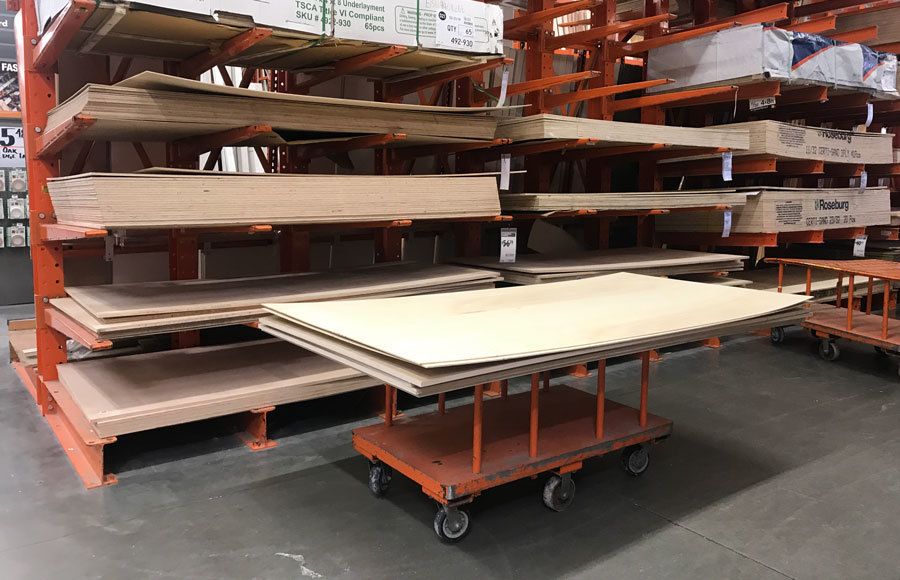
- 4 Sheets of 3/4 inch cabinet grade pine plywood $151 ( $37 / board )
- 2 Sheets of 1/4 inch pine plywood $45.00 ( $22.50 / board )
- Frame struts and sides QTY 12 – 1x2x8 boards $14.64 ( $1.22/ board )
- Trim boards ( Optional ) Qty 7 1x4x8 boards $40 ( $8 / board )
- Baseboard and upper trim ( Optional ) Qty 3 1x6x8 boards $37.50 ( $12.50 / board )
- Leg Support Rail – 1x1x6
- 1 1/4 inch star screws #8 size $8.58
- 1 1/2 inch star screws #8 size $9.97
- 2 inch star screws #8 size $10.52
- Plywood edge banding – ( I used birch which was the closest match. You'll need about 80 feet total. $27.44
- Wood glue: $4.00
- 1 1/2 inch and 1 1/4 inch finishing nails $6.00
- Cabinet pulls ( Price varies ) These are similar 10 inch pulls to what I used. $11.50
- Wood conditioner $13.00
- Wood stain $8.00
- 3 inch wood screws to attach the unit to the wall ( approximately 4-8 )
- Mattress – You will need a queen size mattress that is no more than 12 inches thick. The mattresses I had around the house were all between 10-12 inches. You will not need a box spring.
Tools and Supplies Needed
- Forstner bits ( 1/2 inch and 5/8 inch )
- Table Saw – I recommend using a table saw for this project if you have access to one. However, it can be done using a circular saw and a guide. Many people do use this method, but it is nice to have a table saw to rip boards and for getting accurate cuts.
- Circular Saw – I would recommend using a guide to help get straight cuts
- Miter Saw
- Drill and Impact wrench ( Impact wrench optional )
- Jigsaw
- Sander – I'd recommend 220 grit sandpaper
- Hammer or air nailer –
- Drill bit set – Pick up a drill bit set for under $10 if you don't already have bits.
- Household iron – Use to apply the edge banding to the plywood
- Razor blade knife
- Plywood edging tool
- Clamps
- Wood putty to fill nail holes ( optional )
- Sawhorses
- Pencil
- Square
- Straight edge
- Circular saw guide
- Rags and paint brush
- Dust mask
- Respirator when applying stain/sealer
- Rubber Gloves
- Tape Measure
- Scissors
- Safety Glasses
- Hearing Protection
- Stud Finder
- Step stool or ladder
How long does it take to build a DIY Murphy bed?
In my experience, a Murphy bed can be assembled in a weekend. Of course, this all depends on your skills. You'll also want to stain and seal the project which will take additional time. I would plan to build this project over the course of a week. This way you won't be rushed, and can work on it a little each evening and during the weekend.
Steps to build a DIY Murphy bed
Gather your materials, tools, and plan.
The DIY Murphy bed plans for the bed will come in your kit. My video will cover the queen size vertical Murphy bed. Other sized beds follow the same overall process, but the placement of the hardware will be different and the boards will be cut to different sizes.
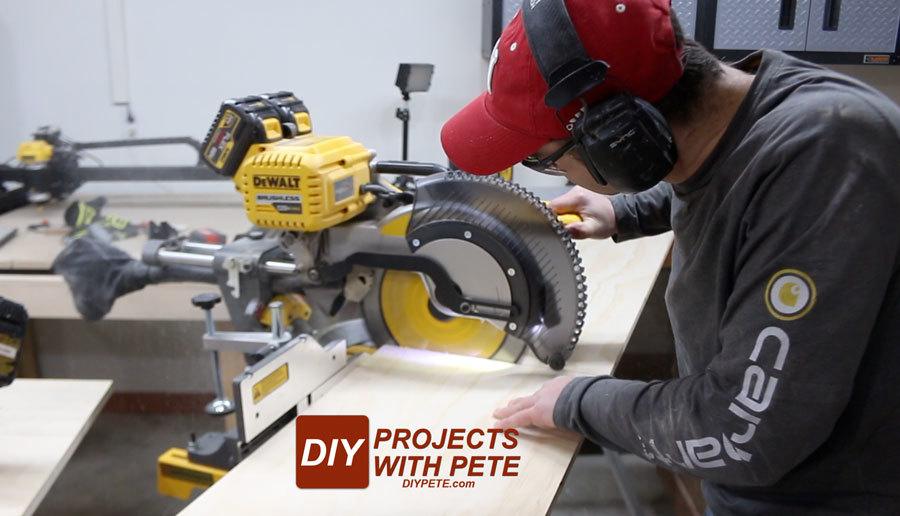
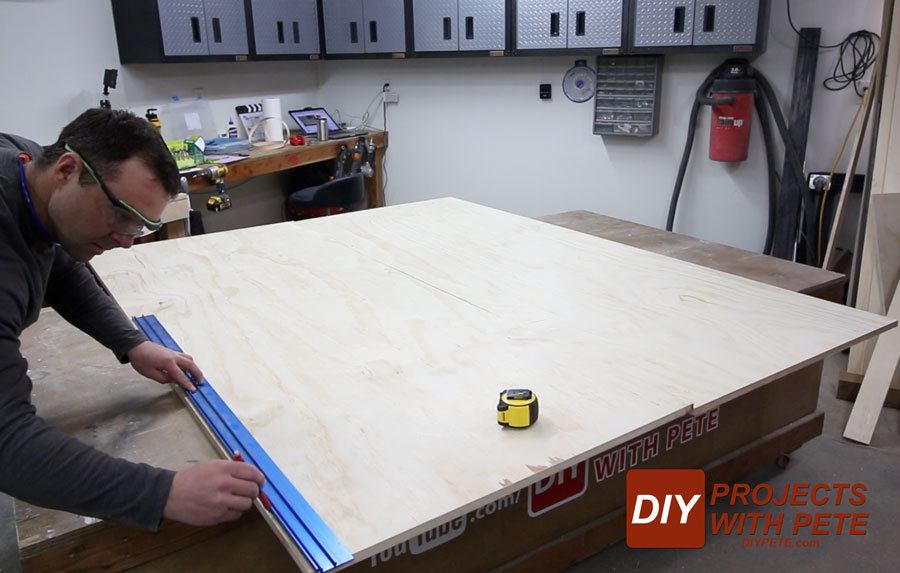
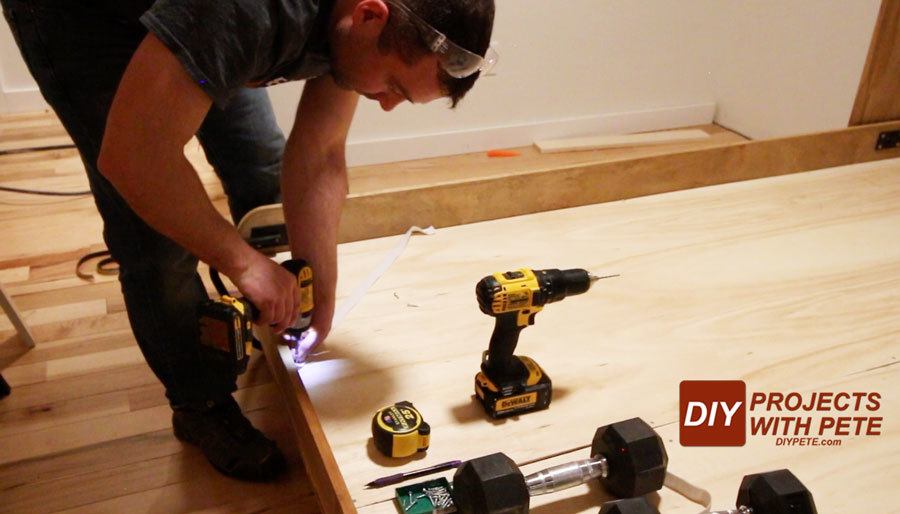
Cut plywood and boards to size
Use a table saw or circular saw to cut the plywood down to size. Having an extra person to help with this process will make things much easier. A table saw is my tool of choice, but you can use a circular saw with a guide if you do not own one.
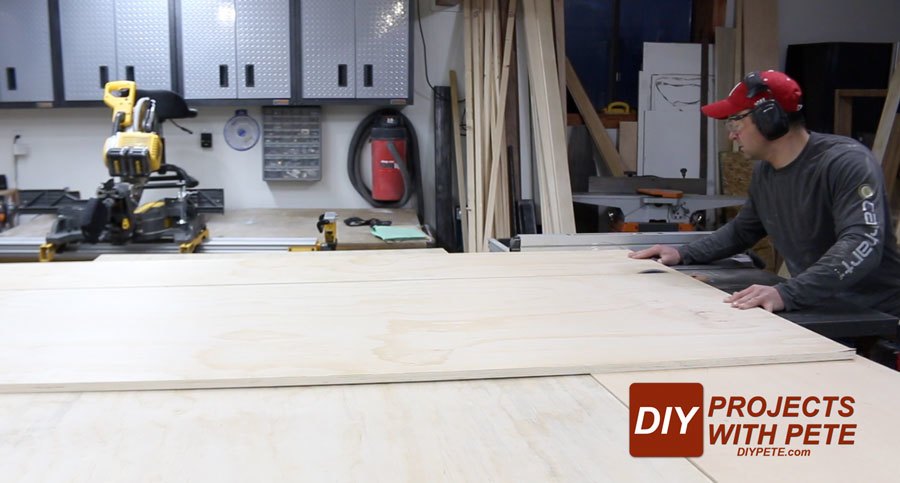
A circular saw works great for cutting the boards down in length. I use a 12 inch sliding compound miter saw from Dewalt.
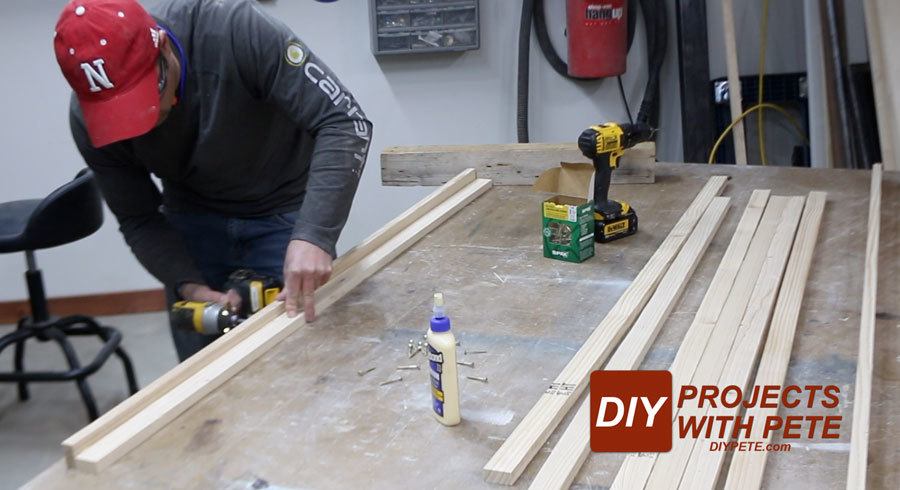
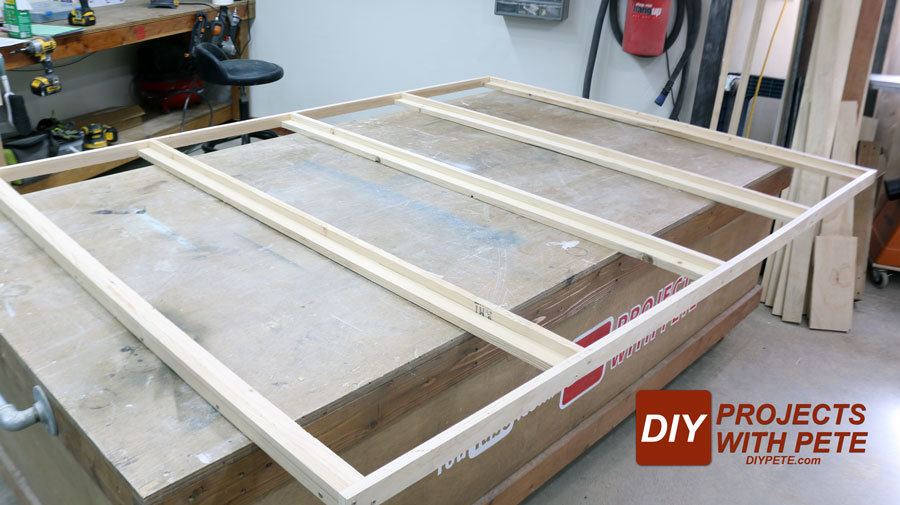
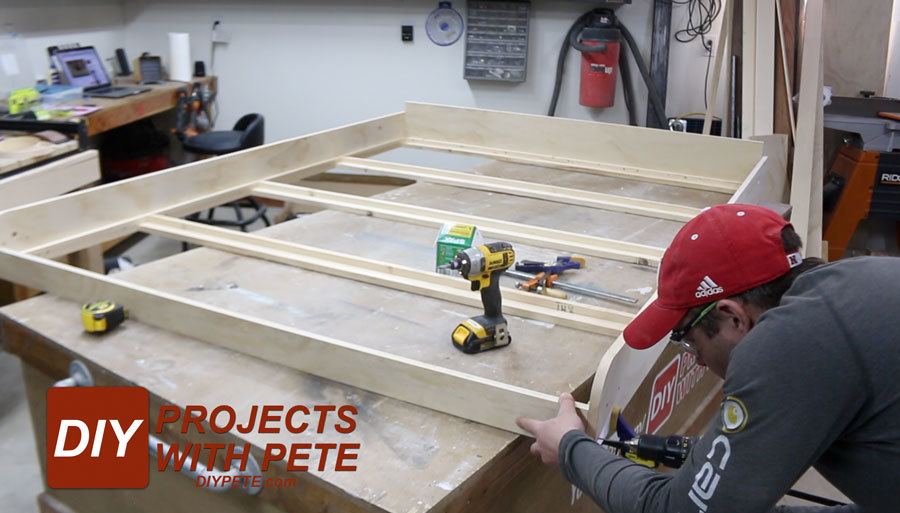
Build the frame for the mattress
The mattress frame is built out of solid 1×2 boards. I used pine. A 1×2 board is actually 3/4 inches thick by 1 1/2 inch wide. Cut the boards according to the plans you will get with Create-a-bed. Pre-drill all holes. Use 1 1/2 inch screws and wood glue to assemble each of the 5 struts. Then use 2 inch screws to attach the side frame to each strut.
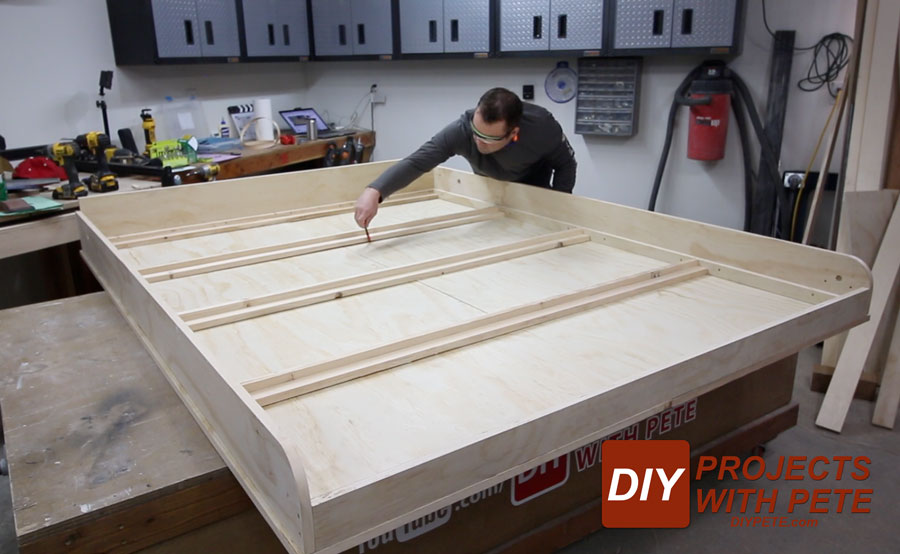
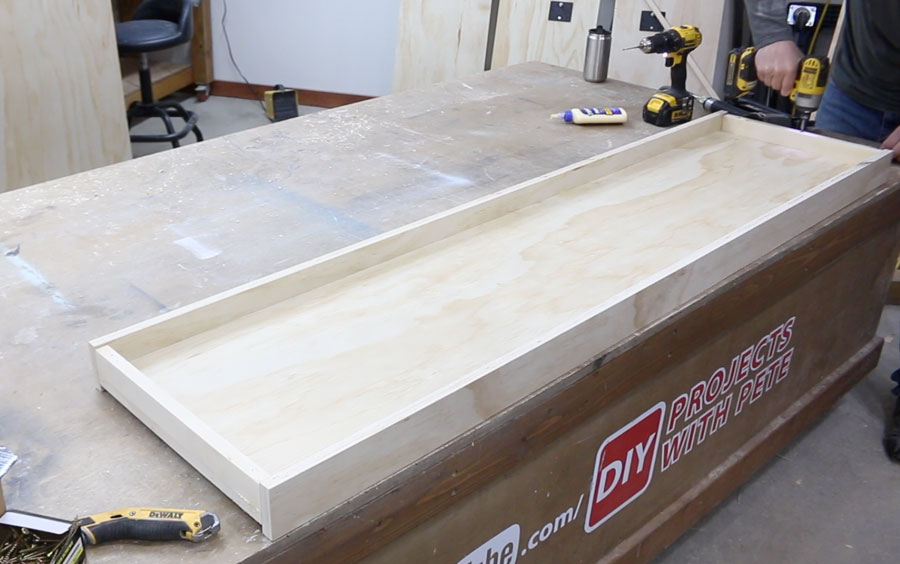
Build bed rails
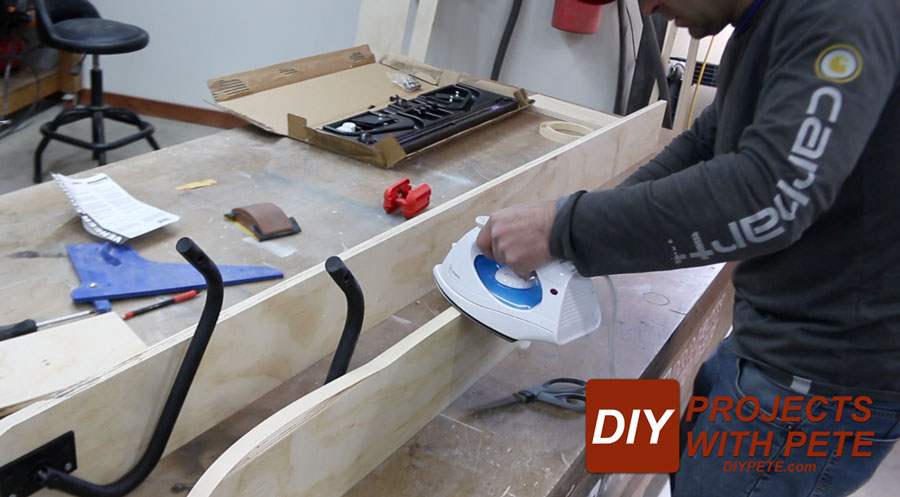
The bed rails are made out of plywood. CreateaBed ( the manufacturer ) recommends using plywood because of its strength. Templates are provided to help with hardware mounting locations. Apply edge banding to all plywood with exposed edges that will be seen. This will give the wood a nice finished look and the appearance of a solid piece of wood.
Attach rails, headboard, and footboard
Attach the side rails, headboard, and footboard to your Murphy bed mattress frame. Pre-drill all holes. The head and footboard are connected to the side rails using 2 inch long screws.
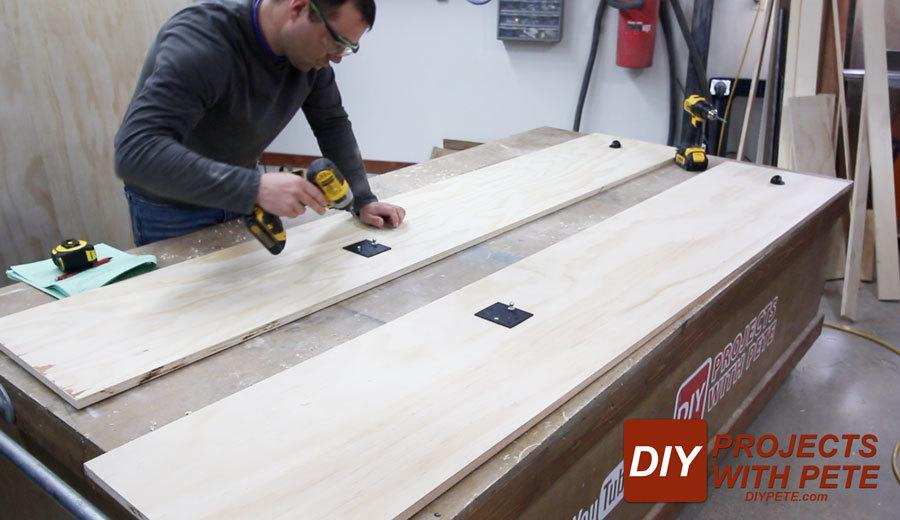
Lay out the front panels
The front face of the DIY Murphy bed cabinet is made of two sheets of plywood cut to size. Apply edge banding to the three outer sides of each piece of plywood. You do not need to apply banding to the sides that touch each other in the center. On the outer left and right panel, you'll want to measure in 1/4 inch and draw a line.
Center the DIY Murphy bed frame so there is a 1/4 inch overlap on each side. The footboard should be flush with the edge and the headboard will also have a little overlap. Use a pencil to trace around each strut. This will provide a template to show where to add glue. Remove the frame from the plywood, add glue, and then attach the bed frame to the panels. See the video for more details.
Attach the bed frame to the face panels using 1 1/4 inch #8 screws. Make sure to pre-drill before inserting the screw. Take your time lining up the panels to ensure they are square.

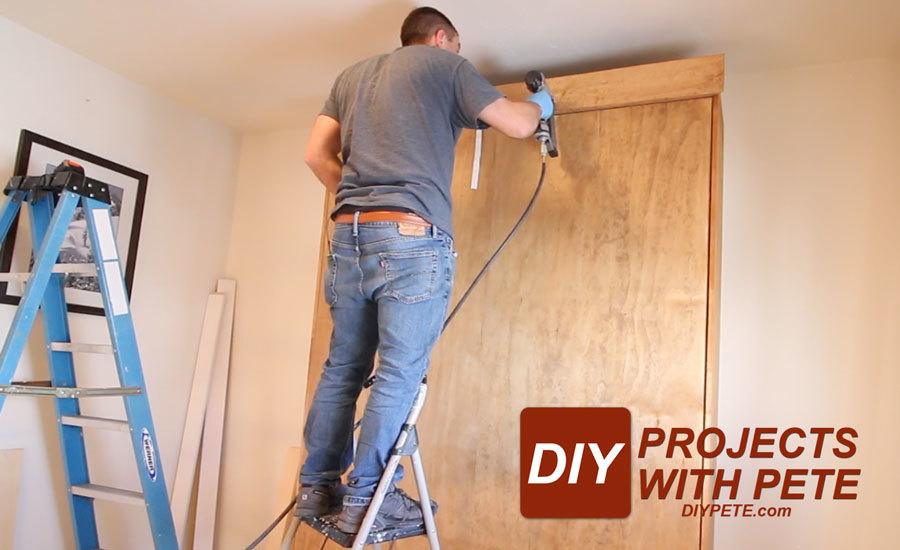
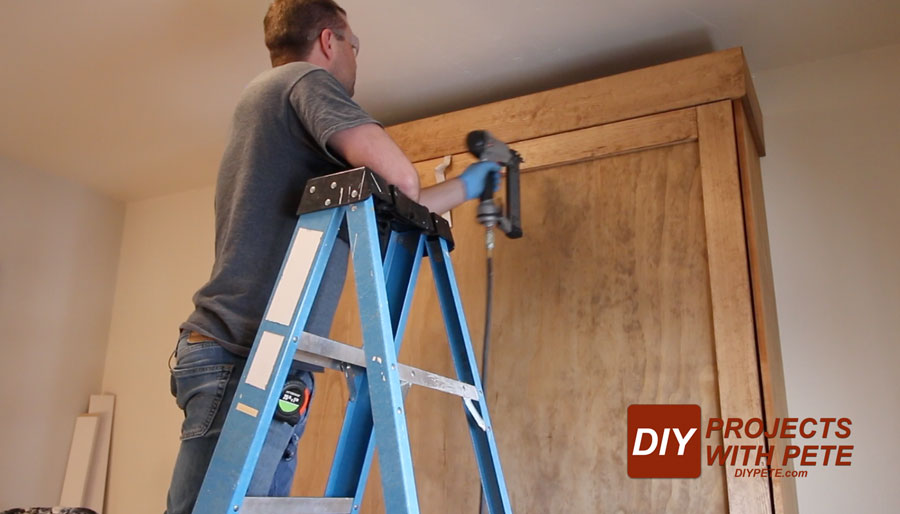
Add hardware to vertical cabinet sides
Add the hardware to the insides of each vertical cabinet piece. Add edge banding to the front side of each panel.
Build the header
The header will connect the two vertical cabinet pieces. You'll also use the header as a part to screw threw to connect the unit to the wall in a later step.
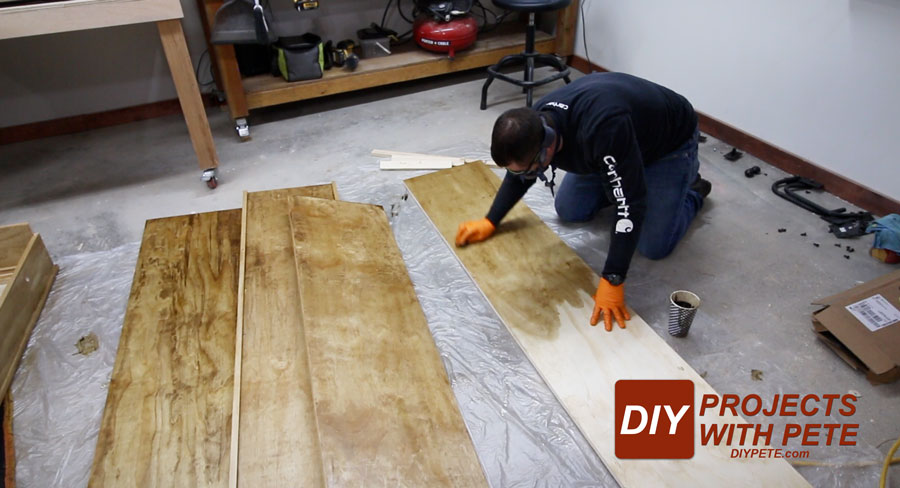
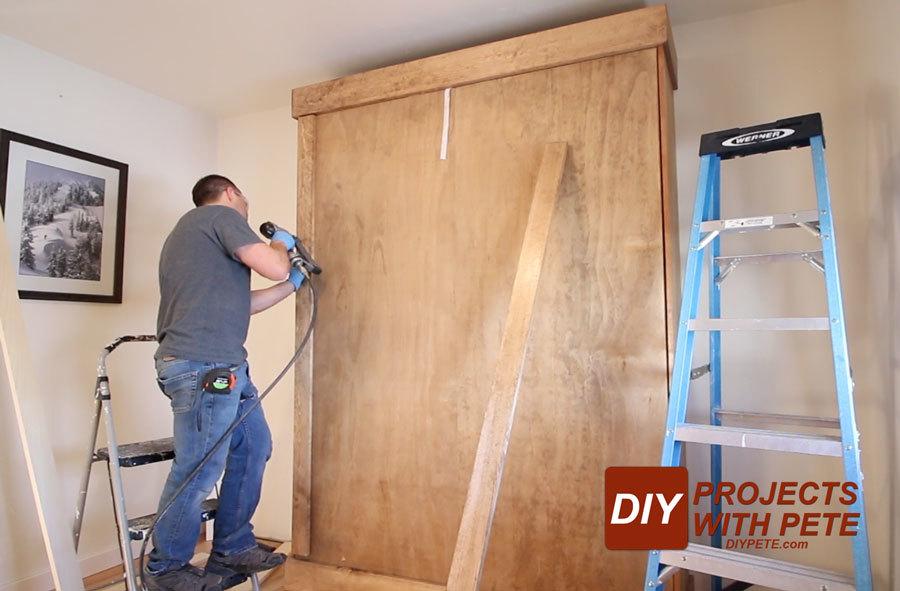
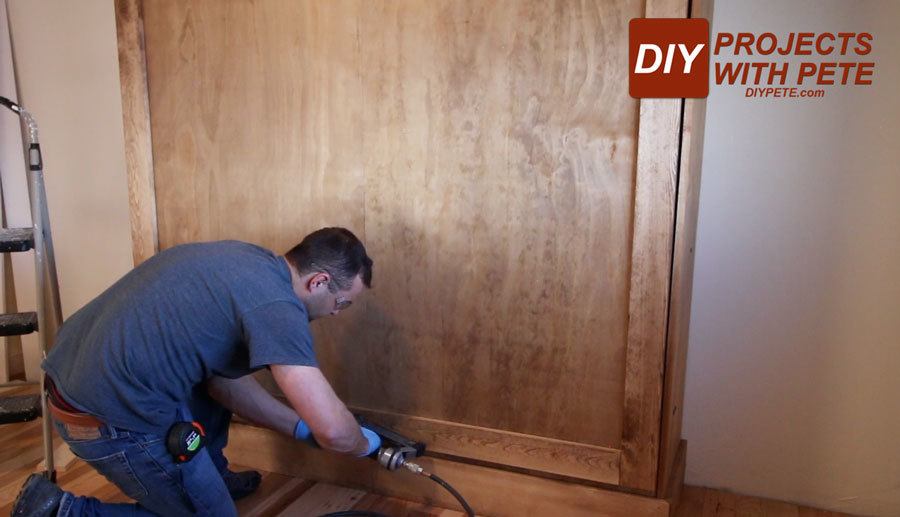
Remove hardware, sand, and stain/paint
Once everything is built you'll want to remove the hardware so the wood can easily be painted or stained. Then sand the wood with 220 grit sandpaper, paying specific attention to rough areas and anything that needs to be smooth out. Either paint or stain the project.
If you choose to stain the wood, I'd recommend using a brush on polyurethane to seal the project. I use a spray polyurethane for my project to speed up the process, but it doesn't do as good of job for a large project such as this. Give the stain or finish a few days to dry and air out before taking it into your home.
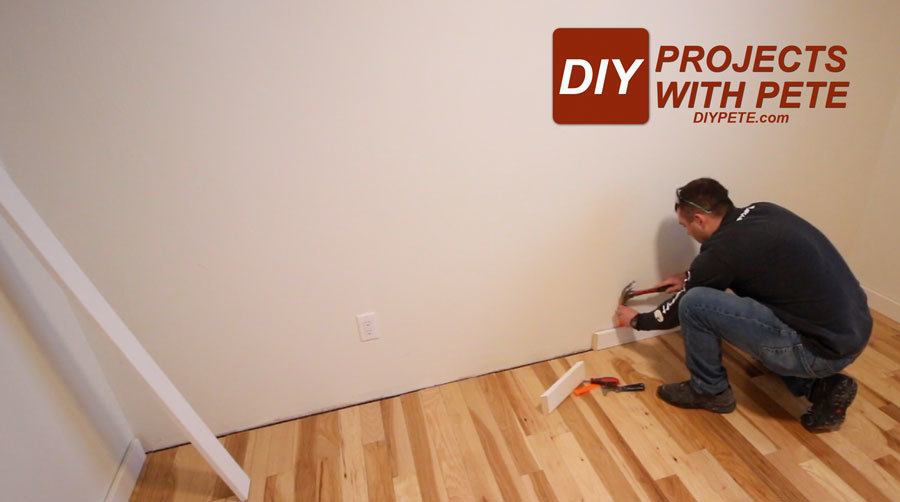
Remove baseboard trim
Remove the baseboard trim so your new Murphy bed will have a tight fit against the wall. Another option is to contour cut the back of the vertical so it fits around your existing trim. Either option will work. I am slowly upgrading and replacing all the trim in my home, so I removed the old 1×4 existing trim and put in some new 1×6 trim.
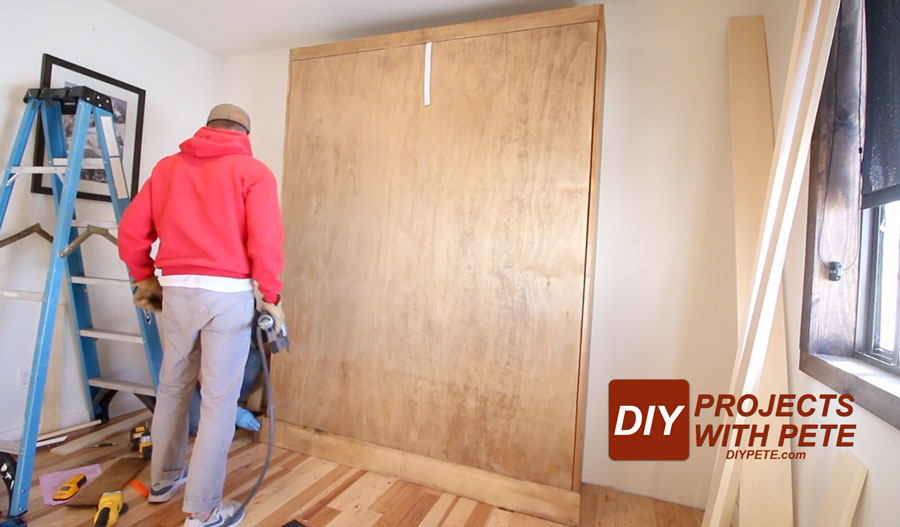
Move Murphy bed into the home
Carry the cabinet vertical, header, and other hardware to the room it is being installed in. Next, move the bed frame. The bed frame is heavy and I'd recommend finding someone to help you. Put a large blanket or towels under the bed frame while moving it if you plan to slide it along the ground.

Attach verticals to bed frame
Add the spacer around the peg hardware and then put the peg through the bed frame hole. Place the metal clip at the end to secure it in place.
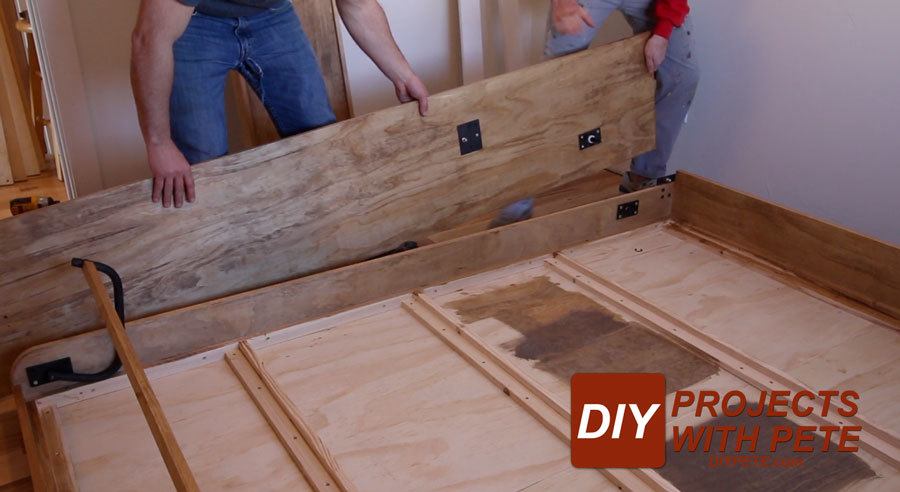
Connect the header
With a helper, rotate the two vertical boards up. Next, lift the header between the vertical boards. Clamp in place and attach. Attach from the inside so you will not see the screws.

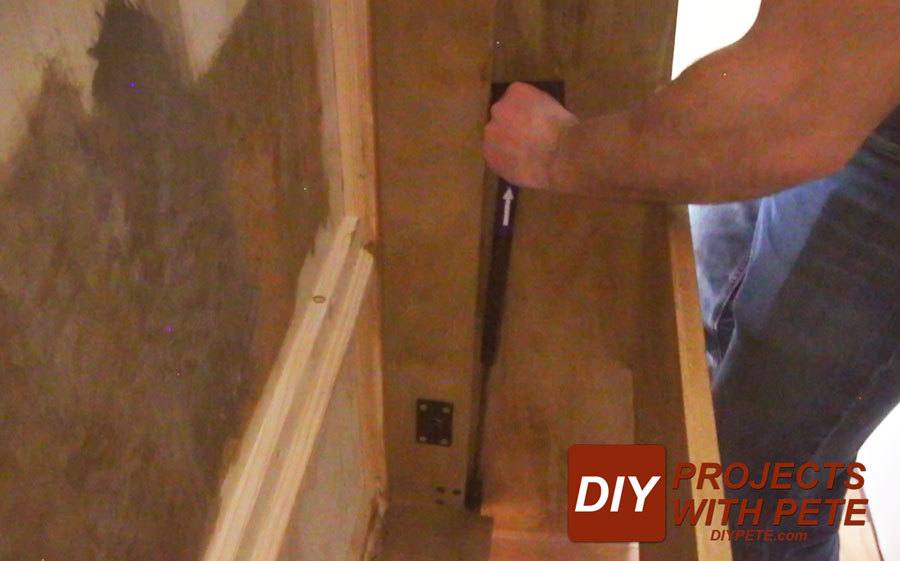
Install gas springs and stoppers
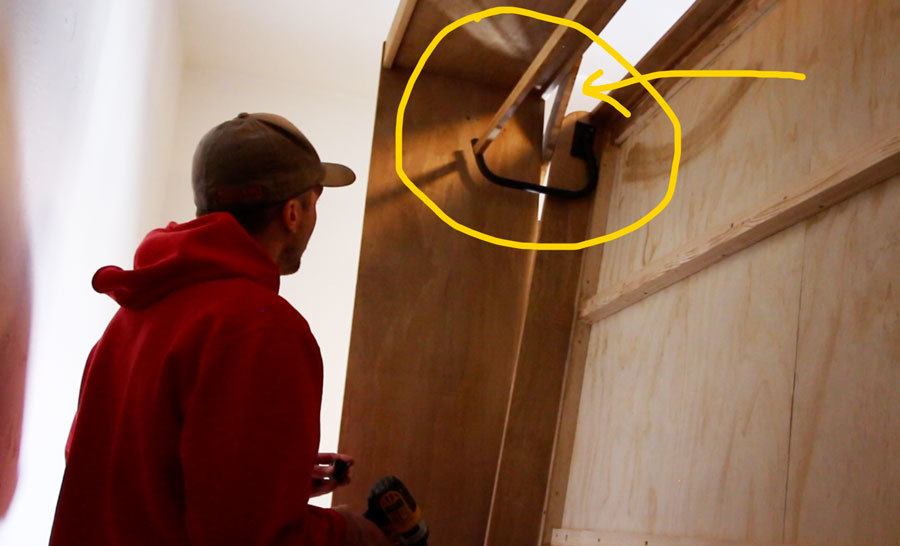
Push the bed frame up and slightly past the front of the cabinet unit. Attach the gas springs. This can be a bit tricky and will definitely require another person to help hold the bed while the other person is installing the stoppers and gas springs.
Once the springs are in, you can add the stoppers. Because the gas springs are now installed, I used a scrap piece of wood to hold the panel out while we installed each stopper. The yellow arrow points toward the scrap wood that is helping prop the door so we have room to add the stopper.
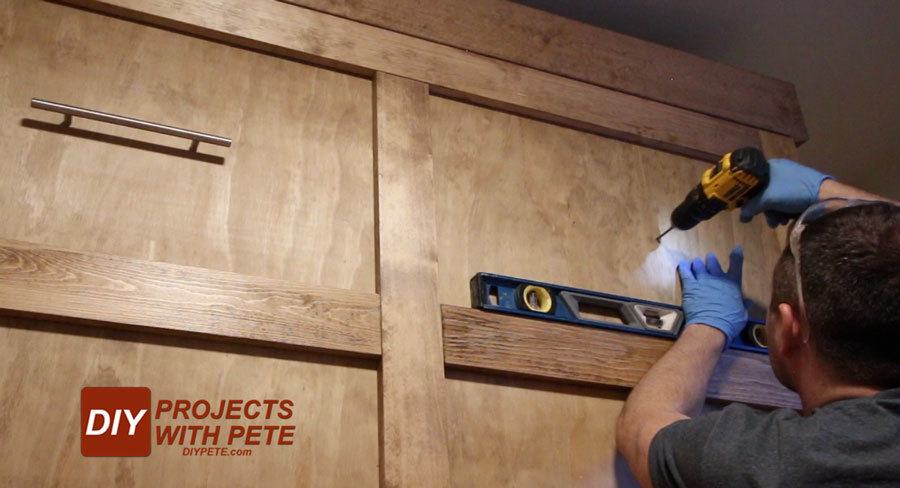
Attach to the wall
Use a stud finder to find the studs in your wall. Next, push the cabinet unit against the wall. Attach the top header to the wall at each stud location using 3 inch wood screws. After attaching the top, I put a a couple screws through the lower portion of the headboard near where the mattress will eventually go.
Add trim
In the manufacturer's directions, they will add the handles and 1/4 inch plywood earlier in the process. However, I was unsure how I wanted to do the trim and so I added the handles later in the build. I made a temporary pull so I could still open the bed without the hardware installed. I did 1×6 trim around the top and bottom of the unit. The corners are mitered.
Note the baseboard trim is only attached at each vertical board with 3 finish nails. Do not connect it to the face panels because it would then rotate with the entire bed and pull away from the unit.
The upper 1×6 board is attached to the header. It is placed flush with the front bottom of the header so their is a small gap between the trim and the door portion. This does not connect to any moving parts and can be nailed anywhere to the header.
I then added the same trim to the sides of the unit.

Trim was then added to the front face panels. The first piece goes flush with the left side of the face panel and the top of the face panel. There should still be a small gap between the top of this board and the upper 1×6 trim.
Attach both vertical pieces and then the top horizontal piece. Make sure there is still a small gap between this piece and the top 1×6 molding.
Add the lower trim. You'll notice there is about an inch of space between this trim and the baseboard. This is necessary so the door can pivot.
Here is a diagram showing my front panel trim boards. I used 1×4 boards for this part of the build. The baseboard and top molding are made out of 1×6 boards.
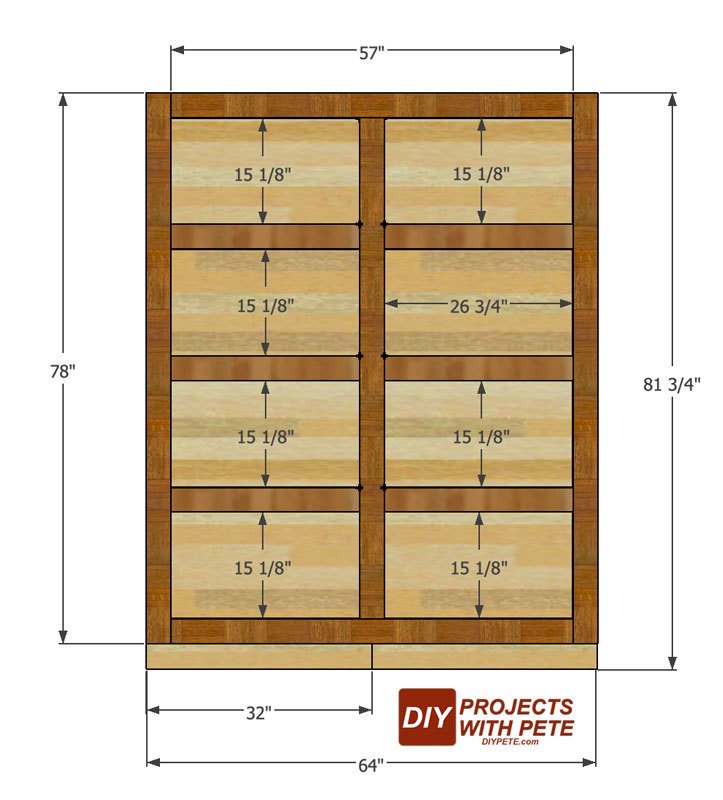
Add the center board and then horizontal ones. I used 3 horizontal boards on each side, but feel free to modify or do the trim however you'd like!

Add handles
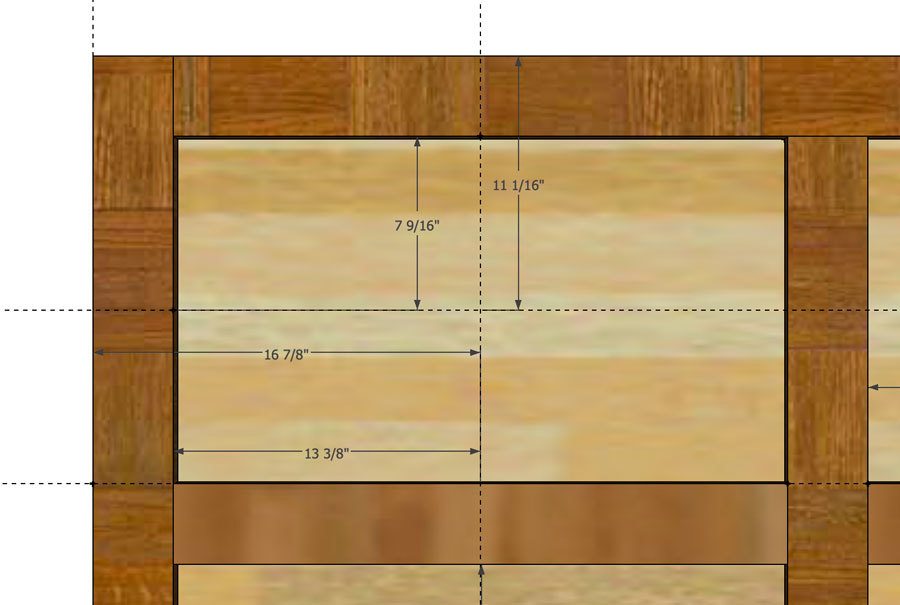
The handles should be around 5 to 6 feet or so off the ground for optimal leverage. Most folks put the handles and face trim on earlier, but I wasn't exactly sure how I wanted the trim to look, so I added it all once in the bedroom. I wanted to center the handles in the two top panels.
The 10 inch bar pulls are pretty cheap on Amazon. Make sure the handles are added before the 1/4 inch backing is attached.
The diagram below shows the center of the panel where the cabinet handle is placed. Use these measurements to help with placement if needed.
Attach 1/4 inch plywood
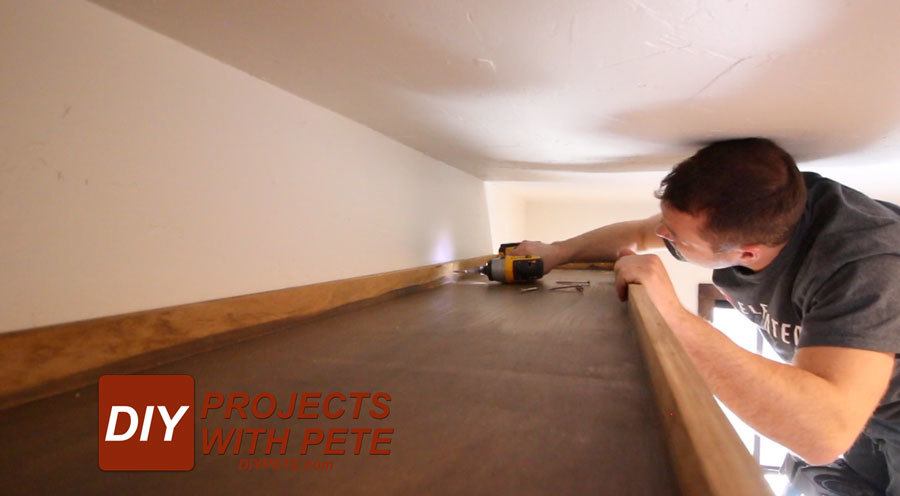
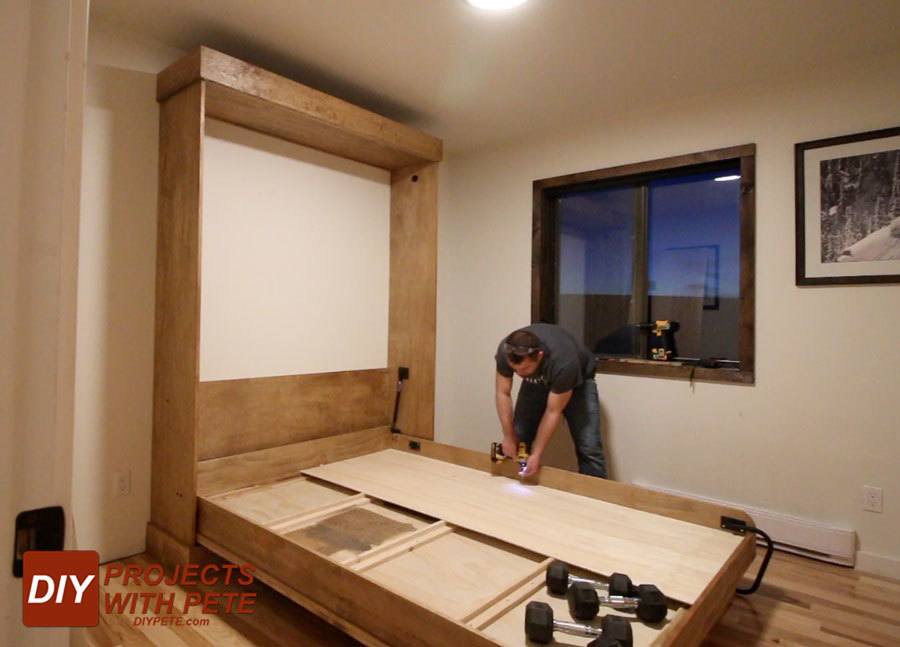
Use short screws ( 1 inch long or whatever you have that is convenient ) to attach the plywood to the struts and rails of the inner frame. As I mentioned, you could add the handles and plywood earlier if you have the trim layout figured out earlier, or if you go without trim. Use weights or something heavy to hold down the bed during this step.
Connect mattress straps
Measure about 16 inches in from each corner. Attach the elastic strap using short screws.
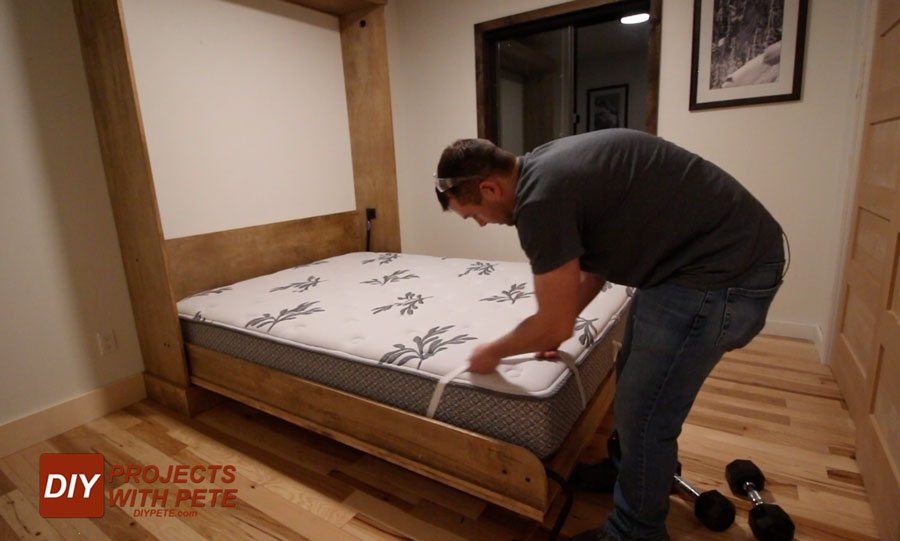
Install mattress
Slide the mattress into place and put the elastic straps over each corner. These will hold the mattress in place when it is lifted. You'll need to use a mattress that is 12 inches in thickness or less. I measured all the mattresses in my home and they were all between 10-12 inches in thickness.
Enjoy!
Put the bedding on and enjoy the new bed! People love seeing Murphy beds and it is fun to show visitors how it works. I added temporary night stands until I build some new and lower nightstands that match.
Please share your Murphy bed project in the comments and let me know if you have any questions!