
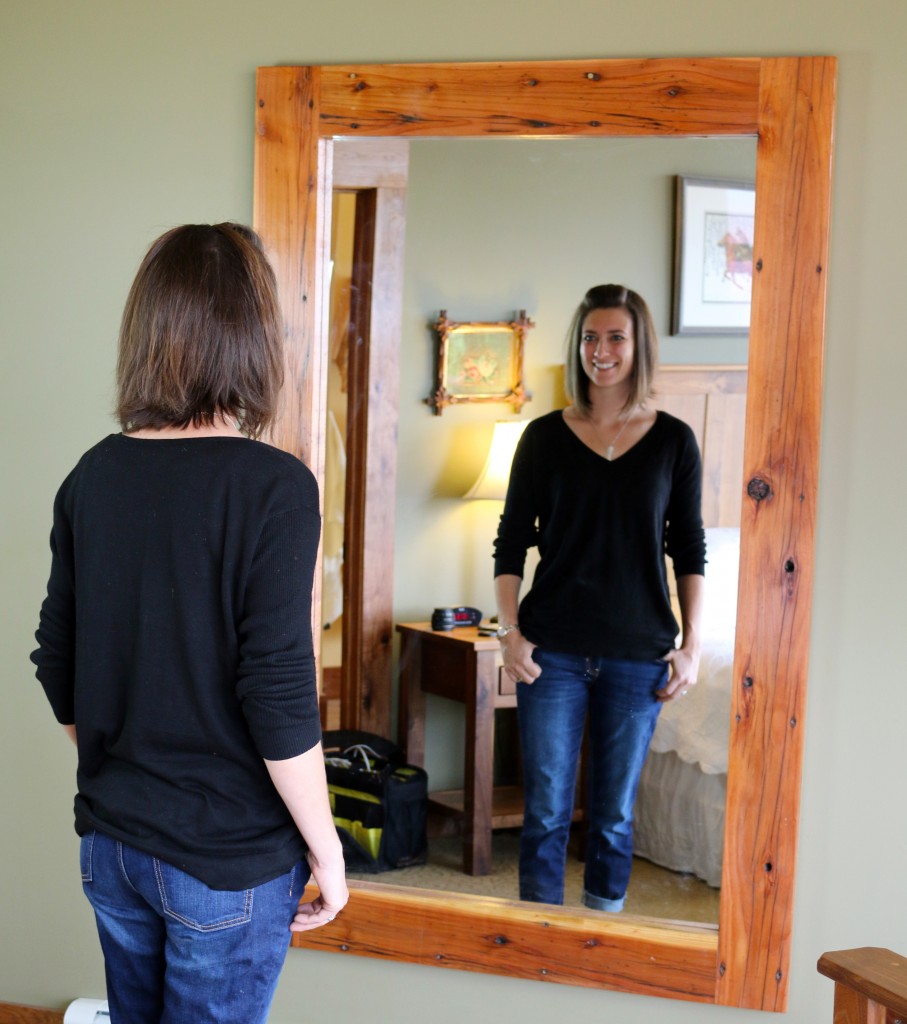
I decided to make a large reclaimed wood full length mirror and love how it turned out! This is a fun project to tackle, it doesn’t take long, and is affordable to make. These wood mirrors make a great addition to any space, and is sure to win you brownie points with the lady in your life. Best of luck with the project and be sure to download the detailed plans that include a complete cut list and blueprints here.
Tools Needed
Miter Saw– I’d recommend a 12 inch sliding, miter saw.
Drill– I use Ryobi drills.
Orbital Sander– Ryobi makes a nice one.
Staple Gun (you could use a handheld staple gun or hammer and nails as well)
Tape Measure, Ruler, Pencil
Eye and Ear protection
Optional:
Clamps– Clamps are helpful for any project. I love to use JackClamps
Speed Square
Supplies Needed
Reclaimed wood or any 2×6 boards
Mirror – I bought a 36”x60” at Home Depot for under $60
Wood Glue – I recommend Gorilla Glue
Sandpaper,
2 ½” Kreg Screws
¾” 18 gauge Staples
Clean the Wood
We'll start this project by making sure the reclaimed wood is completely free of any nails, screws, dirt, and debris. You can either use some sandpaper to clean it off, a hand-held brush, or scraper.
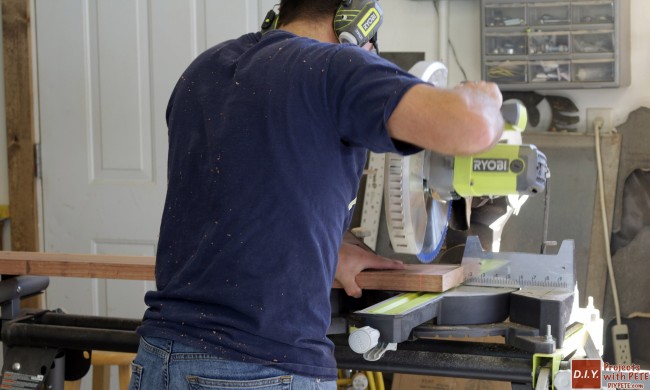
Cut the Lengths on the Miter Saw
Once your boards are cleaned up, we can head over to the miter saw to cut them to size. You can use a circular saw here if you do not own a miter saw. Cut the frame’s boards, referring to the cut list above. Then cut the back support frame’s pieces, referring to the cut list in the downloadable plans. That’s all the cuts we’ll need to make – you should have 8 pieces now cut to length!
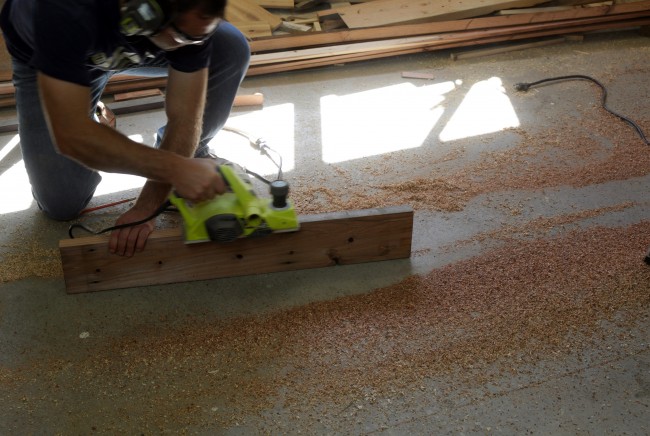
Plane it Down
If you’re using reclaimed wood that needs to be planed down, now is the time. I just barely took any thickness off of the boards, just wanted to clean the boards up. I also hand planed the sides of the boards.

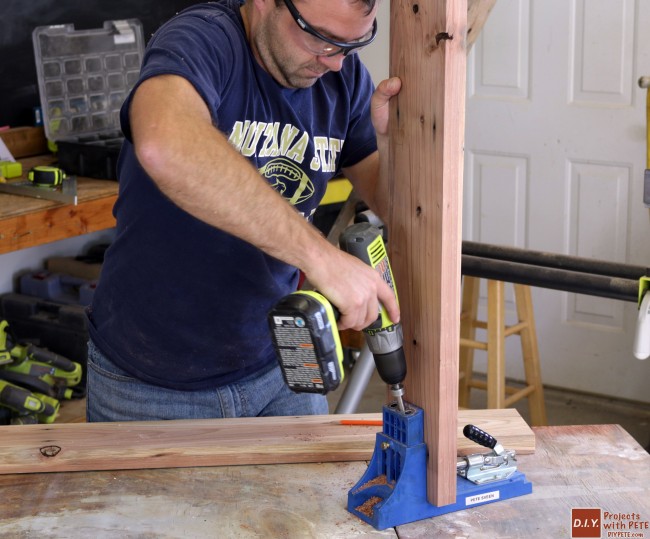
Kreg Jig Pocket Holes and Assemble the Frame
Grab your Kreg Jig and make pocket holes in the top and bottom boards. I did three pocket holes on each end. Start with one corner, true it up, glue it up, and Kreg screw it together. Read more in the downloadable plans here.
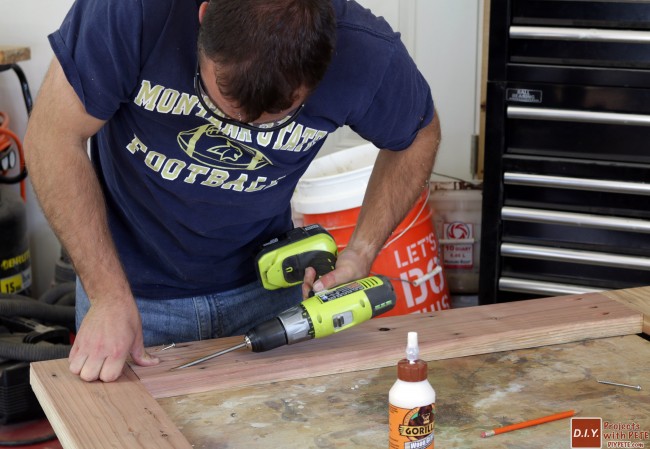
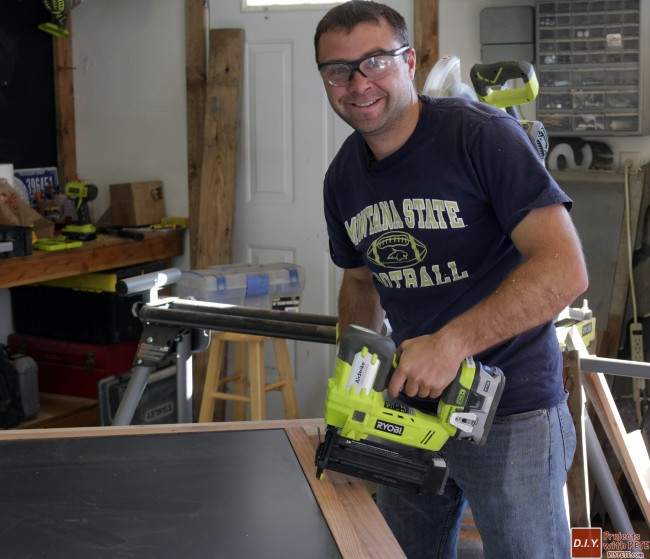
Attach the Mirror Back Support Frame
Next, we’ll add the back support frame that the mirror sits in. Measure and mark the spot for this frame or if it's easier, place the mirror into place. Glue and staple/nail the back support frame into place. Since the boards are a thin ¼”, I wouldn’t recommend screwing this into place, as there is a high chance of cracking.
Sand and Finish The Frame
Before the mirror goes in, it's a good time to sand the frame down and add your finish of choice. Sand the whole frame down to 220 grit or so to prep for finishing. Since I loved the look of these redwood boards, I simply added a clear coat finish to make the colors pop and to seal the boards. I let the first coat cure, then added a second coat for extra protection, coverage, and gloss.

Install The Mirror
Almost done, we just need to install the mirror and backing! Add 100% silicone along the back of the frame where the mirror will fit. Be sure to keep the silicone bead clean so it won’t bleed out onto the mirror. Refer to the downloadable plans for more info here. Let the silicone cure for the manufacturers recommended time and then you’re mirror is done! The mirror can lean against a wall, or you can easily hang it by finding the studs in the wall and attaching it with long screws.

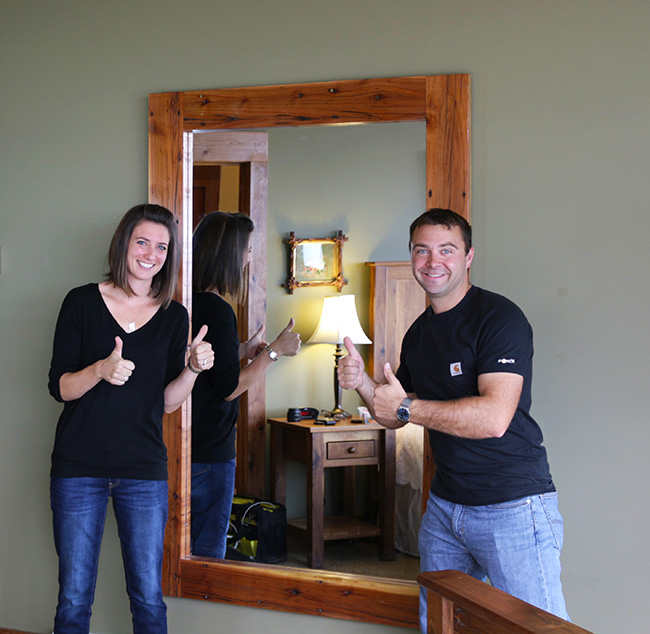
Cheers and good luck with the project!