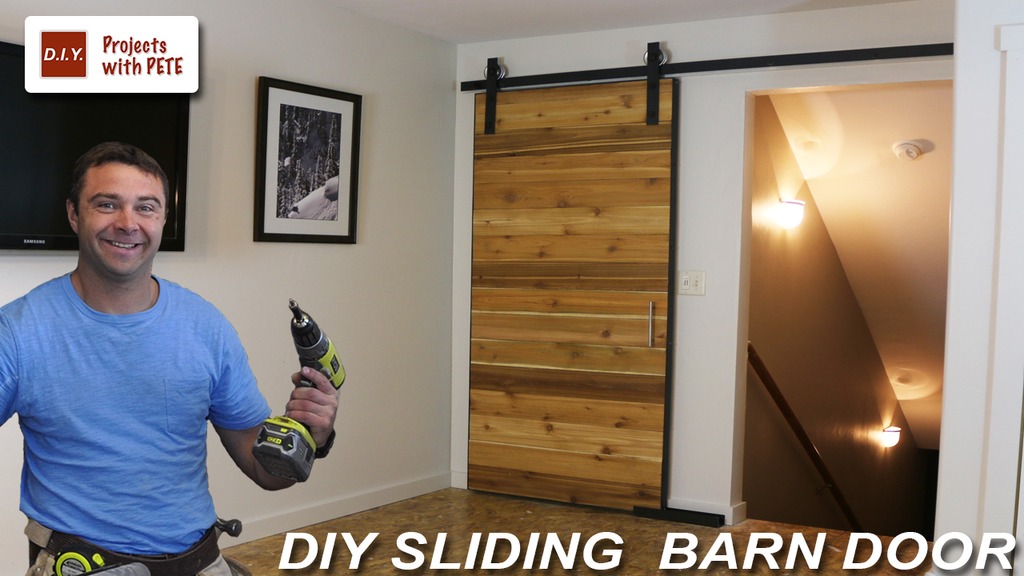
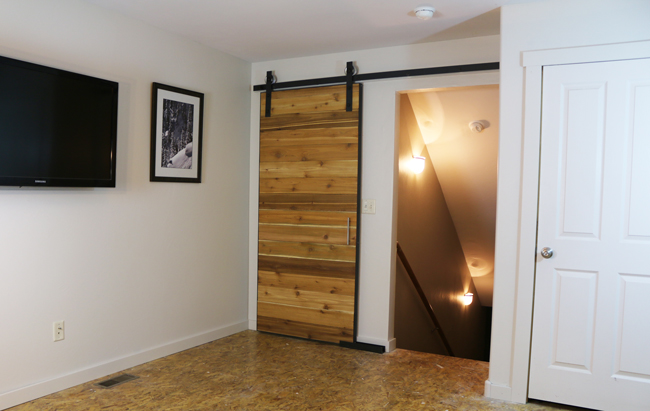
In this tutorial I will show you how to make a sliding barn door out of wood and steel. I'm currently in the process of remodeling my office and thought a barn door would really class up the room. I've made a number of barn doors in the past and wanted to document the process to share with you. This barn door is made from scratch. Costs are kept down by using cedar fence pickets and making the majority of the hardware out of steel.
DOWNLOAD the FREE Guide/ Sliding Barn Door PLANS HERE ( Diagrams, shopping list, tools, etc )
Tools Needed to make this Sliding Barn Door
- Miter Saw– I’d recommend a 12 inch miter saw
- Table Saw OR Circular Saw
- Drill
- Brad Nailer
- Angle Grinder with Flap Disc
- Drill Press – Highly recommended and it will make the project 10 times easier
- Reciprocating Saw – with metal blade
- Metal Cut off Saw – optional
- Impact Driver (Optional)
- Orbital Sander– Ryobi makes a nice one.
- Wood Chisel
- Socket Wrench Set
- Drill bit set with various sizes
- Stud Finder
- 5/8 inch drill bit
- Carpenters Square
- Clamps
- Tape measure, straight edge, pencil, Level
- Oil Rubbed or Dark Metallic Spray Paint
- Matte spray sealer for metal
- Wall paint for spacer board/spacers
- Respirator mask
- Dust Mask
- Respirator/dust mask, eye, ear, and hand protection
*Please note some of the links in this tutorial are affiliate links. By using the links to purchase products, you’ll help support more projects on DIYPETE.com. Thank you ????
Sliding Barn Door Supplies:
Project grand total: $268.07
*You'll want to go to a local steel supplier in your area for the metal. Home Depot and Lowe's doesn't carry anything much longer then 6 foot pieces and they are also more expensive.
* Cost does not include tools, bits, or blades
Total Cost Hardware/Steel: $130.96
- Steel for Door Wrap – Qty 3: 3/16″ x 2 inch x 10 feet long steel flat bar – $9.39/piece $28.17
- Steel for Rail and Door Mounts – Qty 1: 1/4″ x 2 inch x 10 feet long steel flat bar: $11.02
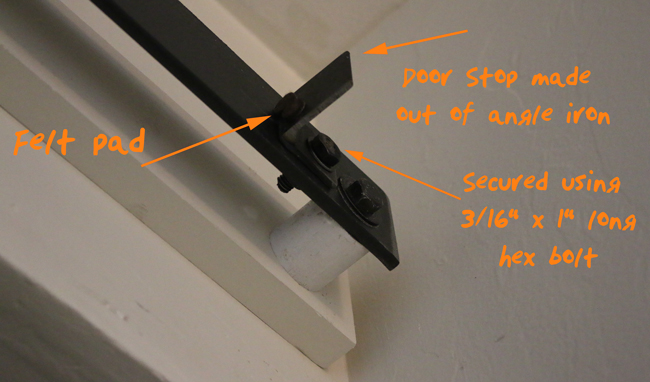
- 1 1/2 inch Angle iron for door stops and bottom track: $9.18
- Flush Cabinet Pull: $1.41
- Pipe Cabinet Pull Handle: $9.98
- 2 1/2 inch screws for Handle: $1.18
- QTY 2: 3 3/4 inch Diameter 5/8″ bore V idler pulley wheels $18/ wheel + $7 Shipping – $43.00
- Hardware Bolts, Nuts, Lag bolts, and Washers for Hardware: $27.02
For the hardware you'll need:
Mount Door Hardware
Qty:4 – 1/2 inch x 3 inch long hex bolts
Qty:4 – 1/2 inch washers
Qty:4 – 1/2 inch nuts
Hardware to Attach Wheels
Qty:2 – 5/8 inch x 1 1/2 inch long hex bolts
Qty:2 – 5/8 inch washers
Qty:8 – 16 mm washers
Qty:2 – 5/8 inch nuts
Qty: 6 – 3/8 inch leg bolts ( 5 inches long )
Qty: 18 – 1 1/2″ long screws to attach flat bar to wood door
Qty: 4 – 1 1/2″ long screws to attach angle iron channel/track to floor
Qty: 2 – 5/16″ by 1 inch long hex bolt for angle iron stopper
Qty: 2 – 5/16″ washers
Qty: 2 – 5/16″ nuts
Qty: 2 – 2 1/2″ long #8 bolts to attach pipe handle (optional)
Total Cost Wood: $103.66
- QTY 32: 1x6x5 long Fence Pickets – $2.15/board – $68.80
- QTY 1: 22/32 sheet Plywood or OSB: $22.00
- QTY 1: 1 1/4 inch Dowel for Spacers: $4.52
- QTY 1: 1x4x8 Spacer Board: $8.34
Additional Supplies: $33.45
- Minwax Waterbased brush on sealer (satin) – $9.98
- Matte Spray Sealer for Metal: $3.54
- Construction Adhesive QTY: 3 @$1.77/can $5.31
- Dark Metallic Colored Spray Paint: $4.35
- Paint Brush: $2.25
- 1 1/4″ 18 gauge brad nails: $8.02
- 2 Felt pads for stoppers $2.10
For those interested in buying the hardware you'll be able to find all kinds of options on Amazon.com and other sites. Please do your research to decide what hardware will fit your exact door. Here is an example of a heavy duty sliding barn door hardware kit and rail.
Measure for the Sliding Barn Door and Download Free Guide

Start by measuring the opening that will be covered with your new barn door. Use a tape measure for this process and write down the width and height. If there is trim around the sides of the door you will most likely want to extend the width of the door to cover it. I do not have trim around this door. I decided to make the door overlap each side by 2 inches. Since the opening is 34″ wide I made the door 38″ wide. The door opening is 82 1/2 inches high and I made the actual door 84 1/2 inches.

Cut the plywood down to size. The steel will add 3/16 of an inch (which is close to 1/4 inch to make it easy math) of width around the entire perimeter of the door. Since I wanted the total width to be 38 inches by 82 1/2 inches tall I cut the plywood to 37 1/2 inches by 82 inches. You can use a straight edge if you'd like, or simply follow the line as close as possible. Give the edges a quick sanding with 120 grit sandpaper after the cut is made. I used OSB board to cut down on cost.

Now it is time to cut the cedar fence pickets. I used a total of 32 five foot fence pickets for the project. Make sure to let them dry out a few weeks prior to using them. They typically have a lot of moisture in them and so letting them dry out before making the door will minimize gaps due to shrinking. Cut the boards to the width of the plywood. In my case, they were 37 1/2 inches.

Here is a look at the boards all cut to length.

Lay out the cedar boards on the plywood to determine placement prior to attaching them. Once you like the looks of each board, stack them back up and get ready to start gluing.

Attach Cedar Pickets to Barn Door
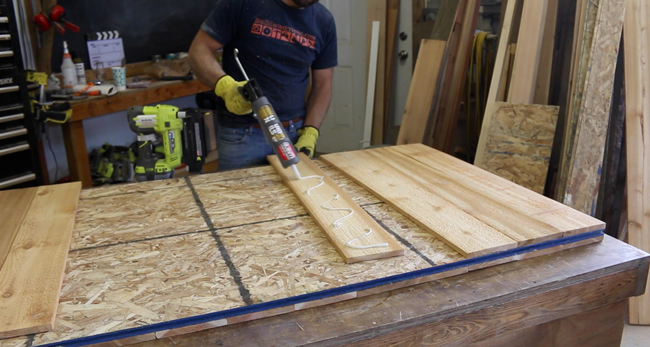
Apply construction adhesive to the back side of each board, one at a time.

Use 1 1/4 inch brad nails to help secure the boards in addition to the construction adhesive. Push each board together tightly to minimize gaps.
Continue adding each board.
Double check that each board is flush with the edges of the plywood.
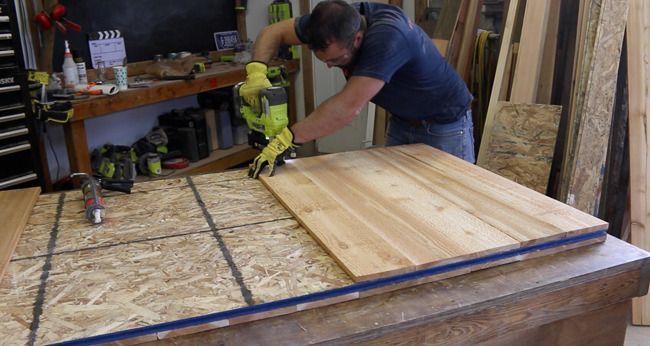
You may need to rip a board down in width for the top board. Use a table saw for this process.

Once all boards are attached, look over the door and determine if any boards need more nails to hold them in place. Add nails if needed. I used a couple nails on each end of each board for the most part.

Sand the Barn Door
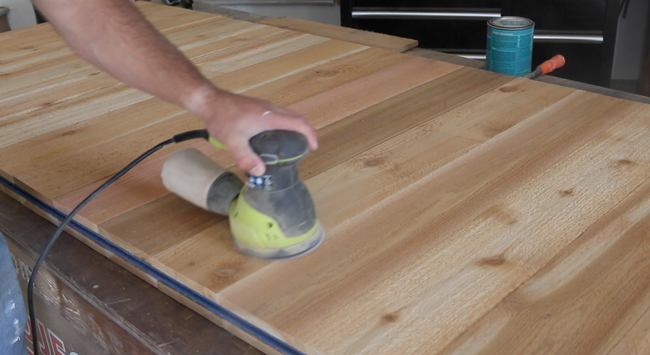
Cedar pickets are generally pretty rough. Smooth them out using an orbital sander. You can start with 80 grit to remove material quickly and then move up to 120 grit to make it smooth to the touch. I left some texture on the wood because I like the look and feel of it.
I went back and forth on options to finish the wood. I experimented with my steel wool and vinegar solution. I also tried whitewashing a few boards.

Seal or Finish the Barn Door
I ended up deciding to try and keep the cedar looking as raw and natural as possible. Instead of using an oil based sealer I did 1 thin coat of water based sealer. It darkened it up initially and then lighted up close to the original color of the wood. Seal the first side, let it dry, and then flip the door and seal the other side. Allow the sealer plenty of time to dry.

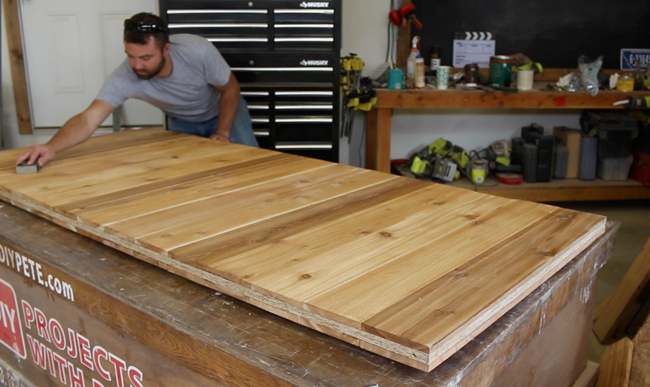
Lightly sand each side with 400 or higher sandpaper to knock down any rough spots. This will make the door feel smooth.
Add Metal
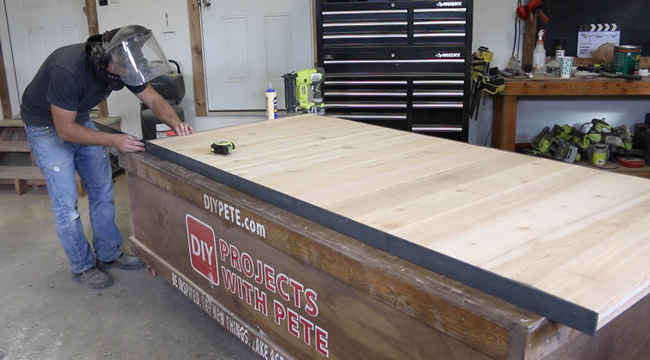
Grab the steel flat bar and cut it down to size. Cut the top and bottom piece to the exact width of the plywood and cedar boards. Cut the two longer vertical pieces so they overlap the ends of the top and bottom pieces. They will need to be the length of the door plus the thickness of the 3/16 inch metal on both top and bottom.
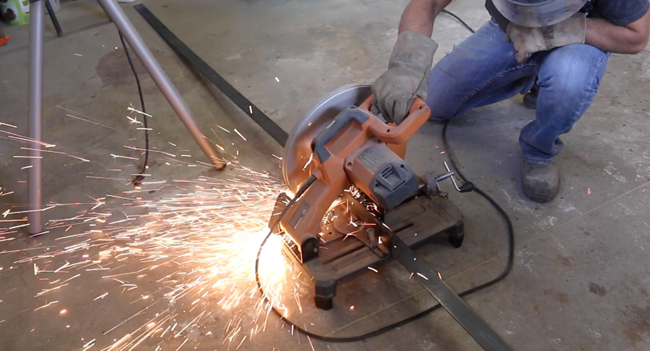
Use a metal cut off saw, reciprocating saw, or angle grinder with a metal cutoff wheel to make the cuts. Always wear the necessary safety equipment when working with power tools.
A reciprocating saw with a metal blade does a good job cutting metal.

Measure each flat bar to determine hole and screw placement. The flat bar will be attached to the wood using a combination of construction adhesive and screws. Space holes out evenly making sure to have a screw fairly close to each end. I used 18 total screws. (3 in both top/bottom and 6 on each vertical side)

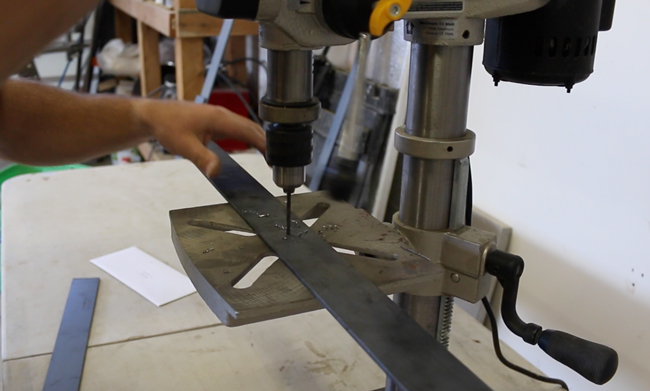
Drill a hole at each mark using a 3/16″ or similar sized bit. Holes on the sides are spaced roughly 10 inches or so apart. Spray WD-40 on the bit occasionally to help keep it cool.
Seal each piece of flat metal with a matte spray sealer. Two thin coats will work perfect.
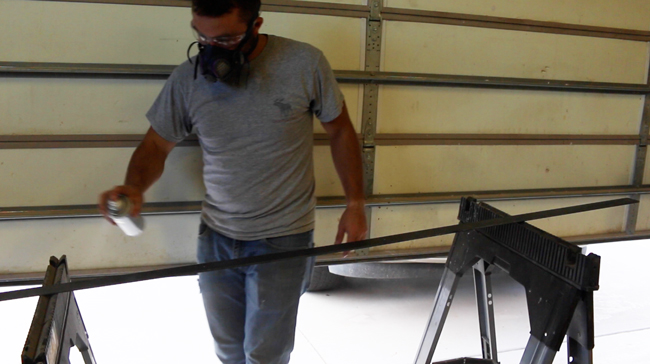
Spray paint the hardware to help it match the steel. I used an an old oil rubbed bronze spray paint that was sitting on the shelf. It matched alright, but if you need a perfect match you might look for a charcoal or dark grey metallic paint.

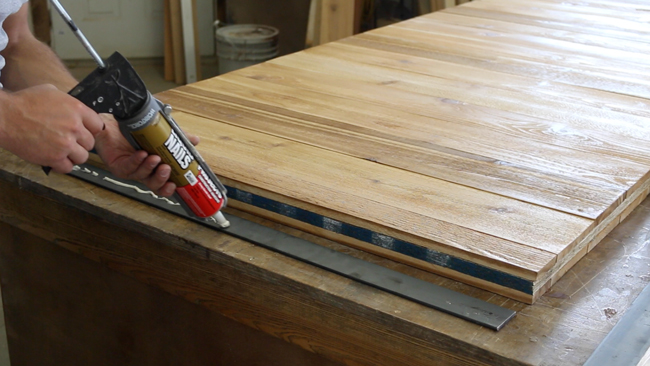
Apply construction adhesive to the metal prior to attaching it to the wood door.
Use 1 1/2 inch screws with a flat underside to connect the metal to the wood.
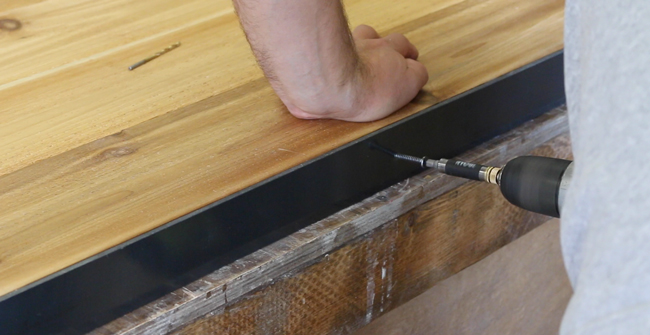
Move your way around the door until it is completely wrapped in metal. The vertical sides should overlap the ends of the top and bottom metal.

Make DIY Barn Door Hardware
Cut the hanger hardware to size. The sliding barn door hardware and rail are made of 1/4 inch thick 2 inch wide flat bar, cold rolled steel. The exact measurements and detailed diagrams can be downloaded in my free sliding barn door plans.

Drill holes for the hardware. Drill two 1/2 inch holes toward the bottom and one 5/8 inch hole toward the top for the wheel. I'm using a scrap piece of steel under the wheel to test the clearance between the door and the rail. It will be about an inch which is perfect.
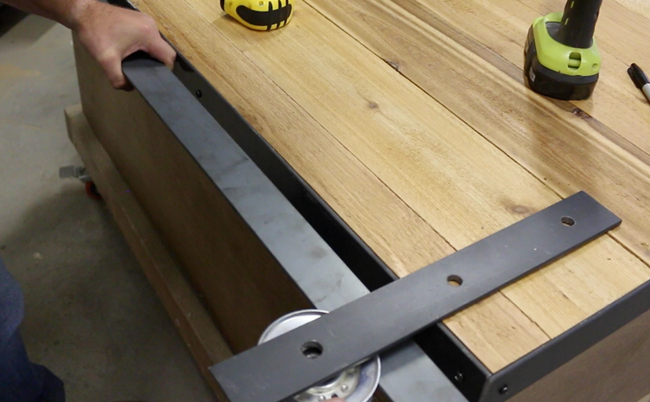
Connect the hardware to the door using the bolts, washers, and nuts listed in the plans. I was searching all over for a good set of wheels to use for the project and came across April Wilkerson's sliding barn door project. She did a great job with her barn door hardware and I modeled mine similar to hers. If you haven't checked out April Wilkerson's sliding barn door build I would highly recommend doing so. Her project looks great!
Snug up the bolts and nuts using wrenches or a socket.

Prepare to Hang Sliding Barn Door
Get some help to carry the door into your home. Next, place a 1/2 inch or 3/4 inch board underneath the door to prop it off the ground. This will simulate it's height once the door is hung.

Use a stud finder and determine where each stud is. Typically there will be a stud every 16 inches on center. A stud is a vertical board in the wall behind the drywall. While the door is still sitting on the board below you can figure out the height the rail will need to be at. I put a mark on the wall there the V of the pulley goes up from the underside of the wheel. This is where the wheel will ultimately sit on the wheel.

Make the Barn Door Rail and Spacers
Once the studs are marked double check to make sure they are 16 inches on center. Then transfer the markings to your spacer board. Both the spacer board and rail should be a little more than twice the width of the door. I cut mine to 87 1/2 inches long. I ripped the spacer board down to 3 inches in width instead of the typical 3 1/2 inch. This is a bit longer then usual because I needed the door to slide farther in order to be able to turn on and off the lights when the door is open. Take a look at the final photos to get a better idea of what I'm talking about.

Transfer the markings onto the steel at 16 inches on center. Then measure 1 1/4 inches down from the top of the 2 inch flat bar and place a mark. This is where we'll drill through the steel. The holes need to down this far so the rollers don't get hung up on the wooden spacers.
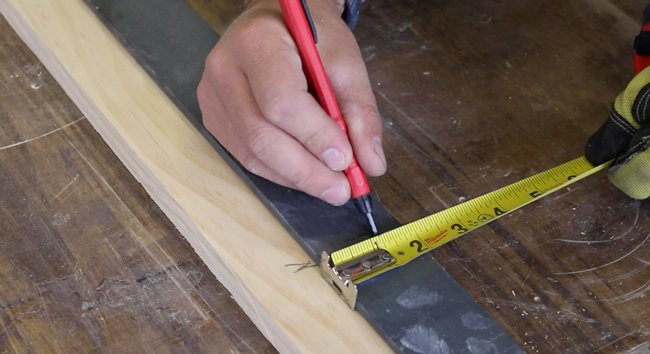
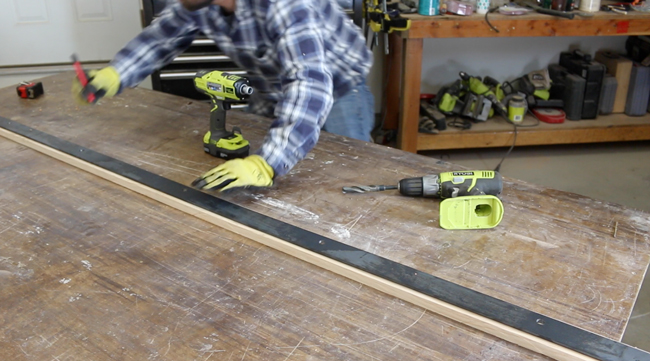
Use a drill press to drill holes for the 3/8 inch by 5 inch long leg bolts. I used a 1/2 inch drill bit which is a little bigger then necessary. This gave me a little extra wiggle room in case something didn't match up perfectly. Center the flat bar on the wood spacer and then drill holes through the wood as well.
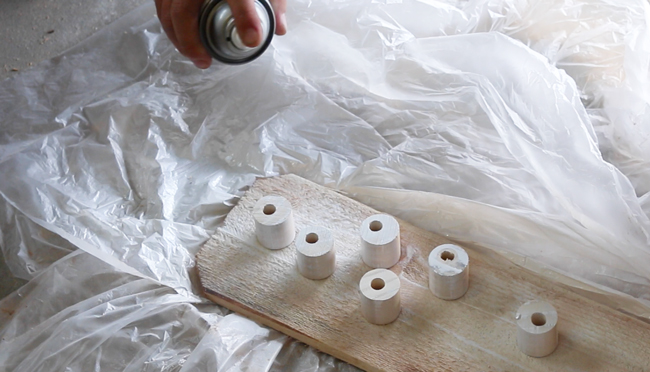
In addition to the spacer board you'll need to make some wooden dowel spacers. This way the 2 inch door will hang far enough away from the wall and baseboard trim. You can adjust the spacers as necessary. Mine worked perfect for the 2 inch door and my 3/4 inch thick baseboard trim. Cut a piece of 1 1/4 inch diameter down to 1 1/2 inches in length for each lag bolt you will use to anchor the rail to the wall.

Paint the spacers to match the wall. Spray paint makes the job go super quick. The dowels don't have to match perfect with the wall since they are hidden behind the rail.
Paint the spacer board to match the wall. Stain if you prefer the wood look.

Attach the spacer board to the wall making sure the holes line up with the studs. Use some 3 inch wood screws to attach the board to the wall. You can putty and paint over the screw holes if they bother you. Then drill a pilot hole through each hole in the spacer board into the stud in the wall. This will make it easier to put the lag bolts in.

Now it is time to attach the rail. Thread a 3/8 inch lag bolt through a washer, rail, wooden dowel spacer, board spacer and then into the pilot hole in the wall. Use a socket wrench or drill with a socket attachment to install each lag bolt. Make sure they go into each stud so your rail will be solid.


Once in place your rail will be super solid and made to hold the door without a problem.

Hang the Sliding Barn Door
Lift the door and set it on the rail for the first time. Check to make sure everything is level and adjust if needed. The door should roll smoothly from left to right. It it catches on a spacer you made need to loosen a lag bolt and twist the spacer so it is not as close to the top. (I didn't drill all my spacers perfectly in the center so I had to do this)

Add DIY Barn Door Handles
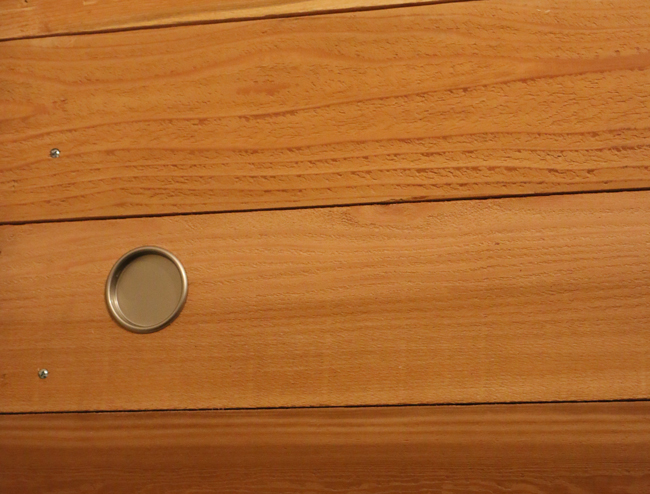
Add a handle to the front. This is a bar style handle with a stainless steel finish. I picked it up at the Home Depot. You'll need to pick up some 2 1/2 inch screws to attach the handle through the 2 inch thick door. I used #8 machine screws.

Make Barn Door Stops and Track / Channel



Other options for sliding barn door tracks:
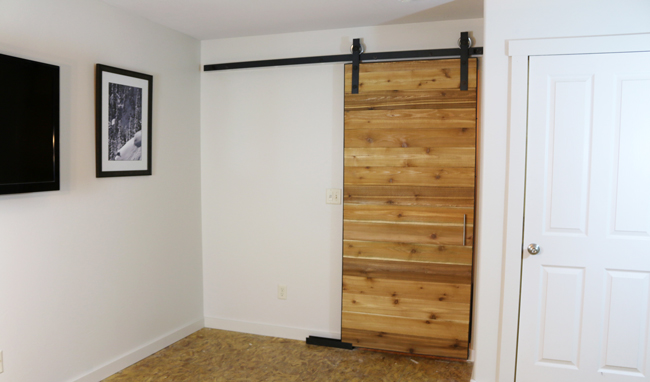
Enjoy Your New Sliding Barn Door!
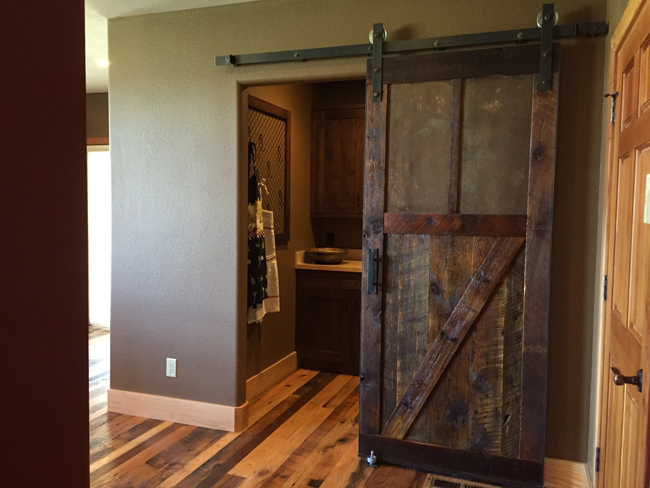
 rHere is another sliding barn door I built for some friends. This has a rustic touch to it and is made out of solid 2 inch thick reclaimed fir. I made all the hardware including the handle from scratch. The metal was patina'd to match the cabinets. (Courtesy of Scott Mcphie from McPhie Cabinetry in Bozeman, Montana.
Please share and “Like” this project if you found it helpful! If you decide to purchase any of the supplies or materials on Amazon and would like to help support more free project tutorials and videos simply click on the link www.diypete.com/amazon prior to purchasing anything on Amazon.com. This is called an affiliate link and I'll get a small commission that will support the website (all at no extra cost to you). THANK YOU FOR YOUR SUPPORT and have fun with your upcoming projects!

