
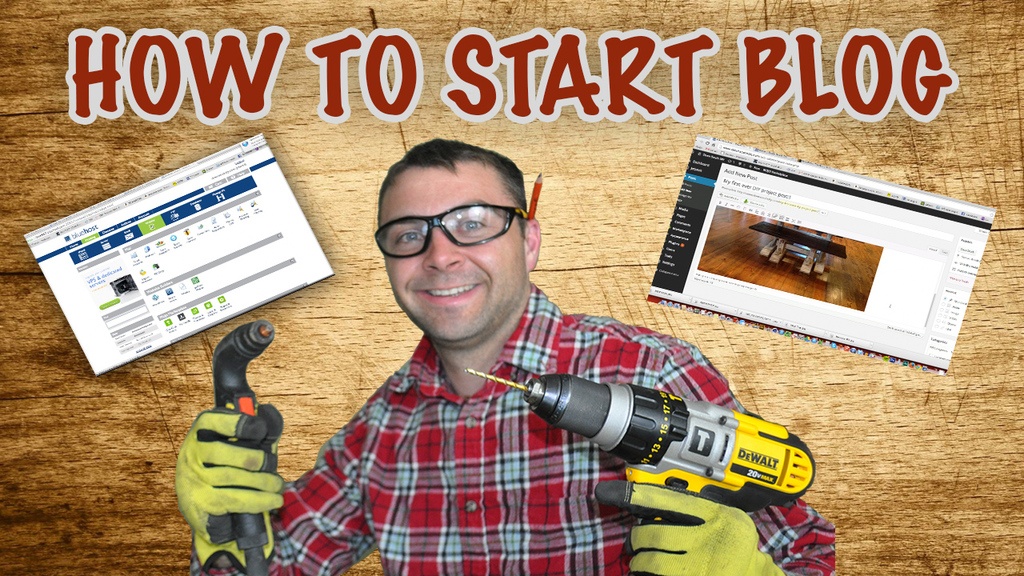
Hey fellow DIY'ers! Lately, I've been getting a number of emails from readers asking me how I created the blog to share my projects with the world. So, I am going to share with you what I did and would recommend if you want to get started and DO IT YOURSELF! Just so you know, using one of the Bluehost links or banners prior to setting up your site will help support DIY Projects with Pete so I have the opportunity to continue spending more time creating free projects and videos to share with you! Having a blog as opened up so many opportunities and created a business I love to work on each day. I've been documenting some of the blogging journey in my 2014 year end review over at Think Entrepreneurship if you are interested in checking it out.
Why I started a blog
I decided to start my own blog in 2013 because I wanted to be able to share my passion for Do It Yourself projects with more people. My goal is to teach and inspire others to start new hobbies and to always learn and express creativity. The only place I had to share my projects up until the blog was to friends and on social media platforms. Having a blog already allows me to reach over 100,000 people each month on the website and the feedback from fans has been amazing.
If you are interested in learning more about why I decided to start a blog and the benefits you will see, I'd recommend subscribing and listening to podcast episode 6 about “How to Start a Blog” and the advantages of starting your own blog.
The basics:
- Time: The initial setup will take about a half hour.
- Cost: It will cost $6.95 / month to have a blog. That includes your domain name.
- Difficulty: The video above shows how easy it is to get started. There is definitely a learning curve to master how to blog, but something any Do It Yourselfer will be able to accomplish!
Benefits of having a blog
- A blog will give you the ability to share your projects or business with people all over the world.
- Build credibility and show your expertise to anyone with internet access
- Create a following and build an online presence
- Monetize your website (Here are 7 ways to Monetize a site)
Step 1
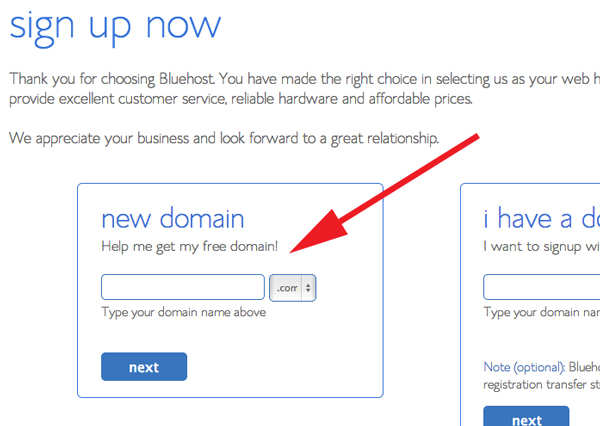
The first step in starting a blog is to come up with a name for it. My blog's domain or URL is www.DIYPETE.com. You'll want to do some brainstorming to come up with a catchy site name. Then go to the Bluehost site (affiliate link) to see if the domain is available. You will enter the url you want to use in the “new domain box” on their website.
Step 2
Register your domain and setup hosting. Simply watch the video above to see the entire process which can be done in about 12 minutes.
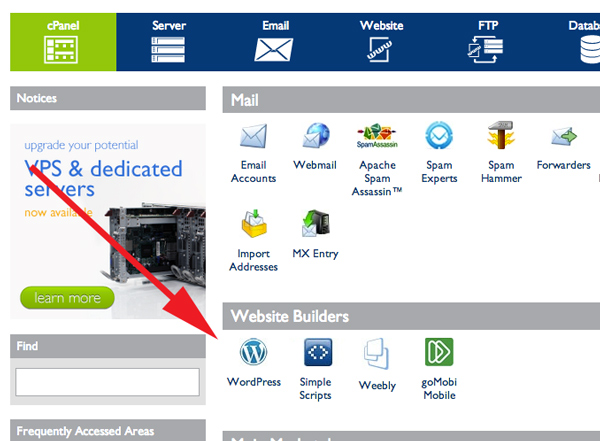
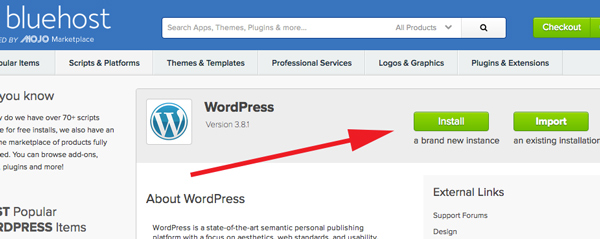
Step 3
Install Wordpress. Wordpress is free and can be installed using just a couple clicks.
Step 4
Login to Wordpress, install a theme, and create your first post. I'd recommend finding a theme on the ThemeForest site. For about $50 you will have a professional theme that is going to look great and save you time. I got my theme from ThemeForest and it's made it easy to customize the site. It was too much of a headache trying to do without a professional theme for the site!
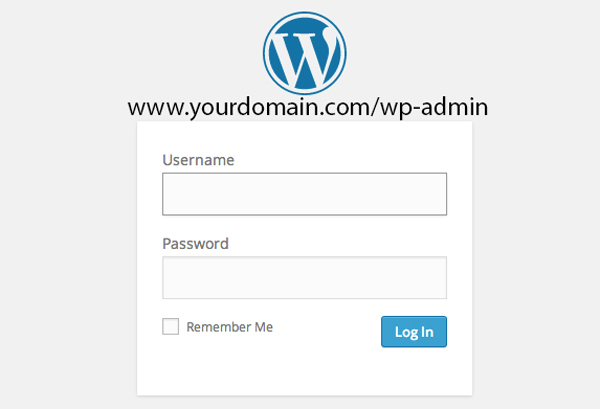
Logging in to Wordpress
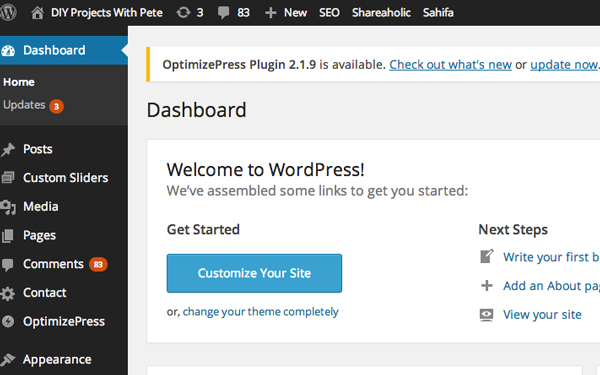
The Wordpress Dashboard or Backend
Navigating the Wordpress Menu
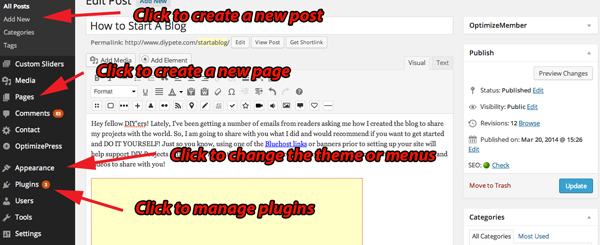
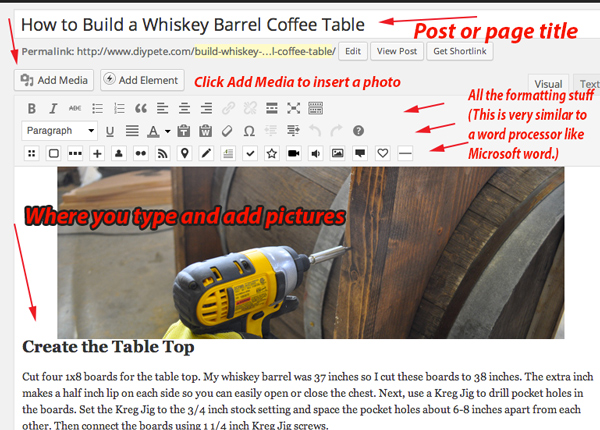
Creating a Post or Page
Wordpress Theme Recommendations
Purchasing a “premium or paid” theme will ultimately save you time, headaches, and money. I bought my theme from Themeforest for about $45 and it has been well worth it.
Advantages of a Paid Wordpress theme:
- Looks professional right out of the box
- Makes web design easy
- Make customizations, galleries, and customizations much easier
- Helps with Search Engine Optimization ( So people can find your website )
- Will make your site look good on Phones and Tablets too!
- Will Save you time and minimize headaches!
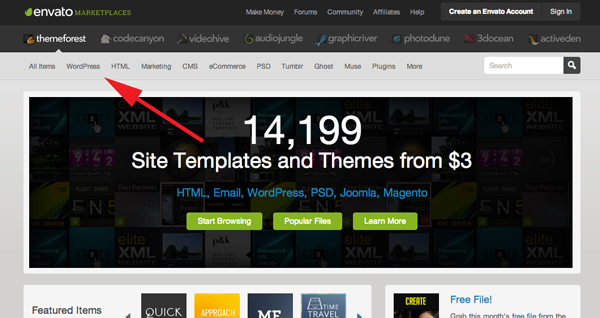
ThemeForest.com – Where to find thousands of themes
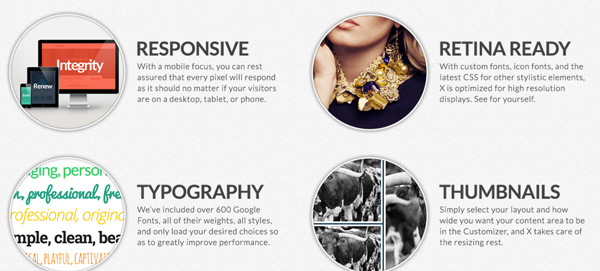
Responsive Wordpress Themes
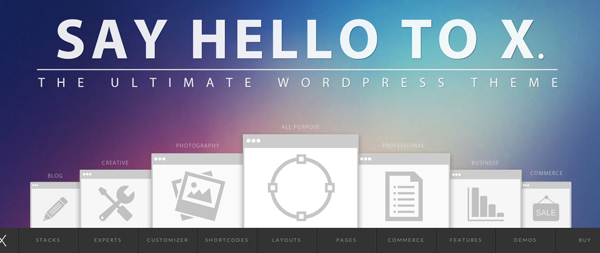
Wordpress X Theme
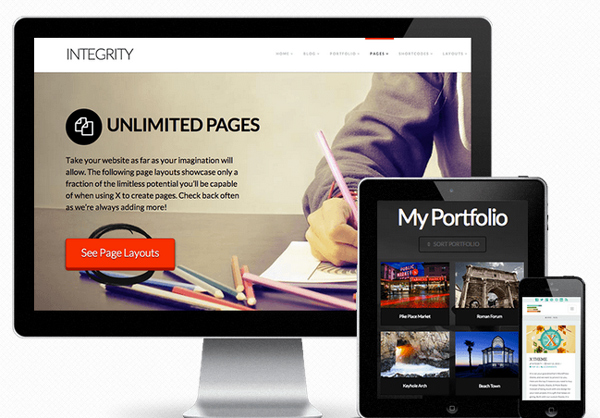
Great Layouts
Step 5
Build your site and practice to improve your skills in wordpress. If you have questions, search the internet and look for tutorials on Youtube. Good luck, have fun, and CHEERS from Bozeman, Montana!
Other Resources:
Starting an Ecommerce Store or a Podcast
- I'd recommend using Big Commerce or Shopify if you want to start an online retail store and build it yourself.
- Best Online Course for Starting a Podcast – Podcasters Paradise
- Other resources for starting a blogging business