
This week's project is one I'm very proud of and like no other I've ever created. A fellow podcaster and friend John Dumas owns a wildly successful company named EntrepreneuronFire.com which promotes entrepreneurship using a podcast. His podcast is getting over 500,000 downloads per month and is generating over 6 figures each month. Crazy huh??!! He's even started a podcasting community called Podcaster's Paradise to help others learn how to podcast and I'd highly recommend it.
*Disclosure: Please note that some of the links placed in this article are affiliate links. This means you'll be helping support more free DIY Projects and that my site will earn a commission if a sale takes place. Thanks for your support!
I had an idea for a project that I wanted to make and John's business was the perfect fit. I could incorporate multiple layers of metal, a city skyline silhouette, map, and fire!
In this tutorial I will show the basic steps I took to build this metal sign. It weighs 80 pounds and is nearly 6 feet wide by 2 feet tall.
 Here is a video tutorial that shows an overview of the build.
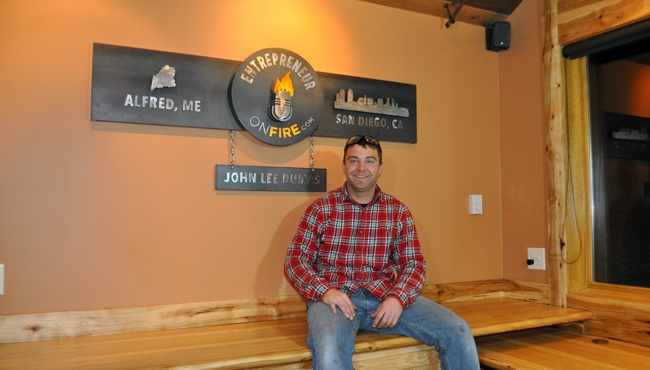
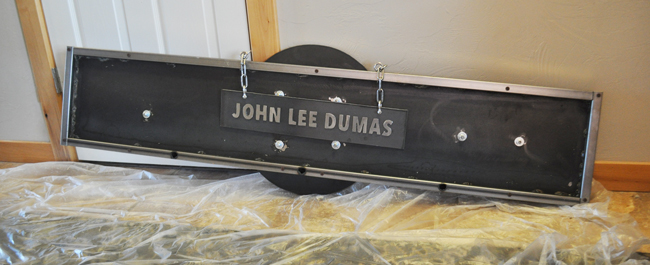
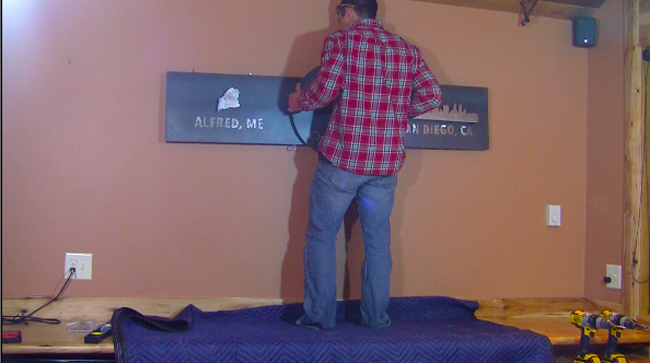
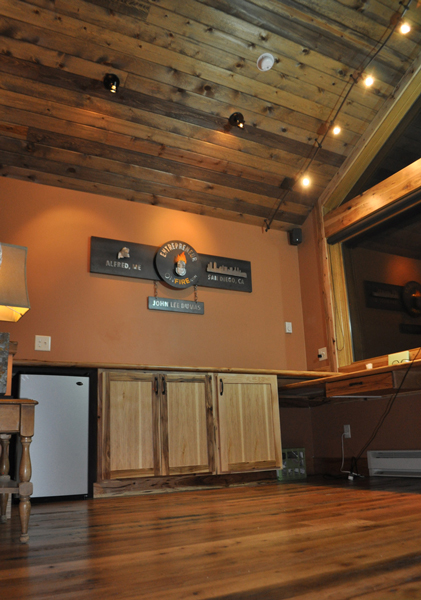
Here is a photo of the sign hung. I used a cleat system to hang the sign which made it super simple to get on the wall.
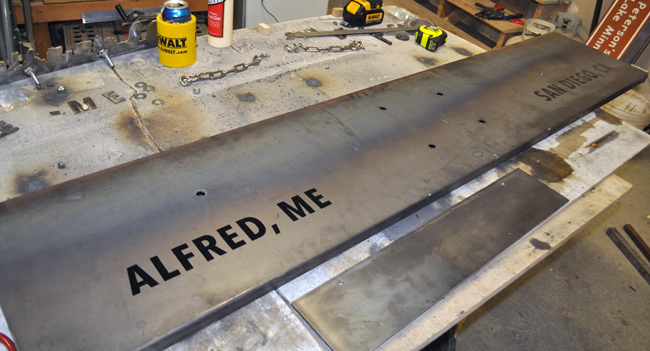
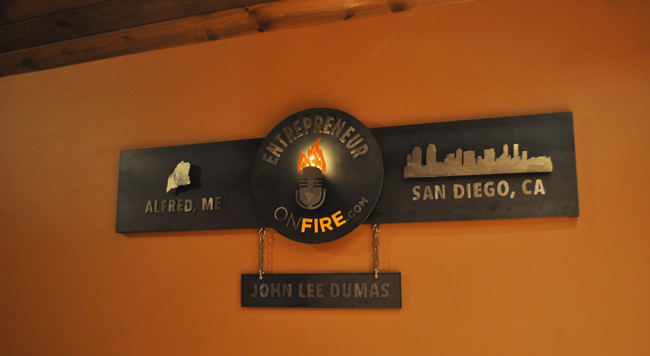
 John was born in Alfred, Maine. To personalize the sign I created a cutout of Maine on the left side. San Diego is where he lives now. The metal on the right is the San Diego skyline. I wanted to incorporate his name as well, which is why I added the chains and plaque.
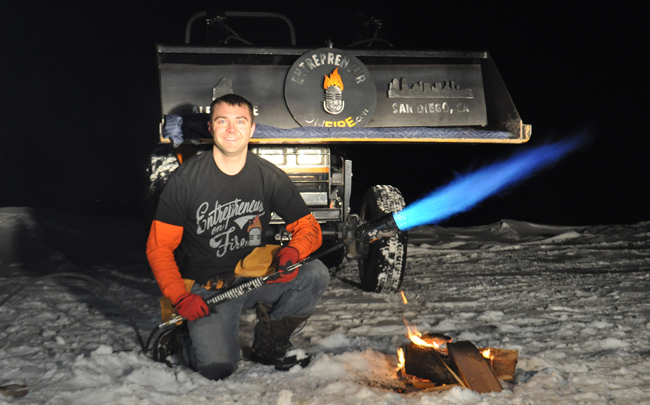
 I did a little photo shoot/video on top of a mountain and had some fun. Love this torch!
 Tools used:
 Tools used:
Hobart Flux Core 110 Volt Welder
Hobart 250CI 110 Volt Plasma Cutter
Dewalt Chopsaw
Dewalt Angle Grinder
20 Volt Dewalt Angle Grinder (the battery powered version) – Super awesome tool!
Supplies used
Metal – 10 gauge for panels — 12 to 14 gauge for letters
3/4 inch square tube for frame
3/8 inch threaded rod, nuts, and washers for layering metal
Spray paint
Metal Sealer – (Available at any hardware store)
Stencils for the design – I made mine using my Graphtec CE-6000 Vinyl Plotter
Two part epoxy
Chain, eyebolts, and metal clasps
Cleat to hang project
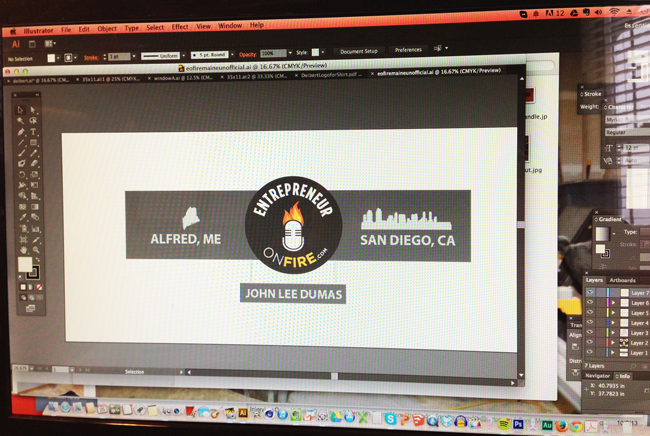
Step 1 – Design
I came up with an idea for the project and created it to scale in a program named Adobe Illustrator. The sign is 64 inches wide and the circle is 18 inches in diameter.
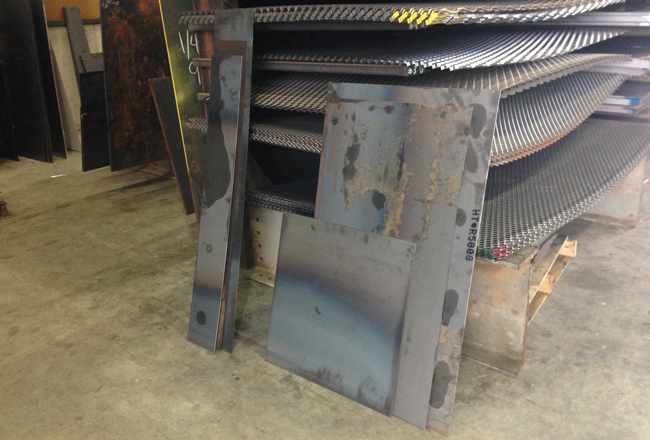
 Step 2 – Gather Supplies
 Step 2 – Gather Supplies
I picked up 10 gauge steel for the panels on this project and used 12-14 gauge for the letters. I also purchased 1 inch square tubing to frame out the piece. The total cost for steel was right around $95. Thanks Pacific Steel!
 Next, I created stencils using my vinyl plotter. This is seriously one of the handiest pieces of equipment and if you are into metal working you'll be able to create any stencil you'd ever need. I got my Graphtec 24″ vinyl plotter here.
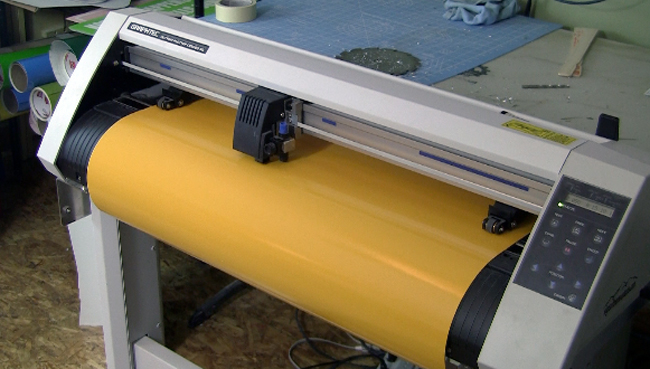 Vinyl stencil of the EntrepreneurOnFire logo.
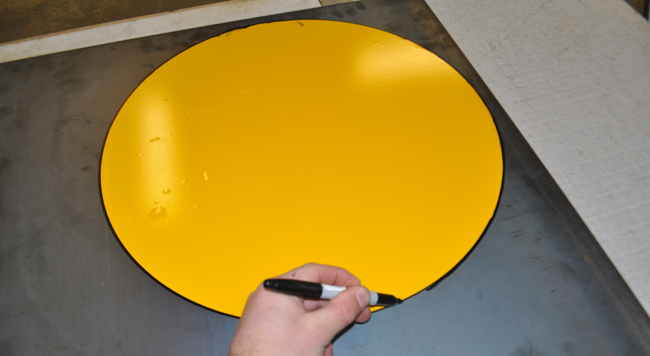
![]() I created a separate stencil to create a perfectly round metal circle.
I created a separate stencil to create a perfectly round metal circle.
 Step 3 – Start Cutting
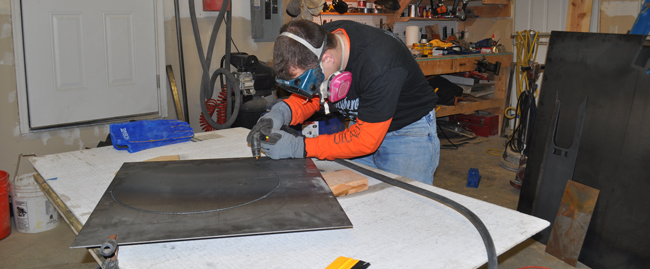
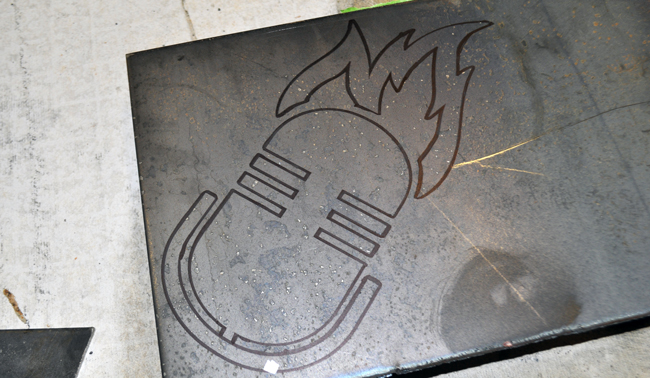
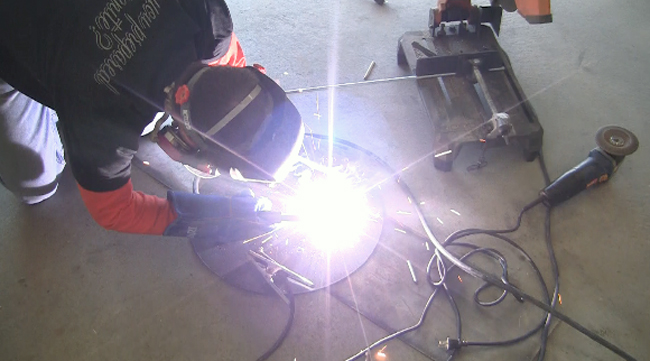
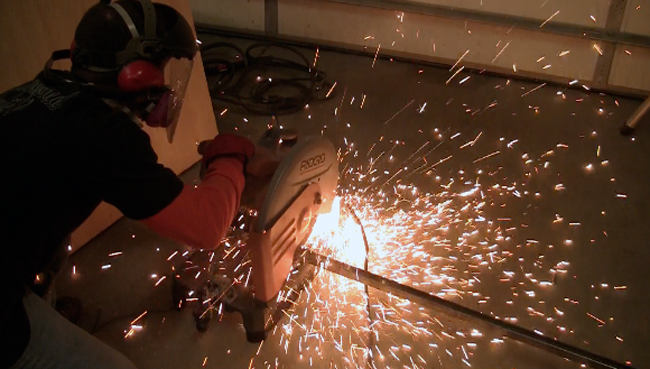
Time to get out the plasma cutter! This tool is a blast to use and is very easy to master. You just have to follow the lines you drew and make sure to hold the tool as steady as possible. I used the Hobart 250CI plasma cutter that simply plugs into a normal 110V wall plugin.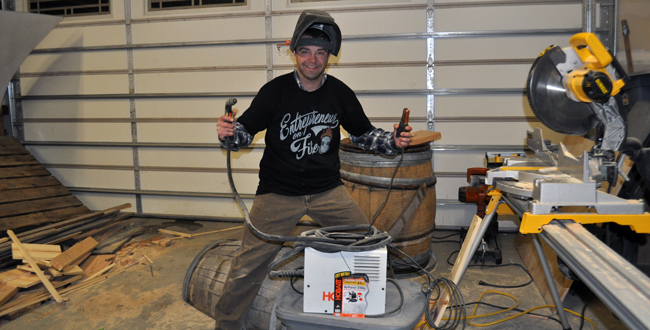 Here I am following the outline I drew of a circle. Wear plasma cutting eye goggles and a respirator.
 Here is the outline of the microphone in the Entrepreneur On Fire logo.
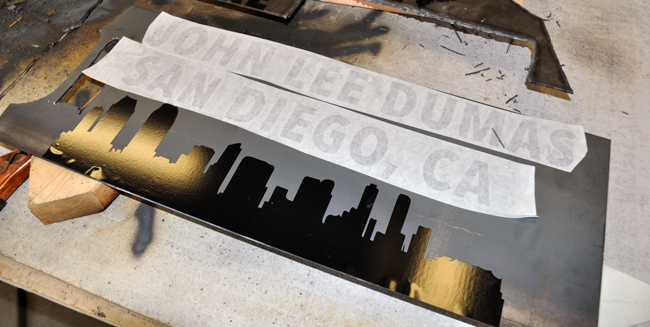
 Below are additional stencils for the San Diego silhouette and words. After applying the decal I traced around each letter and design using a sharpie marker. This gave me a good visual to follow with the plasma cutter. Make sure to remove the decal prior to cutting because it will burn up and stick to the metal.
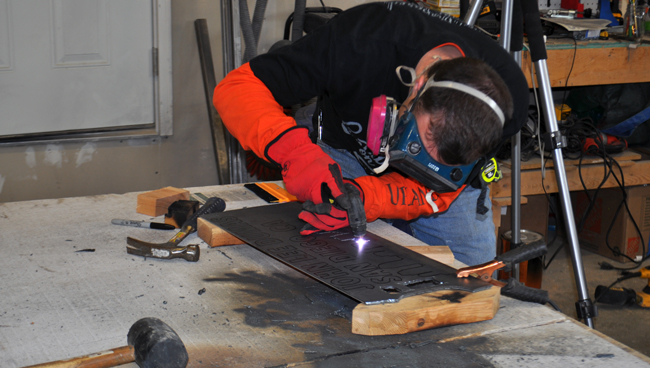
 Cutting letters by hand takes some time, so take a few breaks during the process and make sure you have good ventilation.
 After the designs and letters are cut you'll want to remove the slag. I typically use an angle grinder with a flap or grinding disk for this process. You can also chip away slag using a hammer and metal chisel.
 Here is a look at the back panel cut to size and the completed circle.
 I set all the designs on the metal to see how everything looked. So far so good!
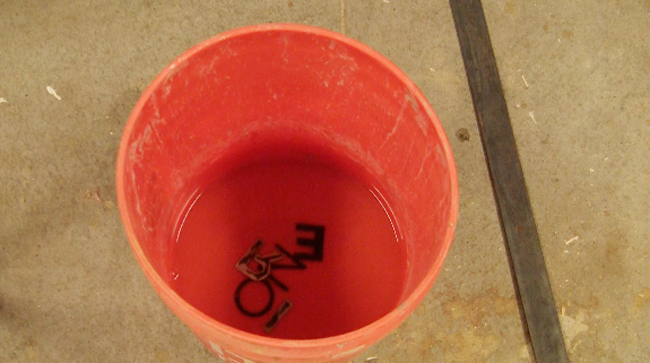
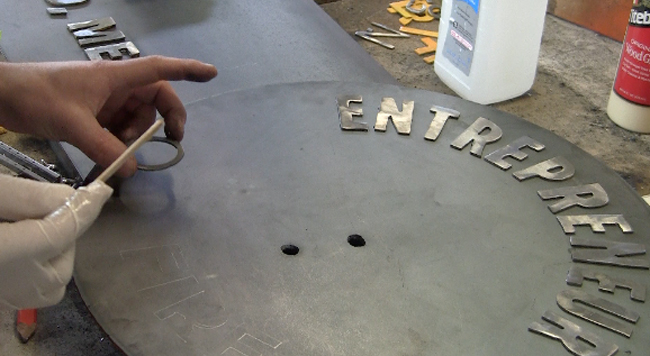
![]() I decided to give all the letters and designs a bright polished look. To remove the greasy film on the metal I soaked the letters in muriatic acid. Let them sit for about 10 minutes and then rinse in water with a little baking soda to neutralize the reaction. Pat dry with a clean rag. Dry them as soon as possible because they will rust quickly if you don't. Once dry, use a 100 or 120 grit flap disk to polish up the metal and smooth out any rough edges. Always wear rubber gloves and a respirator when working around muriatic acid. It's dangerous stuff.
I decided to give all the letters and designs a bright polished look. To remove the greasy film on the metal I soaked the letters in muriatic acid. Let them sit for about 10 minutes and then rinse in water with a little baking soda to neutralize the reaction. Pat dry with a clean rag. Dry them as soon as possible because they will rust quickly if you don't. Once dry, use a 100 or 120 grit flap disk to polish up the metal and smooth out any rough edges. Always wear rubber gloves and a respirator when working around muriatic acid. It's dangerous stuff.
 Weld
Weld
To create dimension, I used 3/8 inch threaded rod as spacers and a few bolts.
 I tack-welded bolts on the back of the circle and then screwed 2 inch long pieces of the threaded rod into each.
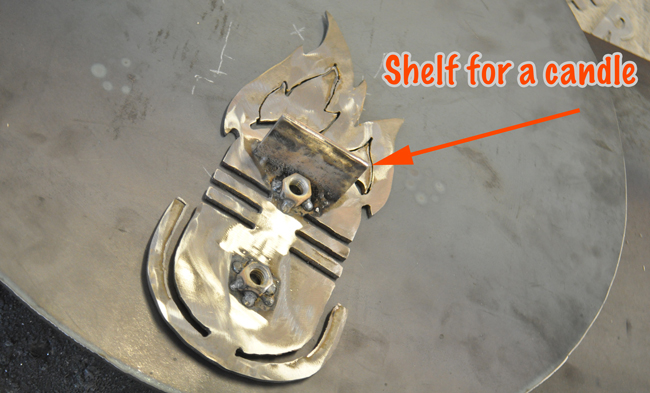
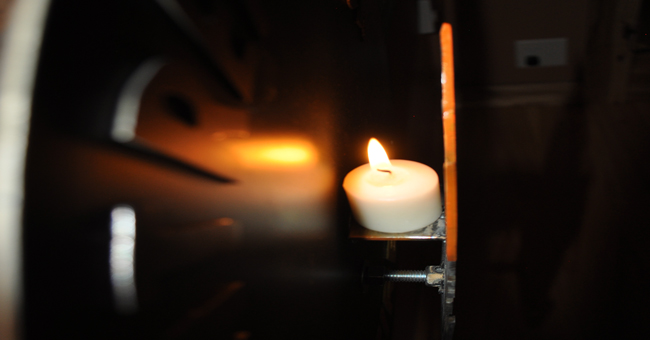
 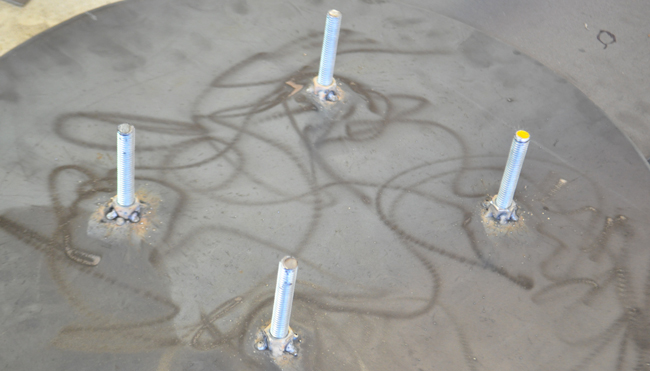 The flame got a couple nuts welded to it too. In addition, I added a 1 1/4 inch wide piece of flat bar to hold a candle behind the metal flame.
 Side view of a candle resting on the metal bracket.
![]() Next, I cut 3/4 inch tubing to go around the perimeter of the back panel using a chopsaw.
Next, I cut 3/4 inch tubing to go around the perimeter of the back panel using a chopsaw.
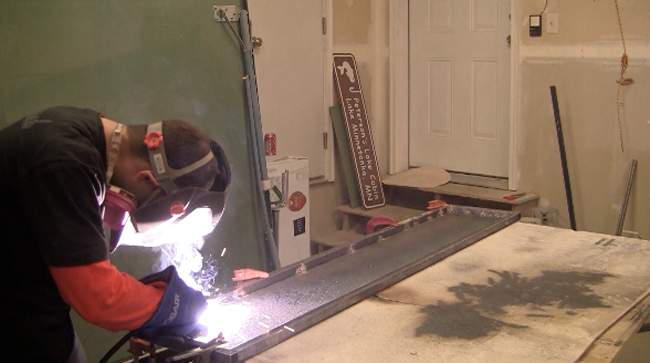
 Here I am welding the tubing to the back side of the panel.
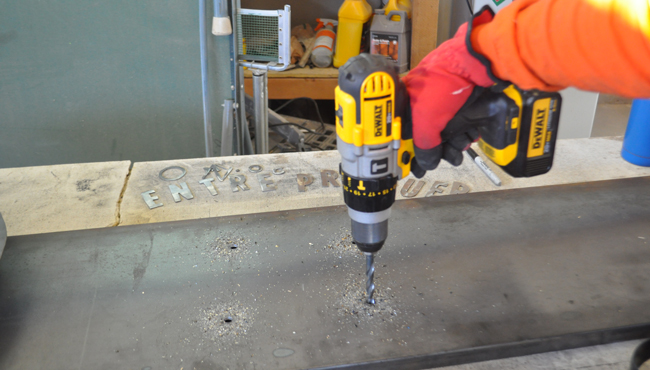
 I used a 1/2 drill bit to put holes in the back panel to put the threaded rod through and attach the multiple layers.
 Piece Together
 Piece Together
Prior to attaching the cut-out letters, I put stencils down and traced around them with a pencil. After tracing, you'll want to remove the stencil. The pencil lines were helpful for making sure I glued the letters in the correct spot in the next step.

 I attached the metal letters using a 2 part epoxy. A popsicle stick came in handy for spreading the glue on each letter. You can see the pencil outlines used to help line up the design.
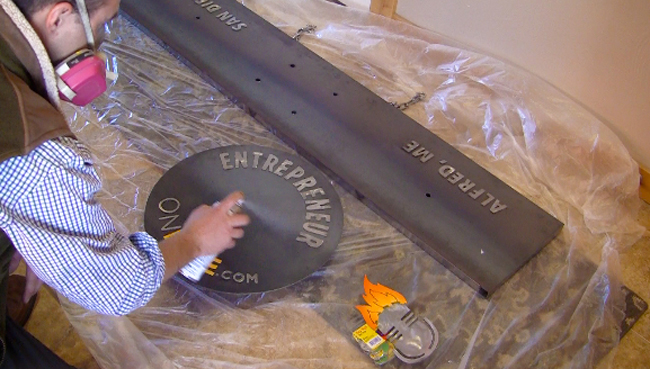
 Spray paint was used to give the flames a little color.
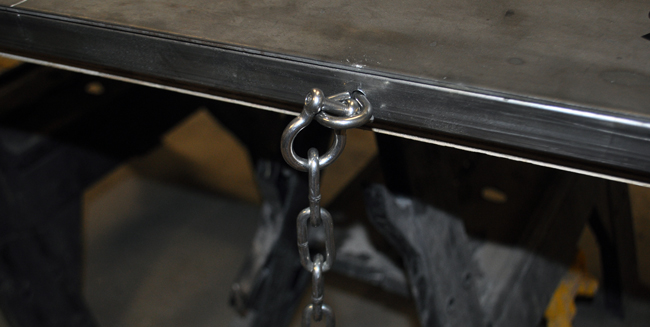
 Chains were added to attach the name plate. An eyebolt and clasp worked great for connecting the chain to the steel tubing.
 Seal
Seal
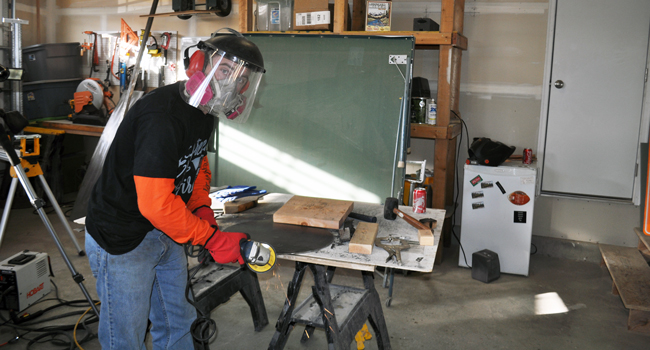
Prior to bolting on all the layers, you'll want to seal the project using a metal sealer. The Rustoleum brand sealer was dry to the touch in a couple minutes. The sealer will darken the metal a bit.
 Seal the front and back of each piece.
 Adjust the bolts to allow proper spacing between layers. Then attach.
 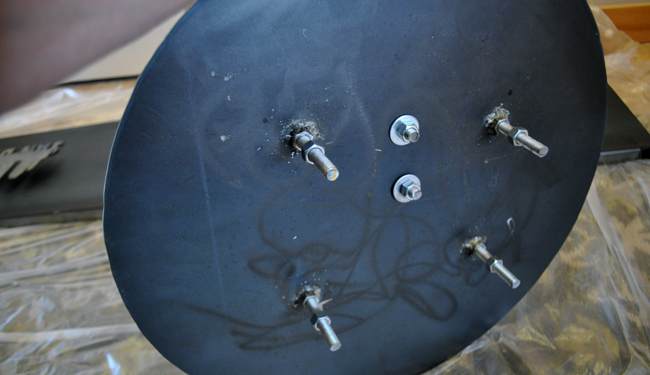 This is the back side showing all items bolted onto the rear panel.
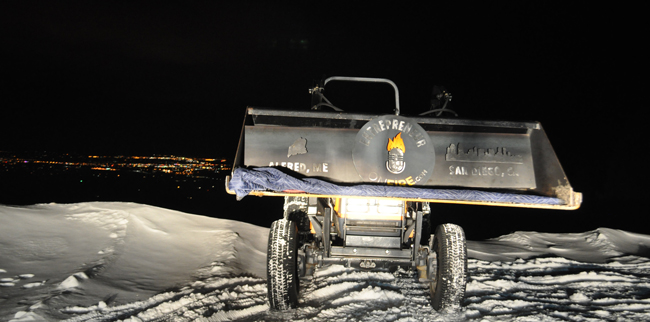
 Well, time to show this bad boy off! I put the artwork in the tractor and got a couple outdoor pics and some video footage.
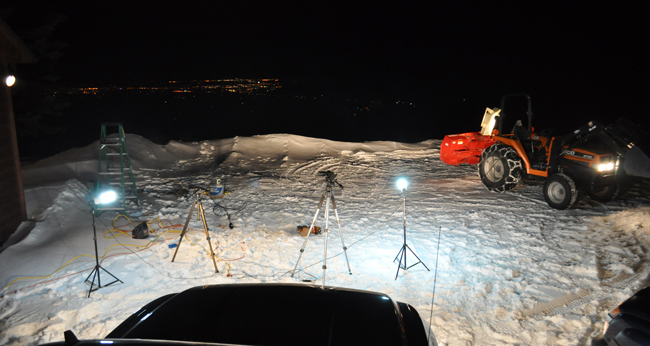
 Here is a photo showing the video shoot. To film and record the project I used a Canon Vixia HF S21 Video Camera along with a Nikon D5100 SLR Camera. I used a couple Chevy pickups to get descent light!
 Hang
Hang
I used a cleat system to mount the sign. It makes mounting heavy things super easy. Just make sure to use a stud finder to attach the cleat to the studs in your wall.
 IT'S DONE!!!!
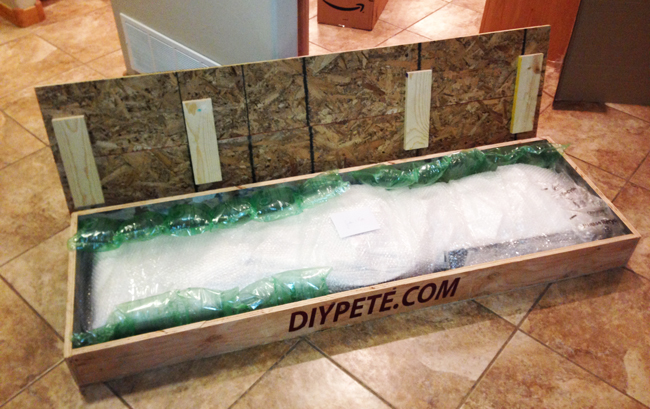
 Now for the shipping. I built a custom box that was 67″ long x 21″ wide x 7 inches tall. The final weight of the package was 112 pounds. The total shipping cost using my Fedex business account was only $68. I couldn't believe how cheap it was! (Would have been about $85 without the account.)
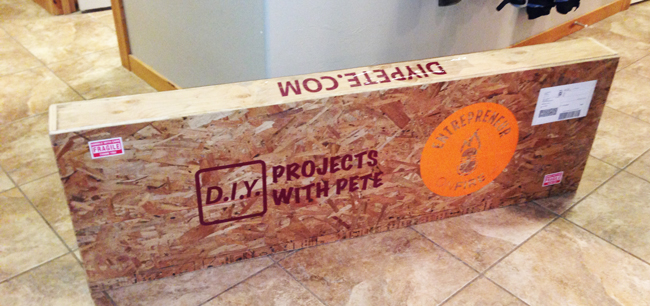
 Lastly, decals were added and it was sent out to San Diego!
Thanks for checking out this DIY metal project! I hope it inspires you to start creating with metal. Check out my resources page if you are interested in finding out the tools I recommend for fellow DIY'ers. Lastly, please subscribe to my Youtube channel and like my Facebook page if you enjoy the DIY Projects on my site. It would help spread the word and inspire others to start creating! Cheers – DIY PETE