
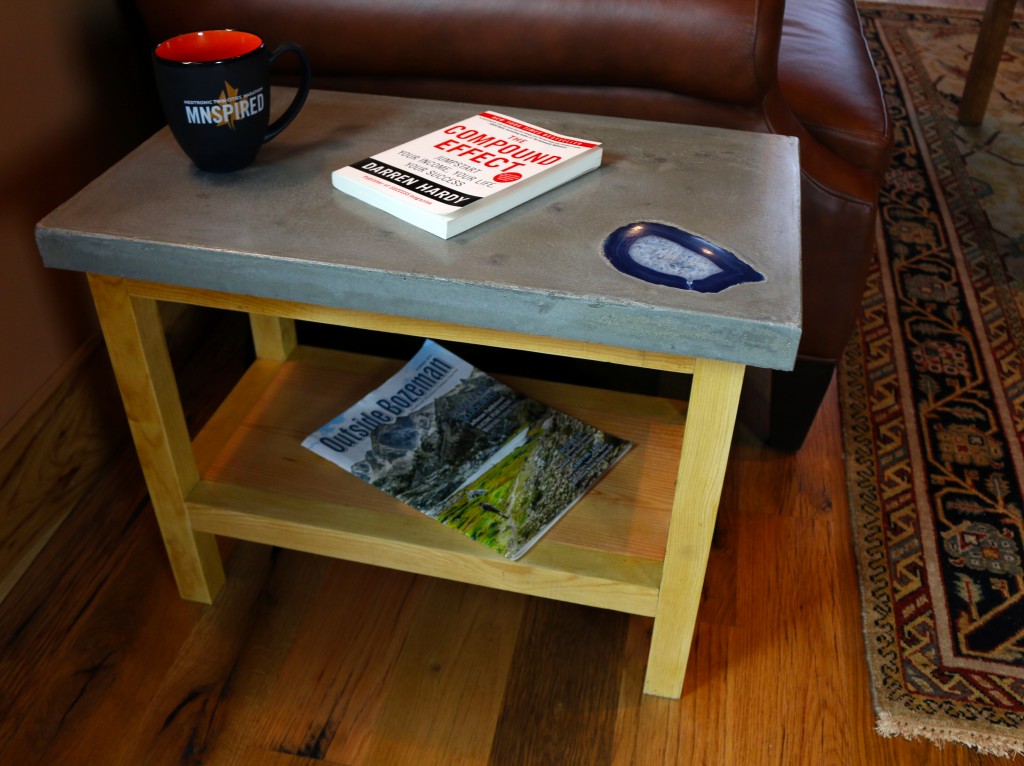
For this week's video tutorial, blog post, and downloadable plans, we made a concrete end table that has a sliced agate embedded in the top. This is a great DIY concrete project that doesn’t take long, looks very clean and modern, and is easy on the budget. Check out the video, photos, and post below and click here to download the plans!

Tools Needed:
Miter Saw– I’d recommend a 12 inch sliding, miter saw.
Drill– I use Ryobi drills.
Orbital Sander– Ryobi makes a nice one.
Kreg Jig – (Optional)
Clamps– Clamps are helpful for any project. I love to use JackClamps
Tape Measure, Ruler, Pencil
Eye and Ear protection
Supplies Needed:
½ Bag of Quikrete Countertop Mix
1 Agate – to embed into the tabletop
Wood Glue – I recommend Gorilla Glue
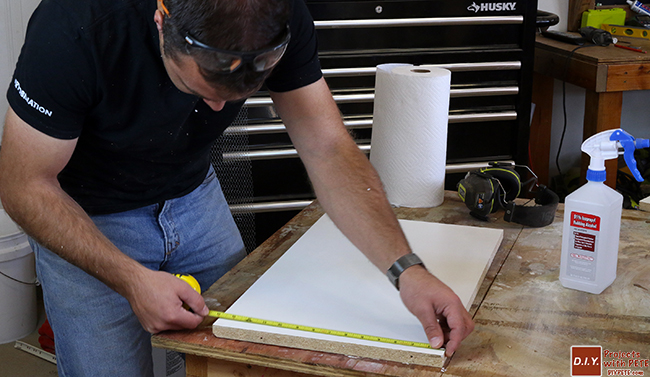
Build the Melamine Form
We’ll want to build the melamine form, mix, and pour the cement first so that it can cure while we’re building the wood base. The melamine form's dimensions can be found in the downloadable plans. We’ll cut our melamine on the table saw, if you do not have a table saw, then a circular saw and some sort of straight edge will work. Pre drill the holes for the side pieces attaching to the forms base. Then using 1 ½” screws, screw the side pieces of the form into place. Clean the form thoroughly and add a silicone bead around the inside edges.
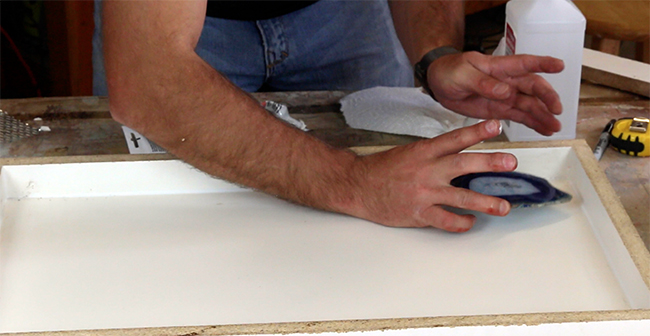
Add the Agate Piece and Cut Wire Mesh
We’ll then add the piece of sliced agate to the base of the melamine form. With your silicone, add just enough to stick the agate piece to the melamine form, but not too much. Smooth it onto the agate, make sure to not add too much for this will cause the agate and the concrete to cure at different levels and will not be flush in the end.
We’ll then cut a piece of wire mesh using aviator snips. Wear gloves while doing this, the wire can be quite nasty on the hands. Size this to about 22” by 12” and set this aside until the next step.
Mix the Cement and Pour into Form
Grab two 5 gallon buckets, one filled halfway with cool water and leave the other one empty. Start by pouring a small amount of water into the empty bucket, then add the Quikcrete countertop mixture to that same bucket. Add about half of an 80 lb bag for this project and add more water as needed. Mix with a shovel, piece of scrap wood, or other mixing device. We’re going for a peanut butter consistency here, so make sure to add the right amount of water and mix it all together thoroughly. Slowly add the cement to your clean melamine form, filling it about ⅔ full. Add your wire mesh and then pour the rest of the cement mixture in.

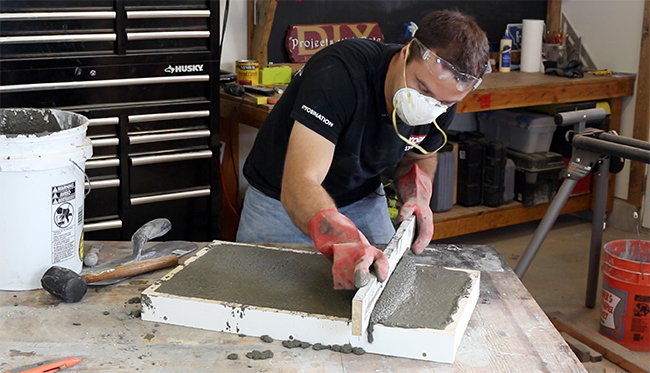
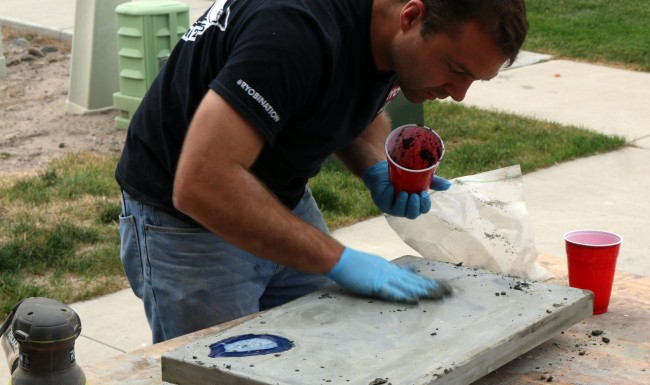
Screed, Vibrate, Level, and Trowel
After you have the cement in the melamine form, work it into the form with your gloved hands. We’ll then want to screed the cement in the form. Grab a piece of square scrap wood and scrape it along the top of the form, this should work some excess cement out. Work the cement into any voids, vibrate the form to ensure consistency, and level it all out. Using your trowel, smooth out the cement mixture to create the look of what the cured concrete will look like. Let this cure in the form for the manufacturer's recommended amount of time.
Cut Pieces for the Wood Base
Now we’ll move onto the wood base, as your concrete cures in the melamine form. Start by cutting the pieces for the wood base. We’ll use 2x2s for the whole base, it creates a clean, minimal, and modern look for this end table. Refer to the cut list in the plans to answer any questions on dimensions of the boards. Sand all of the pieces now to save yourself time and technique later.

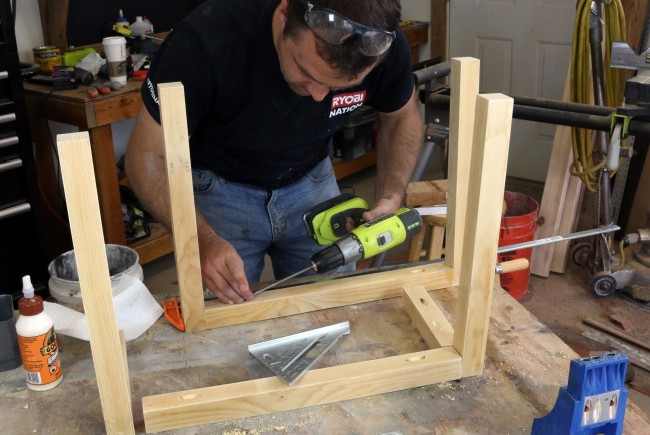
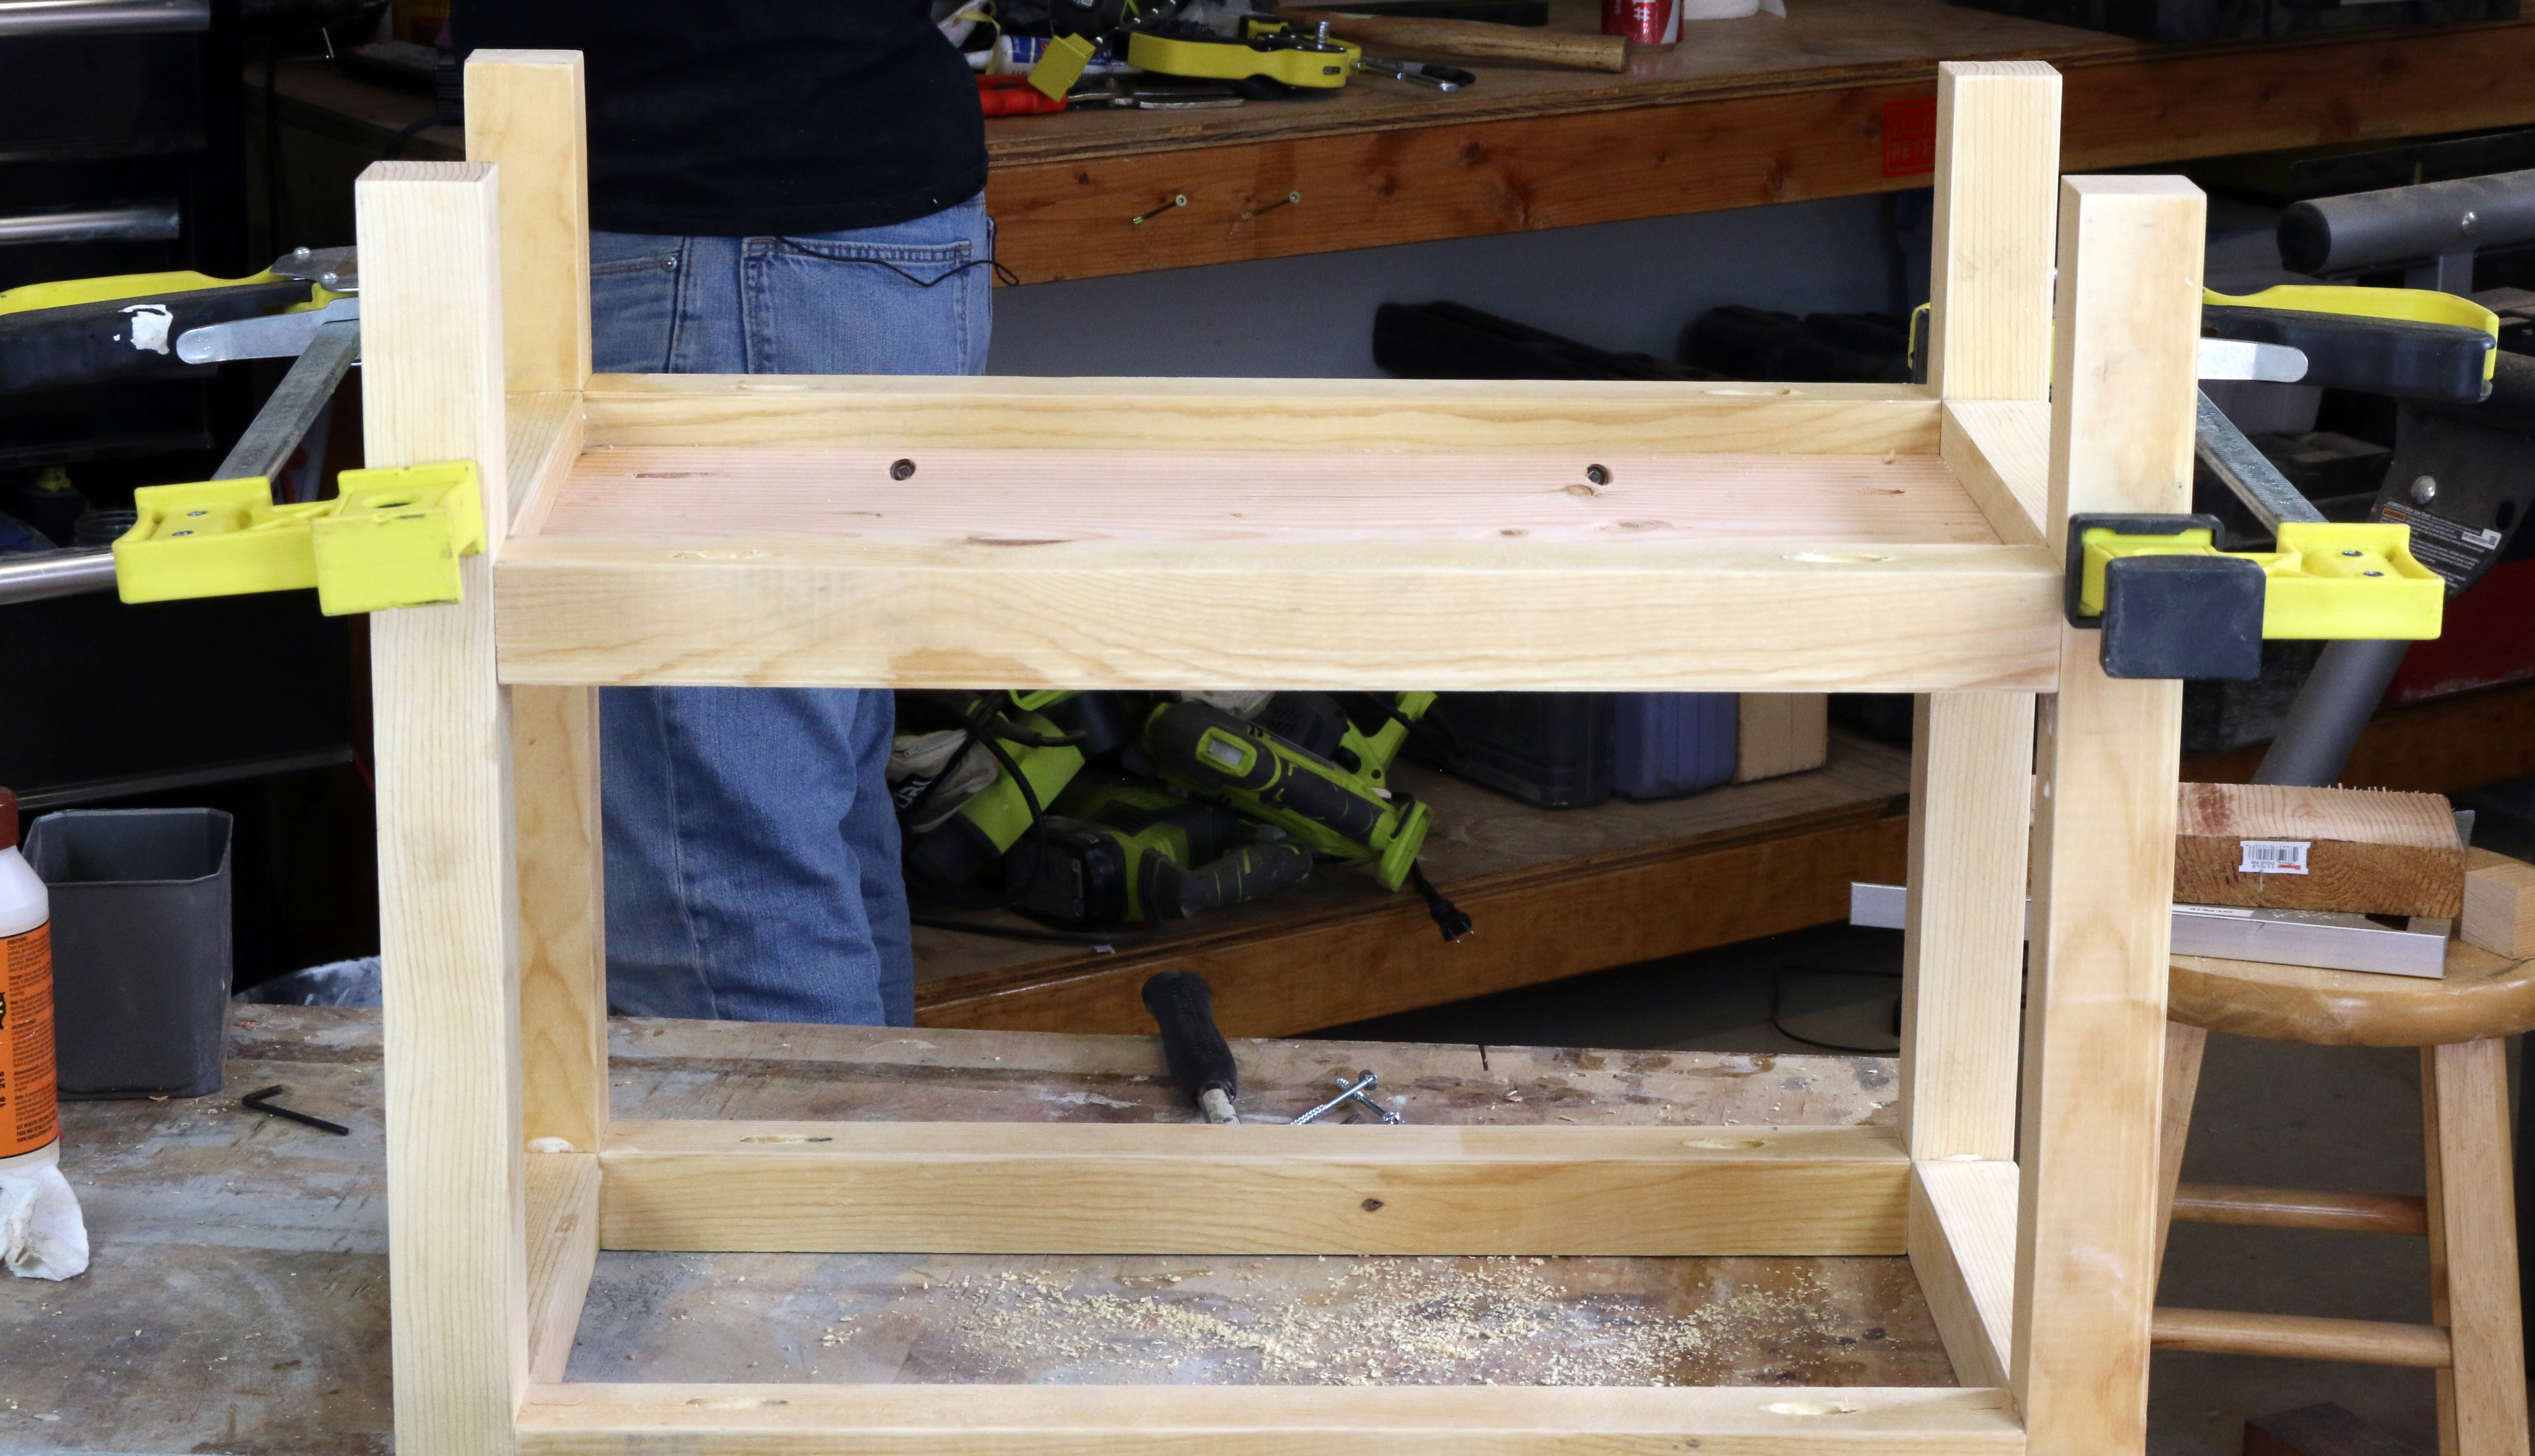
Kreg Jig the Base Together
Grab your kreg jig! We’ll assemble the base together with hidden pocket hole joinery. For the bottom ¾” thick shelf that attaches into the 1 ½” supports, we’ll set the Kreg jig and drill bit at ¾” setting and use 1 ½” screws. For all of the other pocket holes for the legs, stiles, and rails, we’ll set the Jig and Bit to 1 ½” and use 2” screws. Add wood glue between the joints and then screw everything together. Use clamps if necessary.
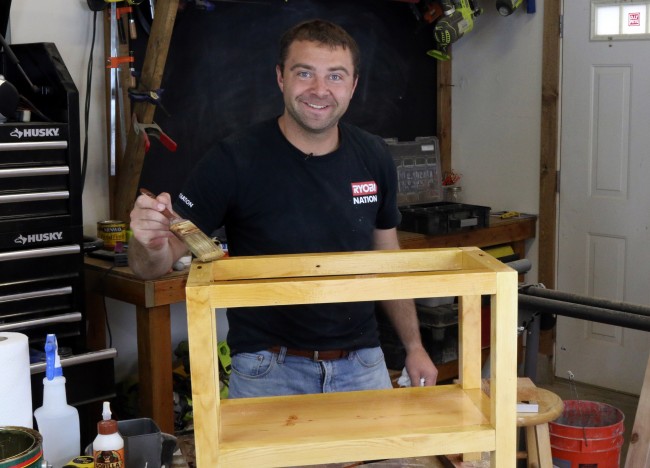
Final Sanding and Finish the Base
Sand off any wood glue spillovers and clean up the wood base overall to prep it for finishing. To keep with the minimal, clean, and modern look I decided to simply add a clear coat to the base. Apply your coats of finish, letting dry for the recommended amount of time in between. Now let’s go reveal the concrete top!
Reveal the Concrete Top and Sand it
After cured, it's time to reveal the concrete top. Unscrew the melamine form’s sides and then slowly break the base of the form off of the top of the concrete top. Clean the concrete top, getting all of the silicone off the edges and the agate. Note: The agate will get scratched if you touch any sandpaper to it, so be aware and careful of it. Sand the whole concrete top and wet polish it if desired. If there are bugholes and imperfections to cover, then make a slurry paste cement mixture and apply it. Let that dry, then do a final sanding of the concrete top.

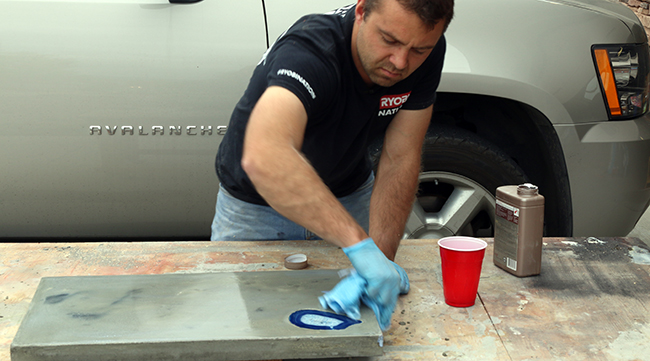
Seal the Concrete Top and Install
We’ll now seal the concrete top with a few coats of concrete sealant. Apply the coats with a microfiber cloth and work it into every part of the concrete, top and bottom. Apply three or more coats to completely seal it. We’ll then grab the wood base and install the concrete top into place! You can either place the concrete directly onto it or add silicone beads to the wood base where the concrete will touch to help adhesion. You’re done!
You’re done, now Enjoy!
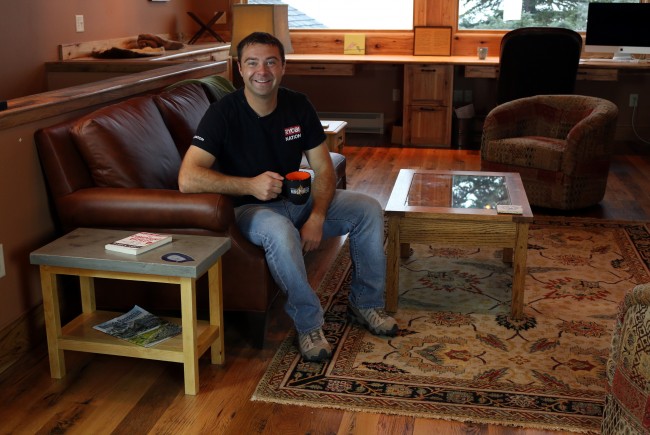
This is a great project that doesn’t take long, looks very clean and modern, and is easy on the budget. I hope you’ve enjoyed building this and that this inspires you to try more concrete DIY projects! Download the plans for this project here. Check out http://diypete.com/Nightstand if you’re looking for more concrete projects.