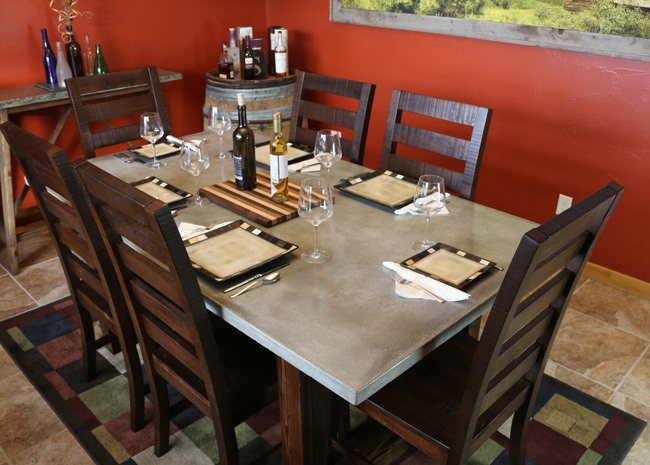
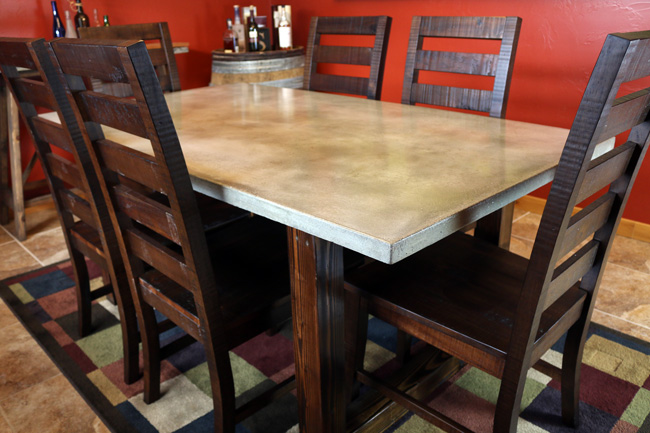
How to make a DIY Concrete Dining Table!
This is an excellent DIY concrete project for beginners and the more experienced alike! This clean, modern, minimalist design approach will look great in your dining room. This project doesn’t take that long to make and is attainable by anyone if you follow this step-by-step tutorial. Best of luck on yours! This particular 1 1/2″ concrete top weighs about 370 pounds total. Be sure to watch the video below, download the free plans, and share this with your friends.
Tools Needed
Miter Saw– I’d recommend a 12 inch sliding, miter saw
Table Saw
Drill
Impact Driver
Orbital Sander– Ryobi makes a nice one.
Concrete Trowel
Respirator mask
Tape Measure, Ruler, Pencil
Eye, Ear, and Hand protection
Supplies Needed
Quikrete Countertop Mix or Quikrete 5000 (less expensive option)
Cheng Concrete Sealer
100% Silicone
4 – L Brackets/Joists
Gorilla Wood Glue
Minwax Polyurethane
Minwax Espresso Stain
Melamine sheet
Lumber for the base – see wood / cut list in free plans
Sandpaper
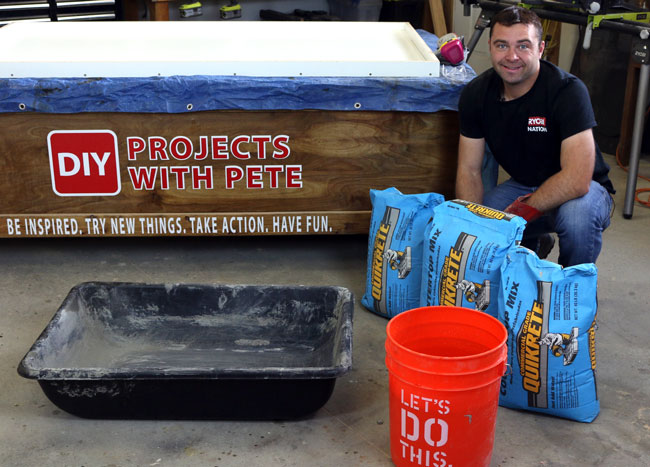
Approximate Total Cost: $195
The Concrete Dining Table can be made for under $195 dollars in materials cost. This is the cost for the concrete, wood, wood finish, concrete sealer, and other basic supplies. This estimate considers you're using Quikrete 5000 as a more affordable option.
*Note: This doesn’t include smaller things you may already have around the shop, including: screws, glue, sandpaper, etc. I bought my chairs at World Market, and you can find similar chairs on their website by clicking here.
Cut the Melamine Pieces
We'll start this project by marking and making cuts for the melamine form. Refer to the cut list in the free plans for the dimensions. You’ll end up using most of a full 4’x8’ sheet of melamine for the concrete form. I’d recommend cutting the melamine with a circular saw or table saw. Once all of your cuts are made, we’ll assemble the melamine form.
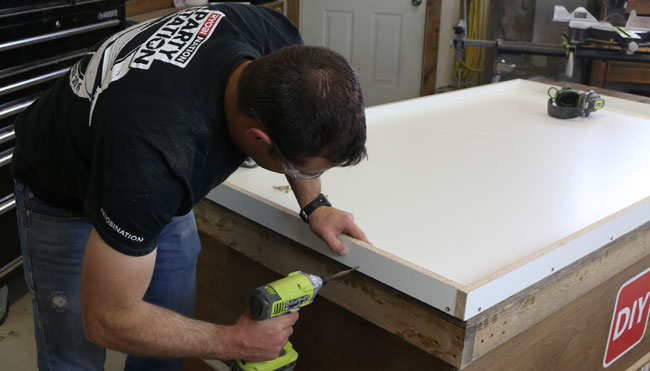
Assemble Melamine Form
You should set that large, bottom piece of the melamine form on a flat, level work surface. With melamine forms, you’ll want to be sure to keep it very clean and make sure there are no imperfections or chipping in any of the boards. Whatever faces the inside of the form will translate onto the concrete top after it's poured.
We’ll assemble the sides with 1 ½ wood screws. Be sure to pre drill all holes before adding the screws and make sure everything is square, level, and flush when you’re screwing it together. Don’t add wood glue to the sides of the melamine form, because we’ll need to easily deconstruct it later.

Finish the Form, Mix Concrete, Cut Reinforcement
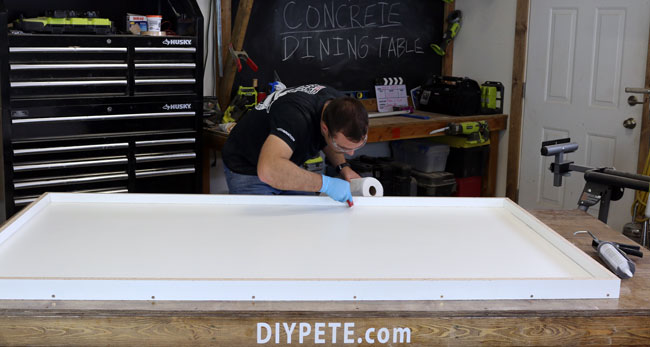
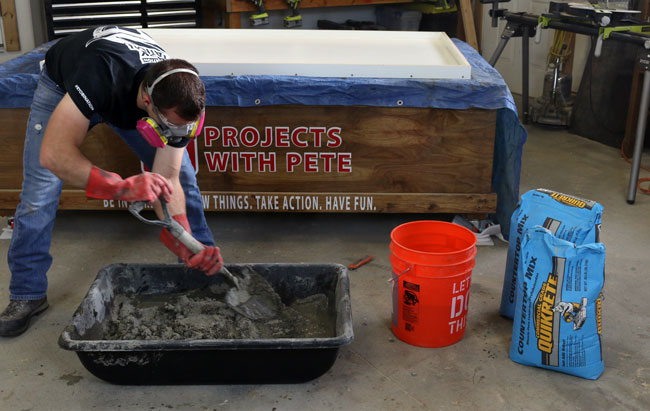
Once your melamine form is all screwed together, we’ll want to seal the edges of the inside of the form. The best, easiest way to do so is by adding a clean bead of 100% silicone to the edges. Follow through with a beveled edge tool and make sure there is not an excess of silicone on the mold. I used Quikrete's Countertop Mix, myself, yet have used Quikrete 5000 before and this project would look great with it. Quikrete 5000 is a much more affordable option. Then combine your water and concrete mixes in a large tub and stir it up! Refer to the video for more helpful tips on mixing concrete.
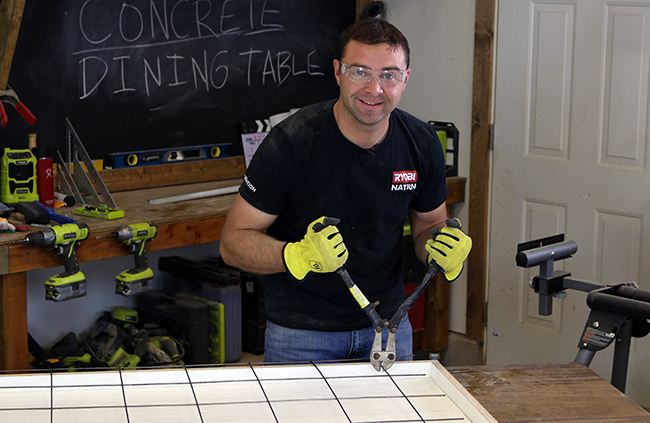
We’ll then need to cut a piece of rebar reinforcement that’ll add into the form and help strengthen the concrete top even more. The easiest way to cut these is simply with wire/bolt cutters. Make the reinforcement 1”-2” less than the size of the full form and concrete top.
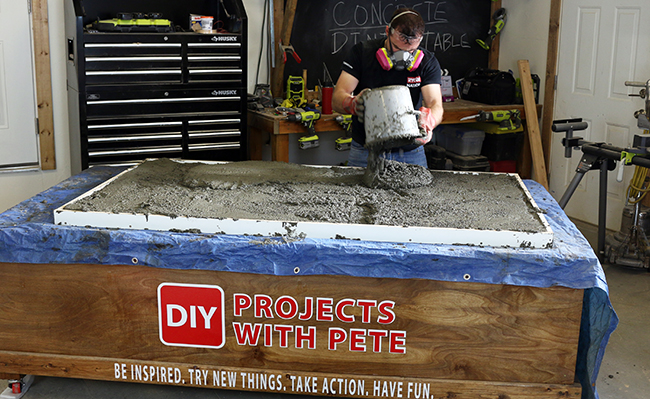
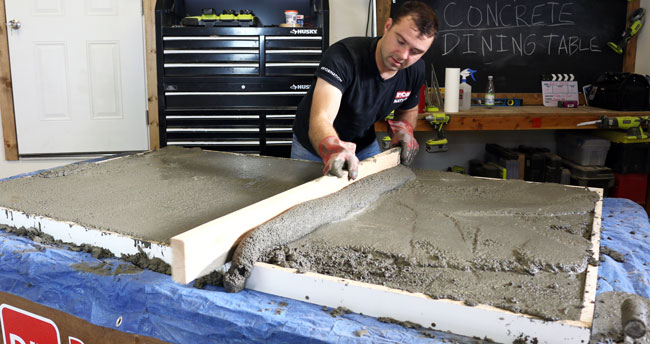
Pour Concrete into Form
After mixing up the tubs concrete and getting it to a consistency that is peanut-butter-like, then we’ll add it to the form. Wear gloves for this process, spread the concrete evenly in the form and fill it about ⅔ full. Once you’ve reached ⅔ and have spread all of the concrete out evenly, we’ll add the piece of rebar reinforcement to the form. Place it into place and keep adding more concrete to fill it to the top of the form.
Screed, Trowel, and Let Cure
Once you’ve filled the form with your concrete mixture, we’ll want to level and smooth it all out. Using a scrap 2×4 piece of wood will work fine for the level and screeding of the concrete. Scrape the board from one side of the form to the other in a back-and-forth motion, scraping excess concrete out of the form and working it into low spots. Then we can vibrate the concrete either with a mallet, reciprocating saw (without the blade in), or orbital sander. Spend some time vibrating the concrete. Then trowel it all with a clean trowel and cover the whole concrete top with a plastic cover to help it cure evenly. Let the concrete cure and dry for the manufacturers recommended time. Once it has hardened slightly, you can come through and do a hard trowel of the bottom. Refer to the video for more information about this technique.
Build the Base
Plans are currently being updated in increase the strength of the base with diagonal cross supports. If you are planning on building this table, please do your research to determine the best layout to make your table structurally sound.
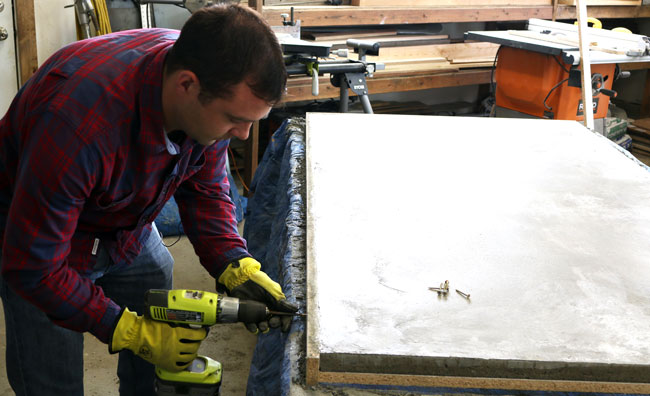
Take the Concrete out of Mold
We make it a point to do the concrete portion of this project first, because the curing and setting of the concrete takes some time. Refer to the manufacturers recommend timeframe and remove the concrete top from the mold when it’s ready. Be sure to ask a few friends for a hand in this, as the top is very heavy and the moving of it shouldn’t be attempted by just one person. Carefully deconstruct the melamine mold and take it off of the concrete. After the sides are off, flip it all over and take the main top piece off. The concrete will still be curing and needs more time after this mold is taken off. Let it do it’s thing.
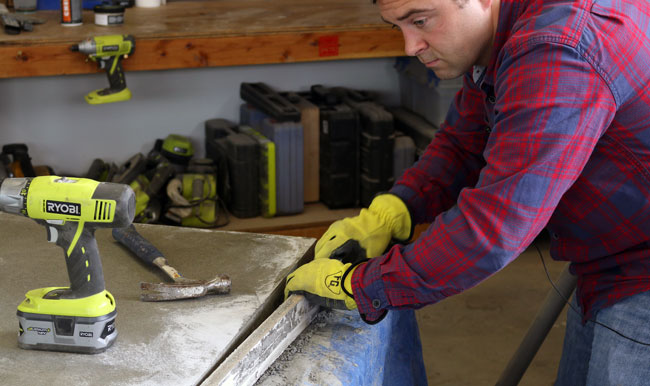
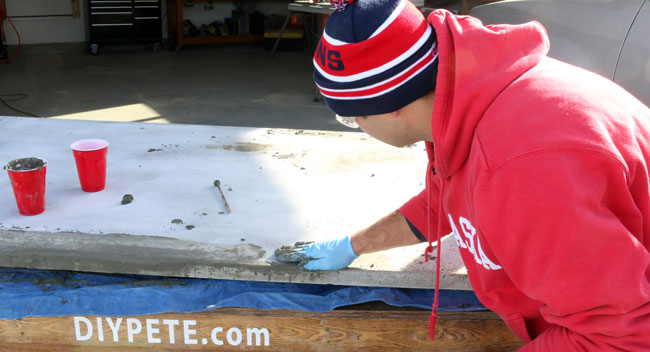
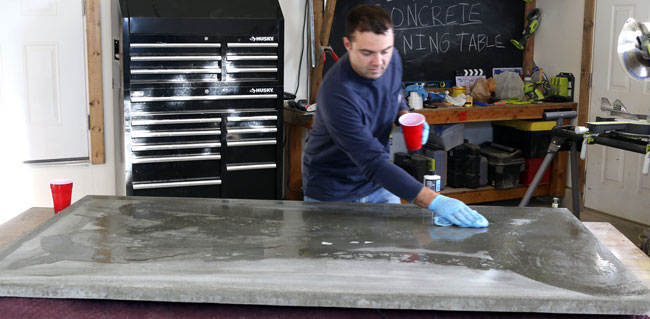
Finish the Concrete
Now we’ll sand, spot fill, and seal the concrete dining table’s top. Take the time that this step requires, paying special attention to sanding and filling in any voids. I personally like the organic look of concrete and it’s all up to you how much filling you want to do. Sand the entire top down with a 100 grit sandpaper, again flipping the top over (with help) and being sure to sand down everything. Then move on to a 220 grit sandpaper, etc. Spend time easing the edges of the concrete top, the corners, the underside edges and any spots where hands, arms, and anyone might touch.
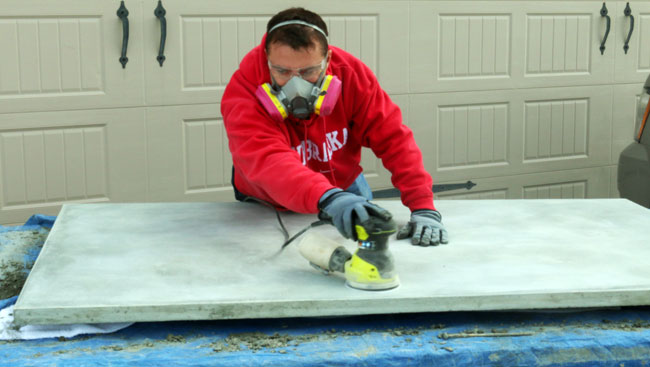
The Portland cement slurry mixture that I use to fill voids in concrete tops is an easy mixture to make, it’s simply one part water to one part Portland cement. If desired, make this mixture and fill in any spots that you may see. Let this dry and cure before sanding it down again. Then we’ll add our sealer! I used a 100% food safe, high quality sealer made by Cheng Concrete for this. Grab your desired sealer, dilute it down with water and apply nice, smooth, even coats making the water to sealer mixture stronger (less diluted) as you go. You can apply as many coats as you’d like, I did about four coats with the final coat being nearly 100% sealer. Let this cure and dry for the manufacturers recommended time.
Assemble, Install, and Enjoy!
For mounting the concrete tabletop to a wood base, I used a method of installing wooden blocks on the bottom side of the concrete that help support it. Use construction adhesive or a quick epoxy to secure the wooden blocks in place and then mount them tight to the inside edges of the wood frame's top.
Thank you for checking out this tutorial, comment below with your finished DIY concrete dining table, any questions you may, or just to say hello. Refer to the free project plans for the wood cut list, project blueprints, and more. Cheers from Montana!