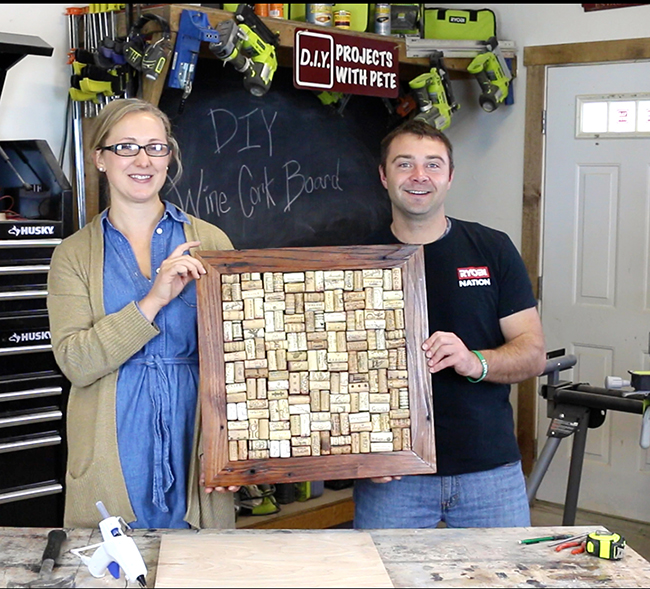
This wine cork board is a blast to make, is easy on the budget, and makes a great gift! All you’ll need for this DIY project are some wine corks, a small amount of wood, a saw, hot glue gun, and an afternoon. I teamed up with my friend, Laura, for this project. Be sure to watch the video below, download the plans here, and subscribe to our YouTube channel! For sourcing spent wine corks, look to local restaurants, wineries, bars, or collect them over time. There are corks available for purchase online, here. Best of luck on yours!
Tools Needed
Miter Saw– I’d recommend a 12 inch sliding, miter saw
Table Saw OR Circular Saw
Nail Gun
Orbital Sander– Ryobi makes a nice one.
Hot Glue Gun
Tape Measure, Ruler, Pencil
Eye and Ear protection
Supplies Needed
Wood for Frame and Back (Refer to free plans for wood and cut list)
Wine Corks (about 155-185 for a 20”x20” cork board)
Gorilla Wood Glue
¾” Nails
2″ Nails
Minwax Oak Stain
Minwax Polyurethane
Sandpaper
Approximate Total Cost: $20
The Wine Cork Board can be built for around $20 in materials cost. This is the cost for the wood, wood finish, and other basic supplies. *Note: This doesn’t include things you may already have around the shop, including: screws, staples, nails, glue, sandpaper, finish, etc. (and not including the wine corks or the amount of wine you’ll have to consume to acquire that many corks)!
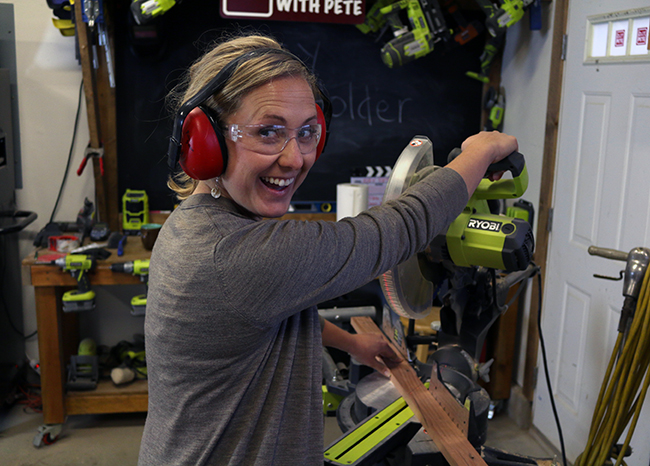
Cut the Wood
We'll start this project by marking and making cuts for the main frame and back piece. Refer to the cut list above for the dimensions. All of the 1×4’s will be mitered together (45 degree angle) so use your miter saw to cut mitered corners next. For the plywood back piece, I’d recommend cutting with a circular saw or table saw. Refer to the free plans for dimensions to cut boards to.
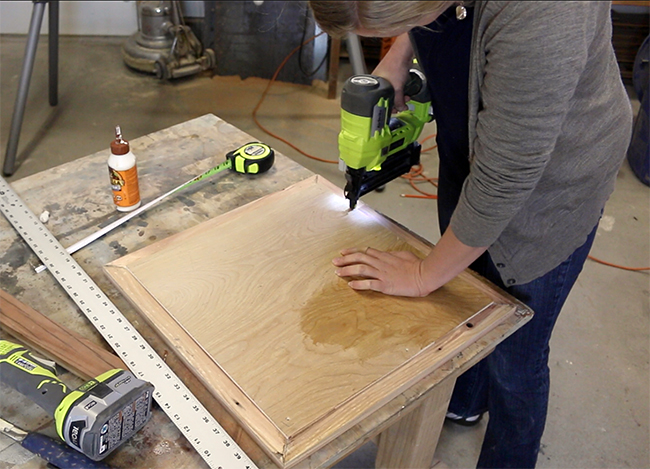
Assemble the Frame
Then we’ll grab our 1×4’s for the frame and prepare to assemble the main frame. Using wood glue, 2” nails, and a nail gun – secure the mitered corners together. It’s important to have a flat, clean work surface for this and to make sure your miter joints are tight. Shoot a nail or two into either side of the joint on every corner. Once the miter joints are complete and the glue has dried, we can flip the main frame over and attach the plywood back piece. Glue and nail this piece into the main frame of the wine cork board with ¾” nails. Refer to the free plans for more information.
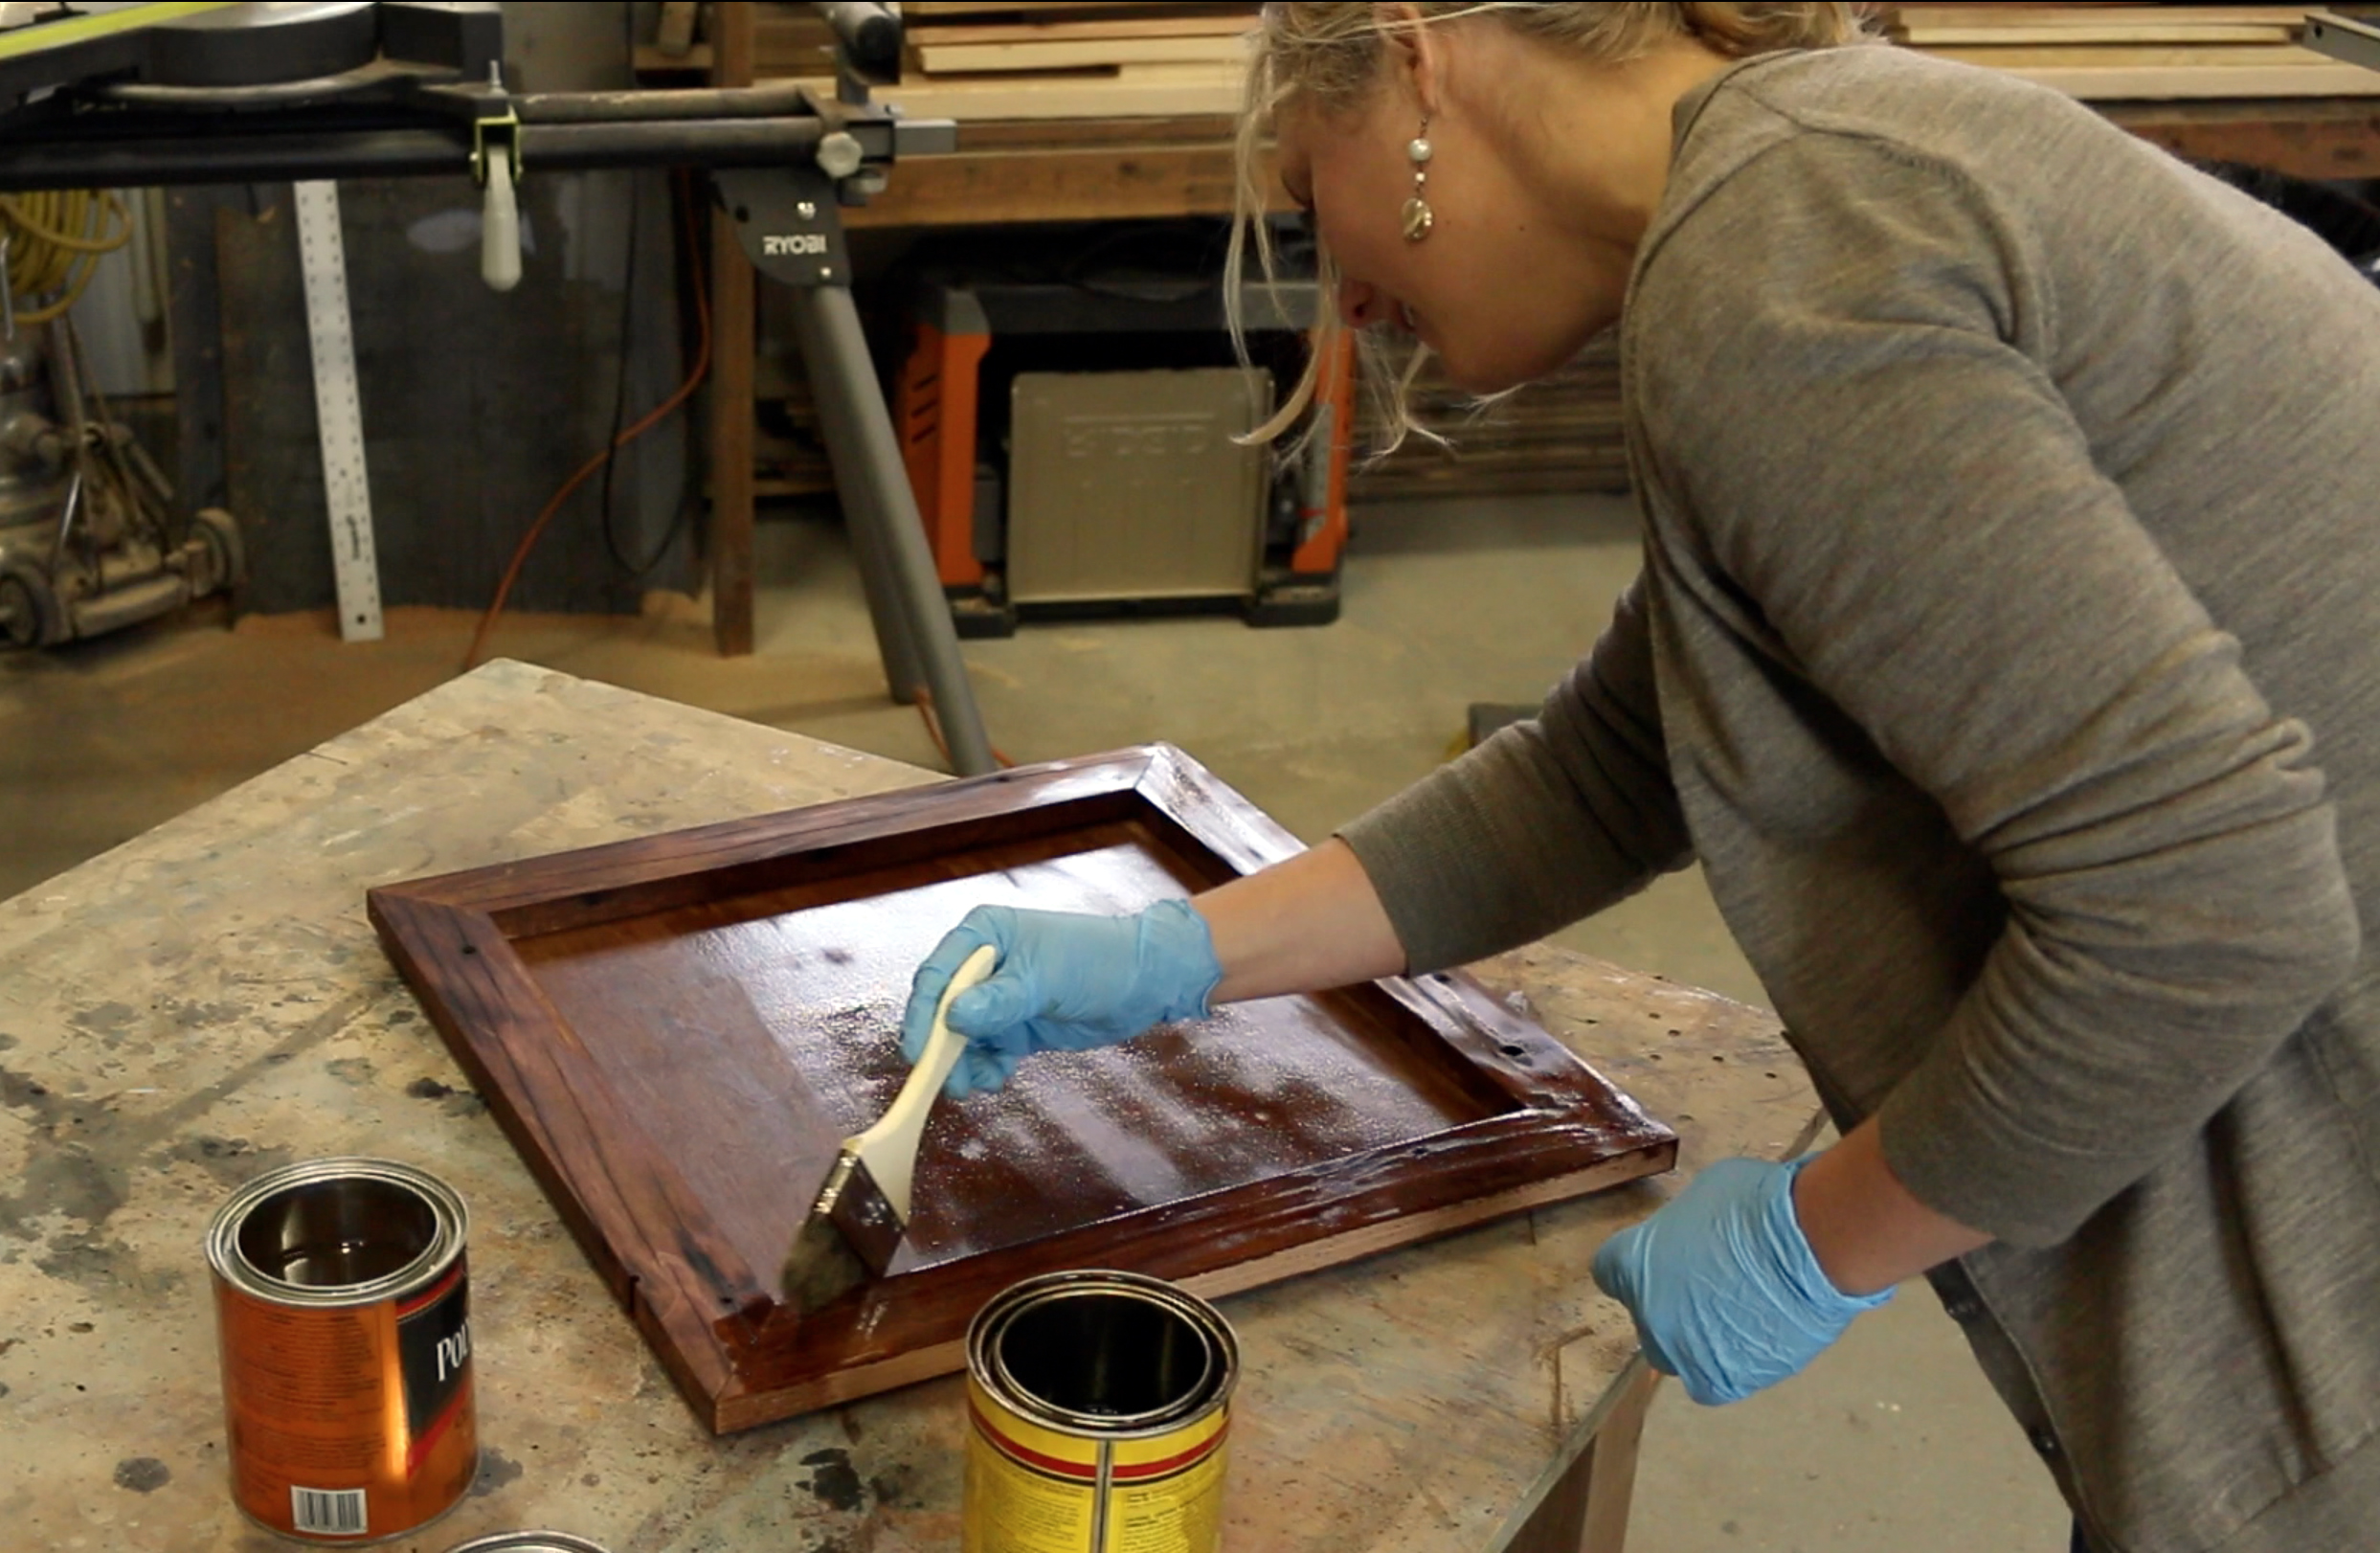
Sand and Finish the Frame
Now we’ll want to sand the whole frame and back down, easing the edges, smoothing all surfaces, and preparing it for the stain and finish. Grab your orbital sander, some 220 grit sandpaper and get to work! 🙂 Take your time to ensure you sand all of the surfaces, work your way down to finer grit sandpaper. Then finish your frame with a coat of Minwax’s Oak Stain. Once the stain has dried, add a clear polyurethane for the final finish.
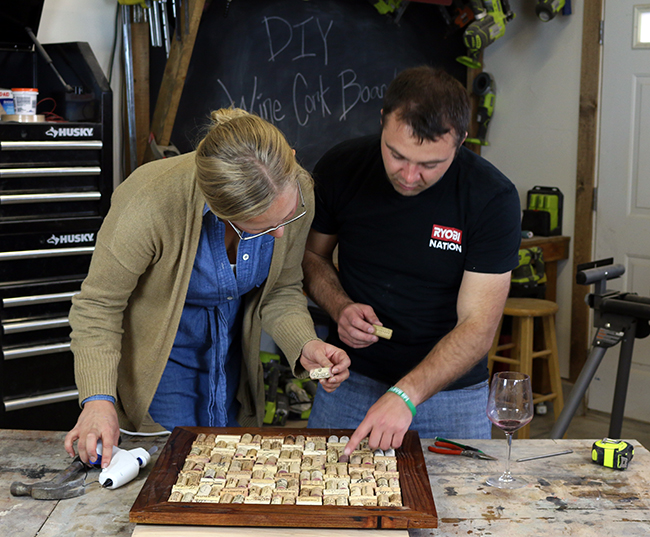
Place Wine Corks into Place
Once the finish has completed drying, we’ll grab our wine corks and arrange them into the wine cork board frame. For ours, we did nine rows of about 20 corks per row. We alternated the pattern of the corks, two facing up-and-down, then the next two facing side-to-side. Arrange them as you like and then prepare for hot gluing them into place!
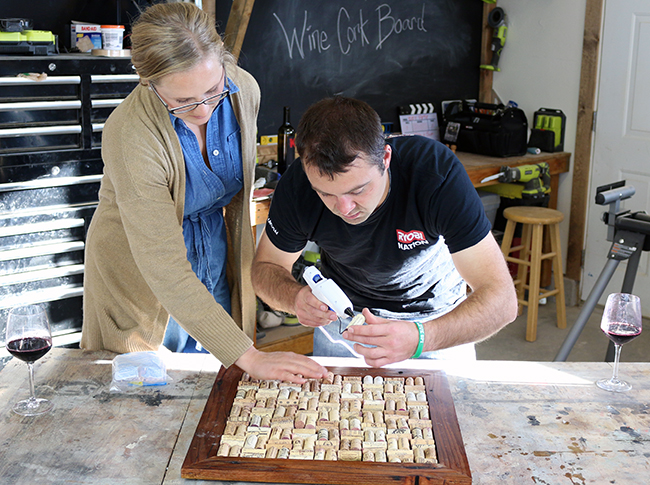
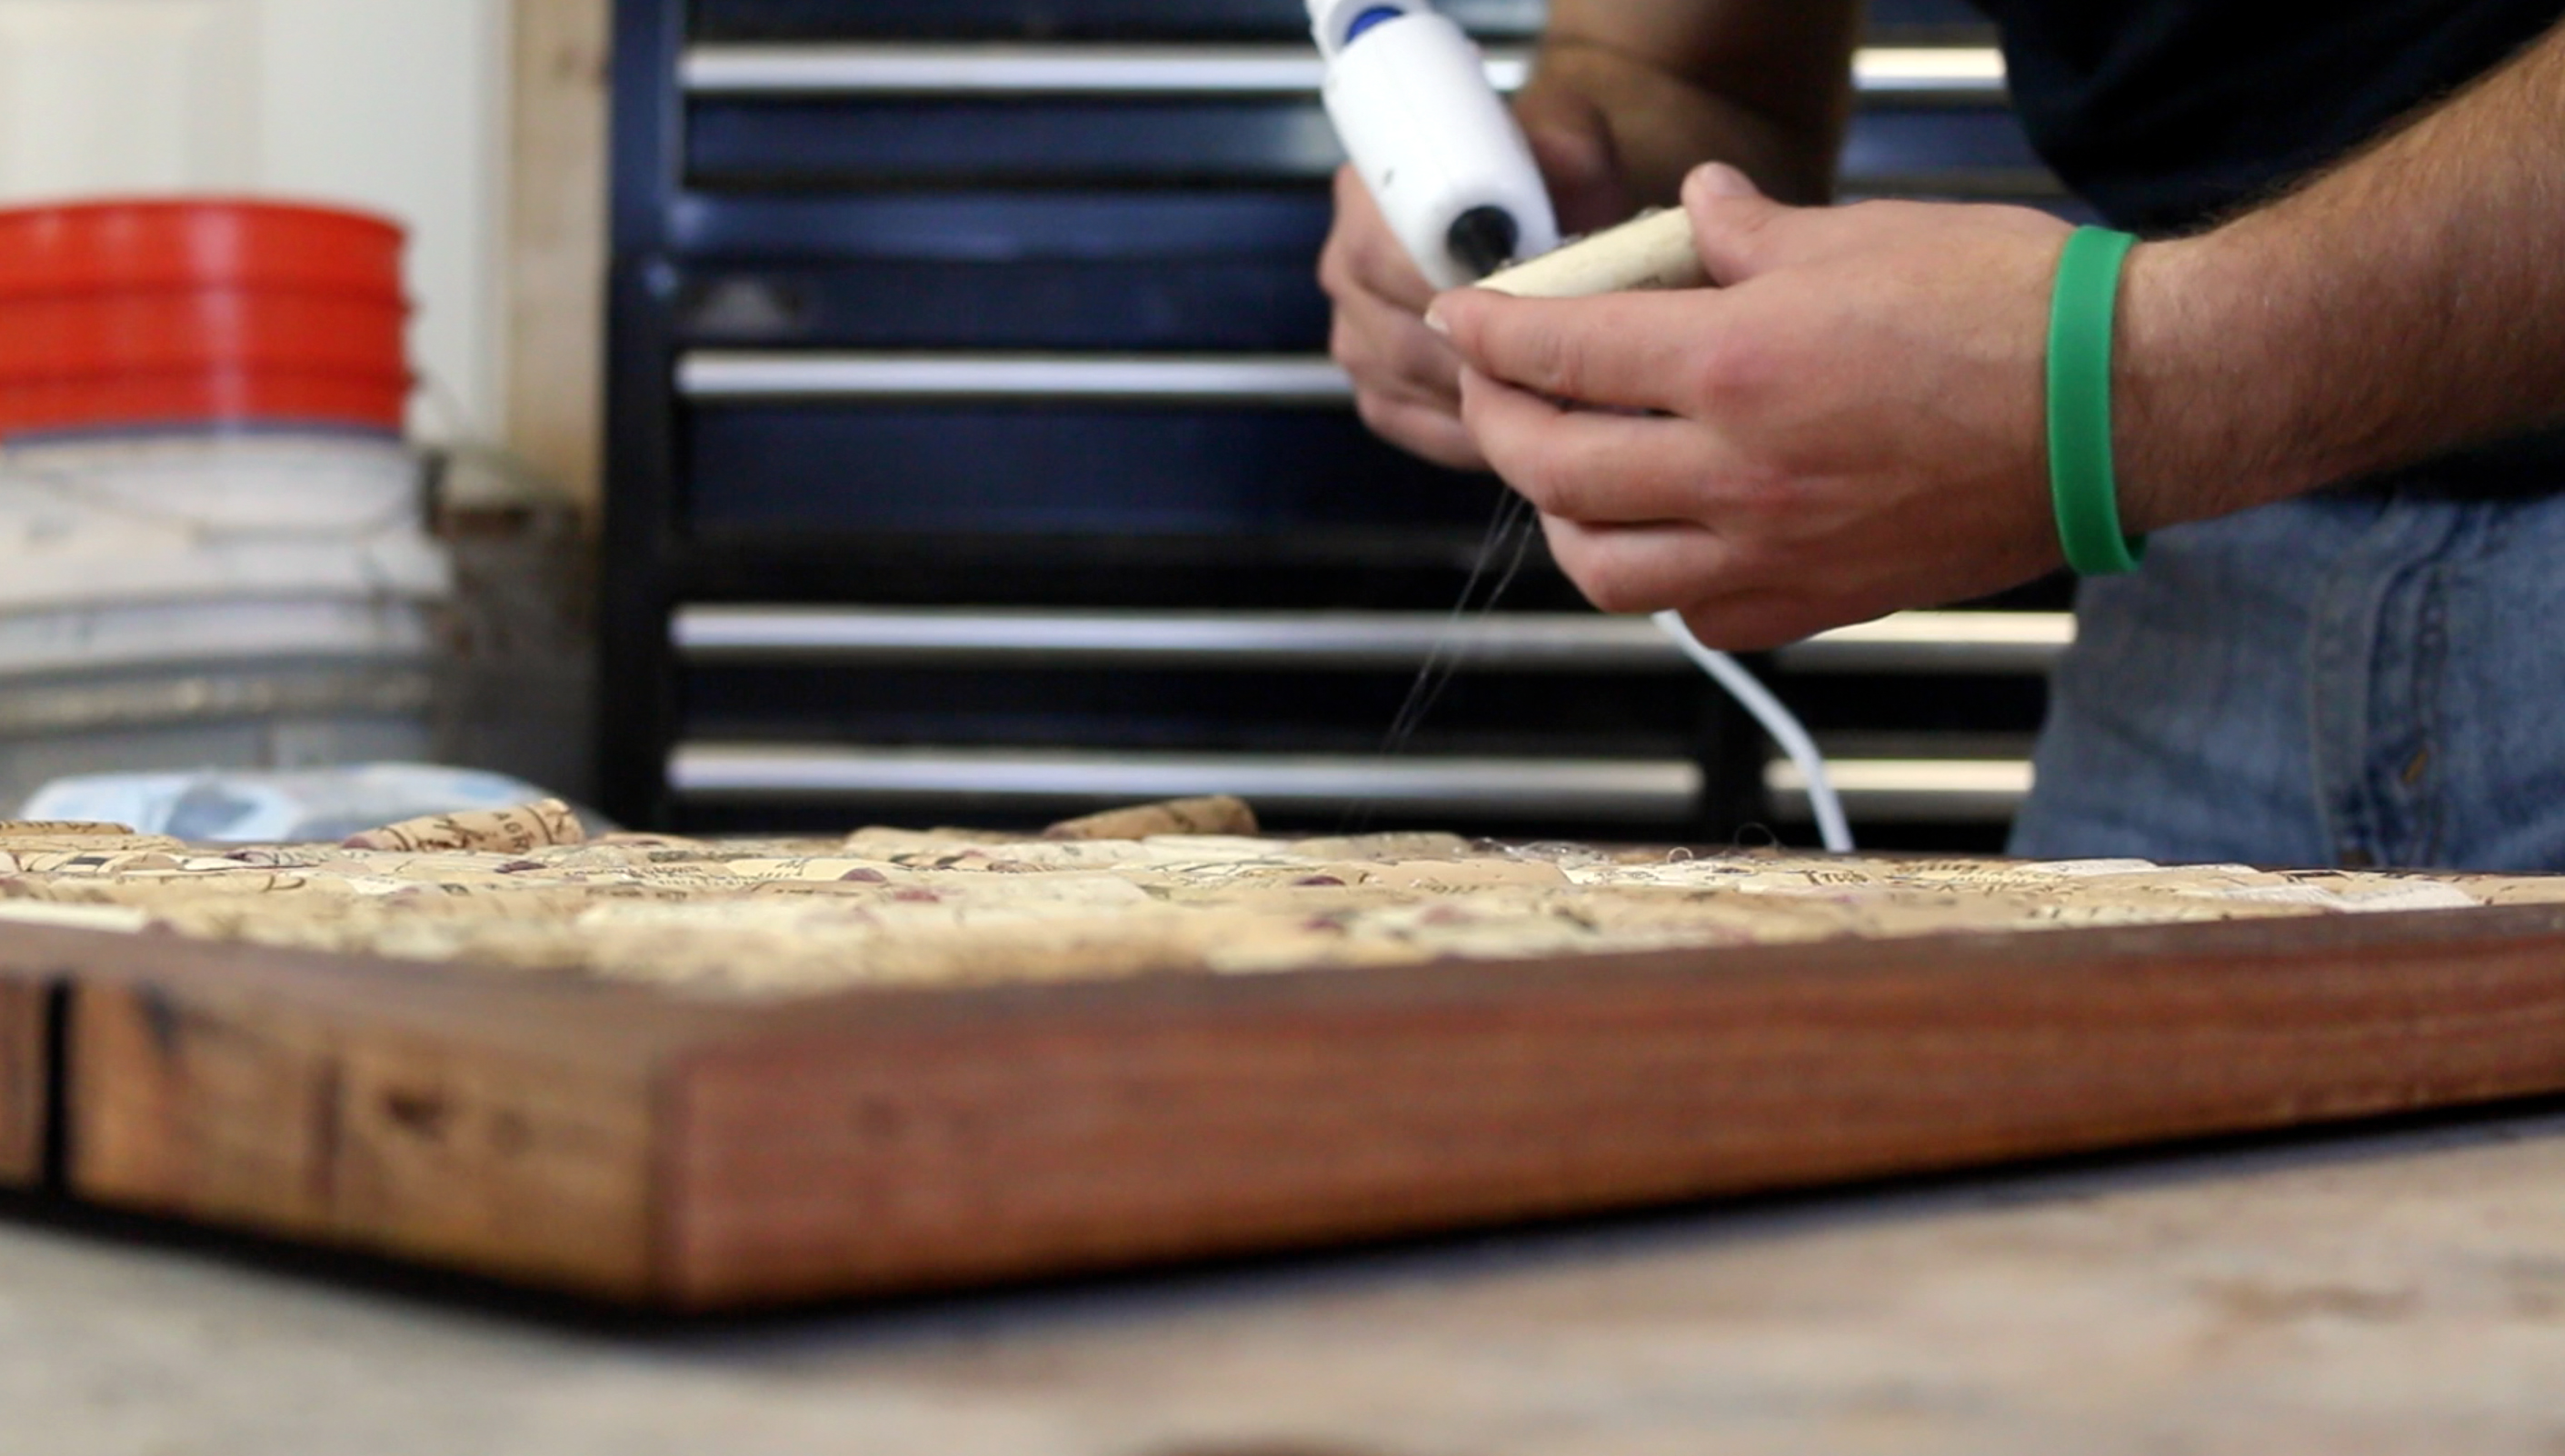
Hot Glue the Wine Corks
Once you’ve arranged the wine corks in a manner that you like, we’ll hot glue them into place. Grab your hot glue gun and get to work! Be sure to face the logo, lettering, or words on the cork outwards, if desired.
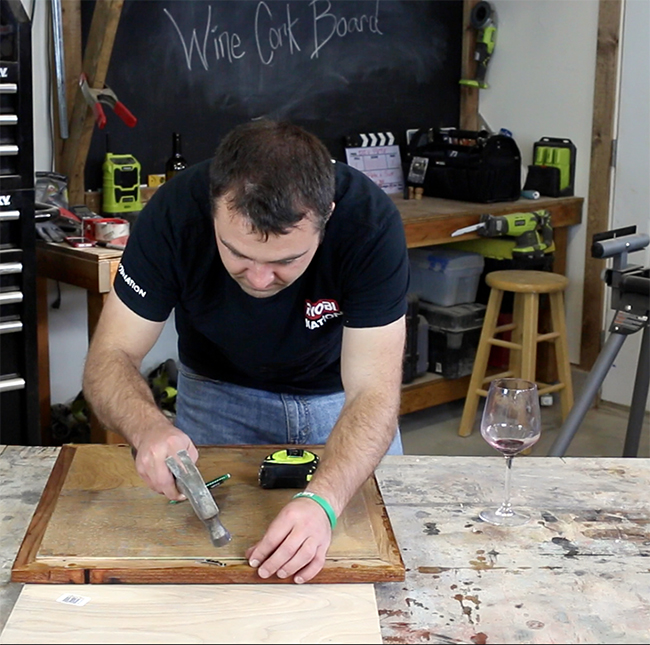
Add a Tooth Hanger and That's it!
Let the hot glue dry and the wine corks set into place. Once it is all ready to go, we’ll attach a tooth hanger onto the back of the main frame. Measure and find the center point of the board and then nail the tooth hanger into place! Enjoy your work and hang your new wine cork board proudly! Be sure to check out the free plans here!